

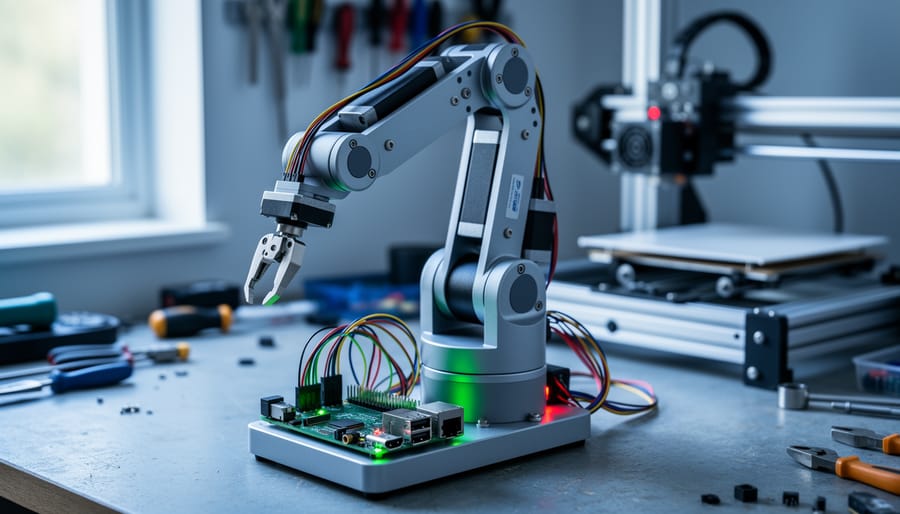
Robotic assisted devices are transforming how makers, educators, and hobbyists approach digital design and fabrication—and you can start building your own with affordable platforms like Raspberry Pi. These intelligent machines combine sensors, motors, and computing power to automate precise tasks that would be tedious or impossible to perform manually, from 3D printing calibration to CNC routing operations. Unlike expensive industrial equipment, modern robotic assistants leverage accessible single-board computers to deliver professional-grade results at a fraction of the cost.
The revolution in accessible robotics centers on three key capabilities: precise motion control through stepper motors and servo systems, real-time sensor feedback for adaptive operation, and programmable logic that lets you customize behavior for specific projects. Whether you’re automating a laser cutter, building a pick-and-place machine for electronics assembly, or creating a collaborative robot arm for your workshop, Raspberry Pi provides the computational backbone while keeping costs under control.
What makes these devices particularly exciting is their intersection with lab robots in fabrication, bringing research-grade precision to home workshops. Modern robotic assisted devices communicate through standard protocols like G-code and GRBL, making them compatible with popular design software you already know. They scale from simple single-axis systems perfect for beginners to complex multi-axis configurations that rival professional equipment.
This guide walks you through understanding robotic assisted devices, building your first Raspberry Pi-powered project, and choosing components that match your specific fabrication needs. You’ll discover how accessible components combine into sophisticated systems that expand what’s possible in your workshop, classroom, or makerspace—no engineering degree required.
What Are Robotic Assisted Devices in Digital Fabrication?
Robotic assisted devices in digital fabrication represent a new generation of computer-controlled manufacturing tools that bring unprecedented flexibility and precision to makers, educators, and small-scale manufacturers. Unlike traditional Computer Numerical Control (CNC) machines that operate along fixed linear axes, robotic fabrication systems use articulated arms and adaptive control systems to create complex three-dimensional movements.
Think of traditional CNC machines as following a strict grid pattern, moving precisely along X, Y, and Z axes on rails. They excel at repetitive tasks and cutting flat materials, but their movement is limited to these predetermined paths. Robotic assisted devices, on the other hand, feature articulated arms similar to those used in automotive manufacturing, but scaled down and more accessible. These arms can rotate, pivot, and reach around objects, enabling them to work on curved surfaces, approach materials from multiple angles, and handle intricate geometries that would be impossible for traditional machines.
At the heart of these systems are several key components working in harmony. The robotic arm itself consists of multiple joints (typically four to six axes of movement) that provide the range of motion. End effectors are the interchangeable tools attached to the arm’s tip, such as 3D printing nozzles, cutting tools, grippers, or even cameras for inspection. The control system acts as the brain, translating your design files into precise movements and coordinating all components.
Here’s where things get exciting for hobbyists and educators: you don’t need industrial-grade equipment to explore robotic fabrication. Raspberry Pi has emerged as a powerful and affordable control platform for robotic assisted devices. Its GPIO pins, processing capabilities, and compatibility with robotics software make it an ideal foundation for DIY projects. Combined with open-source control software and affordable servo motors or stepper drivers, a Raspberry Pi can coordinate multi-axis movements, manage sensor feedback, and execute complex fabrication tasks.
This democratization of robotic fabrication means that what once required hundreds of thousands of dollars in equipment can now be prototyped and explored on a hobbyist budget, opening doors for innovation in makerspaces, classrooms, and home workshops.
Why Raspberry Pi Is Perfect for Robotic Fabrication Projects
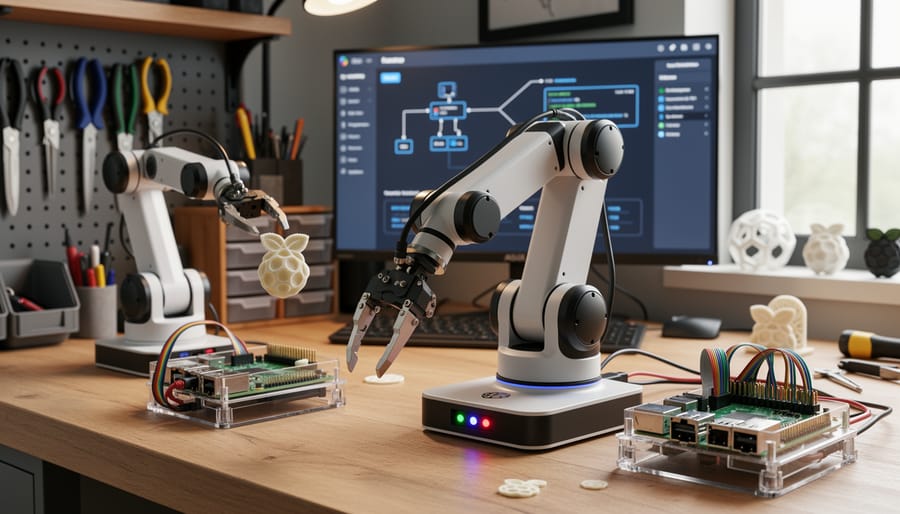
Raspberry Pi has emerged as the go-to platform for robotic assisted fabrication projects, offering an exceptional balance of capability and accessibility that makes advanced robotics achievable for enthusiasts and educators alike.
At its core, Raspberry Pi provides impressive computational power in a compact, energy-efficient package. Models like the Raspberry Pi 4 Model B deliver quad-core processing at up to 1.8GHz, alongside up to 8GB of RAM, which is more than sufficient for running computer vision algorithms, controlling multiple motors simultaneously, and processing sensor data in real-time. This processing capability allows your robotic fabrication device to make intelligent decisions on the fly, adjusting movements based on feedback and environmental conditions.
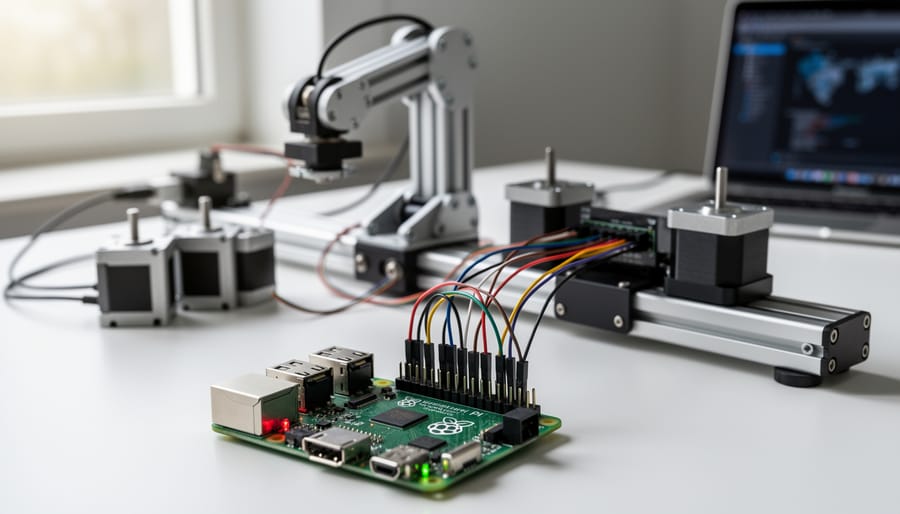
The GPIO (General Purpose Input/Output) pins are perhaps Raspberry Pi’s most valuable feature for robotics applications. These 40 pins let you directly interface with motors, sensors, cameras, and custom circuitry without requiring expensive intermediary hardware. You can control stepper motors for precise movement, read data from proximity sensors, and trigger actions based on environmental inputs—all through straightforward Python programming that beginners can quickly grasp.
Cost-effectiveness is another compelling advantage. While industrial robotic controllers can cost thousands of dollars, a Raspberry Pi 4 starts at just $35, making experimentation and iteration financially feasible. Even if you damage a component during testing, replacing it won’t break your budget.
The vibrant Raspberry Pi community provides invaluable support through forums, tutorials, and open-source libraries. Libraries like RPi.GPIO and gpiozero simplify hardware control, while OpenCV enables sophisticated vision-based fabrication tasks. When challenges arise, you’ll find thousands of makers who’ve likely solved similar problems and shared their solutions online.
For most robotic fabrication projects, the Raspberry Pi 4 Model B with 4GB RAM offers the sweet spot of performance and value. However, if space is limited, the Raspberry Pi Zero 2 W provides surprising capability in an ultra-compact form factor, perfect for embedding directly into smaller robotic arms or mobile fabrication units.
Types of Robotic Assisted Devices You Can Build or Use
Desktop Robotic Arms for Precision Work
Desktop robotic arms bring industrial-grade precision to your workbench at a fraction of the cost and size. Models like the uArm Swift Pro and Dobot Magician have become popular choices among makers and educators, offering impressive capabilities in compact designs that fit comfortably on a standard desk.
What makes these arms particularly exciting for Raspberry Pi enthusiasts is their accessibility and programmability. Both platforms support Python programming and can interface directly with your Pi through USB or serial connections. This opens up a world of automation possibilities that would have required expensive industrial equipment just a few years ago.
Common applications include pick-and-place operations for organizing components, where the arm can sort resistors, LEDs, or other small parts with repeatable accuracy. Many hobbyists integrate these arms with 3D printers to automate post-processing tasks like removing supports or organizing finished prints. The drawing capability transforms these devices into precision plotters, perfect for creating custom PCB layouts or artistic designs with pen attachments.
Light assembly work represents another practical use case. You can program routines for repetitive tasks like inserting connectors into boards or positioning components for soldering. The learning curve is gentle enough for beginners, with both manufacturers providing extensive tutorials and sample code. Educational institutions particularly appreciate these arms for teaching robotics concepts, kinematics, and automation principles without overwhelming students with complexity.
When choosing between models, consider your workspace, required reach distance, and payload capacity. Most desktop arms handle 500 grams comfortably, sufficient for typical maker projects.
CNC Routers and Mills with Robotic Control
Traditional CNC (Computer Numerical Control) machines are undergoing an exciting transformation as robotics and smarter control systems breathe new life into these workhorse tools. While classic CNC routers and mills have served makers well for decades, integrating robotic assistance is pushing these machines into new territory with enhanced precision, automation, and accessibility.
Modern robotic-assisted CNC systems can now feature automated tool changers, adaptive positioning, and real-time monitoring capabilities that were once exclusive to industrial-grade equipment. The magic happens when affordable single-board computers like the Raspberry Pi step in to run sophisticated control software. Two popular options stand out: GRBL, a lightweight firmware perfect for smaller machines, and LinuxCNC, a powerful real-time control system capable of managing complex multi-axis operations.
The Raspberry Pi has democratized CNC control by providing enough processing power to handle motion planning, interpret G-code, and manage feedback loops from sensors—all while keeping costs manageable for hobbyists and educators. You can build a complete CNC controller for under $100, compared to proprietary systems that might cost thousands.
What makes this evolution particularly exciting is the addition of robotic features like automatic bed leveling, material detection through sensors, and even computer vision for work piece alignment. These smart additions reduce setup time and minimize errors, making CNC technology more approachable for beginners while offering professionals greater efficiency. Whether you’re milling circuit boards or carving furniture components, robotic-assisted CNC machines powered by Raspberry Pi offer an accessible entry point into precision fabrication.
Collaborative Robots (Cobots) in Maker Spaces
Collaborative robots, or cobots, represent a new generation of robotic systems designed to work safely alongside humans without requiring extensive safety cages or barriers. Unlike traditional industrial robots that operate in isolation, cobots feature built-in sensors and force-limiting technology that allow them to detect human presence and adjust their movements accordingly. This makes them ideal for maker spaces, educational institutions, and small workshops where space is limited and flexibility is essential.
The beauty of cobots lies in their accessibility. Many models come with intuitive programming interfaces that don’t require advanced robotics knowledge, making them perfect for educators introducing students to automation concepts. While commercial cobots can be expensive, the Raspberry Pi offers an exciting pathway to understanding and even building cobot-inspired systems. By connecting a Raspberry Pi to robotic arms equipped with proximity sensors and vision cameras, hobbyists can create collaborative assistants for tasks like 3D printing support, material handling, or precision assembly work.
The Raspberry Pi’s GPIO pins and support for ROS (Robot Operating System) enable direct control of servo motors and sensor arrays, allowing you to experiment with safety features fundamental to cobot design. This hands-on approach not only demystifies collaborative robotics but also provides practical experience in programming sensor feedback loops and motion planning algorithms.
Automated 3D Printing Farms
Managing multiple 3D printers simultaneously has traditionally required constant human oversight, but robotic assistance is transforming this challenge into an opportunity for efficient production. At the heart of many automated 3D printing farms lies the Raspberry Pi running OctoPrint, a powerful open-source platform that provides remote monitoring and control capabilities.
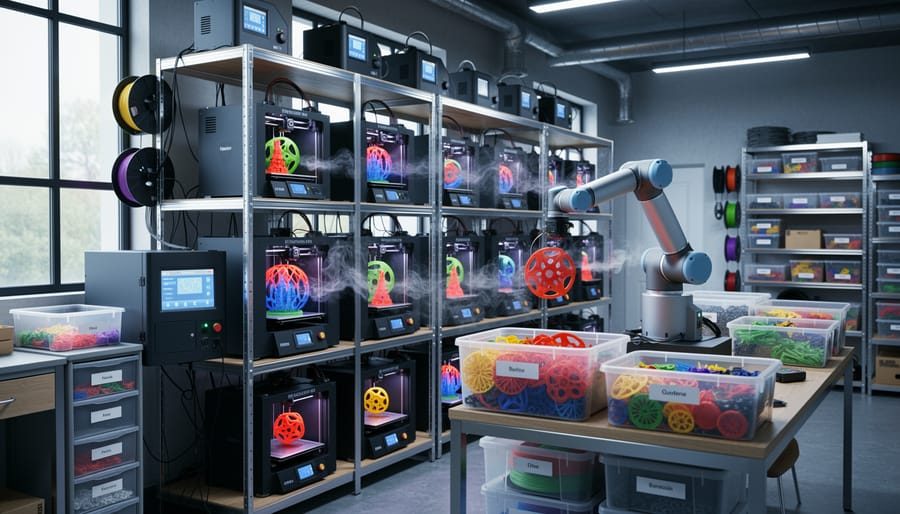
These systems integrate robotic arms or gantry systems that handle repetitive tasks like removing completed prints from build plates, allowing the next job in the queue to start automatically. Some advanced setups incorporate computer vision for real-time quality inspection, detecting failed prints or layer inconsistencies before wasting material. The Raspberry Pi’s camera module becomes the eyes of your farm, capturing images that can be analyzed using simple Python scripts.
For educators and hobbyists, starting small makes sense. Begin with a single printer controlled by OctoPrint on a Raspberry Pi 4, then expand by adding automated bed clearing mechanisms using servo motors. As your farm grows, IoT-enabled workshop automation techniques allow multiple Raspberry Pi units to communicate, coordinating print queues and resource allocation. This modular approach keeps costs manageable while teaching valuable skills in robotics, networking, and production management.
Key Software and Programming Tools for Robotic Fabrication
The software landscape for robotic assisted devices has become remarkably accessible, especially for makers working with Raspberry Pi. Understanding these tools opens up exciting possibilities for digital fabrication projects, from 3D printing to CNC milling and robotic arm control.
At the foundation of any robotic fabrication workflow is CAD (Computer-Aided Design) software. For beginners, FreeCAD stands out as a powerful open-source option that runs smoothly on Raspberry Pi. It allows you to create 3D models and generate toolpaths for fabrication. Fusion 360, while not open-source, offers a free version for hobbyists and integrates well with various fabrication tools. These programs transform your design ideas into machine-readable instructions.
CAM (Computer-Aided Manufacturing) software bridges the gap between design and physical creation. Tools like bCNC provide an intuitive interface for controlling CNC machines directly from your Raspberry Pi. For 3D printing enthusiasts, Ultimaker Cura and PrusaSlicer are excellent slicing software options that prepare your models for printing. Both are free and offer extensive customization options for different materials and quality settings.
When it comes to robotic control frameworks, ROS (Robot Operating System) deserves special attention. Despite its name, ROS is actually a flexible framework for writing robot software. The ROSberryPi project makes it possible to run ROS on Raspberry Pi, giving you access to professional-grade robotics capabilities. For simpler projects, Python libraries like GPIO Zero and RPi.GPIO provide straightforward ways to control motors, sensors, and actuators.
The Raspberry Pi ecosystem truly shines with programming environments like Thonny Python IDE, which comes pre-installed on Raspberry Pi OS. Its beginner-friendly interface makes writing control scripts manageable for newcomers. For those interested in visual programming, Node-RED offers a flow-based approach that simplifies complex automation tasks.
Additionally, AI design tools are increasingly integrated into fabrication workflows, helping optimize designs and generate creative solutions automatically. OpenSCAD provides a unique scripting-based approach to 3D modeling, perfect for parametric designs that can be easily modified through code. This makes it ideal for creating customizable parts and fixtures for robotic systems.
Hands-On Project: Building a Simple Raspberry Pi-Controlled Robotic Plotter
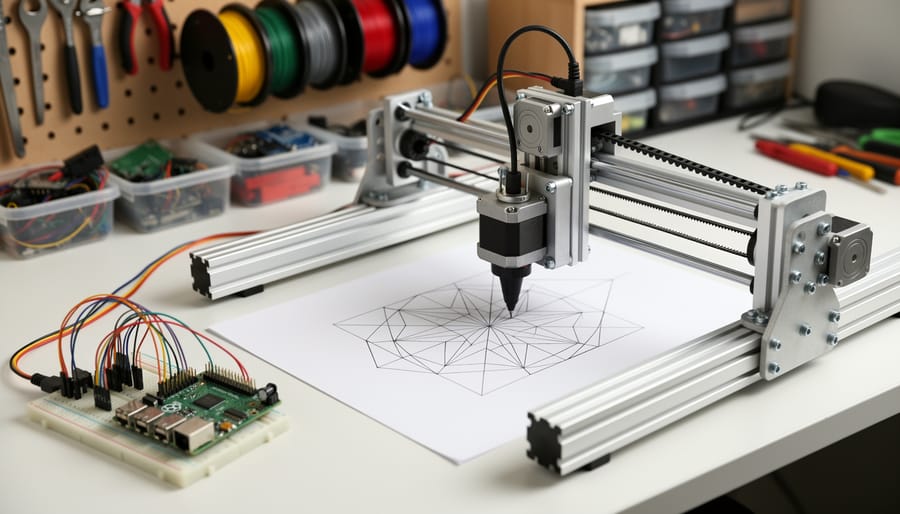
Ready to build your own robotic plotter? This project transforms your Raspberry Pi into a creative drawing machine that can reproduce digital designs on paper. Perfect for beginners, this tutorial breaks down the process into manageable steps with clear milestones along the way.
Hardware You’ll Need:
Start by gathering these components: a Raspberry Pi (Model 3B or newer), two NEMA 17 stepper motors, a stepper motor driver board (like the L298N), a servo motor for pen control, a power supply (12V/2A), jumper wires, a breadboard, and basic materials like cardboard, wooden dowels, and a pen. Budget around $80-100 for all components if starting from scratch.
Software Setup (Milestone 1):
Begin by installing Raspberry Pi OS on your microSD card using the official Raspberry Pi Imager. Once booted, update your system with sudo apt-get update and install Python libraries including RPi.GPIO and gpiozero. These libraries allow your code to communicate with the motors. Test your setup by running a simple LED blink program to confirm GPIO pins are working properly.
Building the Frame (Milestone 2):
Construct a simple H-bot or CoreXY frame using cardboard or wood. Mount the stepper motors on opposite corners, creating a system where belts or strings move a pen carriage in X and Y directions. The servo motor attaches to the carriage to raise and lower the pen. This mechanical setup might seem complex, but start simple—even a basic two-axis system works great for learning.
Programming Basics (Milestone 3):
Write Python code to control motor movements. Start with basic commands that move the pen in straight lines and squares. Here’s the concept: send step signals to motors at specific intervals to create movement. Use the gpiozero library’s Motor class for stepper control and Servo class for pen lifting. Begin with a test pattern that draws a simple grid—this validates both axes work correctly.
Creating Drawings (Milestone 4):
Convert simple SVG images into coordinates using G-code or custom Python scripts. Your program reads these coordinates and translates them into motor movements. Start with basic shapes like circles and stars before attempting complex images.
Expected Outcomes:
After completing this project, you’ll have a functional plotter capable of reproducing digital designs. You’ll understand motor control, coordinate systems, and basic robotics principles. Most importantly, you’ll gain confidence to tackle more advanced robotic assisted devices and modifications to enhance precision and speed.
Comparing Robotic Fabrication Solutions: Which Fits Your Needs?
Choosing your first robotic fabrication device can feel overwhelming, but breaking down your options by key factors makes the decision straightforward. Let’s explore what matters most when selecting a tool that matches your needs and budget.
Start by considering four primary factors: initial cost, learning curve, fabrication capabilities, and compatibility with Raspberry Pi. Budget-friendly options like small desktop plotters or CNC drawing machines typically range from $200-$500, making them perfect entry points for beginners. Mid-range solutions including 3-axis CNC mills and laser engravers fall between $500-$2000, offering expanded capabilities. Industrial-grade robotic arms start around $2000 and can exceed $10,000, providing maximum versatility but requiring significant investment.
The learning curve varies dramatically. Desktop plotters offer immediate gratification with simple setup and intuitive software, ideal for educators and first-time makers. CNC mills demand understanding of toolpaths, feeds, and speeds, while robotic arms require programming knowledge and spatial reasoning skills. Consider your current skill level honestly and factor in the time you can dedicate to learning.
Here’s a simple comparison framework:
Desktop Plotters: Low cost, easy setup, limited to 2D drawing, excellent Raspberry Pi support through GPIO control and Python libraries.
CNC Mills: Moderate cost, steeper learning curve, capable of 2D and 3D subtractive fabrication, compatible with Raspberry Pi running CNC control software like GRBL.
Robotic Arms: Higher investment, complex programming required, maximum flexibility for multiple fabrication methods, integrates with Raspberry Pi through ROS (Robot Operating System) or custom Python scripts.
For beginners, we recommend starting with a desktop plotter or simple drawing robot. These devices provide quick wins, teach fundamental concepts like coordinate systems and motion control, and integrate seamlessly with Raspberry Pi. Once you’ve mastered basic robotic control principles, upgrading to more complex systems becomes significantly easier. Remember, the best first device is one you’ll actually use and learn from, not necessarily the most capable option available.
Real-World Applications and Success Stories
Raspberry Pi-powered robotic devices are transforming ideas into reality across diverse fields. In education, teachers are using robotic arms built with Pi boards and servo motors to demonstrate concepts in physics and engineering. One high school in Oregon created a classroom set of Pi-controlled drawing robots that teach students programming while producing geometric art—making abstract code tangibly visible on paper.
Small businesses have discovered the prototyping potential of these accessible systems. A custom furniture maker in Austin built a Pi-powered router system to carve intricate patterns into wood pieces, reducing production time by 40% compared to hand-carving. The setup cost under $500 and integrates with digital twin technology to test designs virtually before cutting real materials.
Artists are embracing robotic assistance for large-scale installations. A muralist in Toronto programmed a Raspberry Pi-controlled spray paint system mounted on rails, allowing precise reproduction of digital designs on building walls. The system uses computer vision to adjust for surface irregularities in real-time.
Hobbyists are pushing creative boundaries too. One maker built a Pi-powered PCB assembly assistant that places surface-mount components with surprising accuracy, turning a tedious task into automated precision. Another enthusiast created a soil-based 3D printer using sustainable materials, combining robotics with environmental consciousness.
These examples prove you don’t need industrial budgets to harness robotic assistance. With basic electronics knowledge, patience, and a Raspberry Pi, you can automate creative processes, accelerate learning, or simply build something remarkable. The barrier to entry has never been lower, and the community support keeps growing.
Common Challenges and How to Overcome Them
Getting started with robotic assisted devices can feel overwhelming, but most challenges are easily manageable once you understand what to expect. Let’s tackle the common hurdles and get you building with confidence.
Calibration issues top the list of beginner frustrations. Your robotic arm might drift from its intended position or respond inconsistently to commands. Start by checking your servo connections and ensuring they’re securely attached to your Raspberry Pi’s GPIO pins. Use incremental testing—move one joint at a time rather than programming complex sequences immediately. Free calibration tools like the Raspberry Pi GPIO Testing utility can help identify which components need adjustment.
Software compatibility presents another frequent roadblock. Libraries that work perfectly on one operating system might fail on another. Stick with well-documented Python libraries like RPi.GPIO or gpiozero for your initial projects. These are specifically designed for Raspberry Pi and have extensive community support. Always verify library versions match your Raspberry Pi OS version before diving into complex code.
Power requirements often catch beginners off guard. Servos and motors draw significantly more current than your Raspberry Pi can safely provide through its pins. Invest in an external power supply rated for your specific motors—typically 5-6V for standard hobby servos. Never power motors directly from your Pi’s 5V rail unless you want a fried board and a costly lesson.
Safety considerations deserve serious attention. Keep loose clothing and hair away from moving parts, add emergency stop buttons to your designs, and test in contained spaces. Start with low-power components until you’re comfortable with your programming and mechanical setup.
The learning curve smooths out quickly with the right resources. Join communities like the Raspberry Pi Forums and r/raspberry_pi for troubleshooting help. YouTube channels dedicated to robotics projects offer visual walkthroughs that complement written tutorials perfectly.
Robotic assisted devices have transformed digital fabrication from an industrial exclusive into an accessible technology for makers, hobbyists, and educators worldwide. Thanks to affordable platforms like the Raspberry Pi, you can now build sophisticated robotic systems without breaking the bank or needing advanced engineering degrees. The barrier to entry has never been lower, and the possibilities have never been more exciting.
The key to success with robotic assisted devices is starting simple and building incrementally. Begin with a basic XY plotter or single-axis drawing robot to grasp fundamental concepts like stepper motor control, coordinate systems, and G-code interpretation. As your confidence grows, tackle more complex projects like multi-axis CNC machines or laser engraving systems. Each project teaches valuable skills in programming, electronics, and mechanical design that compound over time.
One of the greatest advantages you have as a beginner is the vibrant Raspberry Pi community. Online forums, tutorial websites, and social media groups are filled with experienced makers eager to help troubleshoot problems and share their knowledge. Comprehensive documentation, ready-to-use software libraries, and countless open-source project repositories mean you’re never starting from scratch. Someone has likely faced the same challenge you’re encountering and documented the solution.
The fabrication revolution is happening right now, and you have the opportunity to be part of it. Whether you dream of creating custom circuit boards, engraving personalized gifts, or prototyping inventions, robotic assisted devices put that power in your hands. Start your first project today, connect with fellow makers, and discover what you can create when technology meets imagination. Your journey into digital fabrication begins with a single step.