

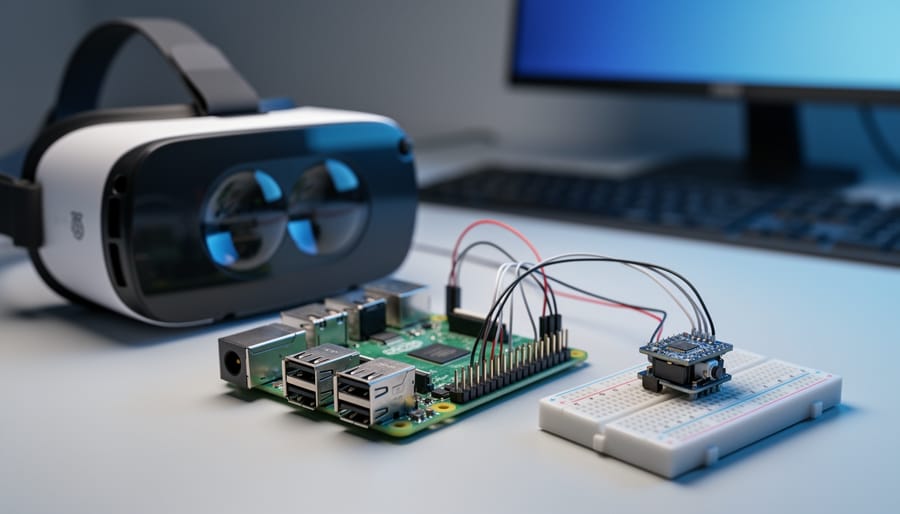
Harness C++’s raw performance to build immersive VR experiences on your Raspberry Pi by compiling directly against OpenGL ES and leveraging low-level hardware access for minimal latency. The language’s speed advantage becomes critical when processing stereoscopic rendering at 60+ FPS on resource-constrained hardware, making it the optimal choice over Python or JavaScript for demanding VR applications.
Start by installing the essential development environment: the GCC compiler suite, CMake build tools, and VR-specific libraries like OpenVR or custom head-tracking frameworks that interface directly with IMU sensors. If you’re getting started with Raspberry Pi, focus first on understanding GPIO pin manipulation and I2C communication protocols, as these form the foundation for connecting VR peripherals like motion sensors and head-mounted displays.
The projects ahead range from building a basic stereoscopic image viewer that teaches rendering fundamentals to developing a full 6DOF head-tracking system with predictive algorithms that compensate for sensor latency. You’ll master memory management techniques crucial for maintaining consistent frame rates, implement quaternion-based rotation calculations for smooth head movement, and optimize rendering pipelines using modern C++17 features.
Each tutorial provides complete source code, circuit diagrams, and performance benchmarks comparing different optimization approaches. Whether you’re prototyping educational VR tools or experimenting with affordable mixed-reality systems, these hands-on projects demonstrate why C++ remains the professional choice for serious Raspberry Pi VR development.
Why C++ is Your Best Choice for Raspberry Pi VR Development
When developing VR applications on Raspberry Pi, choosing the right programming language can make or break your project. C++ stands out as the optimal choice for several compelling reasons that directly impact the quality and performance of your VR experience.
First and foremost, C++ provides unparalleled low-level hardware access, which is crucial when working with the Raspberry Pi’s limited resources. Unlike higher-level languages, C++ lets you interact directly with GPIO pins, I2C interfaces, and SPI communication protocols without abstraction layers that consume precious processing power. This direct access means you can efficiently manage VR headset sensors, motion trackers, and display controllers with minimal overhead.
Performance optimization is where C++ truly shines. VR applications demand consistent frame rates of at least 60 FPS to prevent motion sickness and ensure user comfort. C++ compiles to native machine code, eliminating the interpreter overhead found in Python or the garbage collection pauses common in Java. This results in faster execution times and more predictable performance, essential when every millisecond counts in rendering stereoscopic images.
Memory management is another critical advantage. The Raspberry Pi 4 typically offers only 4-8GB of RAM, which must be carefully allocated between your application, graphics processing, and system overhead. C++ gives you manual control over memory allocation and deallocation, allowing you to minimize memory footprint and avoid unexpected spikes that could cause frame drops or system freezes during immersive experiences.
Real-time processing capabilities round out C++’s advantages. VR requires instantaneous response to head movements and user inputs. C++ enables deterministic execution patterns and fine-grained control over threading, letting you prioritize critical rendering and sensor processing tasks. You can create dedicated threads for head tracking, separate from graphics rendering, ensuring smooth, responsive VR interactions even on modest hardware.
These technical benefits combine to make C++ the professional choice for serious Raspberry Pi VR development.
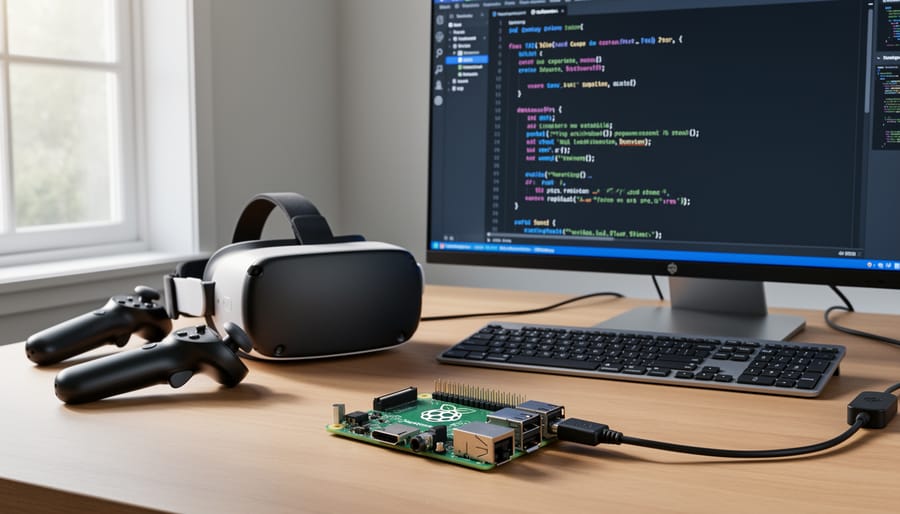
Essential Setup: Preparing Your Raspberry Pi for C++ VR Projects
Hardware Requirements and Recommended Components
For C++ VR projects on Raspberry Pi, choosing the right hardware is essential for smooth performance. The Raspberry Pi 4 (4GB or 8GB RAM) or newer Pi 5 models are strongly recommended, as they provide the processing power needed for real-time graphics rendering and sensor data processing. Earlier models like the Pi 3 may struggle with VR applications due to limited computational resources.
When building a VR headset, you’ll need a compatible display. Small OLED or LCD screens (5-7 inches) work well, with resolutions of at least 1080p per eye for acceptable visual quality. Explore affordable VR headset options that fit your budget and technical requirements.
Essential peripherals include an MPU6050 or BNO055 IMU sensor for head tracking, which provides the gyroscope and accelerometer data crucial for VR experiences. You’ll also need a quality microSD card (32GB minimum, Class 10), adequate cooling solutions like heatsinks or small fans, and a reliable 5V power supply rated for at least 3A.
Optional components that enhance projects include USB game controllers, Bluetooth modules for wireless connectivity, and additional sensors like distance sensors for hand tracking implementations.
Installing C++ Development Environment
Getting your Raspberry Pi ready for C++ development is straightforward and sets the foundation for building powerful VR applications. Let’s walk through the essential setup steps together.
First, ensure your Raspberry Pi OS is up to date. Open a terminal and run:
“`
sudo apt update && sudo apt upgrade -y
“`
Next, install the GCC/G++ compiler suite, which comes bundled with the build-essential package:
“`
sudo apt install build-essential -y
“`
Verify the installation by checking your compiler version:
“`
g++ –version
“`
For project management and building, install CMake:
“`
sudo apt install cmake -y
“`
Now let’s add essential libraries for VR development. Install OpenGL ES for graphics rendering:
“`
sudo apt install libgles2-mesa-dev -y
“`
For handling sensors and input devices common in VR projects, install the following:
“`
sudo apt install libi2c-dev libusb-1.0-0-dev -y
“`
If you plan to work on your projects remotely, consider completing a remote access setup to code from your main computer while testing on the Pi.
Finally, create a test project to confirm everything works:
“`
mkdir ~/cpp_projects && cd ~/cpp_projects
echo ‘#include
echo ‘int main() { std::cout << "Setup complete!"; return 0; }' >> test.cpp
g++ test.cpp -o test && ./test
“`
You’re now ready to start building C++ projects on your Raspberry Pi!
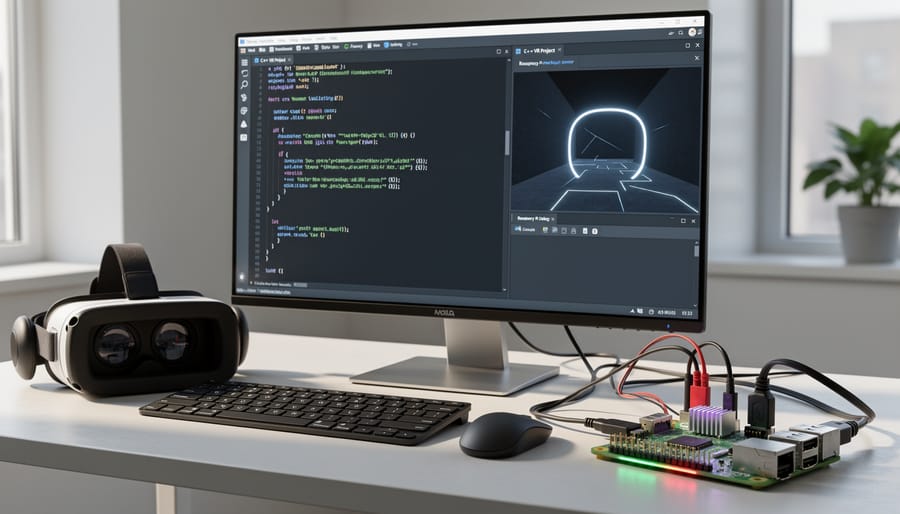
Project 1: Build a 360-Degree Video Player in C++
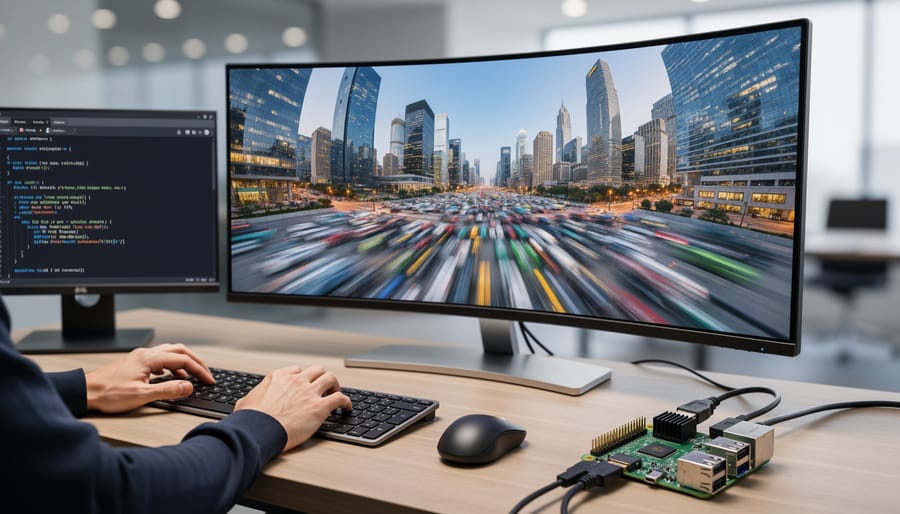
Understanding the Video Rendering Pipeline
When building VR applications on Raspberry Pi, understanding the video rendering pipeline is essential for creating smooth, immersive experiences. At the heart of 360-degree video playback lies equirectangular projection, a method that maps spherical content onto a flat rectangular image. Think of it like unfolding a globe into a flat map. Your C++ application needs to reverse this process, wrapping the flat texture back onto a virtual sphere that surrounds the viewer.
Texture mapping is where C++ truly shines on resource-constrained devices. Your code must efficiently sample the equirectangular texture based on the viewer’s head orientation, applying the correct portions of the image to the rendered scene. C++ libraries like FFmpeg handle video decoding by breaking compressed video streams into individual frames, which your application can then process.
The efficiency advantage comes from C++’s low-level memory management and direct hardware access. Unlike interpreted languages, C++ compiles to native ARM code that runs directly on the Raspberry Pi’s processor. This means faster texture uploads to the GPU, quicker frame decoding, and reduced latency between head movements and display updates. For VR where every millisecond counts, these optimizations prevent motion sickness and maintain immersion.
Implementation Steps and Code Walkthrough
Let’s dive into building your first C++ VR project on Raspberry Pi! We’ll start with essential setup code and work through sensor integration and graphics rendering.
First, initialize your project with proper library includes. You’ll need the OpenGL ES libraries for graphics rendering and wiringPi for GPIO sensor access. Create your main.cpp file and include the necessary headers:
“`cpp
#include
#include
#include
#include
“`
Next, set up your EGL context for OpenGL rendering. This establishes the graphics pipeline that will output to your VR display. The initialization function should create a display surface and bind the OpenGL context:
“`cpp
EGLDisplay display = eglGetDisplay(EGL_DEFAULT_DISPLAY);
eglInitialize(display, nullptr, nullptr);
EGLConfig config;
eglChooseConfig(display, attribs, &config, 1, &numConfigs);
“`
For sensor input handling, configure your IMU or gyroscope through the I2C interface. This example reads orientation data from a common MPU6050 sensor:
“`cpp
int fd = wiringPiI2CSetup(0x68);
int16_t accelX = wiringPiI2CReadReg16(fd, 0x3B);
int16_t gyroZ = wiringPiI2CReadReg16(fd, 0x47);
“`
The key to smooth VR performance is maintaining a consistent frame loop. Implement a main rendering loop that reads sensor data, updates the camera matrix, and renders your scene at 60 FPS minimum:
“`cpp
while(running) {
updateSensorData();
glClear(GL_COLOR_BUFFER_BIT | GL_DEPTH_BUFFER_BIT);
renderScene();
eglSwapBuffers(display, surface);
}
“`
Remember to compile with the proper flags: g++ -o vr_app main.cpp -lGLESv2 -lEGL -lwiringPi. This links all necessary libraries for graphics and GPIO operations. Start simple, test each component individually, and gradually integrate features as your confidence grows. The Raspberry Pi’s GPIO pins make sensor integration straightforward, while OpenGL ES provides efficient graphics rendering even on limited hardware.
Project 2: Create a Simple VR Game with C++ and OpenGL
Setting Up the 3D Environment
Building your 3D VR environment on the Raspberry Pi starts with establishing a solid foundation using C++ classes. Begin by creating a Scene class that manages your game world’s coordinate system and holds all 3D objects. This class acts as the container for everything visible in your virtual space.
For rendering basic 3D objects, leverage OpenGL ES, which is optimized for the Raspberry Pi’s hardware. Start with simple geometric primitives like cubes and spheres. Create a Mesh class that stores vertex data, normals, and texture coordinates. Each mesh should have methods for initialization, rendering, and cleanup to prevent memory leaks on the Pi’s limited resources.
The camera system is crucial for VR immersion. Implement a Camera class that handles position, rotation, and field-of-view calculations. For stereoscopic VR rendering, you’ll need two camera instances with slight positional offsets to simulate human eye separation. Calculate the view matrix for each eye using transformation matrices, ensuring smooth head tracking by reading data from your IMU sensors at consistent intervals.
To keep performance smooth, implement frustum culling in your Scene class. This technique prevents rendering objects outside the camera’s view, saving precious GPU cycles. Use simple bounding box collision detection initially before adding complex physics.
Start with a frame rate counter to monitor performance. The Raspberry Pi 4 can handle basic VR scenes at 60 FPS with proper optimization. Test incrementally, adding one feature at a time while monitoring resource usage through system tools.
Adding Interactivity and Head Tracking
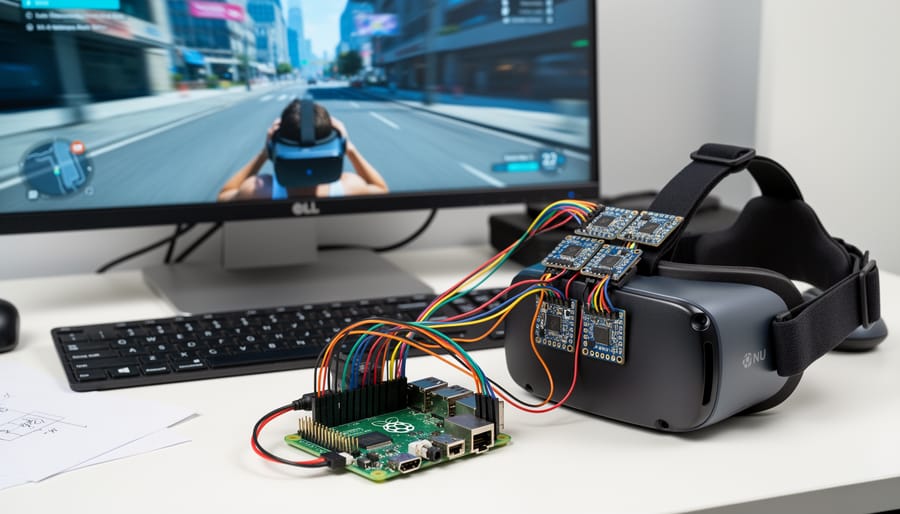
To bring your VR headset to life, you’ll need to integrate motion tracking capabilities using an Inertial Measurement Unit (IMU) sensor like the MPU-6050. This affordable component combines an accelerometer and gyroscope, allowing your headset to detect orientation and movement in three-dimensional space.
Start by connecting your IMU to the Raspberry Pi’s I2C interface. You’ll need to enable I2C through raspi-config and install the necessary libraries. For C++ development, the i2c-tools package and wiringPi library provide straightforward hardware access. Create a class to encapsulate sensor communication, making your code modular and reusable.
Processing motion data requires reading raw values from the sensor and converting them into meaningful orientation angles. The MPU-6050 outputs acceleration and rotation data across three axes. In your C++ code, implement a complementary filter to combine accelerometer and gyroscope readings. This filter smooths out sensor noise while maintaining responsiveness. A typical implementation weighs the gyroscope data at around 98% and accelerometer data at 2%, though you can adjust these values based on your specific needs.
Here’s where the real fun begins: translating head movements into camera rotations within your virtual environment. Map the pitch, yaw, and roll values from your IMU to your 3D scene’s camera matrix. Small head movements should produce proportional changes in viewpoint, creating an immersive experience.
For collision detection, implement bounding box or sphere collision algorithms in C++. These determine when virtual objects intersect, essential for creating interactive games or simulations. Start with axis-aligned bounding boxes (AABB) for simplicity. Check if coordinates overlap between objects on each frame update.
Game logic ties everything together. Create an update loop that reads sensor data, processes input, checks collisions, and updates the display. Keep this loop running at a consistent frame rate for smooth performance. Use multithreading to handle sensor polling separately from rendering, preventing lag that could break the immersive experience.
Remember to calibrate your IMU on startup by averaging initial readings to establish a neutral position. This ensures accurate tracking throughout your session.
Project 3: Develop a VR Data Visualization Dashboard
Processing and Structuring Data in C++
Processing sensor data and preparing it for 3D visualization requires efficient C++ techniques on the Raspberry Pi’s limited resources. Start by reading data from sources like CSV files, GPIO sensors, or network streams using standard file I/O operations or libraries like WiringPi for hardware interfaces.
The C++ Standard Template Library (STL) provides powerful containers perfect for organizing your datasets. Use vectors for dynamic arrays of point cloud data, maps for key-value sensor readings, and queues for real-time data buffering. For example, store IMU orientation data in a vector of structs containing timestamp, x, y, and z values. This approach keeps your code clean and maintainable while offering excellent performance.
When preparing datasets for 3D rendering, structure your data to minimize memory allocation during the render loop. Pre-allocate containers using reserve() to avoid costly resizing operations. Convert raw sensor readings into normalized coordinates that your graphics engine expects, typically floating-point values between -1 and 1 or vertex positions in world space.
Consider using std::array for fixed-size data like transformation matrices, as it provides stack allocation benefits. For large point clouds, implement data decimation algorithms that reduce vertex counts while preserving essential features, ensuring smooth frame rates on the Raspberry Pi’s GPU.
Rendering Interactive 3D Graphs and Charts
Bringing data to life in VR requires efficient rendering techniques that won’t overwhelm your Raspberry Pi’s limited resources. Start by using OpenGL ES for hardware-accelerated graphics, which provides the performance needed for smooth frame rates. Libraries like SFML or SDL2 paired with GLM for mathematics make managing 3D transformations straightforward in C++.
For basic 3D graphs, implement vertex buffer objects (VBOs) to store your chart geometry on the GPU. This reduces CPU-to-GPU data transfers, crucial for maintaining the 60+ FPS needed for comfortable VR. Begin with simple bar charts or scatter plots using primitive shapes like cubes and spheres before advancing to complex surface plots.
User interaction transforms static visualizations into powerful tools. Implement ray-casting from VR controller positions to detect when users point at data points. When intersection occurs, display tooltips with detailed information using texture-mapped quads that always face the user (billboard technique). Add grab-and-rotate functionality by tracking controller movements and applying corresponding transformations to your graph’s model matrix.
Performance optimization is essential. Use frustum culling to avoid rendering objects outside the user’s view. Implement level-of-detail systems where distant chart elements use simplified geometry. Profile your code regularly using tools like gprof to identify bottlenecks. Consider using instanced rendering for repeated elements like grid lines or multiple identical data points, which dramatically reduces draw calls.
Remember to test frequently on actual hardware, as desktop performance doesn’t predict Raspberry Pi behavior. Start simple, measure performance, then gradually add features while maintaining smooth frame rates.
Performance Optimization Tips for C++ VR on Raspberry Pi
Optimizing VR applications on Raspberry Pi requires strategic thinking about resource management. The limited processing power and memory make every optimization count, especially when targeting smooth frame rates and low latency for comfortable VR experiences.
Start by minimizing draw calls in your rendering pipeline. Batch similar objects together and use instancing for repeated geometry. Consider implementing a simple frustum culling system to avoid rendering objects outside the user’s field of view. Even basic culling can dramatically reduce GPU workload on the Raspberry Pi’s VideoCore architecture.
Memory management deserves special attention. Pre-allocate buffers during initialization rather than dynamically allocating during runtime, which causes frame drops. Use object pooling for frequently created and destroyed elements like particle effects or UI elements. Keep textures compressed and consider using texture atlases to reduce memory footprint and improve cache coherency.
Leverage the Raspberry Pi’s GPU through proper use of graphics APIs. OpenGL ES 2.0 is well-supported and provides hardware acceleration for rendering tasks. Write efficient shaders that minimize texture lookups and conditional branching. When possible, move calculations from pixel shaders to vertex shaders to reduce per-pixel processing overhead.
Profile your code regularly using tools like gprof or Valgrind’s Callgrind. Identify bottlenecks in your main loop and optimize hot paths first. Simple techniques like loop unrolling, using inline functions for frequently called methods, and choosing appropriate data structures can yield significant performance gains.
Consider implementing asynchronous timewarp as a last-stage optimization. This technique re-projects the last rendered frame based on updated head tracking data, helping maintain smooth motion even when frame rates dip slightly.
Temperature management matters too. The Raspberry Pi can throttle performance when overheating, so ensure adequate cooling through heatsinks or active cooling fans. Monitor CPU temperature and adjust workloads accordingly.
Finally, target 60 FPS as your baseline goal, but design gracefully degrading systems that maintain usability even at lower frame rates. Prioritize rendering critical elements first and use simplified models or reduced effects when performance demands it.
Troubleshooting Common C++ VR Development Issues
Building VR projects on Raspberry Pi can present unique challenges, but most issues have straightforward solutions once you understand the underlying causes.
Compilation errors often stem from missing dependencies or incorrect library versions. If you encounter “undefined reference” errors when compiling your VR code, ensure you’ve installed all required development packages for OpenGL ES and sensor libraries. Run sudo apt-get update followed by installing libglm-dev, libeigen3-dev, and relevant sensor packages. For linking errors, verify your CMakeLists.txt or Makefile includes the correct library paths and flags, particularly -lGLESv2 and -lEGL for graphics rendering.
Graphics glitches like screen tearing or flickering typically indicate timing synchronization problems. Enable VSync in your rendering loop and ensure your frame buffer swaps align with the display refresh rate. If textures appear distorted, check that your viewport dimensions match the actual display resolution and that texture coordinates are properly normalized between 0 and 1.
Sensor calibration issues frequently affect head tracking accuracy. The MPU6050 accelerometer-gyroscope combo requires initial calibration to eliminate drift. Place your device on a flat, stable surface during startup and implement a complementary filter to merge accelerometer and gyroscope data effectively. If tracking feels sluggish, verify your I2C bus speed is set to at least 400kHz in /boot/config.txt by adding dtparam=i2c_arm_baudrate=400000.
Performance bottlenecks are common given the Pi’s limited resources. Profile your code using gprof or perf to identify hotspots. Move complex calculations like matrix transformations to initialization rather than per-frame execution. Reduce polygon counts in 3D models and use texture atlases to minimize draw calls. Consider overclocking your Raspberry Pi cautiously with adequate cooling to gain additional headroom for smooth VR experiences.
C++ has proven itself as an excellent choice for Raspberry Pi VR development, offering the performance and control necessary to create immersive experiences on affordable hardware. Throughout this guide, you’ve seen how C++ enables everything from basic head tracking to sophisticated 360-degree video players and real-time motion controls. The beauty of these projects lies in their accessibility—you don’t need expensive equipment to explore VR technology.
Start with the beginner head tracking project to familiarize yourself with the fundamentals of sensor integration and display management. As your confidence grows, challenge yourself with the intermediate and advanced projects, each building upon the skills you’ve developed. The optimization techniques covered here will serve you well across other Raspberry Pi projects too.
The future of VR is increasingly democratic, with platforms like Raspberry Pi putting cutting-edge technology within reach of hobbyists, educators, and makers worldwide. Your journey with C++ and Raspberry Pi VR development is just beginning—embrace the learning process, experiment freely, and don’t hesitate to customize these projects to match your creative vision. The combination of C++’s efficiency and Raspberry Pi’s versatility opens endless possibilities for innovation.