

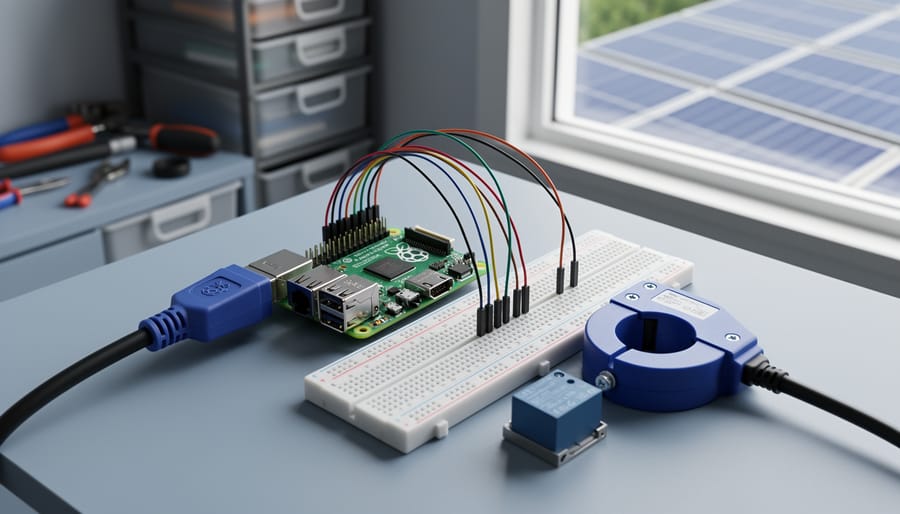
Transform your Raspberry Pi into a sophisticated energy management system that monitors real-time power consumption, automates solar panel optimization, and reduces electricity bills by up to 30%. Advanced projects in this domain require understanding GPIO programming for sensor integration, implementing MQTT protocols for device communication, and configuring databases to log energy data over extended periods.
Start by selecting projects that match your technical skill level while pushing your capabilities forward. A home energy monitoring dashboard demands knowledge of current transformers, ADC conversion, and web framework development. Solar charge controllers need PWM implementation and battery management algorithms. Smart thermostats require temperature sensor calibration, relay control logic, and machine learning for predictive heating schedules.
Master the essential prerequisites before diving in: Python proficiency beyond basic scripting, familiarity with Linux command-line operations, experience soldering components to HAT boards, and understanding electrical safety when working with mains voltage. These projects involve live circuitry where mistakes carry real consequences, so prototype with low-voltage systems first.
The four projects outlined here progress from intermediate monitoring systems to advanced automated controllers. Each tutorial provides complete parts lists, wiring diagrams, and fully commented code repositories. You’ll gain practical experience with industry-standard protocols like Modbus and implement real-world solutions that deliver measurable returns on investment. Whether you’re aiming for energy independence, lower utility costs, or simply want to tackle complex builds that showcase the Raspberry Pi’s true potential, these projects deliver both technical growth and tangible household benefits.
Why Energy Management Matters for Raspberry Pi Projects
Energy management might not sound like the most exciting aspect of your Raspberry Pi project, but it’s one of those behind-the-scenes factors that can make or break your build. Whether you’re creating a portable weather station, a solar-powered security camera, or a battery-operated robot, understanding and optimizing power consumption directly impacts your project’s success.
Let’s start with the basics. A standard Raspberry Pi 4 typically consumes between 2.7 to 3.4 watts at idle and can spike up to 7.6 watts under heavy load. Earlier models like the Pi 3 draw slightly less, around 1.5 to 2.5 watts during normal operation. These numbers might seem small, but they add up quickly when you’re running projects 24/7 or relying on battery power.
The financial implications are straightforward. A Pi 4 running continuously at 5 watts costs roughly $5 to $8 annually in electricity, depending on your local rates. While modest for a single device, implementing energy-efficient practices becomes increasingly valuable if you’re running multiple units or teaching in educational settings where several Pis operate simultaneously.
For portable and off-grid projects, energy management becomes even more critical. A 10,000mAh power bank that could theoretically run a Pi 4 for 7-8 hours might only last 3-4 hours under real-world conditions without optimization. By implementing smart power management techniques, you can potentially double that runtime, transforming a marginally functional portable project into a genuinely practical solution.
Heat management is another often-overlooked benefit. Lower power consumption means less heat generation, which reduces thermal throttling and extends the lifespan of your components. This is particularly important for enclosed projects where ventilation is limited.
Finally, there’s the sustainability angle. As makers and creators, adopting energy-efficient practices aligns with broader environmental goals. Small optimizations across thousands of projects worldwide collectively make a meaningful difference, demonstrating that advanced technical skills and environmental responsibility go hand in hand.
Essential Tools and Components for Energy Monitoring
Hardware Components You’ll Need
To build effective energy monitoring systems, you’ll need a few specialized components beyond your Raspberry Pi. The INA219 current sensor is a popular choice for precise voltage and current measurements, typically available for under $10. It communicates via I2C and can monitor both the voltage and current flowing through your devices, making it perfect for real-time power consumption tracking.
For whole-home monitoring, smart plugs with energy monitoring capabilities like the TP-Link Kasa HS110 or Sonoff S31 offer an easier alternative. These Wi-Fi enabled devices report power usage data that your Pi can collect and analyze through their APIs.
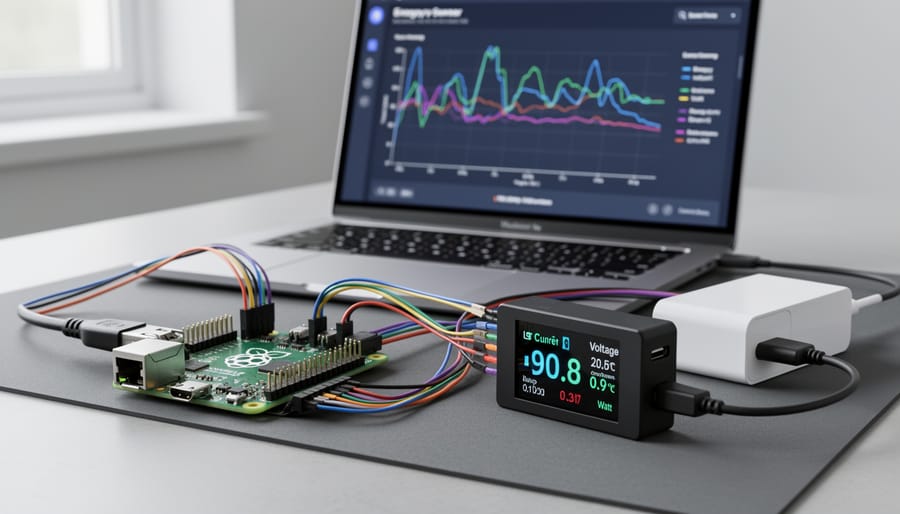
USB power meters are invaluable for monitoring individual USB-powered devices. Models like the USB-C power meter or inline USB monitors provide instant feedback on voltage, current, and total power consumption.
Power management HATs like the PiJuice or Witty Pi add another dimension to your projects. These boards sit atop your Raspberry Pi and provide features like battery backup, scheduled shutdowns, and safe power management. They’re particularly useful for solar-powered installations or systems requiring reliable uptime during power fluctuations.
Choose components based on your specific project requirements and budget, starting with basic sensors before investing in more advanced hardware.
Software and Monitoring Platforms
Transforming your Raspberry Pi into a powerful energy management hub requires the right software stack. Grafana stands out as the go-to visualization platform, offering beautiful, customizable dashboards that display real-time energy consumption, solar production, and battery status. Paired with InfluxDB, a time-series database perfect for storing sensor data, you can track historical trends and identify usage patterns over weeks or months.
Node-RED provides a visual programming environment that simplifies data flow between devices and services. You can create automation rules without writing complex code, making it ideal for triggering alerts when energy consumption exceeds thresholds or automating load management based on battery levels.
For Python enthusiasts, libraries like Pandas and Matplotlib enable custom data analysis and visualization scripts. Combined with system monitoring tools, you can monitor both your Raspberry Pi’s performance and connected energy hardware simultaneously.
Many projects benefit from MQTT for lightweight messaging between sensors and your monitoring platform. Home Assistant offers another comprehensive option, integrating energy monitoring with broader home automation capabilities while maintaining local control of your data.
Project 1: Real-Time Power Consumption Monitor
Hardware Setup and Wiring
Before connecting any sensors to your Raspberry Pi, power down the device completely and disconnect it from the power source. This crucial safety step prevents accidental short circuits that could damage your Pi or the sensors.
For current sensor connections, you’ll typically work with CT (Current Transformer) sensors paired with an ADC (Analog-to-Digital Converter) like the ADS1115, since the Raspberry Pi doesn’t have built-in analog inputs. Start by connecting the ADS1115 to your Pi’s GPIO pins: VDD to 3.3V (Pin 1), GND to Ground (Pin 6), SCL to GPIO 3 (Pin 5), and SDA to GPIO 2 (Pin 3).
Next, connect your CT sensor’s output to the ADS1115 analog input channels. Most CT sensors output a small AC voltage proportional to the current being measured. You’ll need a burden resistor (typically 100-200 ohms) across the sensor’s output terminals to convert the current signal to voltage. Connect one wire to the analog input (A0, for example) and the other to the ADS1115 ground.
Critical safety considerations: Never open a CT sensor while it’s clamped around a live wire, as this can generate dangerous voltage spikes. Always ensure the burden resistor is properly connected before energizing the circuit. Use proper wire gauge for high-current applications and maintain adequate insulation. If working with mains voltage, consider using pre-built sensor modules with built-in isolation for added safety, and consult a qualified electrician if you’re uncertain about any aspect of the installation.
Software Configuration and Data Visualization
Begin by installing the essential Python libraries for your energy monitoring system. Open a terminal on your Raspberry Pi and run `sudo apt-get update` followed by `sudo apt-get install python3-pip`. Next, install the data processing libraries with `pip3 install pandas numpy matplotlib`. For real-time visualization, add Flask using `pip3 install flask`. If you’re working with specific energy sensors, install their corresponding libraries—for example, `pip3 install Adafruit-ADS1x15` for analog-to-digital converters.
Create a monitoring script that continuously reads sensor data and logs it to a CSV file. Your script should include error handling to prevent data loss during sensor disconnections. Use Python’s time.sleep() function to set appropriate intervals between readings—typically 5 to 60 seconds depending on your needs.
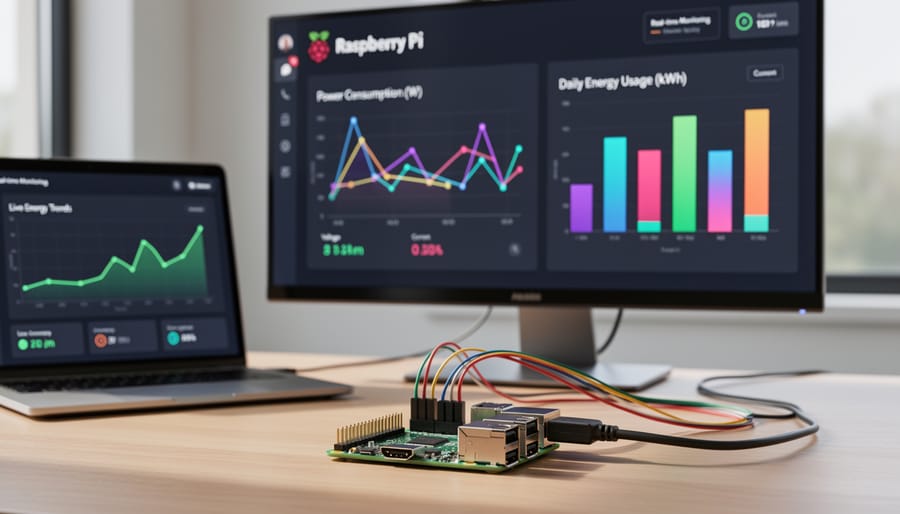
For visualization, leverage Matplotlib to generate graphs showing consumption trends over time. Create a simple Flask web application that serves these visualizations through your browser, enabling remote monitoring capabilities from any device on your network. Structure your dashboard to display current power usage, daily consumption totals, and historical comparisons.
Consider using Grafana with InfluxDB for more advanced dashboards with interactive features. This combination provides professional-grade visualization with minimal coding. Install both using their official repositories and configure data sources to pull from your monitoring scripts. The result is a polished, real-time dashboard that makes energy data instantly understandable and actionable.
Project 2: Automated Power Management System
Dynamic CPU Frequency Scaling
Dynamic CPU frequency scaling is one of the most effective power-saving configurations you can implement on your Raspberry Pi. By automatically adjusting CPU governor settings and clock speeds based on system load, you can dramatically reduce energy consumption during idle periods without sacrificing performance when you need it.
The Raspberry Pi uses CPU governors to control frequency scaling. The default “ondemand” governor works well, but you can optimize it further with a custom script. Start by checking your current governor with the command: cat /sys/devices/system/cpu/cpu0/cpufreq/scaling_governor.
To create an intelligent scaling script, install cpufrequtils using sudo apt-get install cpufrequtils. Then create a monitoring script that checks CPU usage every few seconds using the top or mpstat commands. When CPU usage drops below 20 percent for sustained periods, your script can switch to the “powersave” governor, reducing clock speeds to minimum levels. When activity spikes above 50 percent, switch to “performance” or “ondemand” for responsive operation.
For automated implementation, save your script in /usr/local/bin/ and create a systemd service to run it at boot. Add temperature monitoring to prevent thermal throttling issues. This approach can reduce idle power consumption by 30-40 percent while maintaining full performance during active tasks, making it perfect for solar-powered projects or always-on applications where every watt matters.
Smart Peripheral Control
Automating peripheral power management can significantly reduce your system’s energy footprint while extending the lifespan of connected devices. By leveraging relay modules and scheduling scripts, you can create intelligent power cycling routines that turn USB devices, monitors, and other peripherals on or off based on usage patterns or specific triggers.
Start by connecting a relay module to your Raspberry Pi’s GPIO pins. Common options include 2-channel or 4-channel relay boards that support 5V logic levels. Wire your peripherals through the relay’s normally open (NO) contacts, ensuring you understand basic electrical safety when working with mains voltage devices. For safer experimentation, begin with low-voltage USB-powered devices.
Control your relays using Python’s GPIO library. A simple script can toggle power states by setting GPIO pins high or low. For scheduling, combine this with cron jobs or Python’s schedule library to create time-based automation. For example, automatically power down external hard drives during nighttime hours or cycle monitors off during predictable away periods.
Add sophistication by integrating motion sensors or occupancy detection. When no activity is detected for 15 minutes, your script can gracefully shut down non-essential peripherals, then restore power when motion resumes. This responsive approach maximizes energy savings without sacrificing convenience.
Consider implementing smart restart sequences for temperamental devices that occasionally freeze. A scheduled power cycle every 24 hours can maintain reliability for IP cameras or wireless adapters without manual intervention, making your energy management system both efficient and self-maintaining.
Project 3: Solar-Powered Raspberry Pi with Battery Management
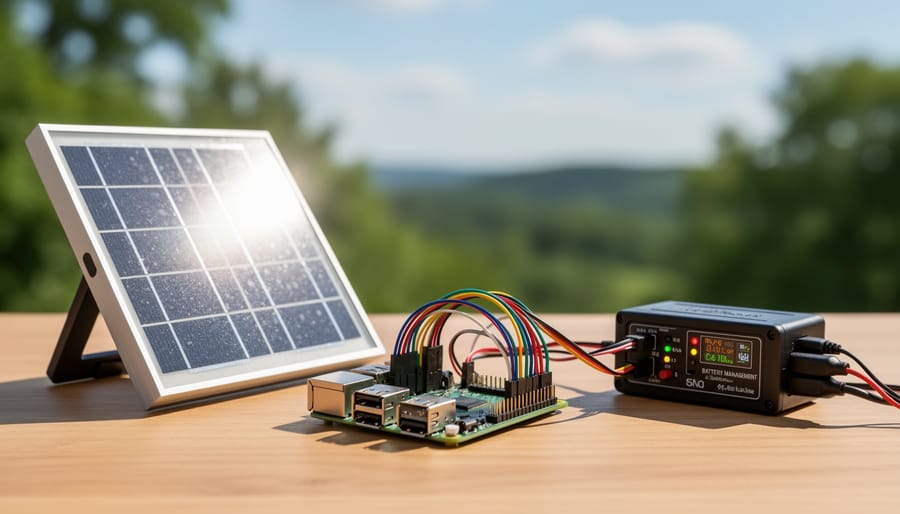
Solar Panel and Battery Selection
Selecting the right components for your solar-powered Raspberry Pi setup depends on calculating your power consumption and considering your local climate. Start by measuring your Pi’s power draw using a USB power meter, then multiply by daily runtime hours to determine watt-hours needed. Add 20-30% buffer for inefficiency and cloudy days.
For solar panels, choose monocrystalline panels rated at least twice your daily consumption to ensure adequate charging even in suboptimal conditions. A 20-50W panel typically works well for most Pi projects running continuously. In northern latitudes or rainy regions, consider oversizing by 50% or more.
Battery capacity should provide 2-3 days of autonomy without sunlight. LiFePO4 batteries offer the best longevity and safety for Pi projects, though sealed lead-acid batteries work as budget alternatives. A 12V 20Ah battery can power a standard Pi 4 for approximately 48 hours.
Your charge controller is critical for preventing overcharging and deep discharge. MPPT controllers provide 20-30% better efficiency than PWM types, making them worthwhile for larger installations. Look for controllers with low-voltage disconnect protection and USB output options designed specifically for 5V devices to simplify your wiring.
Building the Power Management Circuit
Building a reliable power management circuit is essential for creating an autonomous energy system. Start by selecting a quality charge controller rated for your battery voltage and solar panel output—a PWM or MPPT controller works well for most Raspberry Pi applications. For a 12V system with a 20W panel, a 10A charge controller provides adequate headroom.
Wire your solar panel to the charge controller’s input terminals, ensuring correct polarity. Connect your battery to the charge controller’s battery terminals using appropriately gauged wire—14 AWG works well for most setups. Never reverse these connections, as doing so can damage components.
Next, integrate a step-down buck converter to reduce your battery voltage to 5V for the Raspberry Pi. Choose a converter capable of delivering at least 3A continuously to handle power spikes. Connect the converter’s input to the charge controller’s load terminals, then wire its output to your Pi via a USB cable or GPIO pins.
Safety measures are critical. Install inline fuses between the battery and charge controller (rated 20-25% above expected current), use heat-resistant wire insulation, and house all connections in a weatherproof enclosure if deploying outdoors. Include a voltmeter to monitor battery levels and prevent over-discharge, which can permanently damage your battery.
Software-Based Battery Optimization
Efficient power management begins with intelligent monitoring scripts that track your Pi’s battery status in real-time. Using Python, you can create a daemon process that reads voltage levels from your power management board and logs consumption patterns. This script should check battery percentage at regular intervals and trigger different system states accordingly.
When battery levels drop below 50%, implement automatic performance throttling by reducing CPU frequency and dimming connected displays. The vcgencmd command lets you adjust clock speeds dynamically, while cron jobs can pause non-essential services like environmental monitoring projects during low-power situations. Configure your script to send notifications through GPIO-connected LEDs or email alerts when thresholds are crossed.
The most critical element is a graceful shutdown protocol. At 10% battery capacity, your script should save all active work, close open files properly, and initiate a controlled shutdown sequence rather than risk data corruption from sudden power loss. Store these scripts in /usr/local/bin/ and configure them to run at startup using systemd services. Include a battery reserve buffer of at least 5% to ensure the Pi completes its shutdown procedure safely, even under load.
Project 4: Home Energy Monitoring Hub
Integrating Smart Plugs and Energy Meters
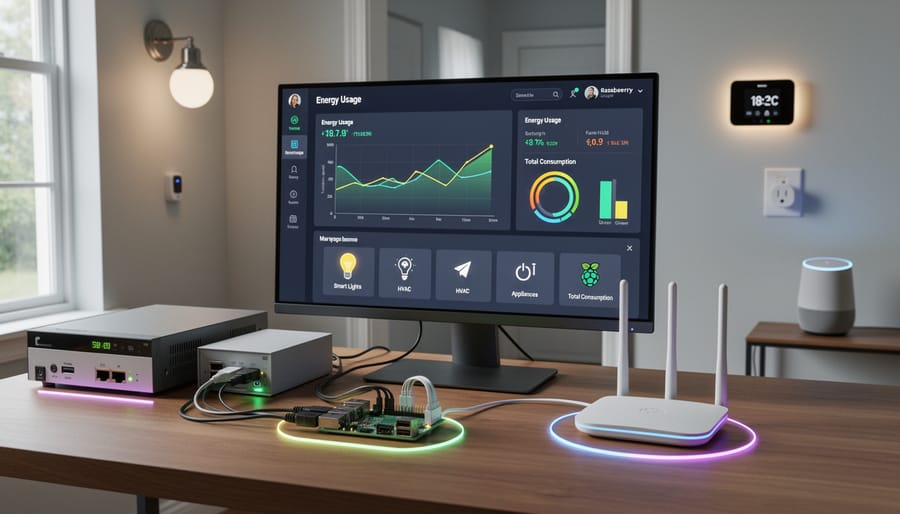
Integrating smart plugs and energy meters into your Raspberry Pi creates a comprehensive monitoring system that tracks power consumption across your entire home. Start by selecting compatible devices that support common protocols like Zigbee, Z-Wave, or Wi-Fi. Popular options include TP-Link Kasa smart plugs, Shelly energy meters, and Sonoff devices with ESP chips.
Begin by connecting your devices to the Raspberry Pi using appropriate hardware adapters. For Zigbee devices, you’ll need a USB coordinator like the ConBee II or Sonoff Zigbee Bridge. Install Home Assistant or Node-RED on your Pi to serve as the integration platform. These tools excel at aggregating data from multiple sources into unified centralized control systems.
Configure each device through the platform’s interface, assigning meaningful names to track specific appliances or circuits. Use MQTT protocol for lightweight, efficient data transmission between devices and your Pi. Create a database using InfluxDB to store historical energy data, then visualize it with Grafana dashboards showing real-time consumption, daily trends, and cost projections.
Set up automation rules to alert you when consumption exceeds thresholds or to log high-usage periods. This unified approach transforms scattered data points into actionable insights, helping you identify energy-hungry appliances and optimize usage patterns effectively.
Creating Automated Energy-Saving Rules
Automating energy savings with your Raspberry Pi transforms it from a monitoring device into an intelligent control system. The key is creating conditional rules that respond to real-world variables without requiring manual intervention.
Start by establishing triggers based on occupancy sensors. Using PIR motion detectors connected to your Pi’s GPIO pins, you can automatically power down devices in unoccupied rooms. For example, when no motion is detected for 15 minutes, your automation script can send commands to smart plugs or relays to cut power to non-essential electronics.
Time-based rules offer another powerful approach. Program your Pi to leverage time-of-use electricity rates by scheduling energy-intensive tasks during off-peak hours. Your system might delay running pool pumps, charging batteries, or running HVAC systems until rates drop, potentially saving 30-50% on those operations.
For more sophisticated automation, integrate real-time energy pricing APIs. Your Raspberry Pi can query wholesale electricity markets and adjust consumption dynamically. When prices spike above a threshold, the system can temporarily disable high-draw appliances or switch to battery backup if available.
Implement these rules using Python scripts with libraries like GPIO Zero for hardware control and APScheduler for time-based triggers. Start simple with single-condition rules, then gradually combine multiple factors to create intelligent, context-aware energy management that adapts to your household’s unique patterns and priorities.
Optimization Tips and Best Practices
Maximizing the efficiency of your Raspberry Pi projects doesn’t just reduce your electricity bill—it extends battery life for portable applications and minimizes heat generation, leading to more reliable operation. Let’s explore practical ways to squeeze every bit of performance from every watt.
Start with your operating system. Raspberry Pi OS Lite is your best friend for headless projects since it eliminates the graphical desktop environment that constantly consumes resources. After installation, disable unnecessary services using systemctl. Common culprits include bluetooth (sudo systemctl disable bluetooth), triggerhappy, and avahi-daemon if you’re not using network discovery features. These small changes can reduce idle power consumption by 10-15%.
Hardware optimization makes a significant difference. Disable onboard LEDs by adding dtparam=act_led_trigger=none and dtparam=pwr_led_trigger=none to your /boot/config.txt file. If you’re not using HDMI output, disable it with /usr/bin/tvservice -o in your startup script—this alone can save 20-30mA. For USB-powered sensors or peripherals you don’t need continuously running, implement smart power switching using GPIO-controlled relays or transistors.
The CPU governor plays a crucial role in energy management. Switch from the default ondemand governor to powersave for projects with minimal processing needs using sudo cpufreq-set -g powersave. You can also undervolt your Pi safely by adding over_voltage=-2 to config.txt, though test stability thoroughly first.
Monitor your power consumption using tools like powertop or a USB power meter. This gives you baseline measurements and helps identify which optimizations deliver real results. For solar-powered or battery-operated projects, implement intelligent sleep modes where your Pi wakes only when sensors detect activity or at scheduled intervals.
Finally, choose the right Raspberry Pi model for your project. The Pi Zero W consumes roughly one-third the power of a Pi 4, making it ideal for simple monitoring tasks. Match your hardware capabilities to your actual requirements rather than defaulting to the most powerful option.
Implementing energy management in your Raspberry Pi projects delivers benefits that extend far beyond simple power savings. You’ll reduce operational costs, increase system reliability, and contribute to environmental sustainability—all while gaining valuable skills in efficiency optimization and system design. These techniques transform your Pi from a capable computer into an intelligent, resource-conscious platform that can operate independently for extended periods.
The beauty of energy management lies in its scalability. Start with simple monitoring projects to understand your power consumption patterns, then gradually progress to automated control systems and solar-powered configurations. Each step builds on previous knowledge, making complex implementations feel manageable and rewarding. Even basic optimizations like disabling unused hardware or implementing sleep modes can dramatically extend battery life in portable projects.
Whether you’re building a remote weather station, creating an off-grid security camera, or developing a smart home hub, these energy management principles remain universally applicable. The practical experience you gain troubleshooting power issues and optimizing performance transfers directly to professional IoT and embedded systems work. Challenge yourself to start small, measure your results, and iteratively improve your designs. Your next project could run for months on a single battery charge—now that’s the power of proper energy management.