

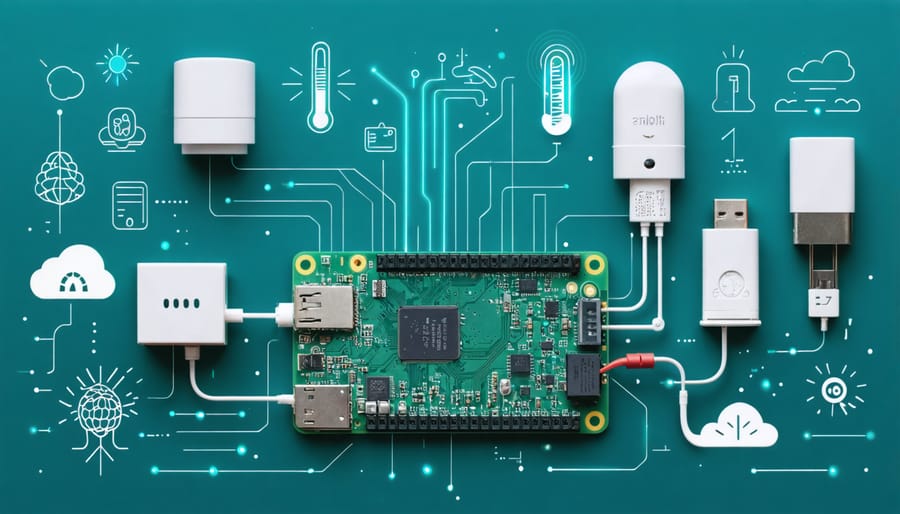
Transform your Raspberry Pi into a versatile sensing powerhouse by connecting the right combination of sensors through proven hardware interface solutions. From environmental monitoring to motion detection, modern sensors dramatically expand your Pi’s capabilities while remaining surprisingly affordable and straightforward to implement.
Today’s market offers hundreds of compatible sensors, each serving specific monitoring needs – temperature and humidity sensors for climate control, PIR sensors for motion detection, gas sensors for air quality monitoring, and accelerometers for position tracking. Whether you’re building a weather station, home security system, or automated greenhouse, understanding your sensor options is crucial for project success.
This comprehensive guide explores the most practical and popular Raspberry Pi sensors, complete with compatibility details, connection methods, and real-world applications. We’ll help you navigate the vast ecosystem of available sensors while focusing on those that offer the best balance of functionality, reliability, and value for your projects.
Essential Environmental Sensors
Temperature and Humidity Sensors
Temperature and humidity sensors are essential components for many Raspberry Pi projects, with the DHT11, DHT22, and BME280 being among the most popular options. These sensors enable your Pi to monitor environmental conditions with varying degrees of accuracy and response times.
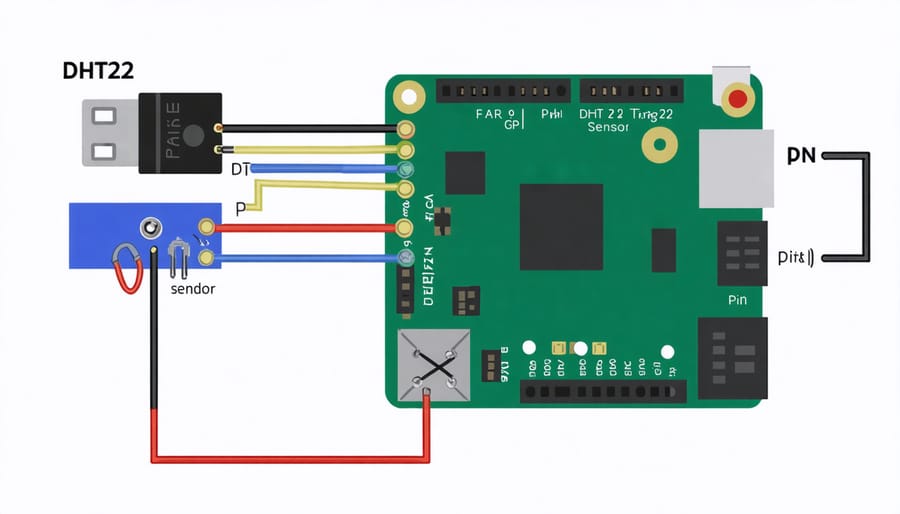
The DHT11 is an entry-level sensor that provides basic temperature (±2°C) and humidity (±5%) readings. It connects to the Pi using three pins: power (3.3V), ground, and a data pin. While it’s the most affordable option, it’s best suited for non-critical applications and learning projects due to its lower accuracy and slower sampling rate.
The DHT22 offers improved accuracy (±0.5°C for temperature, ±2-5% for humidity) and faster reading capabilities compared to the DHT11. It uses the same three-pin connection method but provides more reliable readings, making it ideal for weather stations and indoor climate monitoring systems.
For professional-grade sensing, the BME280 stands out with its high precision (±1% for humidity, ±1°C for temperature) and additional barometric pressure measurement capability. It communicates with the Pi via I2C or SPI interface, requiring four connection pins. The BME280’s fast response time and stability make it perfect for advanced weather monitoring and IoT applications.
All these sensors can be easily integrated using Python libraries, with extensive community support available for troubleshooting and implementation.
Air Quality and Gas Sensors
The MQ series gas sensors are essential tools for monitoring air quality and detecting various gases with your Raspberry Pi. These cost-effective sensors can detect a wide range of gases, making them perfect for environmental monitoring projects and safety applications.
The MQ-2 sensor is particularly versatile, capable of detecting smoke, LPG, propane, hydrogen, and methane. It’s commonly used in DIY home security systems and fire detection projects. For more specific applications, the MQ-3 excels at alcohol vapor detection, while the MQ-4 specializes in natural gas and methane monitoring.
For air quality monitoring, the MQ-135 is the go-to choice. It can detect harmful gases like ammonia, nitrogen oxides, and carbon dioxide, making it perfect for indoor air quality projects. The MQ-7 focuses specifically on carbon monoxide detection, crucial for safety monitoring systems.
Connecting these sensors to your Raspberry Pi is straightforward using the analog-to-digital converter (ADC) MCP3008, as they output analog signals. Most MQ sensors require a warm-up period of 12-24 hours for accurate readings, and regular calibration is recommended for optimal performance.
When working with gas sensors, ensure proper ventilation in your workspace and follow safety guidelines, as some sensors require heating elements to function correctly. For best results, combine multiple MQ sensors to create a comprehensive air quality monitoring station.
Motion and Position Detection
PIR and Ultrasonic Sensors
PIR (Passive Infrared) and ultrasonic sensors are essential components for motion detection and distance measurement projects with your Raspberry Pi. PIR sensors detect changes in infrared radiation, making them perfect for detecting human movement, while ultrasonic sensors use sound waves to measure distances accurately.
The HC-SR501 PIR sensor is widely used for its reliability and easy setup. Connect it to any GPIO pin, and with just a few lines of Python code, you can create motion-activated systems for home security, automated lighting, or visitor counting applications. These sensors typically have adjustable sensitivity and delay time, allowing you to fine-tune their response to your specific needs.
For distance measurement, the HC-SR04 ultrasonic sensor is the go-to choice. It can measure distances from 2cm to 4 meters with reasonable accuracy. By sending out high-frequency sound waves and measuring the time taken for the echo to return, these sensors can help you create proximity warning systems, automated doors, or even parking assistance devices.
Both sensors are incredibly cost-effective and require minimal setup. For the PIR sensor, you’ll need just three connections: VCC (5V), ground, and signal. The ultrasonic sensor needs four pins: VCC, ground, trigger, and echo. Remember to use a voltage divider for the echo pin since it operates at 5V while Raspberry Pi GPIO pins are 3.3V tolerant.
Accelerometers and Gyroscopes
The MPU6050 is one of the most popular and versatile motion sensors for Raspberry Pi projects, combining both an accelerometer and gyroscope in a single package. This affordable sensor measures acceleration along three axes and rotational movement, making it perfect for robotics, gaming controllers, and motion-controlled devices.
To get started with the MPU6050, you’ll need to connect it to your Raspberry Pi using the I2C interface. The sensor operates on 3.3V power and can detect acceleration up to ±16g and angular rates up to ±2000°/s. Its built-in Digital Motion Processor (DMP) handles complex motion-processing calculations, reducing the load on your Pi’s CPU.
Alternative options include the LSM6DS33, which offers similar functionality with the addition of a temperature sensor, and the BNO055, which includes a magnetometer for more accurate orientation tracking. These sensors are particularly useful in drone projects, stabilization systems, and wearable technology applications.
For beginners, many starter kits include the MPU6050 along with sample code and tutorials. The sensor’s extensive documentation and community support make it an excellent choice for learning about motion tracking and orientation sensing. When choosing between different models, consider factors like precision requirements, power consumption, and whether you need additional features like temperature sensing or magnetic field detection.
Light and Camera Sensors
Light Sensors and Photo Resistors
Light sensors and photoresistors are essential components for creating light detection systems with your Raspberry Pi. The Light Dependent Resistor (LDR) is a cost-effective option that changes resistance based on light intensity. Connect it to your Pi’s GPIO pins through an analog-to-digital converter (MCP3008) for basic light sensing capabilities.
For more precise measurements, the TSL2561 digital light sensor offers advanced features like infrared and visible light detection. This I2C-compatible sensor provides accurate lux readings and works well in various lighting conditions. Here’s a quick setup:
1. Connect TSL2561 to Pi’s I2C pins (SDA and SCL)
2. Enable I2C interface in raspi-config
3. Install the TSL2561 Python library using pip
4. Import the library and start reading light values
Both sensors are perfect for automated lighting projects, plant monitoring systems, or security applications. The LDR is ideal for simple on/off triggers, while the TSL2561 excels in applications requiring precise light measurements.
Camera Modules
The Raspberry Pi Camera Module family offers versatile imaging solutions for your projects. The latest Camera Module 3 comes in two variants: a standard 12-megapixel version and a wide-angle option, both featuring autofocus capabilities and support for HDR imaging. These modules connect directly to the Pi’s dedicated CSI (Camera Serial Interface) port, ensuring high-speed data transfer and reliable performance.
For users with older Pi models, the Camera Module 2 remains a solid choice with its fixed-focus 8-megapixel sensor. The NoIR versions of both Camera Module 2 and 3 omit the infrared filter, making them perfect for night vision and plant health monitoring projects.
All official camera modules are fully supported by the Raspberry Pi OS and can be controlled using Python’s picamera library or command-line tools. Third-party cameras are also available, though compatibility may vary. When choosing a camera module, ensure it matches your Pi model and project requirements, particularly regarding ribbon cable length and mounting options.
Recent updates to the camera software stack have improved compatibility across different Pi models, making it easier than ever to integrate camera functionality into your projects.
Connection and Integration Tips
GPIO and I2C Connections
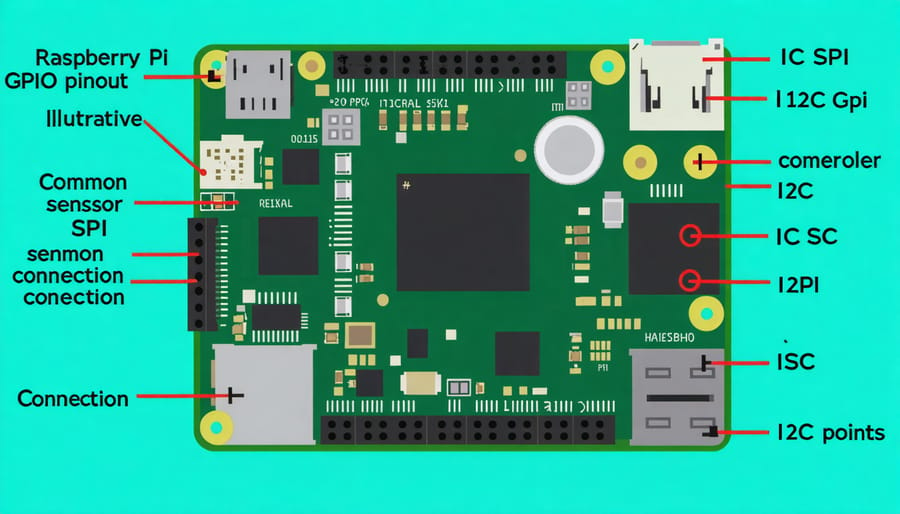
Connecting sensors to your Raspberry Pi requires understanding two primary communication methods: GPIO (General Purpose Input/Output) pins and I2C (Inter-Integrated Circuit) protocol. GPIO pins provide direct digital connections for simple sensors, while I2C allows multiple sensors to share the same pins for more complex communications.
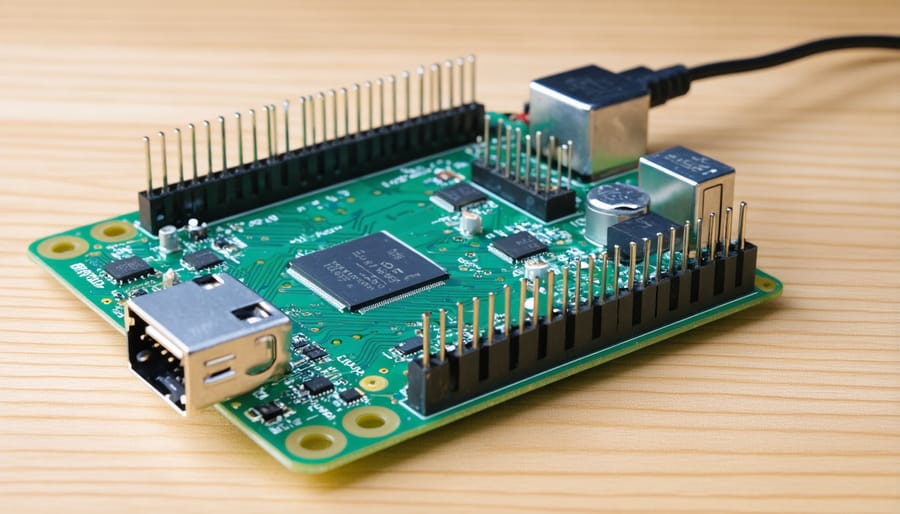
For GPIO connections, you’ll need to identify the correct pins on your Raspberry Pi’s 40-pin header. Always connect the sensor’s VCC (power) to a 3.3V or 5V pin depending on your sensor’s requirements, and GND (ground) to any ground pin. The data pin(s) should connect to appropriate GPIO pins, which you’ll reference in your code using their BCM numbers.
I2C connections are simpler in terms of wiring but require proper configuration. Use GPIO 2 (SDA) and GPIO 3 (SCL) for I2C communications, along with power and ground connections. Multiple I2C sensors can share these same pins, each identified by a unique address.
Important safety tips:
– Always double-check voltage requirements
– Never connect 5V sensors directly to GPIO data pins
– Use voltage level shifters when necessary
– Power off your Pi before making connections
– Consider using a breadboard for initial testing
For reliable connections, consider using female-to-female jumper wires for breadboard prototyping, or create more permanent solutions with soldered connections and proper wire management. If you’re working with multiple sensors, a GPIO extension board can help organize your connections and protect your Pi from accidental short circuits.
Remember to enable I2C in your Raspberry Pi’s configuration if you plan to use I2C sensors, which can be done through the raspi-config utility or by editing config files directly.
Software Libraries and Code Examples
Several Python libraries make working with Raspberry Pi sensors straightforward and efficient. The most essential library is RPi.GPIO, which handles basic GPIO operations. For more advanced sensor interactions, consider these popular libraries:
– Adafruit_CircuitPython: A comprehensive collection of sensor-specific libraries
– smbus2: For I2C communication with sensors
– w1thermsensor: Specifically for temperature sensors
– DHT-sensor-library: For humidity and temperature sensors
– VL53L0X: For Time-of-Flight distance sensors
Here’s a basic example using a DHT22 temperature and humidity sensor:
“`python
import Adafruit_DHT
sensor = Adafruit_DHT.DHT22
pin = 4
humidity, temperature = Adafruit_DHT.read_retry(sensor, pin)
if humidity is not None and temperature is not None:
print(f’Temperature: {temperature:.1f}°C, Humidity: {humidity:.1f}%’)
“`
For real-time data visualization, consider creating a GUI interface using libraries like Tkinter or PyQt5. To ensure optimal performance when running multiple sensors simultaneously, it’s important to optimize your Raspberry Pi OS and manage system resources effectively.
Additional useful libraries include:
– GPIO Zero: A simpler alternative to RPi.GPIO for beginners
– NumPy: For numerical computations and data analysis
– Pandas: For data organization and analysis
– Matplotlib: For plotting sensor data
– OpenCV: For computer vision sensors
These libraries form the foundation for most sensor-based Raspberry Pi projects, enabling everything from basic temperature monitoring to complex environmental sensing systems.
Exploring the world of Raspberry Pi sensors opens up endless possibilities for creating innovative projects and solving real-world problems. Throughout this guide, we’ve covered a diverse range of sensors, from basic temperature and humidity monitors to sophisticated motion and gas detection systems. Each sensor type serves unique purposes and can be combined to create more complex applications.
Remember that successful sensor integration relies on proper hardware connection, accurate GPIO pin configuration, and appropriate software implementation. Start with simpler sensors like the DHT11 or PIR motion detector to build your confidence before moving on to more complex implementations. Many sensors use standard communication protocols such as I2C or SPI, making them relatively straightforward to integrate once you understand the basics.
To begin your sensor project, first clearly define your objectives and environmental requirements. Choose sensors that match your project’s needs while considering factors like power consumption, accuracy, and cost. Don’t forget to check sensor compatibility with your Raspberry Pi model and ensure you have the necessary libraries installed.
The maker community offers extensive support through forums, documentation, and example projects. Take advantage of these resources as you develop your applications. Whether you’re building a weather station, home automation system, or environmental monitor, the right combination of sensors can help bring your ideas to life.
Ready to start? Pick a sensor from our list, gather your materials, and begin experimenting. The journey of discovery and creation awaits!