

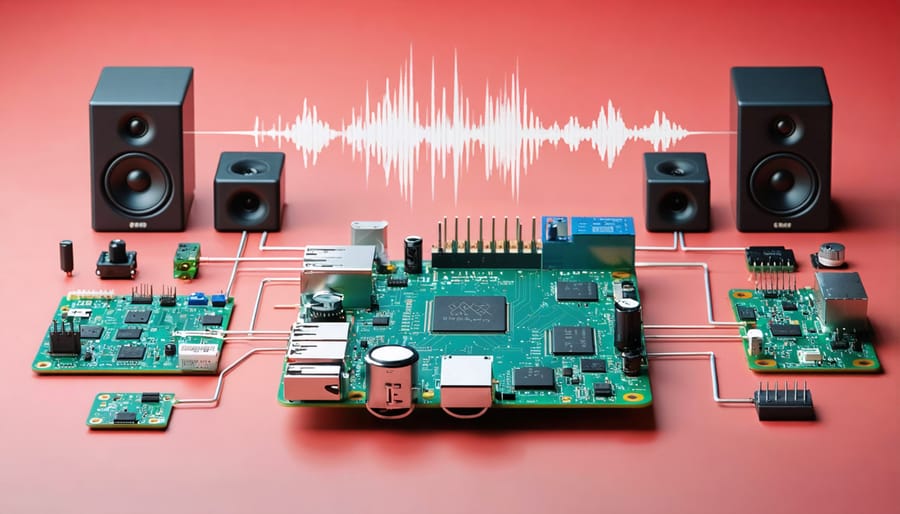
Transform your home into an audiophile’s paradise by building a sophisticated multi-room audio system with Raspberry Pi. Harness the Pi’s powerful audio processing capabilities to stream synchronized music throughout your house at a fraction of the cost of commercial solutions. The combination of open-source software like Snapcast, affordable hardware, and the Pi’s versatility creates a professional-grade audio distribution system that rivals high-end commercial setups.
Modern DIY enthusiasts can now achieve perfect audio synchronization across multiple rooms, control their entire music library through a single interface, and even integrate smart home features – all while maintaining pristine sound quality. Whether you’re streaming your vinyl collection to every corner of your home or creating distinct audio zones for different family members, the Raspberry Pi provides the ideal foundation for building a customizable, expandable multi-room audio system that grows with your needs.
This comprehensive guide will walk you through selecting the right audio hardware, configuring your Raspberry Pi network, and implementing the software solutions that bring your multi-room audio vision to life. Get ready to unlock the full potential of distributed audio while maintaining complete control over your sound environment.
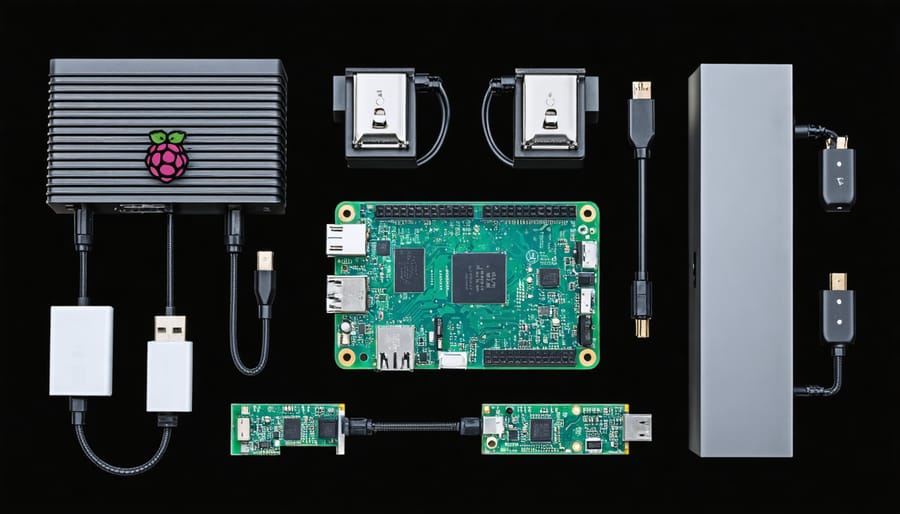
Essential Hardware Components
Choosing the Right Sound Cards
When building a multi-room audio system with your Raspberry Pi 4 Model B, selecting the right sound card is crucial for achieving high-quality audio output. There are two main options to consider: HATs (Hardware Attached on Top) and USB sound cards.
Audio HATs are specially designed for Raspberry Pi and offer superior integration. Popular choices include the HiFiBerry DAC+ Pro and IQaudIO DAC+, which provide excellent sound quality and easy installation. These HATs typically support sample rates up to 192kHz and offer multiple output options.
For a more budget-friendly approach, USB sound cards can work well. Look for models that are Linux-compatible and support the sample rates you need. The Behringer UCA202 and Creative Sound Blaster Play! 3 are reliable options that work out of the box with most Raspberry Pi configurations.
Key features to consider when choosing your sound card:
– Sample rate support (minimum 44.1kHz for CD quality)
– Number of output channels needed
– Driver compatibility with Linux
– Power requirements
– Physical size and mounting options
For multi-room setups, consistency is important. Using the same model of sound card across all your Raspberry Pi nodes will ensure uniform audio quality and easier system maintenance.
Speaker Setup and Connectivity
When setting up a multi-room audio system with Raspberry Pi, you have several speaker options to choose from. The most straightforward approach is using powered speakers with a 3.5mm audio jack connection directly to your Raspberry Pi’s audio output. For better sound quality, you can add a USB DAC (Digital-to-Analog Converter) or a dedicated HAT (Hardware Attached on Top) audio board.
For wireless connectivity, consider Bluetooth speakers or Wi-Fi-enabled speakers that support protocols like AirPlay or DLNA. These options eliminate the need for physical connections but may introduce slight latency. If you’re working with traditional passive speakers, you’ll need an external amplifier connected to your Raspberry Pi’s audio output.
Each room in your setup can use different speaker types, providing flexibility in your configuration. For instance, you might use high-quality powered bookshelf speakers in your living room while opting for smaller Bluetooth speakers in bedrooms. The key is ensuring all speakers are compatible with your chosen software solution.
Cable management is crucial for wired setups. Use high-quality audio cables and keep them away from power lines to prevent interference. For optimal performance, consider using shielded cables, especially for longer runs between rooms. Remember to test each speaker’s connectivity and audio quality individually before finalizing your multi-room setup.
Software Configuration
Installing Audio Management Software
Setting up the audio management software is a crucial step in creating your multi-room audio system. We’ll focus on installing Snapcast, which is currently one of the most reliable solutions for synchronized multi-room audio on Raspberry Pi.
First, update your Raspberry Pi’s package list and upgrade existing packages:
“`bash
sudo apt update
sudo apt upgrade -y
“`
Now, install Snapcast server and client:
“`bash
sudo apt install snapserver snapclient -y
“`
If you prefer building from source for the latest features, you can clone the Snapcast repository and compile it:
“`bash
git clone https://github.com/badaix/snapcast.git
cd snapcast
make
sudo make install
“`
Next, install PulseAudio to handle audio routing:
“`bash
sudo apt install pulseaudio -y
“`
Configure PulseAudio to run as a system service by creating a new service file:
“`bash
sudo nano /etc/systemd/system/pulseaudio.service
“`
Add the following content:
“`
[Unit]
Description=PulseAudio Sound System
[Service]
ExecStart=/usr/bin/pulseaudio –system –realtime –disallow-exit –no-cpu-limit
[Install]
WantedBy=multi-user.target
“`
Enable and start both services:
“`bash
sudo systemctl enable pulseaudio
sudo systemctl start pulseaudio
sudo systemctl enable snapserver
sudo systemctl start snapserver
“`
Verify that both services are running correctly:
“`bash
sudo systemctl status pulseaudio
sudo systemctl status snapserver
“`
If you see “active (running)” for both services, your audio management software installation is complete and ready for configuration.
Configuring Audio Channels
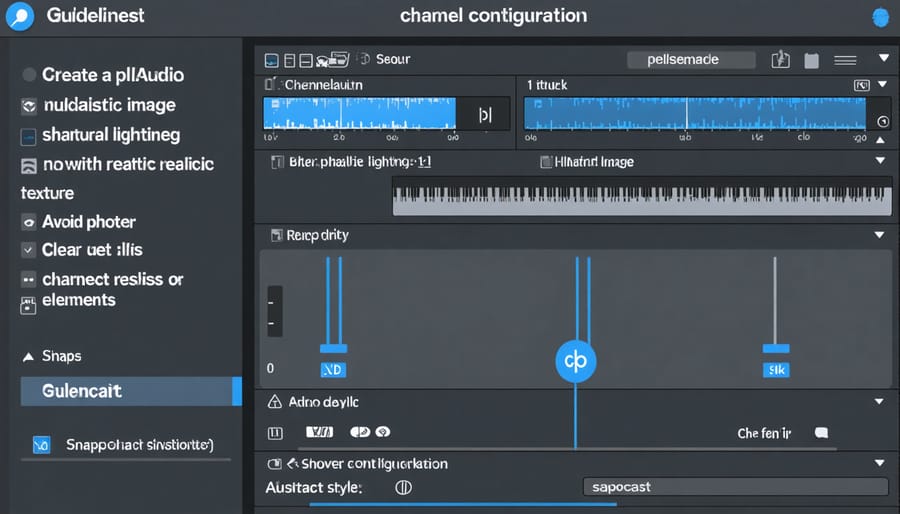
Configuring audio channels for your multi-room Raspberry Pi setup is crucial for achieving optimal sound distribution throughout your home. Begin by checking your audio output devices using the command ‘aplay -l’ in the terminal. This will list all available sound cards and digital audio devices connected to your Raspberry Pi.
For each room’s audio output, you’ll need to create a separate ALSA configuration. Navigate to the /etc/asound.conf file and set up individual card definitions. Here’s a basic configuration example:
“`
pcm.room1 {
type hw
card 0
device 0
}
pcm.room2 {
type hw
card 1
device 0
}
“`
If you’re using USB audio adapters, ensure they’re properly recognized by running ‘lsusb’ and noting their device IDs. Each adapter should be assigned to a specific room in your configuration.
To manage multiple audio streams simultaneously, implement ALSA’s dmix plugin. This allows multiple applications to share the same audio device without conflicts. Add the following to your configuration:
“`
pcm.multiroom {
type dmix
ipc_key 1024
slave {
pcm “hw:0,0”
period_time 0
period_size 1024
buffer_size 4096
}
}
“`
Test your configuration by playing different audio streams to specific rooms using the ‘-D’ parameter with your audio player. For example:
“`
aplay -D room1 music.wav
“`
Remember to set appropriate volume levels for each room using ‘alsamixer’ or ‘amixer’ commands. You can save these settings permanently with ‘alsactl store’.
For more complex setups, consider using PulseAudio on top of ALSA, which provides additional features like per-room volume control and stream synchronization across multiple devices.
Audio Mixing Techniques
Channel Routing
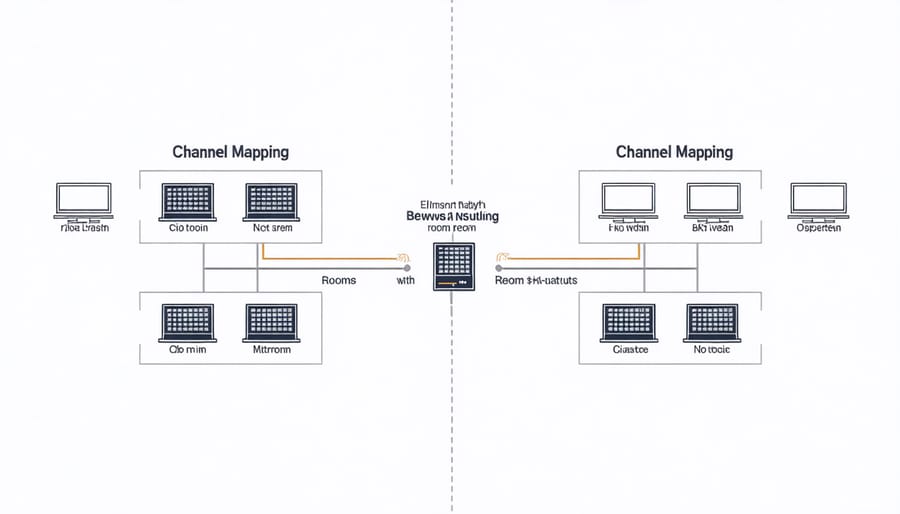
Channel routing in a multi-room Raspberry Pi audio system allows you to direct different audio sources to specific rooms or zones in your house. Using advanced audio mixing techniques, you can create personalized listening experiences throughout your home.
To set up channel routing, first configure your audio server software (such as Snapcast or PulseAudio) to recognize different output devices. Each Raspberry Pi client in your setup acts as a separate audio zone. Using the server’s configuration file, map audio sources to specific clients by assigning unique identifiers to each room’s Pi.
For example, you might route your streaming service to the living room while playing vinyl records in the study. This is achieved by creating separate audio streams and defining routing rules in your server configuration. Common routing scenarios include:
– Streaming different music to different zones
– Broadcasting the same audio to selected rooms
– Creating synchronized party mode across all spaces
– Implementing time-based routing for automated audio schedules
To fine-tune your routing setup, use the audio server’s web interface or command-line tools to adjust individual channel volumes, apply equalization settings, and manage stream synchronization. You can also create preset configurations for different scenarios, like “Morning Mode” or “Party Time,” which automatically adjust routing patterns based on your preferences.
Remember to configure proper network quality of service (QoS) settings on your router to prevent audio lag and ensure smooth playback across all zones. This becomes especially important when routing high-quality audio streams to multiple rooms simultaneously.
Volume Control and Synchronization
Managing volume levels across multiple rooms is crucial for a seamless multi-room audio experience. The Raspberry Pi system offers several methods to control and synchronize audio playback effectively. Using software solutions like Snapcast or PulseAudio, you can adjust individual room volumes while maintaining perfect synchronization between speakers.
For centralized volume control, the ALSA (Advanced Linux Sound Architecture) mixer provides a reliable foundation. You can implement volume adjustment through both hardware controls and software interfaces. Many users opt for web-based controllers that allow volume adjustments from any device on the network. Popular options include Node-RED dashboards or custom web interfaces built with Python Flask.
To maintain synchronization, it’s essential to use a master clock system that keeps all Raspberry Pi devices perfectly timed. Network Time Protocol (NTP) helps ensure all devices operate on exactly the same time reference. Additionally, implementing audio buffers helps compensate for any network latency that might cause playback delays between rooms.
For the best experience, consider using multicast audio streaming, which reduces network load and helps maintain better synchronization compared to individual streams to each device. You can also implement group controls that allow you to adjust volumes for specific zones or rooms simultaneously, perfect for parties or different listening areas.
Remember to configure audio delay settings if you notice any echo effects between rooms. Most software solutions offer delay compensation features that can be fine-tuned based on your specific setup and room layout. This ensures that sound from adjacent rooms arrives at your ears simultaneously, creating a cohesive listening experience throughout your space.
Audio Mastering Tips
Equalizer Settings
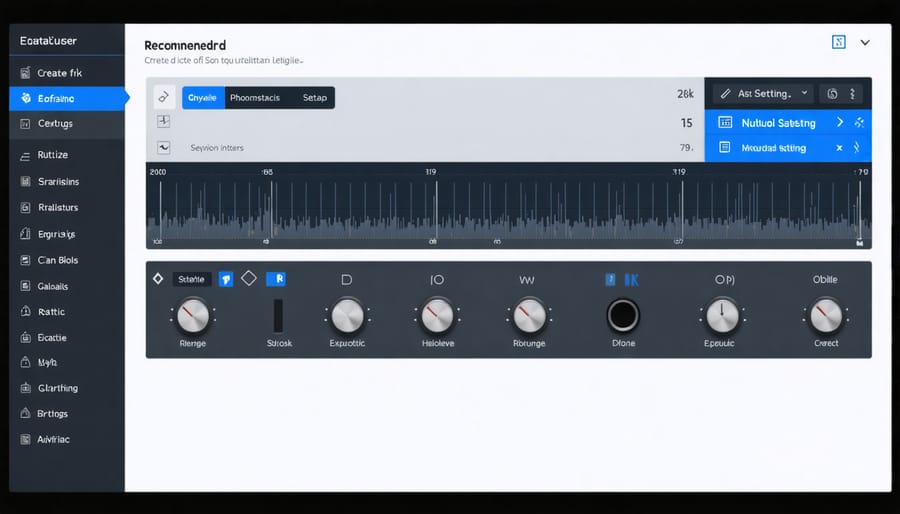
Fine-tuning your audio system’s equalizer settings is crucial for achieving optimal sound quality across your multi-room setup. While the default settings might work adequately, customizing your EQ can significantly enhance your listening experience and help compensate for room acoustics.
For a pro-quality audio setup, start by adjusting the basic frequency bands: bass (20-250 Hz), midrange (250-4000 Hz), and treble (4000-20000 Hz). The Raspberry Pi’s audio software typically offers a graphic equalizer with multiple bands, allowing for precise control over these frequencies.
Consider these recommended starting points:
– Bass: Slight boost (+2-3dB) below 100Hz for warmth
– Mid-bass: Minor cut (-1-2dB) around 200-300Hz to reduce muddiness
– Midrange: Keep relatively flat for vocal clarity
– High-mids: Small boost (+1-2dB) at 2-4kHz for presence
– Treble: Gentle roll-off above 10kHz to prevent harshness
Remember that each room’s acoustics are different. Test your settings by playing familiar music and moving between rooms. Pay attention to how the sound changes and adjust accordingly. It’s often helpful to save multiple EQ presets for different genres or listening scenarios.
For optimal results, consider using room correction software that can automatically analyze and adjust frequencies based on your specific space characteristics. This ensures consistent sound quality throughout your multi-room system.
Room Acoustics Optimization
Room acoustics play a crucial role in delivering optimal sound quality across your multi-room audio setup. Each room’s unique dimensions, furniture layout, and surface materials affect how sound waves travel and reflect, requiring specific adjustments to achieve the best listening experience.
For larger rooms, consider increasing the bass response and volume levels to compensate for sound dispersion. The Raspberry Pi’s audio effects processing capabilities allow you to fine-tune equalization settings for each zone independently. In spacious areas, you might want to implement a slight delay between speakers to create a more immersive soundstage.
Smaller rooms often benefit from reduced bass levels to prevent overwhelming resonance. Position speakers away from corners and adjust mid-range frequencies to maintain clarity. For rooms with hard surfaces like tile or hardwood floors, consider reducing high frequencies to minimize harsh reflections.
Use these general guidelines for different room types:
– Living Rooms: Balance mid-range frequencies, moderate bass
– Kitchens: Reduce echo with lower treble settings
– Bedrooms: Softer overall volume, gentle bass response
– Bathrooms: Minimize reverb, reduce bass significantly
Test your settings during different times of day and with varying numbers of people present, as room acoustics can change significantly based on occupancy. Remember to adjust volume normalization across zones to maintain consistent listening levels throughout your home.
Troubleshooting Common Issues
When setting up a multi-room audio system with Raspberry Pi, you might encounter several common issues. Here’s how to resolve them:
Audio Delay Between Rooms: If you notice sound synchronization problems, check your network configuration. Ensure all Pi devices are connected to the same network and use ethernet cables instead of Wi-Fi when possible. Adjust the audio buffer settings in your streaming software to find the optimal balance between latency and stability.
Sound Quality Issues: Poor audio quality often stems from incorrect audio output settings. Verify that your ALSA configuration is correct and that you’ve selected the proper output device. If using USB audio adapters, ensure they’re compatible with your Pi model and properly powered.
Network Connectivity Problems: Intermittent audio drops usually indicate network issues. Set static IP addresses for all Raspberry Pi devices to maintain stable connections. Consider using a dedicated network switch for your audio system to minimize interference from other devices.
Software Crashes: Regular system crashes might occur due to insufficient power supply or overheating. Use a high-quality power adapter rated at least 2.5A and ensure proper ventilation for your Pi. Regular system updates and log monitoring can help identify and prevent software-related crashes.
Volume Control Issues: If volume controls aren’t working properly, check that your audio groups and permissions are correctly set up. Add your user to the ‘audio’ group and ensure volume control applications have the necessary system permissions.
For persistent issues, try performing a clean installation of your audio software and double-check all hardware connections.
Setting up a multi-room audio system with Raspberry Pi offers an affordable and customizable solution for whole-house audio entertainment. Through this guide, we’ve explored the essential hardware components, software options like Snapcast and Mopidy, and step-by-step configuration processes needed to create your own synchronized audio system. By following these instructions, you can build a robust setup that rivals commercial alternatives at a fraction of the cost. Remember to start with a single room setup to familiarize yourself with the system before expanding to additional zones. As you become more comfortable, experiment with different audio sources, streaming services, and control interfaces to create your perfect home audio environment. Whether you’re a beginner or an experienced maker, this project provides an excellent opportunity to enhance your technical skills while enjoying high-quality, synchronized music throughout your home.