


Transform your Raspberry Pi into a professional-grade control center by creating custom graphical user interfaces that elevate your automation projects beyond simple command-line interactions. Modern GUI frameworks like Qt, Tkinter, and PyQt5 enable developers to build responsive, touch-friendly interfaces specifically optimized for the Pi’s hardware capabilities.
Whether you’re developing a home automation dashboard, an industrial control panel, or an educational tool, custom GUIs provide intuitive interaction layers that make your projects more accessible to end-users. The Raspberry Pi’s GPIO integration capabilities, combined with powerful Python libraries, create endless possibilities for designing interfaces that seamlessly bridge hardware control with user experience.
This comprehensive guide walks through selecting the right framework, implementing responsive layouts, and optimizing performance for the Pi’s resource constraints. Learn proven strategies for creating fluid animations, handling touch input, and managing system resources effectively – all while maintaining smooth operation on the Pi’s ARM architecture.
By focusing on Raspberry Pi-specific optimizations and real-world applications, you’ll discover how to build interfaces that not only look professional but also perform reliably in production environments. From rapid prototyping to deployment-ready solutions, mastering custom GUI development unlocks the full potential of your Raspberry Pi projects.
Choosing the Right GUI Framework
Tkinter vs. PyQt vs. Kivy
When choosing a GUI framework for your Raspberry Pi project, three popular options stand out: Tkinter, PyQt, and Kivy. Each has its unique strengths and limitations that make it suitable for different use cases.
Tkinter comes built-in with Python, making it the most accessible option. It’s lightweight, perfect for simple interfaces, and runs efficiently on Raspberry Pi’s limited resources. However, its dated appearance and basic widget set might not suit modern application needs.
PyQt offers a comprehensive framework with professional-looking widgets and extensive functionality. It’s excellent for creating desktop-style applications and supports complex features like multimedia and database integration. The downside? It has a steeper learning curve and requires more system resources.
Kivy shines in touch-based applications and modern interfaces. It’s cross-platform compatible and excellent for multimedia-rich applications. Its touch-optimized nature makes it perfect for Raspberry Pi touchscreen projects. However, Kivy can be resource-intensive and might feel overwhelming for beginners.
For basic projects, Tkinter is often sufficient. For professional applications, PyQt is worth the extra effort. If you’re building touch-based interfaces, Kivy is your best bet.

Performance Considerations
When developing a custom GUI for Raspberry Pi, understanding resource management is crucial for optimal performance. The Pi’s limited processing power and memory require careful consideration of your interface design choices. For graphical applications, lightweight frameworks like Qt or GTK perform better than resource-intensive alternatives. Consider implementing lazy loading for complex interface elements and minimizing real-time animations to preserve responsiveness.
Memory usage should be closely monitored, especially when running multiple widgets or handling large datasets. For projects requiring maximum performance, exploring baremetal performance considerations might be worthwhile. Implement efficient event handling and avoid unnecessary screen updates that can strain the system.
To maintain smooth operation, consider using hardware acceleration when available, particularly for animations and transitions. Cache frequently accessed resources and implement proper garbage collection. Monitor CPU temperature during extended GUI operations, as thermal throttling can impact performance. Testing your interface under various load conditions will help identify potential bottlenecks and optimize accordingly.
Setting Up Your Development Environment
Required Dependencies
Before diving into GUI development on your Raspberry Pi, you’ll need to install several essential packages and libraries. Start by updating your system with ‘sudo apt-get update’ and ‘sudo apt-get upgrade’ commands.
For Python-based GUI development, install these core packages:
– Python3 (usually pre-installed)
– pip3 (Python package manager)
– tkinter (sudo apt-get install python3-tk)
– PyQt5 (sudo apt-get install python3-pyqt5)
– Kivy (pip3 install kivy)
If you’re planning to work with graphics and image processing:
– Pillow (pip3 install pillow)
– OpenCV (sudo apt-get install python3-opencv)
For web-based GUI applications, consider installing:
– Flask (pip3 install flask)
– Django (pip3 install django)
– Node.js and npm (for JavaScript-based interfaces)
Additional useful packages include:
– GTK3 (sudo apt-get install python3-gi)
– wxPython (pip3 install wxPython)
– pygame (pip3 install pygame)
Remember to install any project-specific dependencies as needed. It’s recommended to use a virtual environment to manage your packages and avoid conflicts between different projects.
IDE Configuration
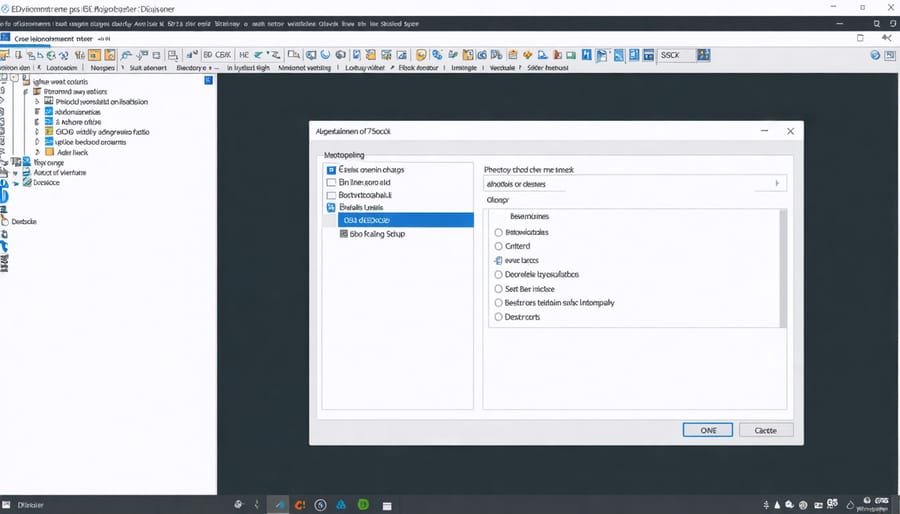
To create custom GUIs for your Raspberry Pi, you’ll need a reliable development environment. For Python-based GUI development, Visual Studio Code (VS Code) offers an excellent starting point. Install it on your Raspberry Pi by opening the terminal and running ‘sudo apt install code’.
After installation, enhance your VS Code setup with essential extensions. The “Python” extension by Microsoft is crucial for code completion and debugging. For GUI development, add “Qt for Python” if you’re using PyQt, or “Tkinter” for Tkinter-based interfaces.
Configure your workspace settings by creating a ‘.vscode’ folder in your project directory. Add a ‘settings.json’ file to specify Python interpreter paths and linting preferences. Enable the integrated terminal in VS Code for quick testing and debugging.
For a smoother development experience, install the “Remote Development” extension pack. This allows you to code on your main computer while running the GUI directly on the Raspberry Pi, reducing strain on the Pi during development.
Consider using Git for version control by initializing a repository in your project folder. This helps track changes and maintain different versions of your GUI project.
Creating Your First Custom Interface
Layout Design Principles
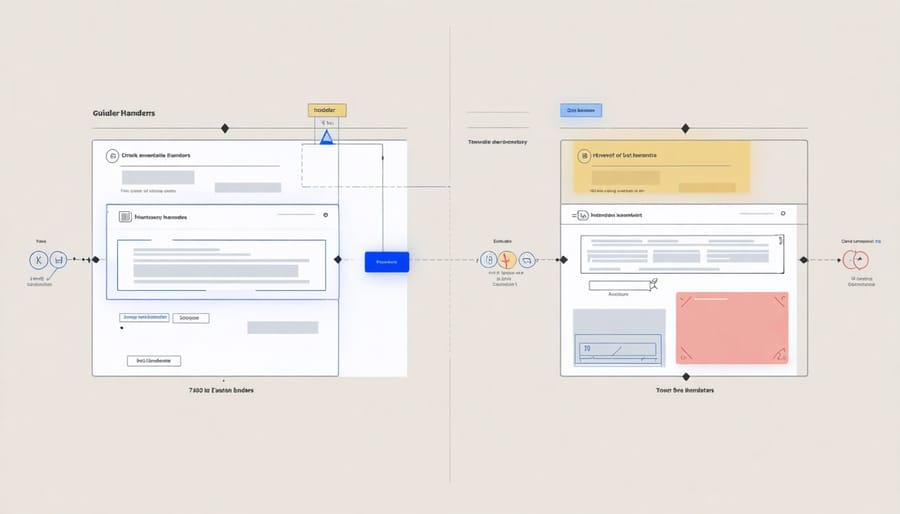
When customizing your Raspberry Pi interface, following established layout design principles ensures your GUI remains user-friendly and efficient. Start by implementing a clear visual hierarchy that guides users through your interface naturally. Place the most important elements where users expect them – typically at the top or center of the screen.
Maintain consistency in your design by using a grid system to align elements. This creates a clean, organized appearance and makes your interface more predictable for users. Keep related elements grouped together and use appropriate spacing to create visual separation between different functional areas.
Consider the constraints of Raspberry Pi’s typical display sizes by implementing responsive design principles. Ensure buttons and interactive elements are large enough for touch input if you’re using a touchscreen. Use contrasting colors wisely to improve readability, but don’t overwhelm users with too many different hues.
Remember the “three-click rule” – users should be able to access any function within three clicks or taps. Position frequently used controls within easy reach and organize menus logically. For better usability, maintain adequate padding around clickable elements and ensure text is easily readable at typical viewing distances.
Keep your layout simple and avoid cluttering the interface with unnecessary elements. This not only improves usability but also helps maintain smooth performance on the Raspberry Pi’s hardware.
Adding Interactive Elements
To create an engaging interface, let’s add some interactive elements to your Raspberry Pi GUI. Start by implementing buttons using Tkinter’s Button widget. Here’s a basic example:
“`python
button = tk.Button(root, text=”Click Me!”, command=your_function)
button.pack()
“`
For user input, incorporate Entry widgets that allow text input and StringVar variables to track changes:
“`python
input_var = tk.StringVar()
entry = tk.Entry(root, textvariable=input_var)
entry.pack()
“`
Display real-time information using Labels, which can be updated dynamically:
“`python
status_label = tk.Label(root, text=”Status: Ready”)
status_label.pack()
“`
For more complex interactions, consider adding:
– Checkboxes for boolean options
– Radio buttons for mutually exclusive choices
– Dropdown menus for selection lists
– Sliders for numerical input ranges
Remember to position your elements strategically using grid or pack geometry managers. For a cleaner layout, try frames to group related elements:
“`python
frame = tk.Frame(root, pady=10)
frame.pack()
“`
Make your interface more responsive by updating elements based on user actions. For instance, change button colors on click or display sensor readings in real-time. Always provide visual feedback for user interactions to create a more intuitive experience.
Integrating with Automation Scripts
Event Handling
Event handling is crucial for creating interactive GUI applications on your Raspberry Pi. The most common events you’ll need to manage include button clicks, keyboard inputs, and mouse movements. In Python’s tkinter framework, you can bind these events to specific functions using the .bind() method or command parameters.
Here’s a practical example: When creating a button that controls an LED, you might implement it like this:
“`python
def toggle_led():
gpio.output(LED_PIN, not gpio.input(LED_PIN))
led_button = Button(window, text=”Toggle LED”, command=toggle_led)
“`
For more complex interactions, you can use binding patterns. For instance, to capture keyboard events:
“`python
def on_key_press(event):
if event.char == ‘q’:
window.quit()
window.bind(‘
“`
It’s important to maintain responsiveness in your GUI by avoiding long-running operations in event handlers. Consider using threading for tasks that might take time to complete:
“`python
from threading import Thread
def long_running_task():
Thread(target=your_function).start()
“`
Remember to implement error handling in your event functions to prevent crashes and provide feedback to users. This creates a more robust and user-friendly interface that can handle unexpected inputs or system states gracefully.
Data Display and Updates
One of the most crucial aspects of a Raspberry Pi GUI is displaying and updating data in real-time. To achieve smooth updates without freezing your interface, it’s essential to implement proper threading techniques. The main GUI thread should remain responsive while separate threads handle data collection and processing.
A common approach is using Python’s threading module alongside a queue system. Your data-collecting script runs in the background, pushing updates to a queue that the GUI periodically checks. Here’s how it typically works: create a timer function that runs every few milliseconds to check for new data, then update the relevant GUI elements only when fresh information is available.
For displaying numerical data, consider using widgets like Labels or Text fields with StringVar variables, which allow for dynamic updates. Graphs and charts can be implemented using libraries like matplotlib or PyQtChart, which offer smooth animations for real-time data visualization.
To maintain GUI responsiveness, implement a buffer system that prevents too-frequent updates from overwhelming the interface. A good practice is setting update intervals based on your data source’s refresh rate – for example, updating temperature readings every second or sensor data every 100 milliseconds.
Remember to include error handling in your update mechanisms. If a data source fails, your GUI should gracefully display an error message rather than crash. This creates a more robust and user-friendly interface for your Raspberry Pi project.
Optimization Tips
Resource Management
When developing a custom GUI for Raspberry Pi, efficient resource management is crucial for smooth performance. Start by optimizing your Raspberry Pi OS to create a solid foundation for your interface. Monitor your application’s memory usage using tools like `top` or `htop`, and implement memory-efficient practices such as releasing unused resources and avoiding memory leaks.
For CPU optimization, consider using lightweight widgets and avoiding complex animations that might strain the system. Implement event-driven programming to reduce unnecessary processing cycles, and utilize background threads for resource-intensive tasks to maintain GUI responsiveness.
Cache frequently used assets and minimize real-time calculations where possible. If your interface requires image processing or complex visualizations, consider pre-rendering elements or using simplified versions for smoother performance. Regular performance profiling using tools like `gprof` can help identify bottlenecks and optimize critical sections of your code.
Remember to test your GUI under various load conditions to ensure consistent performance across different Raspberry Pi models and use cases.
Responsive Design
When designing a GUI for Raspberry Pi, responsive design is crucial as your interface might need to work across various display sizes, from small touchscreens to large monitors. Start by implementing fluid layouts using relative units like percentages or viewport dimensions instead of fixed pixel values. This ensures your interface elements scale proportionally across different screen sizes.
Consider implementing breakpoints in your CSS to handle different screen resolutions. For Raspberry Pi touchscreen displays (typically 800×480), create a specific layout that optimizes touch targets and spacing. For larger displays, you can expand the interface to utilize the additional screen real estate effectively.
Use CSS Grid or Flexbox for creating responsive layouts, as they provide better control over element positioning and scaling. Implement media queries to adjust font sizes, button dimensions, and spacing based on the display size. Test your interface on different screens commonly used with Raspberry Pi, including the official 7-inch touchscreen and standard HDMI monitors.
Remember to account for different aspect ratios and ensure your GUI remains functional and visually appealing regardless of the display orientation. Consider implementing a responsive navigation system that collapses into a hamburger menu on smaller screens.
Creating a custom GUI for your Raspberry Pi opens up endless possibilities for making your projects more user-friendly and professional. Whether you chose Python with Tkinter, Qt, or Kivy, you now have the tools to build intuitive interfaces that bring your ideas to life. Remember to start small, test frequently, and optimize your code for the Pi’s resources. Don’t be afraid to experiment with different widgets and layouts to find what works best for your specific needs. The Raspberry Pi community is incredibly supportive, so share your creations and learn from others. With practice and patience, you’ll soon be developing sophisticated GUIs that transform your projects from simple scripts into polished applications. Take that first step today and start building your own custom interface – your next great project awaits!