

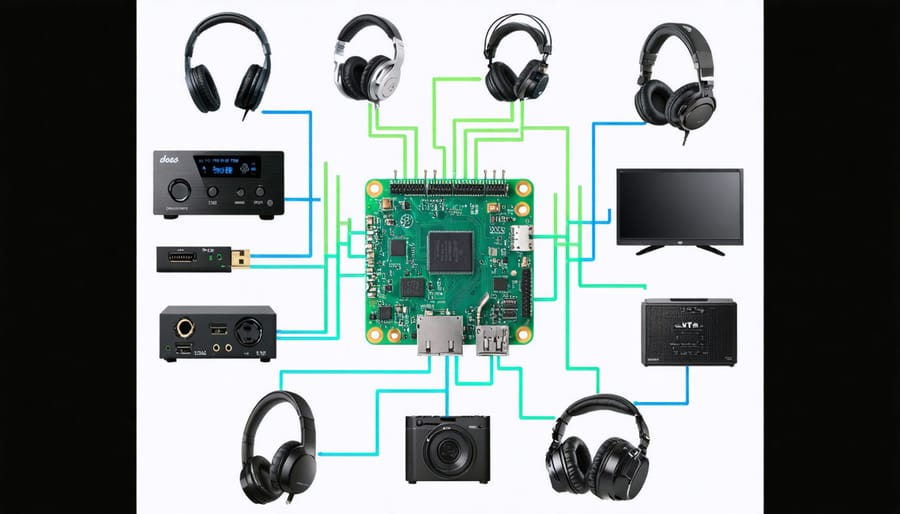
Transform your Raspberry Pi into a high-fidelity audio powerhouse by selecting the right sound card upgrade for your specific needs. Modern DAC HATs and USB audio interfaces elevate the Pi’s basic audio interface capabilities to studio-grade performance levels, enabling everything from music streaming to professional audio production.
Choose between three primary audio card options: HAT-based DACs that directly mount to GPIO pins, USB audio interfaces for maximum flexibility, or professional-grade I2S DAC boards for audiophile-quality output. Each solution offers distinct advantages in terms of sound quality, connectivity options, and ease of installation.
Modern Pi-compatible audio cards support up to 192kHz/24-bit audio processing, multiple input/output configurations, and specialized features like balanced outputs or MIDI connectivity. This makes them ideal for creating custom audio servers, digital music players, or even professional recording interfaces – all while maintaining the Pi’s signature compact form factor and energy efficiency.
For optimal performance, pair your chosen audio card with the latest Raspberry Pi OS build and appropriate driver software. This ensures full hardware compatibility and unlocks advanced features like hardware-based volume control and format-specific optimizations.
Why Standard Pi Audio Falls Short
Built-in Audio Limitations
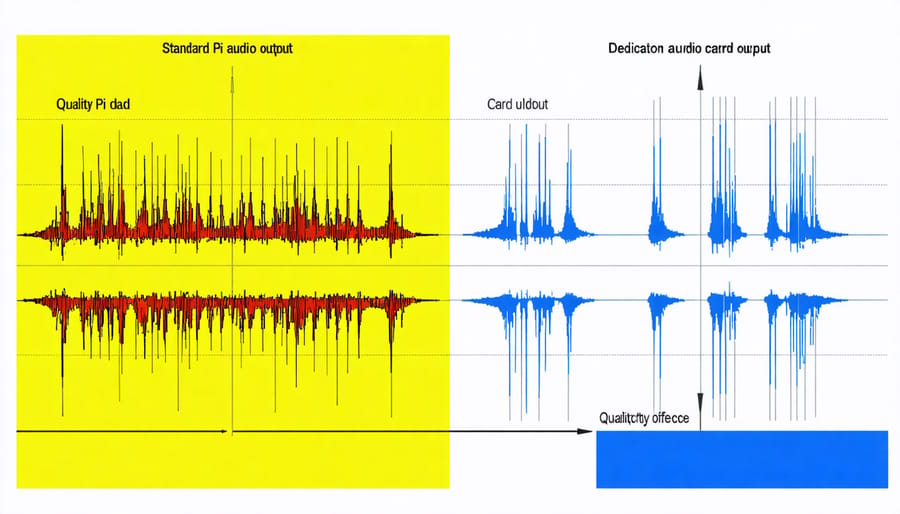
The built-in audio capabilities of the Raspberry Pi, while functional for basic applications, come with several notable limitations. According to the Raspberry Pi 4 specifications, the standard 3.5mm audio jack provides only basic stereo output at 16-bit/44.1kHz quality. This translates to CD-quality audio, which might not meet the requirements for high-fidelity audio projects or professional audio applications.
The onboard audio hardware utilizes a basic PWM (Pulse Width Modulation) system, which can introduce unwanted noise and interference into the audio signal. This interference is particularly noticeable when the Pi is under heavy CPU load or when sensitive audio equipment is connected. Additionally, the built-in DAC (Digital-to-Analog Converter) lacks advanced features like hardware volume control, multiple output options, or support for higher sampling rates.
These limitations make external audio cards an attractive option for users requiring better audio quality or additional features for their projects.
Common Audio Quality Issues
When working with Raspberry Pi audio cards, several common quality issues can affect your audio experience. Ground loops often cause an annoying humming sound, particularly when using unshielded cables or improper power supplies. Electromagnetic interference from nearby components or power lines can introduce unwanted static or buzzing, especially with poorly shielded audio cards.
Some users report issues with sample rate mismatches, resulting in choppy or distorted playback. This typically occurs when the audio card’s settings don’t align with the software configuration. Power supply fluctuations can also introduce audible artifacts, particularly when the Pi is under heavy load or using inadequate power sources.
Digital noise can manifest as clicking or popping sounds during playback, often caused by buffer underruns or system timing issues. To minimize these problems, ensure proper shielding, use high-quality cables, maintain clean power delivery, and correctly configure your audio settings in the Raspberry Pi’s operating system.
Choosing the Right Audio Card
Compatible Audio Cards
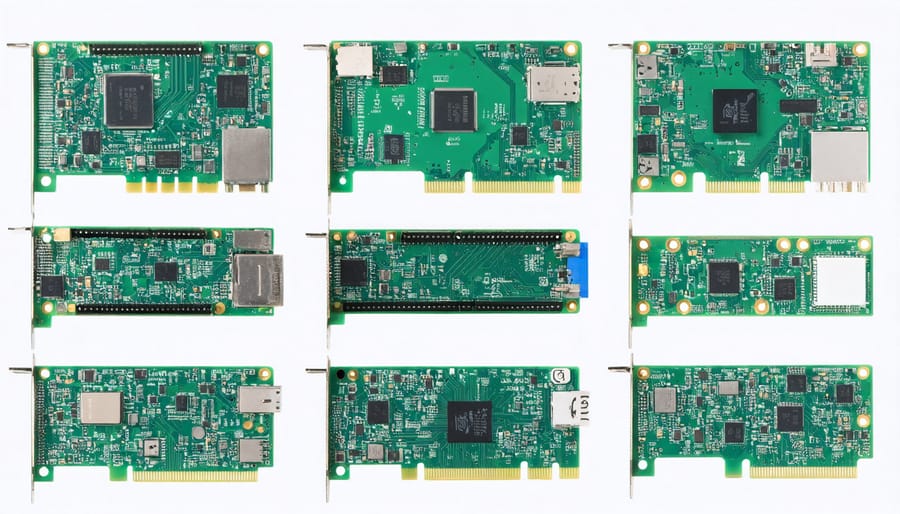
Several audio cards are specifically designed to work seamlessly with the Raspberry Pi, offering various features and quality levels for different project needs. The HiFiBerry DAC+ Pro stands out as a popular choice, delivering high-resolution audio output with support for up to 192kHz/24-bit playback. For those seeking a professional audio recording setup, the HiFiBerry ADC+ provides excellent analog-to-digital conversion capabilities.
The IQaudIO DAC+ and DigiAMP+ combination offers another excellent option, particularly for users looking to power speakers directly. The Justboom DAC HAT and AMP HAT series provide similar functionality with the added benefit of an integrated headphone amplifier.
For budget-conscious users, the Adafruit I2S Audio Bonnet presents a cost-effective solution while maintaining decent audio quality. The USB Audio Adapter Pro from Audio Injector offers flexibility with both input and output capabilities, making it ideal for portable projects.
The Fe-Pi Audio Z V2 deserves mention for its comprehensive feature set, including multiple input/output options and a built-in microphone port. For specialized applications, the Cirrus Logic Audio Card provides professional-grade audio capabilities with additional features like MIDI support.
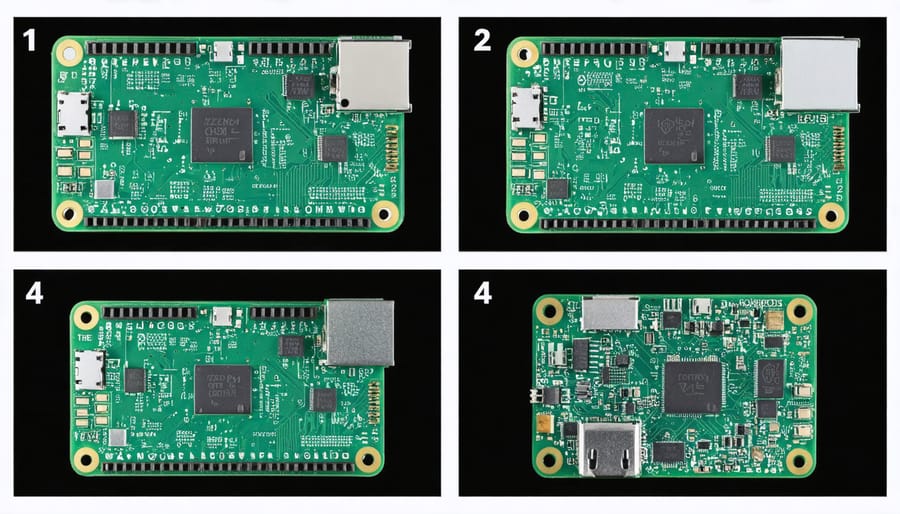
All these cards connect via the Pi’s 40-pin GPIO header or USB ports, ensuring straightforward installation and compatibility across different Raspberry Pi models, from the Pi 3 to the latest Pi 4.
Performance Factors
When selecting a Raspberry Pi audio card, several key performance factors determine the overall quality and functionality of your audio system. Sample rate capability is crucial, with quality cards supporting rates up to 192kHz for high-resolution audio playback. Bit depth is equally important, with 24-bit audio processing offering superior dynamic range compared to standard 16-bit options.
Signal-to-noise ratio (SNR) significantly impacts audio clarity, with better cards featuring SNR values above 100dB. Low Total Harmonic Distortion (THD) values, ideally below 0.01%, ensure cleaner sound reproduction without unwanted artifacts.
Input and output options deserve careful consideration. Look for cards offering both analog and digital connections, including line-level inputs, microphone support, and digital interfaces like S/PDIF. Some cards also feature balanced outputs for professional audio applications.
Power consumption impacts both performance and system stability. Most quality audio cards draw between 100-300mA, which is well within the Pi’s power delivery capabilities. However, cards with additional features like headphone amplifiers may require more power.
Driver compatibility and software support are critical performance factors. Choose cards with well-maintained Linux drivers and documented support for Raspberry Pi operating systems. Some cards offer additional features like hardware volume control and direct hardware mixing, which can reduce CPU load and improve overall system performance.
Finally, consider the physical form factor and mounting options to ensure proper fit and thermal management within your project enclosure.
Price-Performance Analysis
When comparing audio card options for the Raspberry Pi, it’s essential to consider both cost and performance to make an informed decision. Entry-level USB audio adapters start at around $5-10 and offer basic stereo output with decent sound quality, making them suitable for casual music playback and simple projects. These budget-friendly options typically provide 16-bit/48kHz audio capabilities, which is sufficient for most applications.
Mid-range DAC HATs, priced between $20-40, offer significantly better audio quality with 24-bit/192kHz support and improved signal-to-noise ratios. These cards often include features like hardware volume control and multiple output options, representing excellent value for audio enthusiasts and makers working on music-focused projects.
High-end audio cards, ranging from $50-100+, deliver audiophile-grade sound quality with premium components and advanced features like balanced outputs and professional-grade DAC chips. While these options may seem expensive, they’re still considerably more affordable than standalone audio interfaces with similar specifications.
For the best price-performance ratio, mid-range DAC HATs typically offer the sweet spot, providing professional-grade audio quality without breaking the bank. However, budget USB adapters remain a viable choice for basic projects where audio quality isn’t critical, while premium options are worth considering for specialized applications requiring the highest fidelity sound reproduction.
Installation and Configuration
Hardware Setup
Begin by powering down your Raspberry Pi completely and disconnecting all cables. If you’re using a HAT-style audio card, carefully align the GPIO pins with the corresponding header on your Pi. Gently press down until the card sits firmly in place, ensuring all pins make proper contact.
For USB audio cards, simply connect the device to any available USB port on your Raspberry Pi. If using a sound card that requires additional power, connect the power supply before proceeding. Some audio cards may come with mounting screws or standoffs – install these to secure the card and prevent movement that could damage the connections.
Double-check all connections before powering up your Pi. Pay special attention to any auxiliary connections like line-in or microphone ports if your audio card includes them. If your card came with a case or housing, install it now to protect the components.
Once physical installation is complete, reconnect your power supply and other peripherals. Your Raspberry Pi is now ready for software configuration to recognize and utilize the new audio card.
Software Configuration
Setting up your Raspberry Pi audio card requires proper driver installation and system configuration. Start by updating your Raspberry Pi OS with the latest packages using the terminal commands:
“`
sudo apt update
sudo apt upgrade
“`
Most modern USB audio cards are recognized automatically by the Raspberry Pi OS through the Advanced Linux Sound Architecture (ALSA) system. However, some cards may require additional drivers. To check if your audio card is detected, run:
“`
aplay -l
“`
To set your audio card as the default output device, edit the ALSA configuration file:
“`
sudo nano /etc/asound.conf
“`
Add these lines to the file:
“`
pcm.!default {
type hw
card 1
}
ctl.!default {
type hw
card 1
}
“`
For optimal performance, adjust your audio settings through the desktop interface by right-clicking the speaker icon in the taskbar. Here you can select your preferred output device and adjust volume levels.
If you’re experiencing issues, verify the card’s compatibility with your Pi’s power supply, as some audio cards require additional power. You may also need to modify the config.txt file to enable specific audio features:
“`
sudo nano /boot/config.txt
“`
Remember to reboot your Raspberry Pi after making any configuration changes to ensure they take effect properly.
Troubleshooting Common Issues
When encountering audio issues with your Raspberry Pi sound card, start by checking the physical connections and ensuring all cables are properly seated. If there’s no sound output, verify that the correct audio output is selected in your system settings by running ‘sudo raspi-config’ and navigating to the audio options.
Common static or interference issues can often be resolved by moving the audio card away from other electronic components that might cause electromagnetic interference. If you’re experiencing choppy audio, try increasing the USB current with “max_usb_current=1” in your config.txt file.
For drivers that aren’t loading correctly, ensure your system is up to date by running ‘sudo apt update’ followed by ‘sudo apt upgrade’. Some USB audio cards may require manual configuration in the /etc/asound.conf file. If you’re getting error messages about missing ALSA modules, install them using ‘sudo apt-get install alsa-utils’.
Still having trouble? Check the system logs using ‘dmesg | grep audio’ to identify specific error messages that can point to the root cause of your audio issues. Remember to reboot your Pi after making any configuration changes.
Advanced Audio Applications
Music Production Setup
The Raspberry Pi can serve as a cost-effective music production platform when paired with the right audio card and software. Using a high-quality audio HAT or USB interface, you can create a compact digital audio workstation (DAW) setup perfect for recording, mixing, and producing music.
Start by installing a Linux-based DAW like LMMS or Ardour, which are optimized for the Pi’s resources. These applications work seamlessly with most audio interfaces and provide essential music production tools. The Pi’s signal processing capabilities allow for real-time effects processing and virtual instrument playback.
For optimal performance, configure your audio settings using ALSA or JACK audio servers. These systems ensure low-latency monitoring and stable audio processing. Connect MIDI controllers through USB ports to enhance your workflow and create a more hands-on production experience.
While the Pi may not match the processing power of dedicated music production computers, it offers remarkable versatility for basic to intermediate recording projects. Many musicians use this setup for mobile recording, live performance backing tracks, or as an affordable entry point into digital music production. Remember to use a powered USB hub if connecting multiple audio devices to ensure stable power distribution.
Audio Streaming Server
Transform your Raspberry Pi into a powerful audio streaming server using your audio card setup. With the right configuration, you can stream high-quality music throughout your home network or create your own internet radio station. Popular streaming software options like Volumio and Moode Audio provide user-friendly interfaces and excellent audio quality.
To set up your streaming server, first install your chosen streaming software through the command line or dedicated image. Both Volumio and Moode Audio support various audio formats and offer convenient web interfaces for remote control. Configure your audio output settings to match your DAC or sound card specifications for optimal performance.
Enable network discovery services to make your streaming server visible to other devices on your network. You can stream to multiple zones simultaneously, perfect for multi-room audio setups. The server can handle various input sources, including network shares, USB drives, and popular streaming services.
For the best streaming experience, use a wired network connection when possible to minimize latency and dropouts. Configure your audio buffer settings based on your network conditions and desired latency. Remember to properly set up your firewall rules if you plan to access your streaming server from outside your local network.
Adding an audio card to your Raspberry Pi opens up a world of possibilities for audio projects and enhanced sound quality. Whether you’re building a music streaming device, creating a home audio system, or developing audio-focused applications, selecting the right audio card and properly configuring it are crucial steps for success. Remember to consider your specific needs when choosing between USB, HAT-based, or professional-grade solutions, and always verify compatibility with your Pi model. With the setup guides and troubleshooting tips covered in this article, you’re well-equipped to start your audio project. Don’t hesitate to experiment with different configurations and settings to achieve the best possible sound quality. For your next steps, consider exploring audio-focused project tutorials or joining the Raspberry Pi community to share experiences and learn from other enthusiasts.