

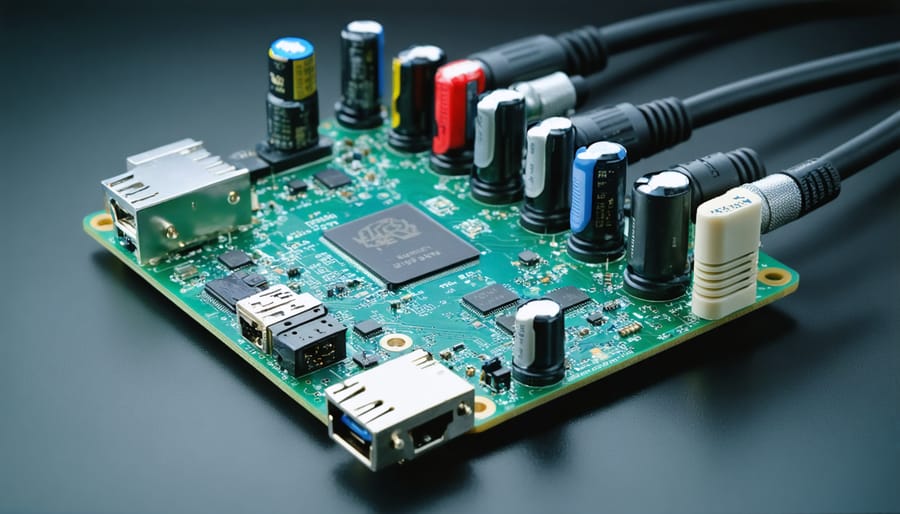
Transform your Raspberry Pi into a powerful Digital Signal Processing (DSP) workstation for professional-grade audio manipulation and real-time sound processing. The compact single-board computer, combined with the right DAC hardware and DSP software libraries, delivers impressive audio processing capabilities at a fraction of the cost of traditional studio equipment.
Modern DSP applications on Raspberry Pi now support crucial audio functions including real-time filtering, equalization, compression, and spectral analysis – all achievable with minimal latency when properly configured. From home recording studios to automated audio processing systems, the Pi’s 64-bit processor and extensive GPIO pins provide the perfect foundation for both hobbyist and professional DSP projects.
With the emergence of specialized audio HATs and optimized software frameworks like Pure Data and SuperCollider, implementing complex DSP algorithms has become remarkably accessible. Whether you’re building a digital audio effects processor, crafting an automated mastering chain, or developing real-time audio analysis tools, the Raspberry Pi offers the ideal balance of processing power, affordability, and flexibility needed for modern DSP applications.
This guide explores everything you need to know about leveraging your Raspberry Pi for DSP – from essential hardware selection and initial setup to advanced signal processing techniques and performance optimization strategies. Let’s dive into transforming your Pi into a capable DSP powerhouse.
Setting Up Your Raspberry Pi Audio Workstation
Required Hardware Components
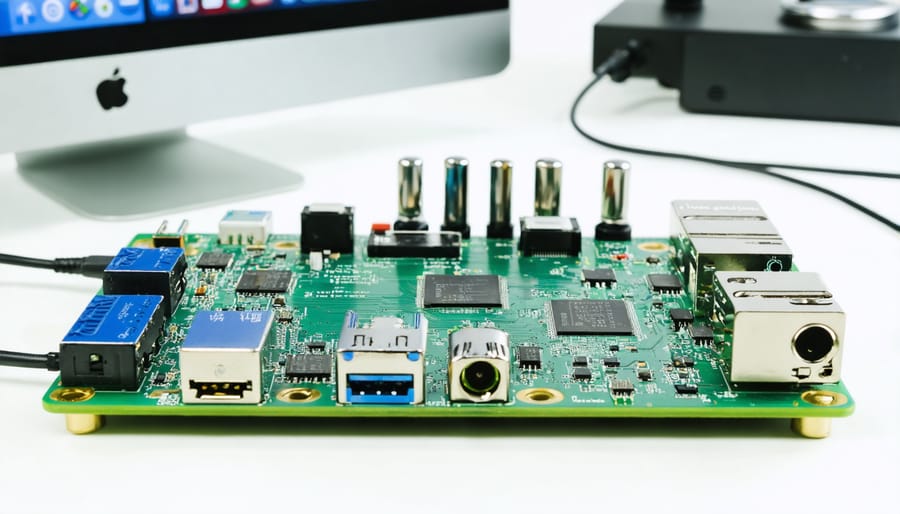
To build a capable DSP system with your Raspberry Pi 4 Model B, you’ll need several key components to ensure optimal audio processing performance. Here’s what you’ll need for a complete audio interface setup:
Essential Components:
– High-quality USB or I2S DAC (Digital-to-Analog Converter)
– Audio ADC (Analog-to-Digital Converter) for input
– Powered USB hub (if using multiple USB audio devices)
– Minimum 2GB RAM (4GB recommended for complex processing)
– Class 10 microSD card (32GB or larger)
– Adequate power supply (5V/3A recommended)
Recommended Accessories:
– Active cooling solution (heatsink with fan)
– Audio-grade power supply for cleaner power
– Shielded audio cables
– External hard drive for audio storage
– GPIO header extension board
– Professional-grade audio connectors (XLR, TRS)
Optional Enhancements:
– LCD display for real-time monitoring
– Hardware controls (potentiometers, encoders)
– MIDI interface for external control
– Custom case with proper ventilation
– Backup power solution
Remember to select components that match your specific audio processing needs and budget constraints. Higher-quality DACs and ADCs will provide better audio fidelity for professional applications.
Software Installation and Configuration
To get started with DSP on your Raspberry Pi, you’ll need to set up the necessary software components. Begin by updating your Raspberry Pi OS to ensure compatibility:
“`bash
sudo apt update
sudo apt upgrade
“`
Next, install the essential audio processing libraries and tools:
“`bash
sudo apt install python3-numpy python3-scipy python3-matplotlib
sudo apt install python3-sounddevice portaudio19-dev
“`
For real-time audio processing, install Jack Audio Connection Kit:
“`bash
sudo apt install jackd2 qjackctl
“`
Create a Python virtual environment for your DSP projects:
“`bash
python3 -m venv dsp_env
source dsp_env/bin/activate
pip install pyalsaaudio
“`
Configure your audio settings by editing the /boot/config.txt file:
“`bash
sudo nano /boot/config.txt
“`
Add these lines to enable the audio interface:
“`
dtparam=audio=on
audio_pwm_mode=2
“`
Finally, test your setup by running a simple Python script to capture and play audio:
“`python
import sounddevice as sd
import numpy as np
duration = 5 # seconds
sample_rate = 44100
recording = sd.rec(int(duration * sample_rate),
samplerate=sample_rate, channels=2)
sd.wait()
“`
Remember to reboot your Raspberry Pi after making these changes to ensure all configurations take effect.
Digital Signal Processing Fundamentals
Understanding Audio DSP Basics
Digital Signal Processing (DSP) for audio on the Raspberry Pi starts with understanding fundamental concepts that shape how we capture, process, and output sound. At its core, audio DSP converts analog sound waves into digital data through ADC for audio recording, processes this data, and then converts it back to analog signals.
Sampling rate, measured in Hertz (Hz), determines how many times per second we capture audio data. Common rates include 44.1kHz (CD quality) and 48kHz (professional audio). The Raspberry Pi typically handles these rates well, though higher rates like 96kHz may require additional optimization.
Bit depth represents the precision of each audio sample. 16-bit audio provides 65,536 possible values per sample, while 24-bit offers even finer resolution with over 16 million values. This affects dynamic range and overall audio quality.
When processing audio signals, we work with operations like:
– Filtering: Removing unwanted frequencies
– Amplification: Adjusting signal levels
– Equalization: Shaping frequency response
– Effects: Adding reverb, delay, or modulation
The Raspberry Pi’s processing power allows real-time manipulation of these parameters, though careful optimization is needed to maintain low latency. Buffer size plays a crucial role here – smaller buffers reduce latency but increase CPU load, while larger buffers provide more stable processing at the cost of higher latency.
Understanding these basics helps in designing efficient audio processing chains and making informed decisions about trade-offs between audio quality, latency, and system resources.
Real-time Processing Capabilities
The Raspberry Pi’s real-time processing capabilities for DSP applications depend largely on the model you’re using and how you optimize your code. The latest Raspberry Pi 4B, with its quad-core processor running at 1.5GHz and up to 8GB of RAM, can handle many basic to intermediate DSP tasks effectively, though it does have its limitations.
For audio processing, the Pi can comfortably manage tasks like basic filtering, equalization, and simple effects processing with latencies as low as 10-15ms when properly configured. This makes it suitable for many hobbyist and educational projects, though it may not match the performance of dedicated DSP hardware.
The key to achieving optimal real-time performance lies in proper system configuration. Using a real-time kernel patch, setting appropriate CPU governor settings, and implementing efficient coding practices can significantly improve processing capabilities. The Pi’s GPU can also be leveraged for certain DSP operations, offering additional processing power when needed.
However, users should be aware of potential bottlenecks. Complex operations like multiple simultaneous effects or advanced frequency analysis may strain the system. The Pi’s processing power is shared across all running processes, so dedicated DSP applications perform best when unnecessary background services are disabled.
For most hobbyist audio applications, including basic mixing and effects processing, the Raspberry Pi provides sufficient processing power while remaining cost-effective and flexible.
Implementing Multi-Channel Audio Mixing

Channel Routing and Management
The Raspberry Pi’s audio capabilities extend beyond basic playback, allowing you to set up and manage multiple audio channels for complex DSP applications. ALSA (Advanced Linux Sound Architecture) serves as the foundation for routing audio signals on your Pi, enabling you to create sophisticated channel configurations.
To begin channel routing, you’ll first need to configure your audio interface in the ALSA configuration file. Navigate to /etc/asound.conf and create a basic configuration that defines your input and output channels. For a typical stereo setup, you might establish two input channels and two output channels, but the Pi can handle more complex arrangements depending on your hardware.
Here’s a practical approach to managing multiple channels:
1. Create separate audio streams for different processing chains
2. Assign unique channel numbers to each stream
3. Configure buffer sizes and sample rates for optimal performance
4. Set up proper routing between input and output channels
Using JACK Audio Connection Kit alongside ALSA provides even more flexibility in routing capabilities. JACK allows you to create virtual patches between audio channels and applications, making it easier to implement real-time effects processing and signal routing.
For advanced channel management, consider implementing a patch bay system that allows dynamic routing changes during runtime. This can be particularly useful when building audio applications that require different routing configurations for various use cases.
Remember to monitor CPU usage when working with multiple channels, as each additional processing chain adds to the system load. Start with a conservative number of channels and gradually expand based on your Pi’s performance capabilities and your project requirements.
To ensure stable performance, implement proper error handling for channel overflow and underrun conditions. This helps maintain audio quality and prevents system crashes when working with complex routing setups.
Real-time Effects Processing
The Raspberry Pi’s capabilities for audio effects processing truly shine when implementing real-time effects across multiple channels. Using libraries like PyDSP and Pure Data, you can create sophisticated audio processing chains that rival professional equipment.
To implement multi-channel effects, start by configuring your audio interface to handle multiple inputs and outputs simultaneously. The ALSA (Advanced Linux Sound Architecture) system provides low-latency audio routing, essential for real-time processing. You can process different effects on separate channels, such as applying reverb to vocals while adding compression to instruments.
Common effects implementations include:
– Delay lines with adjustable feedback and time
– Multi-band equalizers for frequency shaping
– Dynamic compression for level control
– Modulation effects like chorus and flanger
– Spatial effects including stereo widening
For optimal performance, consider using circular buffers to manage audio streams efficiently. This approach minimizes memory usage and reduces processing latency. You can also implement parallel processing techniques to handle multiple effects simultaneously without overwhelming the Pi’s CPU.
To reduce latency further, utilize the Raspberry Pi’s GPU for certain DSP calculations through OpenGL ES compute shaders. This offloads intensive calculations from the CPU, ensuring smooth real-time performance even with complex effect chains.
When working with multiple channels, proper gain staging becomes crucial. Implement automatic gain control to prevent signal clipping and maintain consistent levels across all processed channels. You can also create effect presets that users can quickly switch between during live performances or recording sessions.
Remember to monitor CPU usage and adjust buffer sizes accordingly. Larger buffers provide more stability but increase latency, while smaller buffers offer better responsiveness but require more processing power. Finding the right balance for your specific setup is key to achieving professional-quality results.
Audio Mastering Techniques
EQ and Compression Tools
The Raspberry Pi offers powerful tools for implementing EQ and compression in your audio processing chain. Using popular libraries like SoX and Python’s scipy package, you can create customized equalizers that shape your sound with precision. A basic three-band EQ can be implemented using digital filters, allowing you to adjust low, mid, and high frequencies independently.
For compression, the Raspberry Pi can handle both basic dynamic range control and more sophisticated multiband compression. Using tools like LADSPA plugins or custom Python scripts, you can create compressors that respond to different frequency ranges and implement various compression curves. The key parameters you’ll work with include threshold, ratio, attack time, and release time.
Here’s a practical approach to implementing these tools:
1. Start with a simple parametric EQ using biquad filters
2. Add compression with adjustable threshold and ratio
3. Implement a basic limiter to prevent clipping
4. Create presets for different processing chains
The computational efficiency of the Raspberry Pi allows for real-time processing of these effects with minimal latency. For best results, consider using floating-point calculations for improved precision, though this may require more processing power.
Popular tools like Jack Audio Connection Kit (JACK) integrate well with custom DSP applications, allowing you to chain multiple effects together. You can also create graphical interfaces using libraries like PyQt or Tkinter to control your EQ and compression parameters in real-time.
Remember to monitor CPU usage and adjust buffer sizes accordingly to maintain stable performance. With proper optimization, these tools can provide professional-grade audio processing capabilities suitable for both live and studio applications.
Final Output Optimization
To achieve professional-quality output from your Raspberry Pi DSP setup, focus on implementing these proven optimization techniques. Start by using a high-quality DAC (Digital-to-Analog Converter) with at least 24-bit resolution to ensure pristine audio conversion. Consider using a dedicated power supply for your DAC to minimize electrical noise interference.
Buffer size optimization is crucial for balancing latency and processing power. For real-time applications, maintain buffer sizes between 256 and 512 samples. Larger buffers provide more stability but increase latency, while smaller buffers reduce latency but demand more processing power.
Implement proper gain staging throughout your signal chain. Keep your input levels between -18dB and -12dB to maintain headroom and prevent digital clipping. Use a spectrum analyzer to monitor your frequency response and identify potential issues in real-time.
CPU optimization is essential for smooth operation. Disable unnecessary system services and consider using a real-time kernel patch for more consistent performance. Monitor your CPU usage and temperature during processing to prevent thermal throttling.
For the final output stage, apply dithering when reducing bit depth to maintain audio quality. Use appropriate anti-aliasing filters when downsampling, and ensure your output format matches your target platform’s specifications.
Remember to test your processed audio across different playback systems to ensure consistency. Consider using reference tracks to compare your output quality and make necessary adjustments to your processing chain. Regular calibration of your monitoring system will help maintain accurate representation of your processed audio.
Finally, document your optimization settings and create presets for different use cases to maintain consistency across projects and streamline your workflow.
Performance Optimization Tips
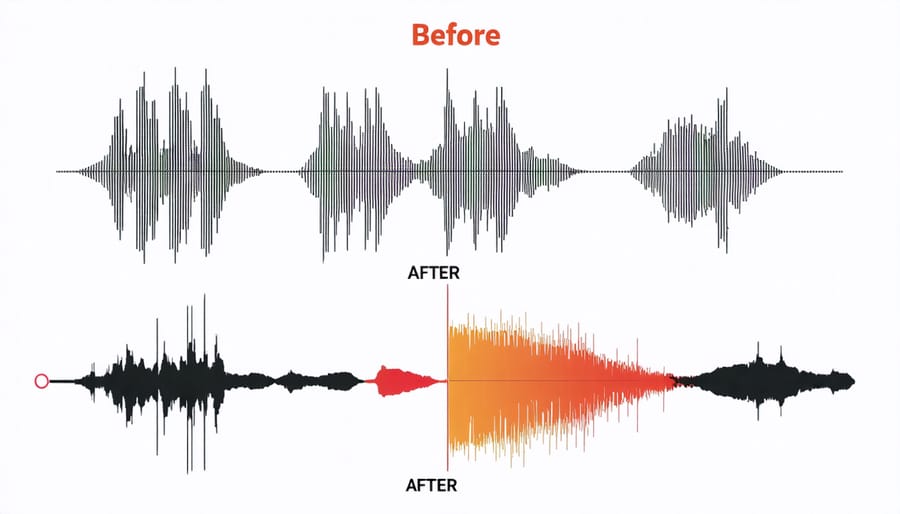
To optimize audio performance on your Raspberry Pi DSP setup, start by adjusting your buffer size settings. Smaller buffers reduce latency but increase CPU load, while larger buffers offer stability at the cost of higher latency. Find the sweet spot between 256 and 1024 samples for your specific needs.
Enable CPU governor settings to “performance” mode rather than the default “ondemand” mode. This ensures consistent processing power and prevents audio dropouts. Additionally, consider overclocking your Raspberry Pi if thermal conditions permit, but always monitor temperatures carefully.
Implement efficient DSP algorithms by using fixed-point arithmetic where possible instead of floating-point operations. This significantly reduces processing overhead. Take advantage of the ARM NEON instructions when writing custom DSP code to accelerate signal processing tasks.
Use real-time scheduling priorities for your audio processes. Set your audio application to run with elevated priorities using the SCHED_FIFO scheduler. This ensures your DSP tasks get priority over less critical system processes.
Minimize background processes and disable unnecessary services. Every running process competes for CPU time, so a leaner system means better audio performance. Consider using a dedicated Linux distribution optimized for audio processing to further enhance performance.
Remember to properly cool your Raspberry Pi, as thermal throttling can severely impact DSP performance. A small heatsink and fan can make a significant difference in maintaining stable processing capabilities.
The Raspberry Pi has proven itself to be a versatile and powerful platform for audio processing applications. From basic audio filtering to complex real-time effects processing, this affordable single-board computer opens up endless possibilities for audio enthusiasts and developers alike. As DSP capabilities continue to evolve, the Raspberry Pi community keeps pushing boundaries with innovative projects and solutions. Whether you’re building a custom audio effects unit, creating an automated mixing system, or experimenting with machine learning for audio processing, the Raspberry Pi provides an accessible entry point into the world of digital signal processing. Looking ahead, the combination of improving hardware capabilities and expanding software resources suggests an even brighter future for audio processing on the Raspberry Pi platform. For hobbyists and professionals alike, the journey into DSP with Raspberry Pi is just beginning.