

Transform your Raspberry Pi 4 Model B into a powerful digital audio workstation with real-time audio processing capabilities that rival professional equipment. Connect an USB audio interface for pristine sound capture, install the ALSA audio drivers and Python’s PyAudio library for low-latency processing, and leverage the Pi’s GPIO pins for custom audio control interfaces.
The 1.5GHz quad-core processor and 4GB RAM configuration handles everything from basic effects like reverb and delay to complex audio analysis and synthesis. Build professional-grade audio applications using Pure Data or SuperCollider, create custom digital instruments, or develop automated audio processing pipelines for music production and sound design.
Beyond simple playback, harness the Pi’s processing power to implement advanced DSP algorithms, machine learning-based audio analysis, and networked audio streaming solutions. Whether you’re building a guitar effects processor, automated mixing system, or creative sound installation, the Pi’s combination of processing power, extensive GPIO options, and robust audio libraries makes it an ideal platform for audio experimentation.
Essential Hardware Setup for Audio Processing

Audio Interfaces and DACs
To enhance your Raspberry Pi’s audio processing capabilities, selecting the right audio interface or DAC is crucial. While the Pi’s built-in audio output is adequate for basic projects, serious audio work requires higher-quality hardware for better sound fidelity and reduced noise.
Popular USB audio interfaces like the Focusrite Scarlett series and Behringer UMC202HD work seamlessly with the Raspberry Pi, offering professional-grade inputs and outputs. These devices handle digital-to-analog conversion with precision, supporting sampling rates up to 96kHz and 24-bit depth.
For audiophiles and advanced users, dedicated HAT (Hardware Attached on Top) solutions like the HiFiBerry DAC+ Pro and IQaudIO DAC+ provide superior audio quality. These HATs connect directly to the Pi’s GPIO pins, eliminating USB bottlenecks and reducing latency. They’re particularly suitable for real-time audio processing applications and high-fidelity playback systems.
When choosing an interface, consider factors like input/output requirements, sampling rate capabilities, and driver compatibility with your Pi’s operating system.
Optimizing Your Pi’s Audio Performance
To achieve the best audio quality from your Raspberry Pi, several hardware optimizations and configurations can make a significant difference. Start by using a high-quality USB DAC (Digital-to-Analog Converter) instead of the built-in audio output. This bypasses the Pi’s somewhat noisy internal audio circuitry and provides cleaner sound reproduction.
Power supply quality is crucial for audio performance. Use a clean, stable power supply rated at 5V/3A or higher to minimize electrical noise. Consider adding a power filtering capacitor between the power supply and the Pi to further reduce interference.
For GPIO-based audio projects, implementing a hardware buffer circuit can prevent electrical noise from affecting your audio signal. Additionally, keeping audio cables away from power lines and using shielded cables can significantly reduce electromagnetic interference.
In the Raspberry Pi’s config.txt file, you can optimize several audio-related settings. Add “audio_pwm_mode=2” to enable higher quality PWM audio output, and “dtoverlay=hifiberry-dac” if you’re using a HiFiBerry or similar DAC HAT.
For USB audio interfaces, adjust the USB buffer size in the alsa-base.conf file to reduce latency while maintaining stable playback. A buffer size of 256 or 512 samples usually provides a good balance between responsiveness and reliability.
Remember to keep your Pi well-ventilated, as overheating can cause audio dropouts and affect overall system performance.
Software Tools for Real-time Audio Effects
Pure Data and SuperCollider
Pure Data (Pd) and SuperCollider are powerful open-source programming environments that excel in audio processing on the Raspberry Pi. These platforms offer unique approaches to creating and manipulating sound in real-time, making them popular choices for audio enthusiasts and experimental musicians.
Pure Data features a visual programming interface where users connect objects with virtual cables, similar to patching a modular synthesizer. This intuitive approach makes it particularly appealing for beginners who might find traditional coding intimidating. On the Raspberry Pi, Pd runs efficiently and can handle various audio tasks, from basic synthesis to complex sound processing.
SuperCollider, on the other hand, uses text-based programming and offers a more comprehensive framework for audio synthesis and algorithmic composition. While it has a steeper learning curve than Pure Data, it provides greater flexibility and processing power. Its client-server architecture makes it especially suitable for networked audio applications and live coding performances.
Both environments support MIDI devices, audio interfaces, and can interact with other software through protocols like OSC (Open Sound Control). They’re particularly well-suited for the Raspberry Pi’s processing capabilities and can be installed easily through the package manager. For beginners, Pure Data’s visual approach might be more accessible, while those comfortable with coding might prefer SuperCollider’s powerful scripting capabilities.
These tools transform your Raspberry Pi into a versatile audio processing platform, capable of everything from simple effects to complex generative music systems.
Python Audio Libraries
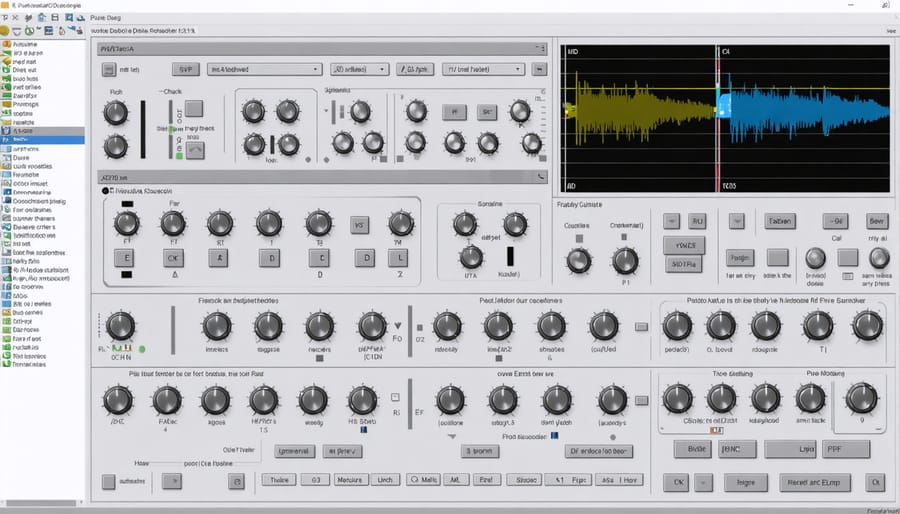
Python offers several powerful libraries for audio processing on the Raspberry Pi, making it an ideal platform for sound manipulation projects. PyAudio stands out as a fundamental library, providing a cross-platform way to play and record audio. It’s particularly useful for real-time audio streaming and basic sound manipulation tasks.
For more advanced processing, librosa is an excellent choice. This library specializes in music and audio analysis, offering functions for feature extraction, beat detection, and spectral analysis. It’s perfect for projects involving music information retrieval or sound visualization.
SoundDevice is another valuable library that provides a more straightforward interface compared to PyAudio, especially when working with multiple audio channels or specific hardware configurations. It’s particularly well-suited for Raspberry Pi projects requiring low-latency audio processing.
For those interested in speech processing, speech_recognition offers robust tools for converting spoken words to text. Combined with pyttsx3, you can create projects that both understand and generate speech.
NumPy and SciPy complement these audio libraries by providing essential mathematical functions for signal processing. They’re particularly useful when implementing filters, performing Fourier transforms, or analyzing frequency spectrums.
When starting with audio processing, it’s recommended to begin with PyAudio for basic operations and gradually incorporate other libraries as your project requirements grow. Most of these libraries can be easily installed using pip, making setup on the Raspberry Pi straightforward.
Building Your First Audio Effect
Creating a Simple Delay Effect
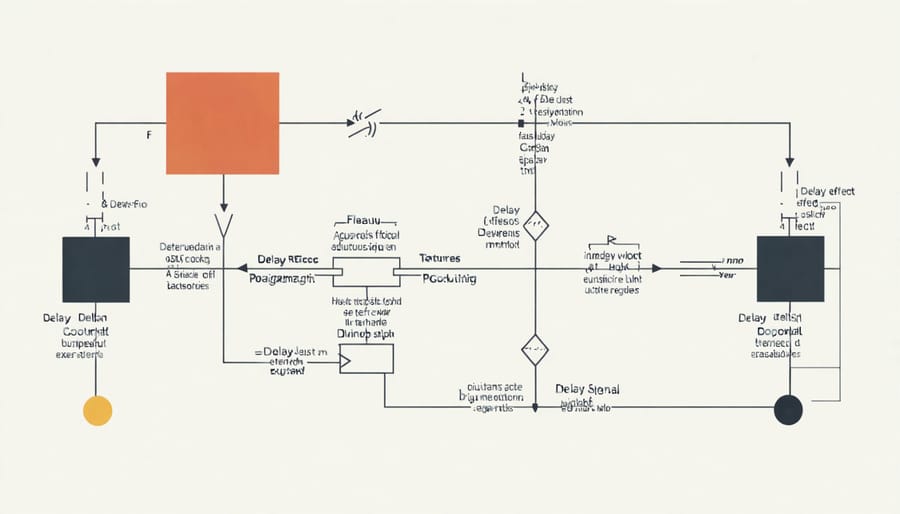
A delay effect is one of the most straightforward audio effects to implement on a Raspberry Pi, making it an excellent starting point for audio processing projects. Using Python and the PyAudio library, we can create a simple delay effect by storing incoming audio samples in a buffer and playing them back after a specified time interval.
Here’s a basic implementation that creates a 500ms delay:
“`python
import pyaudio
import numpy as np
CHUNK = 1024
RATE = 44100
DELAY_SECONDS = 0.5
DELAY_SAMPLES = int(RATE * DELAY_SECONDS)
BUFFER = np.zeros(DELAY_SAMPLES)
p = pyaudio.PyAudio()
stream = p.open(format=pyaudio.paFloat32,
channels=1,
rate=RATE,
input=True,
output=True,
frames_per_buffer=CHUNK)
while True:
input_data = np.frombuffer(stream.read(CHUNK), dtype=np.float32)
delayed_data = BUFFER[:CHUNK]
BUFFER[:-CHUNK] = BUFFER[CHUNK:]
BUFFER[-CHUNK:] = input_data
output_data = 0.7 * input_data + 0.3 * delayed_data
stream.write(output_data.tobytes())
“`
This code creates a continuous delay effect by mixing the current input with delayed samples. The delay time can be adjusted by changing DELAY_SECONDS, while the mix between dry and wet signals is controlled by the multiplication factors (0.7 and 0.3 in this example).
To enhance the effect, try experimenting with different delay times and feedback levels. You can also create multiple delay lines for more complex echo patterns or add filtering to create more sophisticated effects.
Testing and Optimizing Performance
Testing and optimizing your Raspberry Pi audio processing setup is crucial for achieving the best possible performance. Start by measuring your system’s latency using the ‘arecord’ and ‘aplay’ commands with different buffer sizes. A good target is latency under 20ms for real-time applications.
Monitor CPU usage while running your audio processing scripts using ‘top’ or ‘htop’. If you notice high CPU utilization, consider implementing buffer size adjustments or reducing the complexity of your processing algorithms. The default buffer size of 256 samples works well for most applications, but you can experiment with values between 128 and 512 to find the sweet spot for your setup.
Optimize your Python code by using NumPy’s vectorized operations instead of loops when processing audio arrays. For example, applying a gain effect using numpy.multiply() is significantly faster than iterating through samples. Consider using the ‘sounddevice’ library’s callback mode for more efficient real-time processing.
Memory management is equally important. Use Python’s memory_profiler to identify memory leaks and optimize resource usage. Keep audio buffers small and release resources properly when they’re no longer needed.
For testing audio quality, use reference tracks and compare the processed output with the original using spectrum analyzers like ‘scipy.signal.spectrogram’. This helps identify any unwanted artifacts or distortion introduced by your processing chain.
Finally, benchmark your system using different sample rates and bit depths to find the optimal configuration. Remember that higher values don’t always mean better performance – sometimes, a 44.1kHz sample rate provides better stability than 96kHz on resource-constrained systems.
Advanced Techniques and Optimization
Reducing Latency
Minimizing latency is crucial for real-time audio processing on the Raspberry Pi. By implementing effective signal processing techniques, you can significantly reduce the delay between input and output.
First, optimize your buffer size settings. Smaller buffers reduce latency but increase CPU load. Start with a buffer size of 256 samples and adjust based on your specific needs. Most audio applications perform well with buffer sizes between 128 and 512 samples.
Use the real-time kernel patch for your Raspberry Pi OS. This modification prioritizes audio processing tasks, ensuring more consistent performance. To enable it, install the rt-kernel package through apt:
sudo apt-get install raspberrypi-kernel-rt
Configure your audio interface with the ALSA driver’s period size parameter. Lower values decrease latency but may cause audio dropouts. A good starting point is:
hw:CARD=sndrpihifiberry,DEV=0 {
period_size 64
buffer_size 256
}
Consider using Jack Audio Connection Kit (JACK) instead of ALSA for complex audio routing. JACK provides better control over latency and allows for more sophisticated audio routing configurations.
Monitor your system’s CPU usage and temperature. High processing loads can cause audio glitches and increased latency. Use tools like top or htop to identify resource-hungry processes and optimize or terminate them as needed.
Multiple Effects Chain
Creating multiple audio effects on your Raspberry Pi allows you to build sophisticated sound processing chains, similar to professional audio workstations. To implement a chain of effects, you’ll need to carefully manage your processing resources and organize your effects in a logical sequence.
Start by creating a main processing loop that handles the audio stream. Each effect in your chain should be implemented as a separate function or class, making it easier to add, remove, or reorder effects. The audio signal flows through each effect sequentially, with the output of one effect becoming the input for the next.
Here’s a basic approach to implement your effects chain:
1. Set up a primary buffer for your audio input
2. Create individual effect processors (delay, reverb, distortion, etc.)
3. Process the audio through each effect in sequence
4. Monitor CPU usage to maintain stable performance
Remember to consider the order of your effects, as it significantly impacts the final sound. For example, placing distortion before delay creates a different sound than placing it after. Common effect chain arrangements include:
– Dynamics processors first (compression, noise gate)
– Filter-based effects next (EQ, wah)
– Modulation effects (chorus, flanger)
– Time-based effects last (delay, reverb)
To optimize performance, implement bypass switches for each effect and monitor your CPU usage. This allows you to enable or disable effects in real-time without interrupting the audio stream.
Embarking on audio processing projects with your Raspberry Pi opens up a world of creative possibilities. Throughout this guide, we’ve explored the essential components, software requirements, and practical techniques for transforming your Pi into a powerful audio processing platform. From setting up basic audio input/output to implementing real-time effects and advanced DSP algorithms, you now have the foundational knowledge to start building your own audio applications.
Remember to start with simple projects like basic filtering or amplification before moving on to more complex implementations. The Python libraries we’ve discussed, particularly PyAudio and NumPy, provide robust tools for your audio processing journey. As you gain confidence, consider exploring advanced topics like machine learning for audio analysis or creating your own custom effects chains.
For your next steps, try experimenting with different audio effects, optimize your code for better performance, or even contribute to the open-source audio processing community. Don’t forget to regularly back up your projects and share your experiences with fellow Pi enthusiasts. The possibilities are endless, and your Raspberry Pi is ready to become your personal audio processing laboratory.