


Transform your Raspberry Pi into a powerful IoT hub by building four high-impact projects that deliver practical automation solutions. Start with a smart security camera system that sends motion-detected snapshots to your phone, upgrade to an automated garden irrigation controller that responds to soil moisture readings, implement a whole-home energy monitoring system that tracks power consumption in real-time, or create an environmental monitoring station that logs temperature, humidity, and air quality data for seamless IoT integration.
These beginner-friendly projects require only basic Python programming skills, standard GPIO components, and cost-effective sensors readily available online. Each project builds foundational IoT skills while creating genuinely useful home automation tools. Follow our detailed tutorials to master essential concepts like sensor integration, real-time data processing, wireless connectivity, and cloud storage implementation – core competencies that translate directly to larger-scale IoT deployments.
Whether you’re a weekend tinkerer or aspiring IoT professional, these projects provide hands-on experience with industrial protocols, secure data transmission, and robust deployment strategies. Get started with minimal investment and scale your solutions as your skills grow.
Smart Security System Project
Required Components and Setup
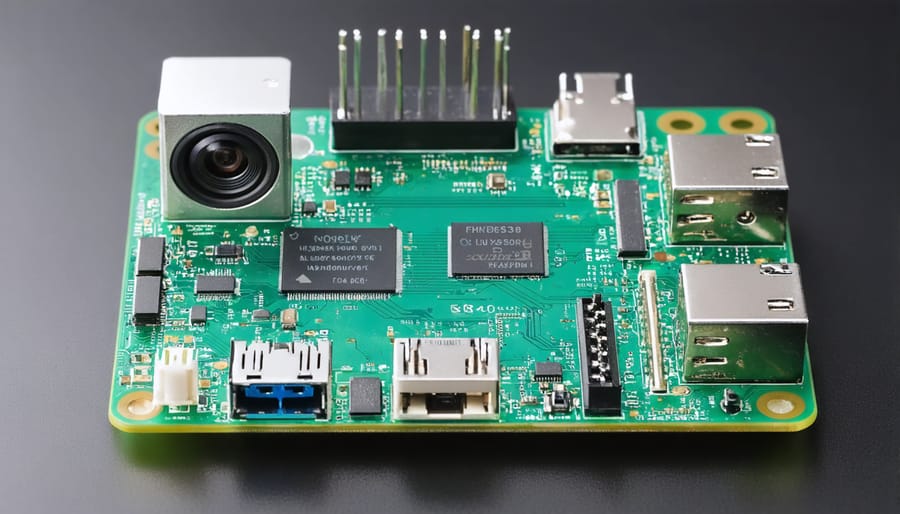
To get started with Raspberry Pi IoT projects, you’ll need several essential components. The foundation is a Raspberry Pi board (preferably Model 4B with at least 2GB RAM), a microSD card (16GB or larger), and a reliable 5V power supply. You’ll also need a basic breadboard, jumper wires, and a selection of sensors depending on your project goals.
For connectivity, ensure you have either an Ethernet cable or a Wi-Fi connection. A keyboard, mouse, and monitor are necessary for initial setup, though you can operate the Pi headless once configured. Basic electronic components like resistors, LEDs, and GPIO-compatible sensors will be needed for most projects.
Before starting any project, you’ll need to:
1. Download and flash Raspberry Pi OS onto your microSD card
2. Complete the initial OS setup and enable SSH
3. Update your system with latest packages
4. Install Python and essential libraries (pip, GPIO)
5. Configure network settings
Additional tools that prove useful include:
– A multimeter for testing circuits
– Wire strippers and cutters
– A small screwdriver set
– A protective case for your Pi
– USB accessories as needed
Remember to research specific sensor requirements for your intended project, as different IoT applications may need specialized components like environmental sensors, cameras, or relay modules.
Software Configuration and Code
Before diving into the physical assembly, let’s set up the software environment for your Raspberry Pi IoT projects. Start by installing the latest Raspberry Pi OS using the Raspberry Pi Imager tool. Once your OS is ready, open the terminal and update your system with:
“`bash
sudo apt update && sudo apt upgrade -y
“`
Install the required Python libraries for IoT development:
“`bash
pip3 install RPi.GPIO
pip3 install adafruit-circuitpython-dht
pip3 install paho-mqtt
“`
For advanced users interested in C programming for IoT, you’ll need to install the WiringPi library:
“`bash
sudo apt-get install wiringpi
“`
Create a new Python file for your project:
“`python
import RPi.GPIO as GPIO
import time
import Adafruit_DHT
GPIO.setmode(GPIO.BCM)
GPIO.setwarnings(False)
# Set up pins
sensor_pin = 4
led_pin = 17
GPIO.setup(led_pin, GPIO.OUT)
“`
This basic configuration enables GPIO control and sensor communication. For projects requiring internet connectivity, ensure your Wi-Fi is properly configured through the Raspberry Pi Configuration tool. Remember to enable I2C and SPI interfaces if your sensors require them:
“`bash
sudo raspi-config
“`
Select “Interface Options” and enable the necessary protocols. After configuration, reboot your Pi to apply all changes:
“`bash
sudo reboot
Mobile Integration and Alerts
Integrating your Raspberry Pi IoT projects with mobile devices enhances their functionality and convenience significantly. Using platforms like Pushbullet or IFTTT, you can set up instant notifications for various triggers from your IoT devices. For example, when your security camera detects motion or your temperature sensor records unusual readings, you’ll receive immediate alerts on your smartphone.
To implement mobile integration, install the required libraries on your Raspberry Pi using pip: ‘pip install pushbullet.py’ for Pushbullet notifications, or configure MQTT for more advanced messaging capabilities. Create a free account on your chosen platform and obtain the API key to establish the connection between your Pi and mobile device.
For remote access, consider setting up a VPN server on your Raspberry Pi or using secure SSH connections. This allows you to monitor and control your IoT devices from anywhere in the world. Popular mobile apps like RaspController or VNC Viewer provide user-friendly interfaces for remote management.
Remember to implement proper security measures, such as strong passwords and two-factor authentication, to protect your IoT system from unauthorized access.
Automated Plant Watering System
Hardware Assembly
Before starting your IoT project, gather these essential components:
– Raspberry Pi (3B+ or 4 recommended)
– Micro SD card (16GB or larger)
– Power supply (5V/3A)
– Breadboard and jumper wires
– DHT22 temperature/humidity sensor
– PIR motion sensor
– Relay module
– LED lights (various colors)
– Optional: case for Raspberry Pi
Once you have all components, follow this assembly sequence:
1. Insert the micro SD card into your Raspberry Pi
2. Connect the breadboard to your Pi’s GPIO pins using jumper wires
3. Mount the sensors according to your specific project needs – refer to our sensor integration guide for detailed pinout diagrams
4. For motion detection, connect the PIR sensor to GPIO pin 17
5. Wire the DHT22 sensor to GPIO pin 4 for environmental monitoring
6. Connect the relay module to GPIO pin 18 for power control
7. Attach LED indicators to GPIO pins 22-27
8. Double-check all connections before powering on
Ensure proper ventilation when assembling components in a case. Consider using heat sinks if your project will run continuously. Keep connections secure and organized using cable ties or mounting brackets to prevent loose wires during operation.
Sensor Programming
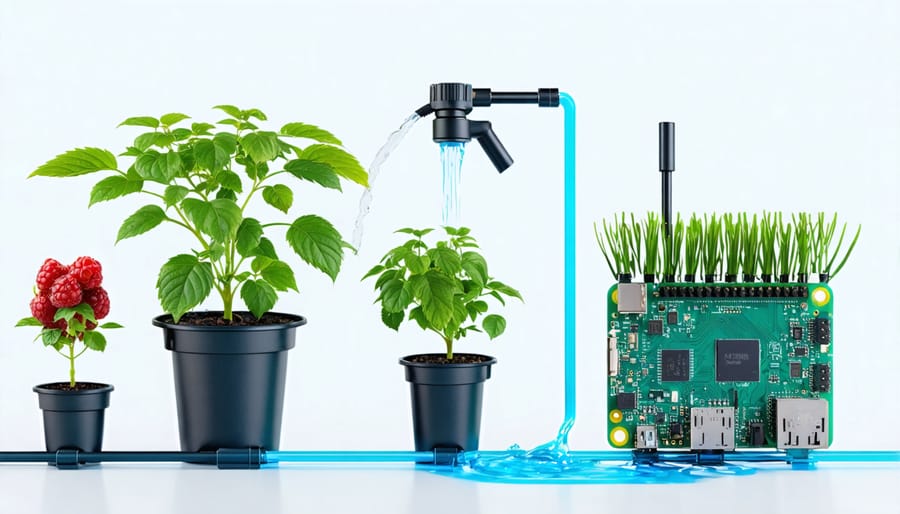
The heart of our moisture sensing system lies in the Python code that interfaces with the sensors and controls the water pump. First, configure your Raspberry Pi to handle the necessary IoT gateway protocols for seamless communication between components.
Here’s the core implementation:
“`python
import RPi.GPIO as GPIO
import time
SENSOR_PIN = 17
PUMP_PIN = 18
GPIO.setmode(GPIO.BCM)
GPIO.setup(SENSOR_PIN, GPIO.IN)
GPIO.setup(PUMP_PIN, GPIO.OUT)
def check_moisture():
return GPIO.input(SENSOR_PIN)
def control_pump(duration):
GPIO.output(PUMP_PIN, GPIO.HIGH)
time.sleep(duration)
GPIO.output(PUMP_PIN, GPIO.LOW)
while True:
moisture_level = check_moisture()
if moisture_level == 0: # Soil is dry
control_pump(5) # Run pump for 5 seconds
time.sleep(3600) # Check every hour
“`
This code monitors soil moisture levels and automatically activates the water pump when the soil becomes dry. The sensor returns 0 when dry and 1 when wet, making it easy to create conditional statements for pump control. You can adjust the checking frequency and pump duration by modifying the sleep values.
For more advanced applications, consider adding data logging capabilities or implementing a web interface for remote monitoring and control.
Web Interface Creation
A web interface is essential for monitoring and controlling your IoT devices remotely. Using Flask, a lightweight Python web framework, you can create a responsive dashboard that displays real-time data and provides control options. Start by installing Flask and creating a basic application structure with routes for different functions.
Design your dashboard using HTML, CSS, and JavaScript. Bootstrap framework can help create a professional-looking interface quickly. Include dynamic elements like graphs for data visualization using libraries such as Chart.js or Plotly. Add toggle switches for controlling devices and real-time updates using WebSocket connections.
For security, implement user authentication to protect your dashboard from unauthorized access. Store credentials securely and use HTTPS for encrypted communication. Create separate views for different user roles if needed.
Make your interface mobile-responsive so you can monitor your IoT devices from any device. Consider adding features like email alerts, data export options, and customizable widgets. Remember to optimize your code for the Raspberry Pi’s resources and implement error handling for a smooth user experience.
Test thoroughly across different browsers and devices before deploying your interface to ensure consistent functionality.
Smart Energy Monitor
Sensor Integration
To set up power monitoring sensors with your Raspberry Pi, you’ll first need to connect a compatible power monitoring module like the PZEM-004T or INA219 sensor. Begin by connecting the VCC pin to the Pi’s 3.3V power pin and the GND to any ground pin. For I2C sensors, connect SDA and SCL to GPIO pins 2 and 3 respectively.
Enable I2C communication on your Raspberry Pi by running sudo raspi-config and navigating to Interface Options. Select I2C and enable it. After rebooting, install the necessary Python libraries using pip:
“`
sudo pip3 install adafruit-circuitpython-ina219
“`
For initial sensor configuration, create a new Python script and import the required libraries. Set up the sensor with basic parameters like bus number and device address. Here’s a simple configuration example:
“`python
import board
import busio
from adafruit_ina219 import INA219
i2c = busio.I2C(board.SCL, board.SDA)
sensor = INA219(i2c)
“`
Test your setup by reading basic measurements:
“`python
voltage = sensor.bus_voltage
current = sensor.current
power = sensor.power
“`
Once configured, you can create more complex monitoring scripts to log power usage over time or set up alerts for unusual power consumption patterns. Consider implementing a data logging system using SQLite or InfluxDB to track long-term power usage trends.
Data Collection and Storage
For IoT projects, efficient data collection and storage are crucial components that transform your Raspberry Pi from a simple controller into a powerful smart home automation hub. The most straightforward approach is to implement data logging using Python’s built-in logging module, which can record sensor readings, system events, and user interactions in text files.
For more structured data storage, SQLite provides an excellent starting point. It’s lightweight, requires no separate server installation, and comes pre-installed with Python. Create a simple database schema to store your sensor readings with timestamps, making it easy to analyze trends over time.
For projects requiring more robust storage solutions, consider using MySQL or PostgreSQL. These databases offer better performance for multiple concurrent connections and larger datasets. Install your chosen database using:
“`bash
sudo apt install mysql-server
“`
To automate data collection, implement a cron job that runs your Python script at regular intervals:
“`bash
*/5 * * * * python3 /home/pi/data_collector.py
“`
For real-time monitoring, consider using time-series databases like InfluxDB, which are specifically designed for handling sensor data. Pair this with Grafana for creating beautiful dashboards to visualize your IoT data.
Remember to implement proper error handling and data validation to ensure reliable logging, and regularly backup your database to prevent data loss.
Visualization Dashboard
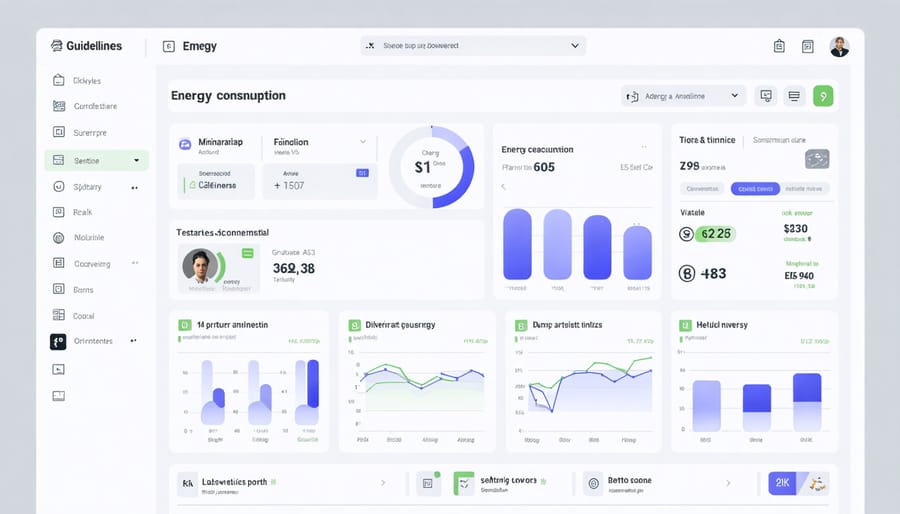
A visualization dashboard serves as the central hub for monitoring and analyzing your energy usage data. Using popular frameworks like Node-RED or Grafana, you can create an intuitive interface that displays real-time power consumption metrics and historical trends. Start by installing your preferred visualization platform on your Raspberry Pi and configuring it to receive data from your energy monitoring sensors.
Create customizable widgets and charts to display various metrics such as current power usage, daily consumption patterns, and cost estimates. Set up line graphs to track usage over time, bar charts for comparing different periods, and gauge displays for real-time monitoring. Consider adding features like power consumption heat maps and peak usage indicators to identify energy-intensive periods.
To make your dashboard more interactive, implement alert systems that notify you when power consumption exceeds predetermined thresholds. Add filtering options to analyze data by time periods, devices, or rooms. Export functionality allows you to download usage reports for detailed analysis or record-keeping.
For enhanced accessibility, configure your dashboard to be accessible from any device on your local network. Consider setting up secure remote access to monitor your energy usage while away from home. Remember to regularly backup your dashboard configuration and historical data to prevent loss of valuable insights.
This visualization system helps you make informed decisions about your energy consumption patterns and identify opportunities for reducing power usage and costs.
Environmental Monitoring Station
Sensor Setup
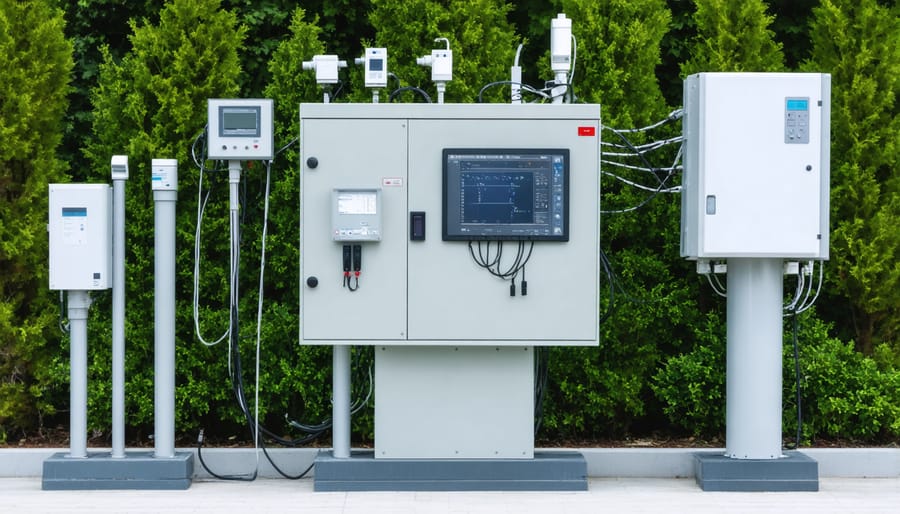
To get started with environmental monitoring, you’ll need to connect and configure the appropriate sensors to your Raspberry Pi. Begin by connecting the DHT22 temperature and humidity sensor to your Pi’s GPIO pins – typically using pins 2 (5V power), 6 (ground), and GPIO4 for data. Secure these connections using a breadboard and jumper wires.
For air quality monitoring, connect the MQ135 gas sensor to the Pi’s 3.3V power supply, ground, and an available analog input pin. Since the Raspberry Pi doesn’t have built-in analog inputs, you’ll need to use an ADS1115 analog-to-digital converter to interface with the sensor.
Install the required Python libraries by running:
“`
sudo pip3 install Adafruit_DHT
sudo pip3 install adafruit-ads1x15
“`
Test your sensors by running a simple Python script that reads and displays the sensor values. Remember to enable I2C communication through the Raspberry Pi configuration menu if you’re using the ADS1115 converter. Position your sensors away from direct heat sources or ventilation systems to ensure accurate readings.
For optimal performance, consider housing your sensors in a well-ventilated case to protect them from dust while allowing proper airflow for accurate measurements.
Data Reporting
Effective data reporting is crucial for any IoT project, and the Raspberry Pi makes it surprisingly simple to set up automated alerts and visualizations. Using Python libraries like Pandas and Matplotlib, you can create custom graphs and reports from your sensor data. Set up automated email notifications using the SMTP library to receive alerts when specific conditions are met, such as temperature thresholds or motion detection events.
For real-time monitoring, configure your Pi to send data to cloud platforms like ThingSpeak or Google Sheets. These services offer built-in visualization tools and can be accessed from anywhere. Install Node-RED on your Pi to create custom dashboards with minimal coding, perfect for displaying sensor readings and system status.
To ensure reliable reporting, implement data logging with timestamp records in a SQLite database. This allows for historical analysis and trend identification. Set up periodic backups of your data to prevent loss, and consider using services like Telegram or Discord for instant mobile notifications when critical events occur. For advanced users, integrating Grafana with InfluxDB creates professional-grade monitoring dashboards with customizable alerts.
The world of Raspberry Pi IoT projects continues to expand, offering endless possibilities for innovation and practical applications. These projects demonstrate how accessible and powerful IoT technology has become, enabling anyone with basic technical skills to create sophisticated smart home solutions and monitoring systems. Through these implementations, we’ve seen how a simple single-board computer can transform into a security system, an energy monitor, or an environmental sensor hub.
The impact of these projects extends beyond personal use. Educational institutions are incorporating similar projects into their curricula, helping students understand practical applications of programming and electronics. Businesses are also taking notice, adapting these concepts for cost-effective solutions to various operational challenges.
Looking ahead, the potential for expansion is tremendous. As new sensors and components become available, these basic projects can evolve into more complex systems. Future iterations might incorporate machine learning for better detection systems, advanced automation protocols, or integration with emerging IoT platforms. The possibilities for customization are virtually limitless, allowing makers to adapt these projects to their specific needs and circumstances.
Whether you’re a beginner or an experienced maker, these Raspberry Pi IoT projects serve as excellent starting points for your own innovations. Remember that the key to success lies in starting simple and gradually adding complexity as your skills and understanding grow. The IoT landscape is constantly evolving, and your Raspberry Pi can help you stay at the forefront of this exciting technological frontier.