

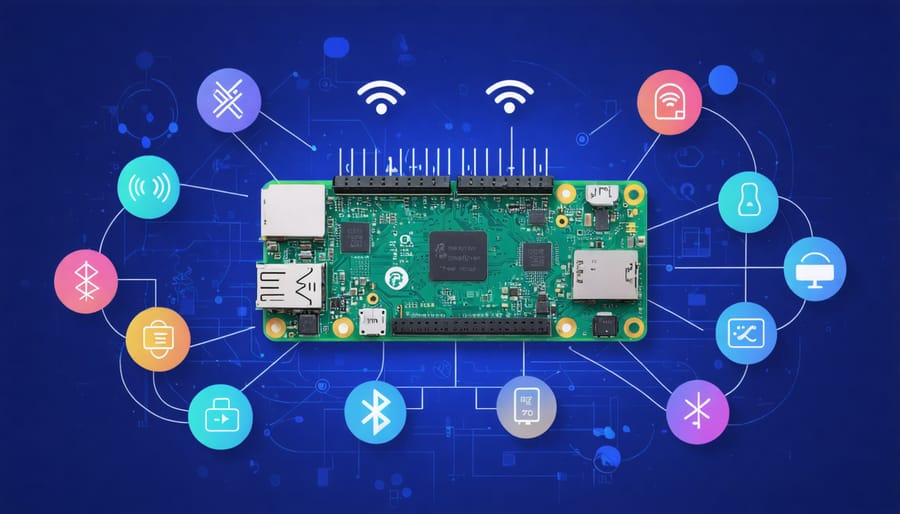
Transform your Raspberry Pi Zero into a versatile connected device using multiple connectivity options, from built-in wireless capabilities to USB-based networking solutions. The Pi Zero’s compact form factor and low power consumption make it ideal for IoT projects, remote sensors, and portable computing applications – all while maintaining full network functionality.
Modern Pi Zero models (particularly the Pi Zero W and Zero 2 W) come equipped with built-in Wi-Fi and Bluetooth, eliminating the need for additional hardware in most wireless applications. For classic Pi Zero users, USB OTG adapters and HAT expansion boards unlock extensive connectivity options, including Ethernet, cellular modules, and specialized RF communications.
Connect your Pi Zero to your development environment through USB networking, enabling seamless code deployment and debugging without additional hardware. This direct connection method, combined with the device’s native networking capabilities, positions the Pi Zero as a powerful platform for both standalone projects and integrated IoT solutions.
Whether you’re building a remote weather station, a portable gaming console, or a network-enabled smart device, understanding Pi Zero’s connectivity options opens up countless possibilities for your next project. This guide explores essential connection methods, configuration steps, and practical applications to get your Pi Zero connected and communicating effectively.
Built-in Connectivity Options of Raspberry Pi Zero
USB OTG Port
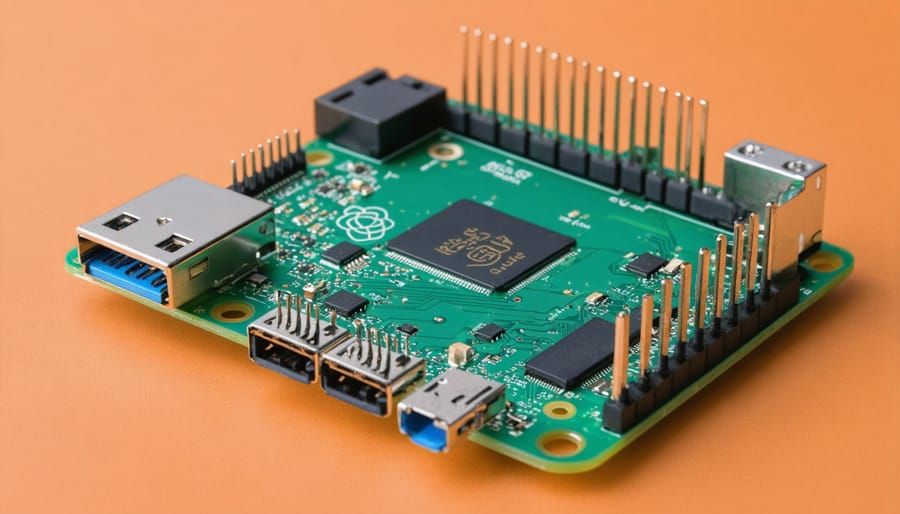
The USB OTG (On-The-Go) port is one of the most versatile connectivity options on the Raspberry Pi Zero, allowing you to connect various USB devices through a micro USB to USB-A adapter. This port enables your Pi Zero to function either as a USB host or device, expanding its connectivity possibilities significantly.
To use the USB OTG port, you’ll need a micro USB to USB-A adapter (often called an OTG cable). Once connected, you can attach keyboards, mice, USB flash drives, or even WiFi dongles. The port supports most standard USB peripherals, though power-hungry devices may require an external power supply.
A particularly useful feature of the USB OTG port is its ability to emulate different USB devices. With appropriate configuration, your Pi Zero can appear to other computers as a keyboard, mass storage device, or even an ethernet gadget, enabling direct computer-to-Pi communications.
For optimal performance, ensure your power supply can provide sufficient current (at least 1.2A recommended) when using USB peripherals. Some devices may require additional drivers or configuration changes in your Raspberry Pi’s settings.
GPIO Pins
The Raspberry Pi Zero’s GPIO (General Purpose Input/Output) pins provide extensive connectivity options for hardware interfacing and project development. The 40-pin header layout matches that of other Raspberry Pi models, offering compatibility with a wide range of HATs and accessories. These pins include power outputs (3.3V and 5V), ground connections, and 26 programmable GPIO pins that can be configured for various functions.
Each GPIO pin can be programmed as either an input or output, supporting digital signals, PWM (Pulse Width Modulation), I2C, SPI, and UART protocols. This versatility allows you to connect sensors, LED displays, motors, and other electronic components directly to your Pi Zero. While the default GPIO header comes unpopulated to maintain the board’s slim profile, you can easily solder pins or use a solderless header for temporary connections.
For beginners, it’s recommended to start with simple LED projects before progressing to more complex sensors or displays. Remember to always verify the voltage requirements of your connected components, as the GPIO pins operate at 3.3V logic levels, and exceeding these limits can damage your Pi Zero.
Wireless Connectivity Solutions
Wi-Fi Adapters
The Raspberry Pi Zero W comes with built-in Wi-Fi, but if you’re using the original Pi Zero, you’ll need a USB Wi-Fi adapter for wireless connectivity. When choosing an adapter, compatibility is crucial for hassle-free operation.
Several Wi-Fi adapters work particularly well with the Pi Zero. The Edimax EW-7811Un is a popular choice due to its compact size and reliable performance. Other recommended options include the Official Raspberry Pi USB Wireless Dongle and the CanaKit Wi-Fi Adapter, both of which offer excellent out-of-the-box compatibility.
To set up your Wi-Fi adapter, first connect it to your Pi Zero using a USB OTG adapter. Boot up your Pi and open the terminal. Edit the wireless configuration file by entering:
“`
sudo nano /etc/wpa_supplicant/wpa_supplicant.conf
“`
Add your network details using this format:
“`
network={
ssid=”YourNetworkName”
psk=”YourPassword”
}
“`
Save the file and reboot your Pi. The system should automatically connect to your wireless network on startup.
For optimal performance, position your Pi Zero away from metal objects and other electronic devices that might cause interference. If you experience connection issues, try updating your system with:
“`
sudo apt-get update
sudo apt-get upgrade
“`
This ensures you have the latest driver support for your Wi-Fi adapter.
Bluetooth Solutions
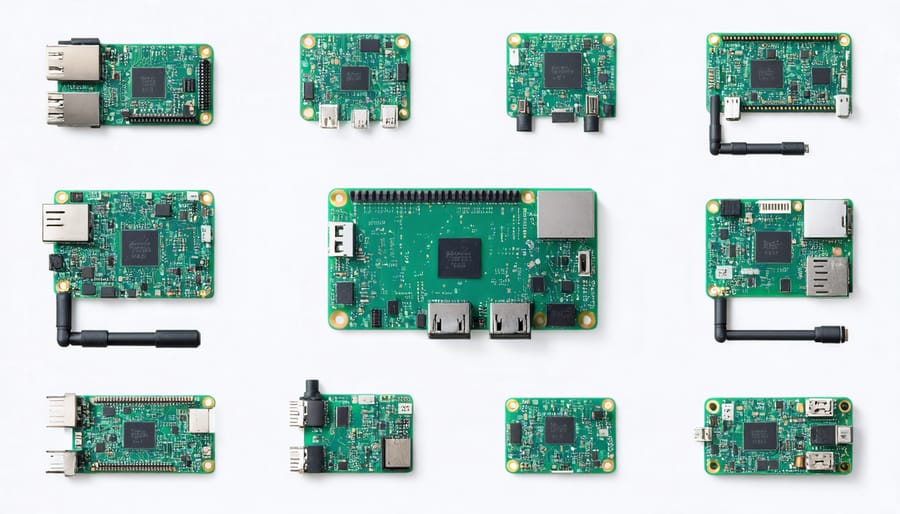
Bluetooth functionality opens up exciting possibilities for your Pi Zero, allowing you to connect your phone to Pi Zero and interface with various Bluetooth peripherals. While the original Pi Zero doesn’t include built-in Bluetooth, you can easily add this capability using a USB Bluetooth adapter or by upgrading to the Pi Zero W, which features integrated Bluetooth 4.1.
For those using the original Pi Zero, a micro USB Bluetooth dongle is the most straightforward solution. Popular options include the Plugable USB Bluetooth 4.0 adapter and the Edimax BT-8500, both known for their excellent compatibility with Raspberry Pi systems. To set up your adapter, simply connect it to your Pi Zero using a micro USB adapter or hub, and install the necessary Bluetooth packages using these commands:
sudo apt-get update
sudo apt-get install bluetooth bluez blueman
After installation, you can manage Bluetooth connections through the terminal using bluetoothctl commands or via the graphical interface if you’re running a desktop environment. The system supports both Bluetooth Classic and BLE (Bluetooth Low Energy) devices, making it versatile for various projects from wireless keyboards to IoT sensors.
Remember to configure your Bluetooth adapter as discoverable if you want other devices to find it:
sudo hciconfig hci0 piscan
Mobile Network Connectivity
For users seeking mobile connectivity, adding a 3G or 4G module to your Raspberry Pi Zero opens up exciting possibilities for remote projects and IoT applications. Popular options include the SIM7600E-H 4G HAT and Waveshare SIM7600G-H, which are specifically designed to work with the Pi Zero’s form factor.
To get started, you’ll need to connect the cellular module to your Pi Zero via the GPIO pins. Most modules come with detailed pinout diagrams, making the connection process straightforward. After hardware installation, you’ll need to enable serial communication through raspi-config and install the necessary drivers.
The setup typically involves configuring the APN settings for your mobile carrier and establishing the PPP (Point-to-Point Protocol) connection. Once configured, your Pi Zero can maintain a stable internet connection wherever there’s cellular coverage, perfect for outdoor projects and remote monitoring systems.
Before diving into 4G connectivity projects, consider your data plan and power requirements. Mobile modules can consume significant power, so external power sources or larger batteries are recommended for long-term deployments.
Keep in mind that some carriers may require specific APN settings or additional configuration. It’s worth checking your carrier’s documentation or support forums for Pi-specific setup guides to ensure smooth operation.
Wired Connection Methods
Ethernet Adapters
While the Raspberry Pi Zero doesn’t come with built-in Ethernet, there are several reliable Ethernet connectivity options available through USB adapters. The most common solution is using a USB OTG adapter combined with a USB-to-Ethernet adapter, which provides stable wired network access.
Popular choices include the Microchip LAN78XX series adapters, which are widely compatible with the Pi Zero’s architecture. These adapters typically deliver speeds up to 100Mbps, which is more than sufficient for most Pi Zero projects. When selecting an adapter, ensure it’s compatible with Linux and specifically the Raspberry Pi’s ARM architecture.
Setup is straightforward: connect the USB OTG adapter to your Pi Zero’s micro USB port, then attach the Ethernet adapter. Most modern Raspberry Pi OS versions automatically recognize these adapters without additional driver installation. However, some adapters might require updating your system packages using ‘sudo apt-get update’ and ‘sudo apt-get upgrade’.
For optimal performance, consider adapters with their own power management capabilities to prevent drawing too much power from the Pi Zero. Also, look for compact adapters to maintain the Pi Zero’s small form factor. While slightly more expensive, branded adapters from manufacturers like StarTech or TP-Link often provide better reliability and compatibility.
Serial Communication
Serial communication offers a reliable way to connect your Raspberry Pi Zero to other devices using UART (Universal Asynchronous Receiver/Transmitter) and various serial protocols. The Pi Zero features dedicated GPIO pins (GPIO 14 and 15) for UART communication, making it perfect for connecting to sensors, displays, and other microcontrollers.
To use UART, connect the TX (transmit) pin of your Pi Zero to the RX (receive) pin of your target device, and vice versa. Remember to connect the ground pins between devices to ensure proper communication. The default baud rate is 115200, but this can be adjusted based on your needs.
Beyond UART, the Pi Zero supports other serial protocols like I2C and SPI. I2C uses GPIO pins 2 (SDA) and 3 (SCL) for communication, while SPI utilizes GPIO pins 9 through 11. These protocols are particularly useful when working with multiple sensors or displays simultaneously.
For debugging and development, you can use a USB-to-TTL serial adapter to connect your Pi Zero to a computer. This enables console access and helps troubleshoot boot issues when a display isn’t available. Remember to disable the serial console in raspi-config if you plan to use these pins for other purposes.
Common applications include connecting LCD displays, GPS modules, Arduino boards, and various sensors. Always verify voltage levels are compatible between devices to prevent damage.
Troubleshooting Common Connectivity Issues
When experiencing connectivity issues with your Raspberry Pi Zero, following a systematic troubleshooting approach can help quickly identify and resolve common problems. Here are the most frequent issues and their solutions:
Wi-Fi Connection Drops
If your Pi Zero frequently loses Wi-Fi connection, first check your power supply. The Pi Zero requires a stable 5V power source, and inadequate power can cause connectivity issues. Use a high-quality power adapter rated at least 1A. Also, ensure your Wi-Fi configuration file (/etc/wpa_supplicant/wpa_supplicant.conf) is properly formatted and contains the correct network credentials.
No Wi-Fi Networks Detected
When your Pi Zero can’t detect any networks, verify that your Wi-Fi adapter is properly recognized using the command ‘iwconfig’. If no wireless interfaces appear, try reinstalling the Wi-Fi drivers or checking for physical damage to the adapter. For better reception, consider positioning your Pi Zero closer to the router or using a USB Wi-Fi adapter with an external antenna.
Slow Network Performance
To optimize your network hub setup and improve speed, try these steps:
– Update your Raspberry Pi OS to the latest version
– Reduce background processes using ‘top’ command
– Configure your Wi-Fi to use less congested channels
– Consider using a powered USB hub for better stability
SSH Connection Issues
If you’re unable to establish SSH connections, ensure SSH is enabled through ‘raspi-config’. Check if your Pi Zero’s IP address hasn’t changed by using ‘hostname -I’. For headless setups, create an empty file named ‘ssh’ in the boot partition before first boot.
Bluetooth Connectivity Problems
For Bluetooth issues, first verify Bluetooth is enabled using ‘bluetoothctl’. Reset the Bluetooth service using ‘sudo service bluetooth restart’ if devices aren’t being discovered. Keep paired devices within reasonable range and avoid interference from other electronic devices.
Remember to regularly backup your configuration files before making changes, and maintain a clean system by removing unnecessary services and packages. This helps prevent resource conflicts that could affect connectivity.
The Raspberry Pi Zero’s versatility in connectivity options makes it an excellent choice for various projects, from IoT devices to portable computing solutions. Whether you opt for wireless connectivity through USB Wi-Fi adapters or the built-in capabilities of the Pi Zero W, or choose wired connections via USB OTG or GPIO pins, there’s a solution for every need. For IoT projects requiring constant network access, the Pi Zero W with its integrated Wi-Fi is the clear winner. However, if your project demands minimal power consumption or enhanced security, the standard Pi Zero with ethernet adapters might be more suitable. Remember to consider your project’s specific requirements when choosing connectivity methods, and don’t hesitate to combine different approaches for optimal functionality. With proper planning and the right accessories, your Pi Zero can become a well-connected hub for your next innovative project.