


Transform your Raspberry Pi into a powerful home automation hub within hours using readily available components and free software platforms like Home Assistant or OpenHAB. This versatile $35 computer serves as the perfect foundation for seamless IoT integration, enabling centralized control of smart lights, thermostats, security cameras, and countless other devices.
Connect and control up to 50 smart home devices through a single Raspberry Pi 4, eliminating the need for multiple proprietary hubs while maintaining superior privacy and customization options. The lightweight yet robust architecture handles complex automation rules, scheduled tasks, and real-time device monitoring without subscription fees or cloud dependence.
Modern home automation demands both flexibility and security – precisely what Raspberry Pi delivers through its Linux-based system, regular security updates, and extensive community support. Whether you’re automating basic lighting schedules or implementing advanced sensor-based triggers, this compact powerhouse provides enterprise-grade capabilities at a fraction of commercial solutions’ cost.
Begin your smart home journey with basic GPIO connections and scale up to sophisticated integrations including voice control, mobile apps, and custom dashboards – all while maintaining complete control over your data and device communications. The possibilities expand daily as developers contribute new plugins and integration options to the open-source ecosystem.
Why Raspberry Pi Makes the Perfect Home Automation Brain
Cost-Effective Control Center
Setting up a Raspberry Pi home automation hub is remarkably cost-effective compared to commercial smart home systems. The initial investment typically ranges from $35-55 for the Raspberry Pi board itself, with the total setup cost including accessories averaging around $100-150. This includes the Pi, power supply, microSD card, and basic sensors. The system’s open-source capabilities eliminate recurring subscription fees common with commercial platforms.
Long-term savings are substantial, with users typically recovering their investment within the first year. Commercial smart home hubs often cost $200-300, plus monthly subscription fees ranging from $5-15. Additionally, many proprietary systems require specific, often expensive, compatible devices. The Raspberry Pi hub works with a wide range of affordable sensors and devices, offering flexibility in expanding your setup.
For example, a basic temperature monitoring system using commercial products might cost $150 annually, while a Pi-based solution costs about $60 as a one-time investment. This cost advantage increases significantly as you add more automation features to your home.
Unlimited Customization Options
One of the most compelling aspects of using a Raspberry Pi for home automation is its remarkable flexibility. Whether you’re just starting with basic smart home projects or planning an extensive automation system, the possibilities are virtually limitless. The Pi’s GPIO pins allow you to connect various sensors, switches, and actuators, while its USB ports and wireless capabilities enable integration with countless smart devices.
You can start small with simple temperature monitoring and gradually expand to advanced features like automated lighting, security cameras, or custom voice control systems. The Pi supports multiple automation platforms including Home Assistant, OpenHAB, and Node-RED, letting you choose the interface that best suits your needs. Additionally, its Python programming support means you can create custom scripts and automation rules tailored to your specific requirements.
What’s particularly exciting is how easily you can modify and upgrade your setup over time. As your needs evolve or new smart devices enter the market, your Pi-based hub can adapt and grow with you, making it a future-proof solution for home automation enthusiasts.
Essential Hardware Setup
Required Components
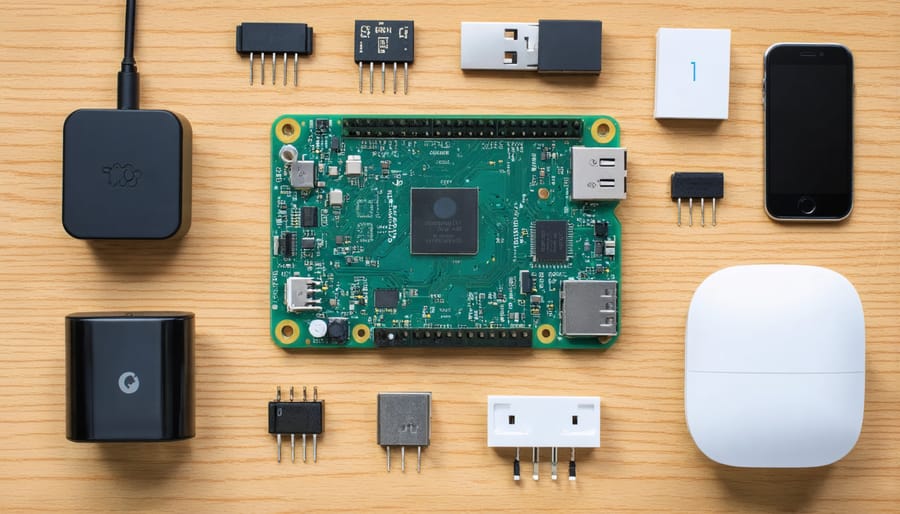
To build your Raspberry Pi home automation hub, you’ll need several essential components. At the core, you’ll require a Raspberry Pi board – we recommend the Raspberry Pi 4 Model B with at least 2GB RAM for optimal performance. The 4GB or 8GB versions are even better if you plan to run multiple automation tasks simultaneously.
For power supply, use the official Raspberry Pi 4 USB-C power supply (5.1V/3A) to ensure stable operation. A high-quality microSD card with at least 32GB storage is crucial – brands like Samsung EVO+ or SanDisk Extreme provide reliable performance for continuous operation.
For the hub’s housing, consider a well-ventilated case with GPIO access. The official Raspberry Pi 4 case works well, though alternatives with built-in cooling fans offer better temperature management for 24/7 operation.
Essential peripherals include:
– Ethernet cable for reliable network connection
– USB keyboard and mouse for initial setup
– HDMI cable and monitor for configuration
– Optional USB WiFi adapter if not using ethernet
For home automation functionality, you’ll need compatible smart devices such as:
– Smart plugs (Zigbee or Z-Wave)
– USB Zigbee stick (like ConBee II or CC2531)
– Temperature/humidity sensors
– Motion sensors
– Smart bulbs
Remember to choose devices that work with your preferred home automation software platform, such as Home Assistant or OpenHAB, to ensure seamless integration.
Assembly and Connection Guide
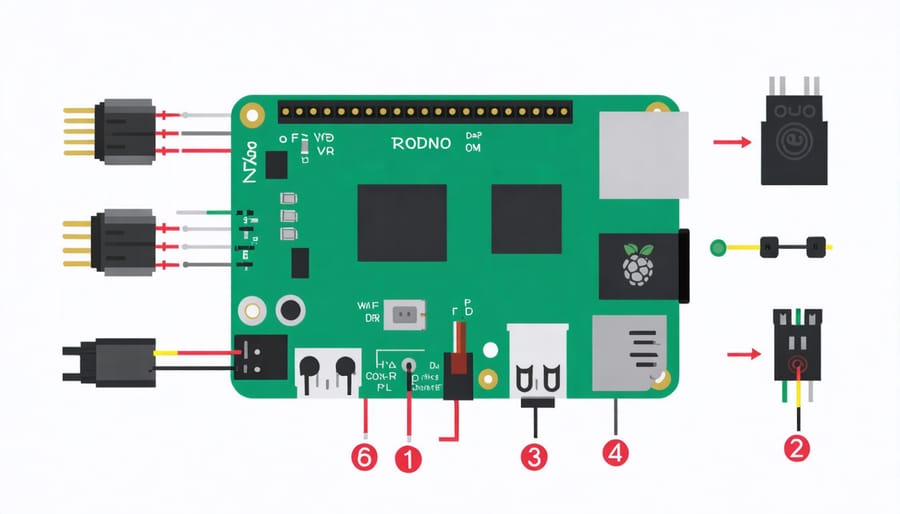
Begin by gathering your Raspberry Pi 4 (recommended for optimal performance), a microSD card (32GB or larger), power supply, and Ethernet cable. For reliable operation, use an official Raspberry Pi power supply rated at 5V/3A.
Start by downloading the Raspberry Pi OS (formerly Raspbian) from the official website. Use the Raspberry Pi Imager tool to flash the OS onto your microSD card. Once complete, insert the card into your Pi and connect the power supply.
For initial setup, connect your Pi to a monitor using HDMI, and attach a USB keyboard and mouse. Power on the device and follow the on-screen setup wizard to configure basic settings, including your timezone and WiFi credentials. Enable SSH during this process for remote access capabilities.
Position your Pi in a central location within your home, ideally near your router for stable connectivity. If using a case, ensure proper ventilation to prevent overheating. Connect the Ethernet cable to your router for the most reliable network connection, though WiFi is also suitable for most automation tasks.
Install Home Assistant using the following terminal commands:
“`
curl -fsSL https://get.docker.com -o get-docker.sh
sudo sh get-docker.sh
docker run -d –name homeassistant –privileged –restart=unless-stopped -e TZ=YOUR_TIME_ZONE -v /home/pi/homeassistant:/config –network=host ghcr.io/home-assistant/home-assistant:stable
“`
Access the Home Assistant interface by entering your Pi’s IP address followed by port 8123 (e.g., http://192.168.1.100:8123) in your web browser. Complete the initial configuration by creating an admin account and scanning for available smart devices on your network.
For extra reliability, consider connecting a UPS (Uninterruptible Power Supply) to prevent data corruption during power outages. Also, set up automatic backups of your configuration to protect your automation settings.
Software Configuration
Operating System Selection
When setting up your Raspberry Pi home automation hub, choosing the right operating system is crucial for optimal performance and compatibility. While several options exist, three stand out as particularly suitable choices.
Raspberry Pi OS (formerly Raspbian) is the most popular choice, offering excellent stability and compatibility with most home automation software. It’s lightweight, well-documented, and receives regular updates, making it ideal for beginners. The desktop environment provides an intuitive interface for those who prefer graphical management tools.
Home Assistant OS is purpose-built for home automation, offering a streamlined experience with pre-configured components. It’s essentially a standalone system that transforms your Pi into a dedicated home automation controller. While this limits general-purpose use, it provides the most straightforward path to creating a home automation hub.
For advanced users considering multiple applications, Ubuntu Server offers robust performance and the flexibility to run multiple services simultaneously. Its support for virtual machine setup allows you to segregate different automation components, enhancing security and stability.
Consider your technical expertise and specific needs when choosing. Home Assistant OS is perfect for dedicated automation, while Raspberry Pi OS offers more flexibility for mixed-use scenarios. Ubuntu Server shines in complex setups requiring additional services alongside home automation.
Home Assistant Installation
Home Assistant can be installed on your Raspberry Pi through multiple methods, but we’ll focus on the most reliable approach using Home Assistant Operating System (HAOS). Begin by downloading the latest version of HAOS for your Raspberry Pi model from the official Home Assistant website. Use the Raspberry Pi Imager tool to flash the image onto your microSD card, which should be at least 32GB for optimal performance.
Once the image is flashed, insert the microSD card into your Raspberry Pi and connect it to your network via ethernet cable for the most stable initial setup. Power on your Pi and wait approximately 20 minutes for the first-time installation to complete. During this time, Home Assistant will automatically configure its core systems and prepare the web interface.
Access your new Home Assistant instance by typing “homeassistant.local:8123” in your web browser. If this doesn’t work, you can also use your Pi’s IP address followed by “:8123”. Follow the on-screen instructions to create your admin account and complete the initial configuration.
Home Assistant will automatically detect many smart devices on your network, but you’ll need to manually add others through the integration menu. The platform updates automatically every two weeks, ensuring you always have the latest features and security patches. Remember to regularly backup your configuration using the Supervisor’s snapshot feature to protect your automation setup.
Adding Smart Devices
Adding smart devices to your Raspberry Pi automation hub is a straightforward process that begins with choosing compatible devices. Most modern smart devices use either Wi-Fi, Zigbee, or Z-Wave protocols for communication. To integrate Wi-Fi devices, ensure they’re connected to the same network as your Pi. For Zigbee or Z-Wave devices, you’ll need to attach the appropriate USB dongle to your Pi.
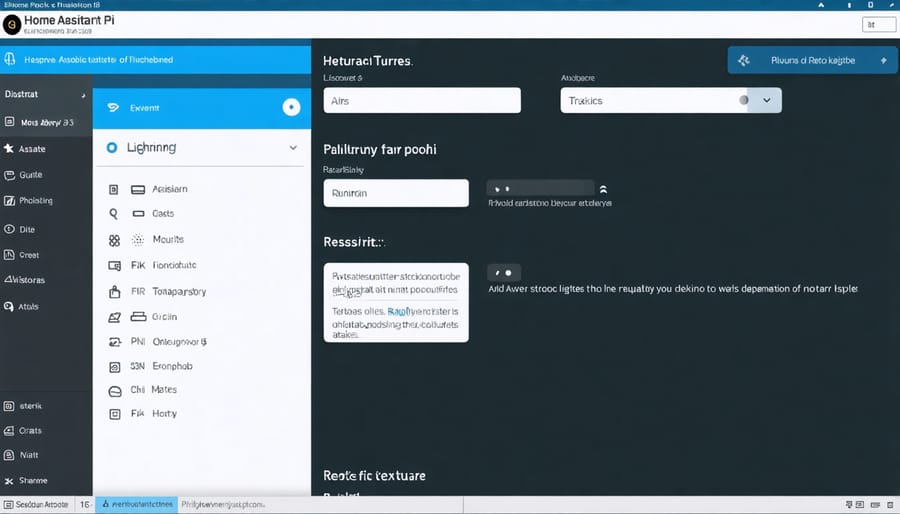
Start by installing the necessary device integration plugins through your home automation software’s interface. Home Assistant users can access the Integrations menu and click “Add Integration” to see a list of supported devices. Simply follow the on-screen prompts to pair each device.
For Wi-Fi devices, you’ll typically need to enter the device’s IP address and any authentication credentials. Zigbee and Z-Wave devices usually require entering pairing mode by pressing a button or following the manufacturer’s instructions. Once paired, the devices will appear in your dashboard.
Common smart devices to start with include:
– Smart bulbs and LED strips
– Motion sensors
– Temperature and humidity sensors
– Smart plugs
– Door/window sensors
After adding devices, test each one to ensure proper communication with your hub. You can then create device groups, set up basic automations, and customize your dashboard layout for easier control and monitoring. Remember to keep your devices’ firmware updated for optimal performance and security.
Security Considerations
Network Security
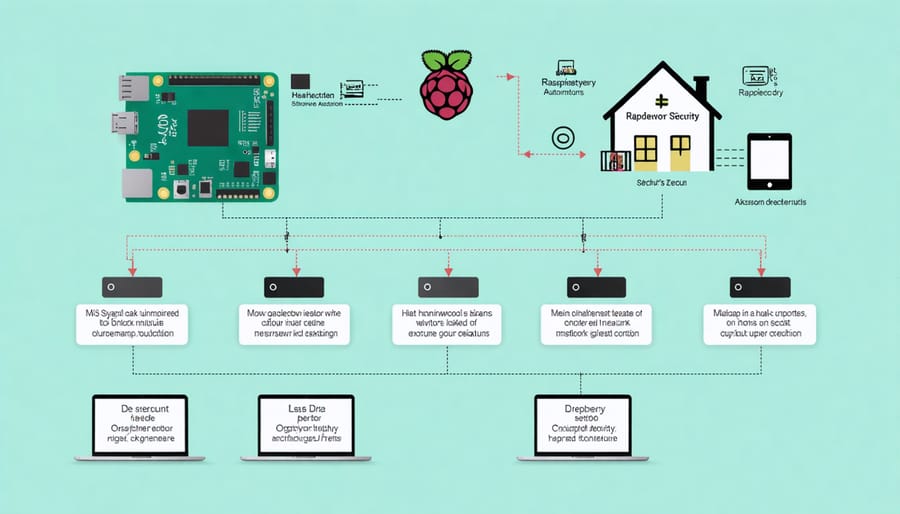
Securing your Raspberry Pi home automation hub is crucial to protect your smart home system from unauthorized access. Start by changing the default password for the ‘pi’ user account and creating unique, strong passwords for all services. Enable SSH key-based authentication instead of password login for remote access, and disable password authentication entirely once keys are set up.
Install and configure a firewall using UFW (Uncomplicated Firewall) to control incoming and outgoing traffic. Only open ports that are absolutely necessary for your automation services, and consider setting up port forwarding rules on your router to access your hub remotely while keeping other ports closed to the internet.
Implement network segmentation by creating a separate VLAN for your IoT devices, keeping them isolated from your main network. This prevents compromised smart devices from accessing sensitive data on other network segments. Regular system updates are essential – set up automatic security updates using ‘unattended-upgrades’ to patch vulnerabilities promptly.
Consider implementing SSL/TLS certificates for web interfaces and MQTT communications. Tools like Let’s Encrypt provide free certificates that encrypt traffic between your devices and hub. Additionally, use secure protocols like HTTPS and WSS (WebSocket Secure) for all web-based communications.
Monitor your system’s logs regularly for suspicious activities and consider setting up intrusion detection software like Fail2Ban to automatically block potential threats.
Access Control
Securing your home automation hub is crucial, and implementing proper access control ensures that only authorized users can interact with your system. The Raspberry Pi offers several authentication methods that you can integrate into your automation setup.
Start by creating individual user accounts for each family member or authorized user. This allows you to track activities and set specific permissions for different automation features. For example, you might want to give adults full control over security systems while limiting children’s access to entertainment controls only.
Two-factor authentication (2FA) adds an extra layer of security and can be implemented using Google Authenticator or similar services. This ensures that even if someone discovers a password, they still can’t access your system without the second verification step.
Role-based access control (RBAC) is particularly useful for managing multiple users. Create specific roles like “Administrator,” “Regular User,” and “Guest” with predetermined permission sets. This makes it easier to manage access rights as your system grows.
For remote access, set up SSL certificates and implement token-based authentication to secure API endpoints. This prevents unauthorized access attempts while allowing legitimate users to control their home automation system from anywhere.
Remember to regularly audit access logs and review user permissions to maintain security. Change passwords periodically and revoke access immediately for any compromised accounts or when users no longer need access to the system.
Advanced Features and Automation
Once you’ve mastered the basics of your Raspberry Pi home automation hub, it’s time to explore more sophisticated automation possibilities. Home Assistant offers a powerful automation engine that lets you create complex scenarios using triggers, conditions, and actions. Start with simple weekend automation projects and gradually build up to more advanced implementations.
One powerful feature is the ability to create automation scripts using YAML or the visual automation editor. For example, you can set up a morning routine that gradually increases your smart lights’ brightness, adjusts the thermostat, and plays your favorite news podcast when your alarm goes off. The system can even check weather conditions and adjust your schedule accordingly.
Node-RED integration adds another layer of sophistication, allowing you to create visual flow-based automations. This tool is particularly useful for complex logic operations and connecting different services. You might use it to create a sophisticated security system that monitors door sensors, captures camera footage, and sends notifications to your phone.
Advanced users can leverage AppDaemon to write Python-based automations, offering unlimited possibilities for custom functionality. This allows for complex operations like maintaining detailed energy usage logs, implementing predictive heating controls, or creating custom algorithms for optimal device scheduling.
Templates and variables in Home Assistant enable dynamic automations that adapt to changing conditions. For instance, you can create adaptive lighting that adjusts based on sunset times, occupancy patterns, and even your TV viewing status. The system can also learn from your habits using statistics and history to make intelligent decisions about your home’s operation.
Remember to use the built-in backup system to save your automation configurations regularly. As you develop more complex automations, proper documentation and version control become essential for maintaining and troubleshooting your system.
Setting up a Raspberry Pi home automation hub opens up endless possibilities for creating a smarter, more efficient living space. By following the steps outlined in this guide, you can build a secure, customizable system that meets your specific needs while maintaining full control over your data and devices. The combination of affordable hardware, open-source software, and extensive community support makes the Raspberry Pi an ideal choice for DIY home automation enthusiasts.
Remember to start small and gradually expand your system as you become more comfortable with the setup. Focus initially on basic automations like lighting and temperature control before moving on to more complex integrations. Regular software updates and security maintenance will ensure your hub continues to function reliably and safely.
Whether you’re a beginner or an experienced maker, the satisfaction of creating your own home automation system is unmatched. Don’t hesitate to explore new plugins, experiment with different sensors, and engage with the active Raspberry Pi community for support and inspiration. Your smart home journey is just beginning, and the possibilities are limitless.