


Master C programming on Raspberry Pi by leveraging its unique architecture for powerful IoT applications and embedded systems development. The combination of C’s low-level capabilities with Raspberry Pi’s versatile hardware creates an ideal platform for achieving seamless IoT integration and real-time control systems.
Start with GPIO programming using the WiringPi library to control sensors, actuators, and LED displays through direct memory access. Progress to network programming with sockets and the BCM2835 library for implementing distributed systems and IoT protocols. Optimize performance by compiling with gcc’s -O2 flag and utilizing the Pi’s ARM architecture-specific instructions.
Whether you’re building home automation systems, industrial monitors, or educational projects, C programming on Raspberry Pi offers unmatched performance and hardware control. This guide will walk you through essential techniques, from basic GPIO manipulation to advanced inter-process communication, ensuring you harness the full potential of your Raspberry Pi for real-world applications.
Setting Up Your C Development Environment
Required Tools and Libraries
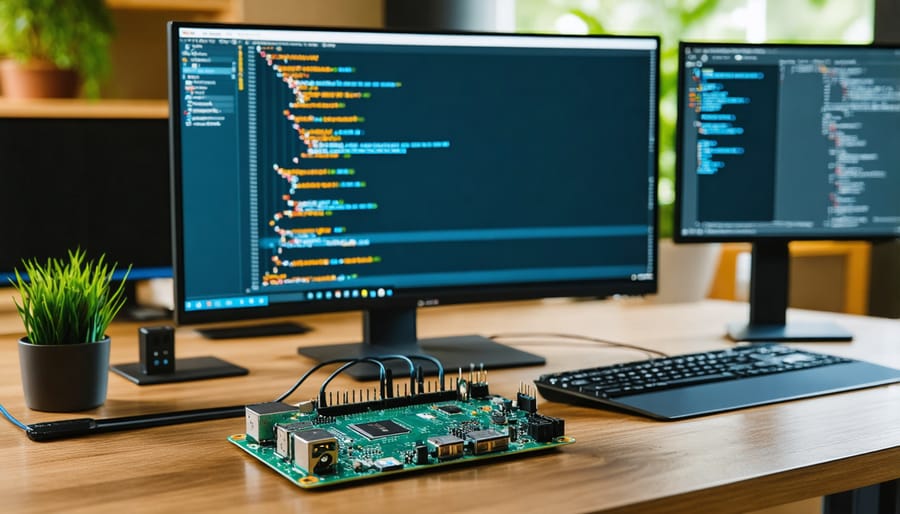
To get started with C programming on your Raspberry Pi, you’ll need several essential tools and libraries. First, ensure you have the basic GNU Compiler Collection (GCC) installed, which includes the C compiler. You can install it using the command ‘sudo apt-get install gcc’ if it’s not already present on your system.
The build-essential package is crucial as it contains necessary compilation tools and libraries. Install it using ‘sudo apt-get install build-essential’. You’ll also want a reliable text editor – popular choices include Geany, Visual Studio Code, or the lightweight Nano editor for terminal use.
For GPIO programming, you’ll need the WiringPi library, which provides simple access to the Raspberry Pi’s GPIO pins. The BCM2835 library is another valuable tool, especially for working with the Pi’s hardware interfaces like I2C and SPI.
Don’t forget to install Git for version control and cmake for building larger projects. A good debugging tool like GDB (GNU Debugger) will prove invaluable during development. For network programming, ensure you have the libcurl development files installed for handling HTTP requests and other network operations.
Finally, consider installing the ncurses library for creating text-based user interfaces, particularly useful for console applications.
Configuration Steps
To begin C programming on your Raspberry Pi, first ensure your system is up to date by running ‘sudo apt update’ and ‘sudo apt upgrade’ in the terminal. Install the essential development tools by executing ‘sudo apt install build-essential’ which includes the GCC compiler and necessary libraries.
Create a dedicated project directory using ‘mkdir c_projects’ and navigate into it with ‘cd c_projects’. Install a text editor like Nano or Visual Studio Code for writing your code. For Nano, use ‘sudo apt install nano’, or download VS Code from the official Raspberry Pi software repository.
Set up version control by initializing a Git repository: ‘git init’. This helps track your code changes. Configure your editor with proper indentation settings – typically 4 spaces for C programming. Create a simple test program to verify your setup:
“`
#include
int main() {
printf(“Hello, Raspberry Pi!\n”);
return 0;
}
“`
Save this as ‘test.c’, compile it with ‘gcc test.c -o test’, and run with ‘./test’. If you see the greeting message, your C programming environment is ready for development.
GPIO Programming with C
Basic GPIO Operations
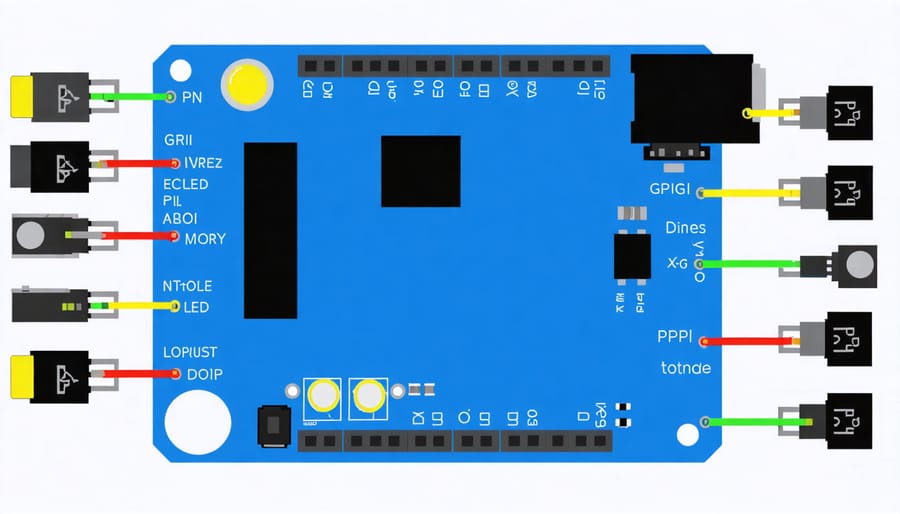
GPIO (General Purpose Input/Output) pins are the gateway to physical computing on your Raspberry Pi. In C programming, you have two main approaches to control these pins: using the WiringPi library or accessing them directly through the bcm2835 library.
Let’s start with basic output operations. To control an LED connected to GPIO pin 18, you’ll first need to initialize the GPIO system and set the pin mode:
“`c
#include
int main(void) {
wiringPiSetupGpio();
pinMode(18, OUTPUT);
}
“`
You can then toggle the LED on and off using digitalWrite():
“`c
digitalWrite(18, HIGH); // Turn LED on
delay(1000); // Wait 1 second
digitalWrite(18, LOW); // Turn LED off
“`
For input operations, such as reading a button press, configure the pin as an input with a pull-up resistor:
“`c
pinMode(17, INPUT);
pullUpDnControl(17, PUD_UP);
if (digitalRead(17) == LOW) {
// Button is pressed
}
“`
For more precise control, you can implement PWM (Pulse Width Modulation) to vary LED brightness:
“`c
softPwmCreate(18, 0, 100);
softPwmWrite(18, 50); // 50% brightness
“`
Remember to always check return values from GPIO functions for error handling, and clean up your GPIO resources when your program exits to prevent pin states from persisting unexpectedly.
Sensor Integration Examples
Let’s explore practical sensor integration examples that demonstrate how to connect and read data from common sensors using C programming on your Raspberry Pi. Here’s a simple example using the popular DHT11 temperature and humidity sensor:
“`c
#include
#include
#define DHT11_PIN 7
int readDHT11(float *temperature, float *humidity) {
uint8_t data[5] = {0};
// Sensor reading implementation
*temperature = data[2];
*humidity = data[0];
return 0;
}
“`
Another practical example involves using an ultrasonic distance sensor (HC-SR04):
“`c
#define TRIG_PIN 23
#define ECHO_PIN 24
float measureDistance() {
digitalWrite(TRIG_PIN, HIGH);
delayMicroseconds(10);
digitalWrite(TRIG_PIN, LOW);
while(digitalRead(ECHO_PIN) == LOW);
long startTime = micros();
while(digitalRead(ECHO_PIN) == HIGH);
long travelTime = micros() – startTime;
return travelTime * 0.034 / 2;
}
“`
Remember to initialize wiringPi and set up your GPIO pins before using these functions. For best results, implement error handling and calibration routines in your actual projects. These examples can be expanded to include data logging, real-time monitoring, or integration with other systems through network communication.
Network Communication
TCP/IP Programming
Network programming is essential for developing IoT projects on your Raspberry Pi. The TCP/IP protocol suite enables your applications to communicate over networks, making it possible to create connected devices and services.
To get started with TCP/IP programming in C, you’ll need to include the necessary headers like
Here’s what you need to know:
– Socket creation uses the socket() function
– bind() associates the socket with a specific address and port
– listen() and accept() handle incoming connections for server applications
– connect() initiates connections for client applications
– send() and recv() manage data transmission
For example, a simple TCP server might initialize like this:
“`c
int server_fd = socket(AF_INET, SOCK_STREAM, 0);
struct sockaddr_in address;
address.sin_family = AF_INET;
address.sin_addr.s_addr = INADDR_ANY;
address.sin_port = htons(PORT);
bind(server_fd, (struct sockaddr *)&address, sizeof(address));
“`
Remember to handle errors appropriately and close sockets when they’re no longer needed. This foundation allows you to build networked applications ranging from simple data collectors to complex distributed systems.
Data Transfer Protocols
When developing IoT applications on the Raspberry Pi using C, several data transfer protocols are essential for effective communication. The most commonly used protocol is MQTT (Message Queuing Telemetry Transport), which is lightweight and ideal for IoT devices. Using the Mosquitto library in C, you can implement MQTT client functionality with minimal overhead.
HTTP/HTTPS communication is another crucial protocol, particularly for RESTful APIs. The libcurl library provides robust C functions for implementing HTTP requests, making it easy to interact with web services and cloud platforms from your Raspberry Pi.
For local device communication, I2C and SPI protocols are invaluable. The wiringPi library offers straightforward C functions for implementing these protocols, enabling communication with sensors, displays, and other peripheral devices. I2C is particularly useful for connecting multiple devices on the same bus, while SPI offers higher speed data transfer for more demanding applications.
For real-time applications, WebSocket protocol implementation using libwebsockets allows for bidirectional communication between your Raspberry Pi and other devices or servers. This is particularly useful for applications requiring constant data streaming or immediate response times.
TCP/IP socket programming in C provides the foundation for custom network protocols. The Berkeley sockets API, available in Linux, enables direct network communication, perfect for specialized IoT applications where standard protocols don’t meet specific requirements.
Real-Time Data Processing

Data Collection Methods
When working with sensors on Raspberry Pi using C, efficient data collection methods are crucial for project success. The most common approach involves utilizing the wiringPi library, which provides straightforward functions for reading GPIO pins and interfacing with various sensor types.
For analog sensors, the MCP3008 ADC chip is frequently used in conjunction with SPI communication. Here’s a basic implementation:
“`c
int readAnalog(int channel) {
wiringPiSPISetup(0, 1000000);
unsigned char buffer[3] = {1, (8+channel)<<4, 0};
wiringPiSPIDataRW(0, buffer, 3);
return ((buffer[1]&3) << 8) + buffer[2];
}
```
For real-time sensor data collection, implementing circular buffers helps manage continuous data streams without overwhelming system resources. Consider using interrupts for time-critical measurements:
“`c
void sensorISR(void) {
// Store timestamp and reading
readings[writeIndex] = getCurrentReading();
writeIndex = (writeIndex + 1) % BUFFER_SIZE;
}
“`
Data preprocessing techniques like moving averages or median filtering can help reduce noise and improve measurement accuracy. Remember to implement proper error handling and data validation to ensure reliable sensor readings.
Data Storage and Analysis
When working with data on your Raspberry Pi C projects, you’ll need effective strategies for both storage and analysis. For simple data logging, you can use standard file operations in C to write data to text or CSV files. Create files using fopen() with appropriate modes, and utilize fprintf() for formatted data writing. This approach works well for smaller datasets and basic logging needs.
For more structured data storage, SQLite provides an excellent lightweight database solution that works seamlessly with C programming on Raspberry Pi. The sqlite3 library offers robust functionality for creating databases, inserting data, and performing complex queries, all while maintaining a small resource footprint.
To analyze collected data in real-time, consider implementing circular buffers for temporary storage and rolling calculations. This is particularly useful for sensor data processing where you need to maintain a moving average or detect patterns. For mathematical analysis, the GNU Scientific Library (GSL) offers comprehensive functions for statistical calculations, curve fitting, and numerical analysis.
For larger datasets or long-term storage, consider implementing a data partitioning strategy. You can create new files or database tables based on time intervals, helping to maintain system performance while handling continuous data streams. Remember to implement proper error handling and data validation to ensure the integrity of your stored information.
When processing sensitive data, always implement appropriate security measures such as file permissions and data encryption using standard C libraries like OpenSSL.
C programming on the Raspberry Pi opens up a world of possibilities for creating powerful, efficient, and responsive applications. Throughout this guide, we’ve explored the essential components of getting started with C programming on this versatile platform, from setting up your development environment to implementing practical IoT solutions.
Remember that mastering C programming on the Raspberry Pi is a journey that requires practice and patience. Start with simple projects like LED blinking or sensor reading, then gradually progress to more complex applications involving network communication and real-time data processing. The skills you’ve learned here provide a solid foundation for developing sophisticated IoT devices and embedded systems.
To continue your learning journey, consider joining the Raspberry Pi community forums, where you can share your projects and learn from other developers. Keep experimenting with different sensors and actuators, and don’t hesitate to combine C with other programming languages when building more complex systems.
The combination of C’s efficiency and the Raspberry Pi’s versatility makes it an excellent platform for both learning and creating professional-grade applications. Whether you’re building home automation systems, environmental monitoring stations, or industrial control systems, the principles covered in this guide will serve as your stepping stones to success.
Take the next step by implementing a small project of your own, and gradually build upon your knowledge to create increasingly sophisticated solutions.