

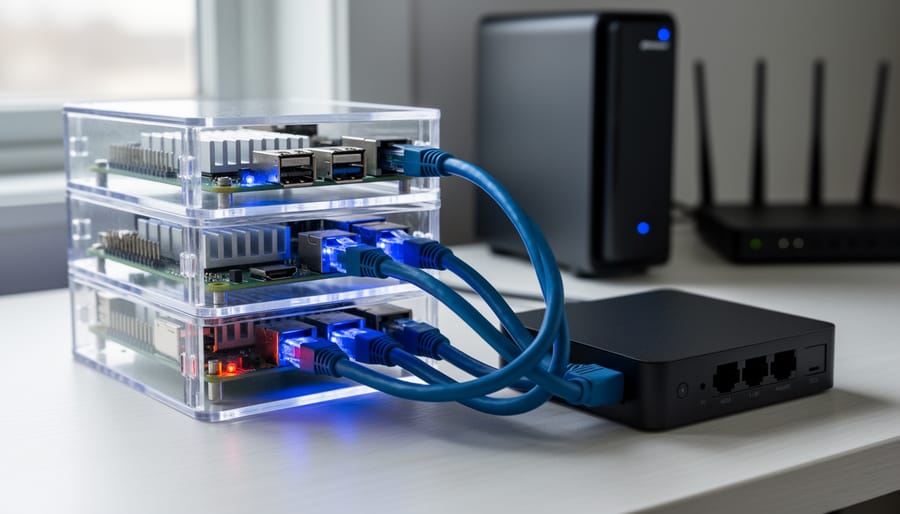
Transform your Raspberry Pi into a sophisticated cloud infrastructure by combining private, public, and hybrid cloud virtualization strategies right in your home lab. Deploy a local Nextcloud instance on your Pi cluster for private storage while connecting to AWS S3 or Google Cloud for overflow capacity, creating a cost-effective hybrid model that mirrors enterprise architectures. Configure OpenStack or Kubernetes on ARM devices to orchestrate containerized workloads across your private Pi infrastructure and public cloud resources simultaneously, enabling seamless workload migration based on performance needs or cost optimization.
The beauty of implementing these cloud strategies on Raspberry Pi hardware lies in the minimal financial risk and maximum learning potential. You’ll grasp fundamental concepts like infrastructure-as-code, multi-cloud networking, and distributed computing without expensive cloud bills. Start by setting up a three-node Pi cluster as your private cloud foundation, then integrate public cloud services for specific tasks like machine learning inference or backup redundancy. This hands-on approach demystifies buzzwords like cloud bursting, workload portability, and resource federation through practical application.
Whether you’re a student preparing for cloud certifications, a developer testing deployment strategies, or an enthusiast building a personal cloud ecosystem, understanding how private, hybrid, and public clouds interconnect gives you marketable skills and a powerful home infrastructure that scales with your needs.
What Private, Hybrid, and Public Clouds Actually Mean for Your Pi
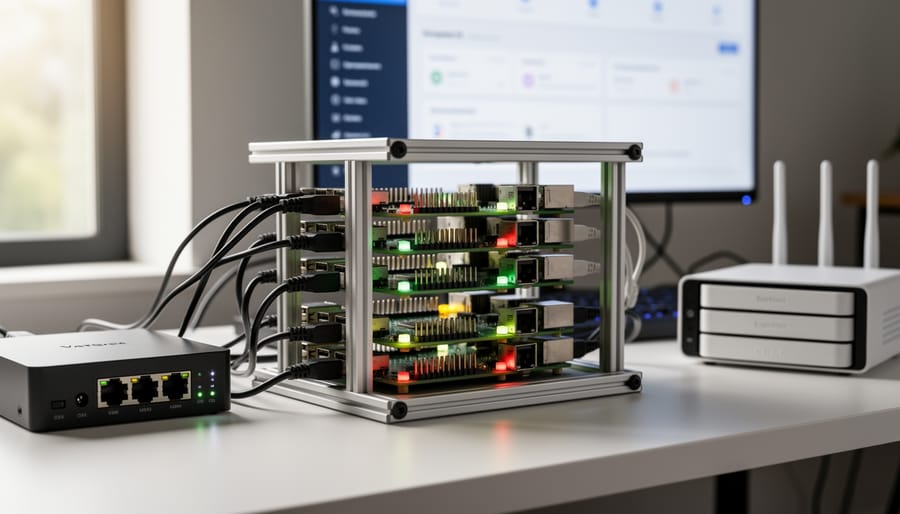
Private Cloud: Your Personal Pi Cluster
A private cloud puts you in complete control of your data and infrastructure. With Raspberry Pi devices, you can build your own personal cloud cluster right at home without relying on external service providers.
Think of it as your own mini data center. A single Pi can serve as a personal file server, replacing services like Dropbox or Google Drive. Using software like Nextcloud or ownCloud, you’ll have secure access to your files from anywhere while keeping everything on hardware you control. Multiple Pis can work together in a cluster, distributing workloads and providing redundancy if one device fails.
Popular private cloud projects include home automation hubs running Home Assistant, local development environments for testing code, and media servers with Plex or Jellyfin. You might set up a Pi-hole for network-wide ad blocking, create a private Git repository, or host your own password manager with Bitwarden.
The beauty of this approach is complete data ownership, no monthly subscription fees, and the flexibility to customize everything. You’ll learn valuable skills about networking, storage management, and system administration while building practical solutions for everyday needs.
Public Cloud: When Your Pi Talks to AWS or Azure
Your Raspberry Pi can seamlessly connect to enterprise-grade cloud services like AWS and Azure, giving your projects virtually unlimited storage and processing power. Think of public cloud integration as outsourcing the heavy lifting while keeping your Pi as the control center.
AWS offers a generous free tier perfect for hobbyists, including S3 for backing up sensor data or hosting web interfaces. You can use AWS Lambda to process images captured by your Pi camera or store IoT readings in DynamoDB. Azure provides similar services with its IoT Hub, specifically designed for connecting devices like your Pi.
Getting started is straightforward. Install the AWS CLI or Azure SDK on your Pi, configure your credentials, and you’re ready to upload files or trigger cloud functions with simple Python scripts. For example, you might automatically back up your home automation logs to S3 every night or use Azure’s cognitive services to add facial recognition to your security camera project. The combination gives you enterprise capabilities at hobbyist prices.
Hybrid Cloud: The Best of Both Worlds
A hybrid cloud approach combines the privacy and control of local Raspberry Pi infrastructure with the power and scalability of public cloud services. Think of your Pi as the workhorse handling everyday tasks like home automation, media serving, or network monitoring, while the cloud steps in for heavy lifting or specific functions.
This strategy makes practical sense for hobbyists. Your Raspberry Pi can process sensitive data locally, maintaining privacy and reducing bandwidth costs. Meanwhile, you leverage public cloud platforms like AWS, Azure, or Google Cloud for automated backups, ensuring your projects survive SD card failures. Cloud-based AI services can handle computationally intensive machine learning tasks that would overwhelm even a Pi 5, while your device manages data collection and preprocessing.
Remote access is another perfect hybrid use case. Instead of exposing your home network directly, configure secure cloud tunnels or VPN gateways that route traffic safely. Store archived data or large media libraries in low-cost cloud storage, while keeping frequently accessed files on your Pi for instant retrieval.
The beauty of this approach is flexibility. Start small with free cloud tiers, scale resources only when needed, and maintain full control over what stays local versus what moves to the cloud.
Why Virtualization Makes Your Raspberry Pi Setup More Powerful
Resource Efficiency: Running Multiple Services on One Pi
One of the most compelling virtualization benefits is the ability to squeeze maximum value from your Raspberry Pi’s hardware. Instead of dedicating separate Pis for different tasks, virtualization lets you run multiple isolated services simultaneously on a single device. Think of it as creating virtual apartments within your Pi—each service gets its own secure space with allocated resources, yet they all share the same physical hardware.
For example, you could run a home automation server, a network-wide ad blocker, and a personal cloud storage solution all on one Raspberry Pi 4 or 5. Virtualization platforms like Docker or LXC containers make this possible by creating lightweight, isolated environments that share the host’s kernel while maintaining separation. This approach not only saves money on additional hardware but also reduces power consumption and physical space requirements. The key is proper resource allocation—monitoring CPU, RAM, and storage usage ensures each service runs smoothly without competing for resources. This efficiency transforms your Pi from a single-purpose device into a versatile home server capable of handling multiple cloud services simultaneously.
Easy Backups and Migration
One of the most valuable benefits of running virtualized environments on your Raspberry Pi is the incredible ease of backing up and migrating your entire setup. Unlike traditional installations where you’d need to manually recreate configurations and reinstall applications, virtualization packages everything into portable files that you can copy, move, and restore with minimal effort.
When you’re working with containers or virtual machines, your complete environment—including the operating system, applications, configurations, and data—exists as a collection of files on your storage device. This means you can create snapshots of your running services at any moment, giving you an instant backup that captures the exact state of your system. If something goes wrong during an experiment or update, simply roll back to your previous snapshot and you’re operational again within minutes.
Migration becomes equally straightforward. Want to move your private cloud from a Raspberry Pi 4 to a Pi 5 for better performance? Just copy your container images or VM files to the new device, adjust any hardware-specific settings, and launch. You can even migrate certain workloads to public cloud providers during peak usage periods, then bring them back to your Pi when demand decreases. This flexibility lets you test configurations locally before deploying them elsewhere, making your home lab an excellent training ground for real-world hybrid cloud scenarios.
Real-World Raspberry Pi Hybrid Cloud Projects You Can Build
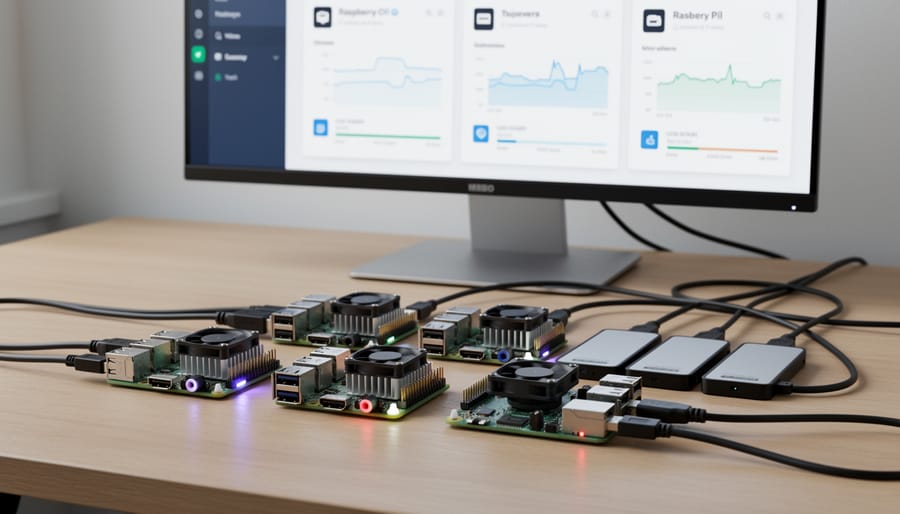
Smart Home Hub with Cloud Backup
Home Assistant is one of the best examples of a hybrid cloud setup for your Raspberry Pi. This popular home automation platform runs entirely on your Pi (the private cloud), giving you complete control over your smart home data without monthly subscription fees. Your sensors, lights, and automation rules process locally, ensuring fast response times and continued operation even when your internet goes down.
The hybrid aspect comes into play when you add automated cloud backups and remote access. Services like Nabu Casa or self-hosted VPN solutions let you access your dashboard from anywhere through public cloud infrastructure. You can configure Home Assistant to automatically sync backups to cloud storage providers like Dropbox or Google Drive, protecting your configurations and history from SD card failures.
This setup perfectly demonstrates hybrid cloud principles: sensitive data stays on your local Pi, while cloud services handle what they do best—reliable backups and secure remote connectivity. You maintain privacy and speed at home while gaining the convenience and redundancy of cloud services. Start with the basic Home Assistant installation on your Pi, then gradually add cloud backup automation using built-in addons or custom scripts to create your personalized hybrid cloud ecosystem.
Personal Media Server with Streaming Offload
A personal media server represents one of the most practical hybrid cloud implementations for your Raspberry Pi. The concept is straightforward: store your media library locally on your Pi equipped with external storage, then leverage cloud services when you need extra processing power or remote access.
Your Pi handles local streaming beautifully within your home network using software like Plex or Jellyfin. However, when you’re traveling and need to stream over slower connections, transcoding becomes essential. This is where the hybrid approach shines. Instead of overworking your Pi’s modest CPU, configure your media server to offload transcoding tasks to cloud services like AWS Elastic Transcoder or even a lightweight cloud VM that spins up on demand.
For remote access, consider using a cloud-based reverse proxy or VPN service. This keeps your home network secure while providing reliable connectivity. Services like Cloudflare Tunnel offer free tiers perfect for hobbyist projects, eliminating the need for complex port forwarding.
The beauty of this setup is cost efficiency. Your Pi consumes minimal power for local playback, while cloud resources activate only when needed. You maintain full control over your data privacy while enjoying enterprise-grade streaming capabilities when away from home.
Edge Computing for IoT Sensors
Edge computing transforms how IoT sensor networks handle data by processing information right where it’s generated. With a Raspberry Pi cluster, you can create a powerful edge computing setup that analyzes sensor data locally before sending only the important bits to the cloud. This hybrid approach dramatically reduces bandwidth costs and latency while maintaining cloud benefits for long-term analytics.
Here’s how it works in practice: imagine temperature sensors throughout your home sending readings to a Pi cluster every minute. Instead of uploading thousands of individual measurements to cloud storage, your local cluster processes this data in real-time, calculating averages, detecting anomalies, and filtering out redundant information. Only meaningful insights like daily summaries or alert conditions get transmitted to cloud services like AWS or Azure for historical analysis and visualization.
This strategy mirrors enterprise edge computing but at hobbyist scale. You maintain control over sensitive data on your private infrastructure while leveraging public cloud platforms for heavy-duty processing and long-term storage. The setup requires running lightweight data processing frameworks on your Pi nodes, configuring secure communication channels to your chosen cloud provider, and establishing data retention policies that balance local storage limitations with cloud costs.
Choosing the Right Virtualization Tools for Your Pi
Docker and Container-Based Solutions
When building a hybrid cloud on Raspberry Pi, Docker containers emerge as the clear winner for virtualization. Unlike traditional virtual machines that require substantial resources, Docker’s lightweight approach makes it perfect for the Pi’s limited ARM architecture.
Docker shines on Raspberry Pi because it shares the host operating system’s kernel rather than creating entire virtual machines. This means you can run multiple isolated applications without the overhead that would cripple your Pi’s performance. A single Raspberry Pi 4 can comfortably host several containerized services simultaneously, something nearly impossible with traditional virtualization methods.
The ARM compatibility is another game-changer. Docker officially supports ARM processors, and the community has created thousands of ARM-compatible images specifically for Pi users. You’ll find ready-to-deploy containers for web servers, databases, media centers, and cloud storage solutions that work out of the box.
For hybrid cloud projects, Docker’s portability is invaluable. You can develop containers on your Pi, test them locally, and deploy identical copies to public cloud providers like AWS or Azure. This consistency eliminates the “it works on my machine” problem and makes managing your hybrid infrastructure straightforward. The Docker ecosystem also includes orchestration tools like Docker Compose, simplifying multi-container deployments across your private and public cloud nodes.
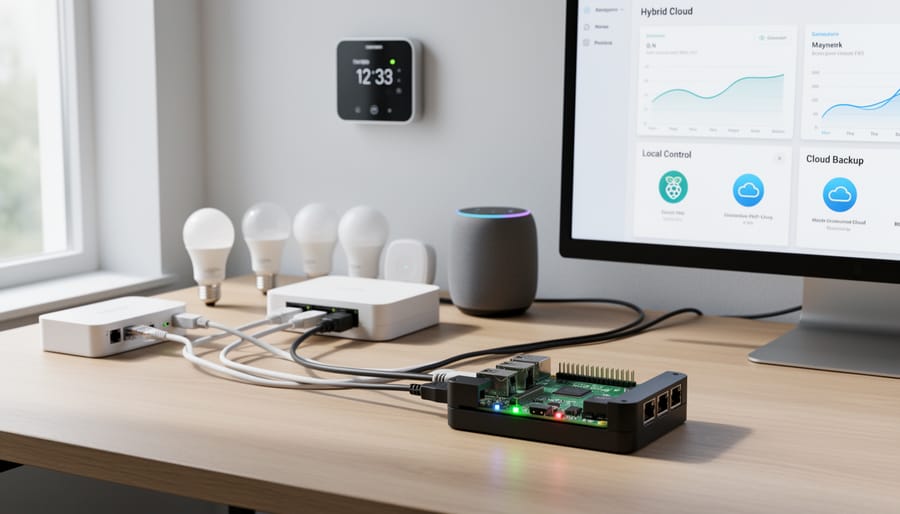
Kubernetes for Pi Clusters (K3s)
Running Kubernetes on Raspberry Pi might sound ambitious, but lightweight Kubernetes distributions like K3s make it entirely feasible. K3s is a certified Kubernetes distribution specifically designed for resource-constrained environments, stripping away unnecessary components while maintaining full compatibility with standard Kubernetes applications.
What makes K3s perfect for Pi clusters is its minimal footprint. It requires just 512MB of RAM and uses half the binary size of standard Kubernetes, making it ideal for devices with limited resources. You can orchestrate containers across multiple Raspberry Pis, creating a genuine hybrid cloud environment in your home lab that mirrors enterprise setups.
Getting started is surprisingly straightforward. Install K3s on your primary Pi as the control plane, then join additional Pis as worker nodes with a single command. This setup lets you experiment with container orchestration, service mesh configurations, and multi-node deployments without expensive hardware. You’ll gain hands-on experience with the same tools DevOps professionals use daily, all while learning how hybrid cloud architectures function at a practical level.
Traditional Hypervisors: QEMU and KVM
For enthusiasts ready to tackle full virtualization, QEMU and KVM offer enterprise-grade capabilities on higher-end Raspberry Pi models. These traditional hypervisors shine when you need complete operating system isolation or want to run different architectures simultaneously.
The Raspberry Pi 4 and Pi 5 with 8GB RAM provide enough resources to comfortably run KVM-based virtual machines, though you’ll notice performance differences compared to x86 systems. QEMU handles the hardware emulation while KVM leverages ARM’s virtualization extensions for near-native performance on compatible workloads.
Use this approach when you need to test different Linux distributions, create isolated development environments, or simulate multi-server setups for learning purposes. Each virtual machine runs its own kernel, providing stronger isolation than containers but consuming more memory and CPU cycles.
Performance considerations matter here. Expect each VM to require at least 1GB RAM plus overhead, meaning a Pi 4 8GB can realistically handle two to three lightweight VMs. Storage speed becomes crucial too, so invest in a quality microSD card or USB SSD. While not ideal for production workloads, this setup brilliantly demonstrates cloud infrastructure concepts in your home lab.
Setting Up Your First Private-Hybrid Cloud on Raspberry Pi
Hardware Requirements and Recommendations
Building a hybrid cloud on Raspberry Pi requires careful hardware selection to ensure smooth performance. For basic testing and learning, a Raspberry Pi 4 with 4GB RAM works well, but if you’re planning to run multiple virtual machines or containers simultaneously, opt for the 8GB model. The Pi 5 offers even better performance with its improved processor and increased bandwidth, making it ideal for more demanding cloud workloads.
Memory is crucial when virtualizing services. Aim for at least 4GB for simple setups running lightweight containers, while 8GB provides comfortable headroom for Docker Swarm or Kubernetes clusters. Storage needs vary by project, but start with a high-quality 64GB microSD card for the operating system, and add external USB 3.0 SSDs for data storage and VM images. SSDs dramatically improve read/write speeds compared to microSD cards, which matters when handling multiple cloud services.
Networking is often the bottleneck in Pi clusters. The Pi 4 and Pi 5 both feature Gigabit Ethernet, which you should use instead of WiFi for reliable performance. Consider a managed network switch if building a multi-node cluster, as it allows better traffic management between your private cloud nodes and external connections to public cloud services.
Software Stack Overview
Building your Raspberry Pi hybrid cloud requires the right software foundation. Let’s explore the essential components that bring your private-hybrid-public cloud to life.
For the operating system, Raspberry Pi OS (64-bit) offers excellent compatibility, but Ubuntu Server provides better enterprise-grade features and wider cloud tool support. Consider DietPi for resource-constrained setups, as it maximizes performance on older Pi models.
Virtualization is where the magic happens. While traditional hypervisors like VMware aren’t ARM-compatible, lightweight alternatives work beautifully on Raspberry Pi. Docker containers are your best friend here, offering minimal overhead while letting you run isolated services. For more robust virtualization, KVM combined with QEMU enables running full virtual machines, though performance varies by Pi model. Kubernetes (K3s distribution) transforms multiple Pis into a proper cloud cluster, mimicking enterprise environments.
Cloud integration tools connect everything together. MinIO creates S3-compatible object storage locally, while Nextcloud bridges your private cloud with public services. OpenStack can run on Pi clusters for those wanting authentic cloud management experience, though it demands substantial resources. Ansible and Terraform automate deployments across your hybrid infrastructure, making configuration reproducible and manageable.
Start simple with Docker and gradually add complexity as you grow comfortable with each layer.
Connecting to Public Cloud Services
Connecting your Raspberry Pi private cloud to public services opens up exciting possibilities for backup redundancy and expanded storage. Start with AWS by creating a free tier account and setting up an S3 bucket for backups. Install the AWS CLI on your Pi using ‘sudo apt install awscli’, then configure credentials with ‘aws configure’. For automated backups, create simple bash scripts using rclone, which supports AWS, Google Cloud Storage, and Azure Blob Storage seamlessly.
Google Cloud offers similar functionality through their Cloud Storage service. After creating a project in the Google Cloud Console, generate service account credentials and download the JSON key file to your Pi. Use gsutil or rclone to sync files automatically with cron jobs.
Azure integration requires installing the Azure CLI and authenticating with ‘az login’. Set up a storage account and container, then use azcopy or rclone for file transfers.
For compute offloading, consider AWS Lambda for serverless functions or Google Cloud Functions for processing-intensive tasks your Pi can’t handle efficiently. This hybrid approach maximizes your Pi’s capabilities while leveraging cloud scalability when needed.
Security Considerations for Your Pi Cloud Infrastructure
Securing Your Local Network
Protecting your Raspberry Pi cloud setup starts with solid firewall configuration. Use UFW (Uncomplicated Firewall) to control incoming and outgoing traffic. Begin by blocking all incoming connections by default, then selectively open only necessary ports like SSH (22), HTTP (80), and HTTPS (443). For example, run “sudo ufw allow 22/tcp” to enable SSH access while keeping everything else locked down.
Setting up a VPN adds an essential security layer when accessing your Pi cloud remotely. WireGuard offers excellent performance on ARM architecture and simple configuration. Install it on your Pi and configure client devices to connect securely from anywhere. This encrypts all traffic between your devices and home network, protecting sensitive data from interception.
Network segmentation isolates your cloud services from other home devices, limiting potential security breaches. Create separate VLANs if your router supports it, placing your Pi servers in a dedicated subnet. This prevents compromised IoT devices from accessing your cloud storage or services. Use your router’s DHCP settings to assign static IP addresses to each Pi, making firewall rules more manageable.
Remember to regularly update your Pi’s operating system and installed packages with “sudo apt update && sudo apt upgrade” to patch security vulnerabilities. Enable fail2ban to automatically block suspicious login attempts, providing additional protection against brute-force attacks.
Protecting Data in Transit and at Rest
Protecting your data is crucial when building a hybrid cloud with your Raspberry Pi. Let’s explore practical encryption strategies that keep your information secure without overwhelming your Pi’s resources.
For data in transit between your Pi and cloud services, implementing SSL/TLS encryption is essential. When syncing files or accessing remote services, always use tools that support HTTPS, SFTP, or SSH protocols. For instance, configure rclone with encrypted connections when transferring files to commercial cloud providers. You can also set up a VPN using WireGuard or OpenVPN on your Pi, creating an encrypted tunnel for all communications between your home network and cloud resources. This approach is lightweight enough for Raspberry Pi’s ARM processor while providing robust protection.
For data at rest on your Pi’s storage, LUKS (Linux Unified Key Setup) offers full-disk encryption for your microSD card or external drives. While this adds minimal processing overhead, it significantly enhances security if your device is physically compromised. Alternatively, encrypt specific directories using eCryptfs for a more flexible approach that doesn’t require full-system encryption.
Consider using encrypted container formats like VeraCrypt for sensitive files before uploading them to public cloud storage. This gives you complete control over your encryption keys, ensuring cloud providers never access your raw data. For beginners, start with simpler solutions like encrypted ZIP archives before advancing to more sophisticated implementations.
Cost Comparison: Pi Hybrid Cloud vs. Full Public Cloud
Let’s break down the real costs to see when a Raspberry Pi hybrid cloud setup makes financial sense compared to going all-in on public cloud services.
Consider a typical home lab scenario where you’re running a personal website, file storage, and a few development environments. Using a major public cloud provider, you’d likely pay around $20-40 monthly for a basic virtual machine with 2GB RAM, plus storage costs of $10-15 for 100GB. That’s roughly $360-660 annually, and costs increase significantly if you need more resources or bandwidth.
Now compare that to a Raspberry Pi 4 (8GB model) costing around $75, plus a 256GB microSD card or SSD for $30-50, and minimal electricity costs (approximately $2-3 per month). Your first-year investment totals roughly $130-150, with subsequent years costing only $24-36 for electricity. The Pi handles your always-on services locally while you use public cloud resources only for burst workloads or backup storage at minimal cost.
Here’s a practical example: Run your personal blog and file server on your Pi, costing you about $3 monthly in electricity. Use cloud storage for $5 monthly as backup. Total: $8 per month versus $30-40 for equivalent cloud-only hosting. You’ve saved $264-384 in year one alone.
The hybrid approach shines brightest for workloads with predictable baseline needs but occasional spikes. Your Pi handles the steady-state operations, while you spin up cloud instances only when needed for intensive tasks like video processing or testing deployment scenarios.
However, if you need guaranteed high availability, enterprise-grade security, or lack stable home internet, full public cloud might justify its premium. The key is matching your actual usage patterns to the right infrastructure mix.
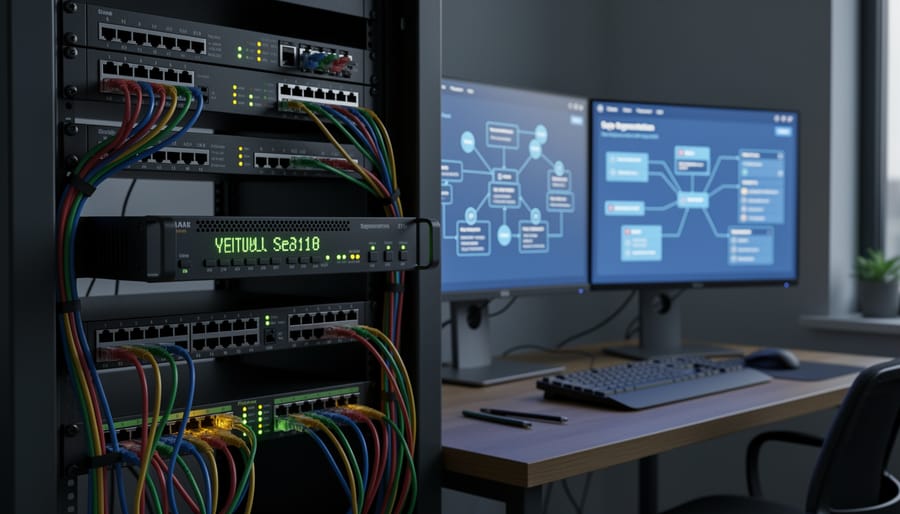
Building a hybrid cloud infrastructure with your Raspberry Pi offers remarkable benefits that were once exclusive to large enterprises. You’ve learned how to combine private, public, and hybrid cloud models to create a flexible, cost-effective system that grows with your needs. The beauty of Pi-based cloud solutions lies in their accessibility—you can start with a single device testing containerization or virtualization, then gradually expand to a multi-node cluster handling real workloads.
The low power consumption, minimal upfront investment, and hands-on learning opportunities make Raspberry Pi ideal for experimenting with cloud architecture concepts. Whether you’re managing home automation, hosting personal services, or creating an educational lab environment, the strategies covered here provide a solid foundation for your journey.
As ARM architecture continues to mature and software support expands, Raspberry Pi cloud infrastructure becomes increasingly capable. What starts as a learning project today could evolve into a production-ready system tomorrow. Don’t be intimidated by the enterprise terminology—embrace the experimentation, learn from failures, and celebrate each milestone. Your compact, energy-efficient cloud awaits, ready to demonstrate that powerful infrastructure doesn’t require data center-scale resources. Start small, test thoroughly, and scale confidently as your skills and requirements grow.