
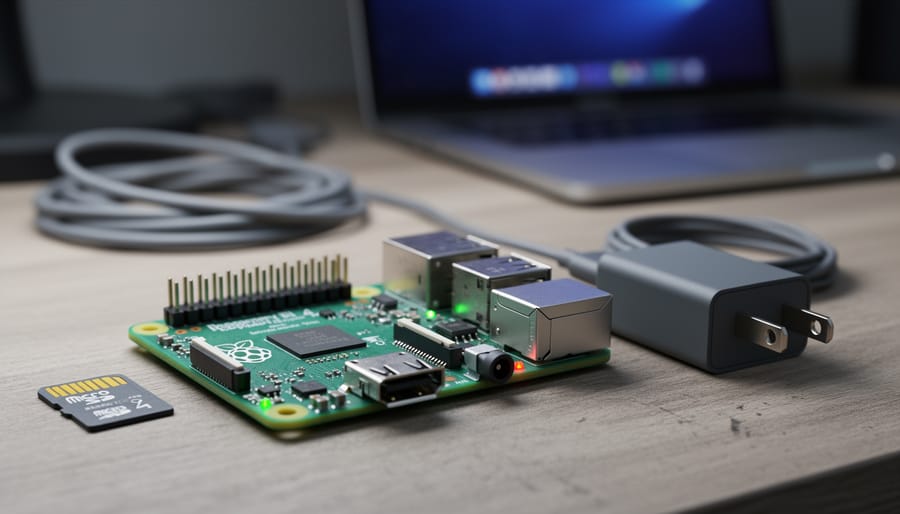
If your Raspberry Pi won’t boot and the green LED flashes in a repeated pattern, the most common fix is resetting the EEPROM bootloader to factory defaults. This process takes less than five minutes and requires nothing more than your Pi, an SD card, and a computer to prepare the recovery image.
The EEPROM on newer Raspberry Pi models (Pi 4, Pi 400, Pi 5, and Compute Module 4) stores critical bootloader firmware that tells your board how to start up. When this firmware becomes corrupted through interrupted updates, incompatible configurations, or power failures during writes, your Pi enters a boot loop or refuses to start entirely. You’ll typically see specific LED blink patterns: seven quick flashes usually indicate EEPROM corruption, while four flashes point to unsupported boot modes.
Before diving into recovery, run a quick check. Remove all USB devices except your keyboard, try a known-good power supply (official adapters deliver consistent 5V at 3A for Pi 4/5), and verify your SD card works in another device. If the symptoms persist, you’re looking at an EEPROM issue.
This guide walks you through three proven reset methods, starting with the official Raspberry Pi Imager recovery tool and progressing to manual techniques for stubborn cases. We’ll cover the warning signs that helped you identify this problem, explain what actually goes wrong inside the EEPROM, provide step-by-step recovery instructions with screenshots, and share prevention strategies to avoid future bootloader corruption. Most users succeed with the first method, but having alternatives ensures you can recover even seriously compromised boards.
What Is EEPROM and Why Does Your Raspberry Pi Bootloader Use It?
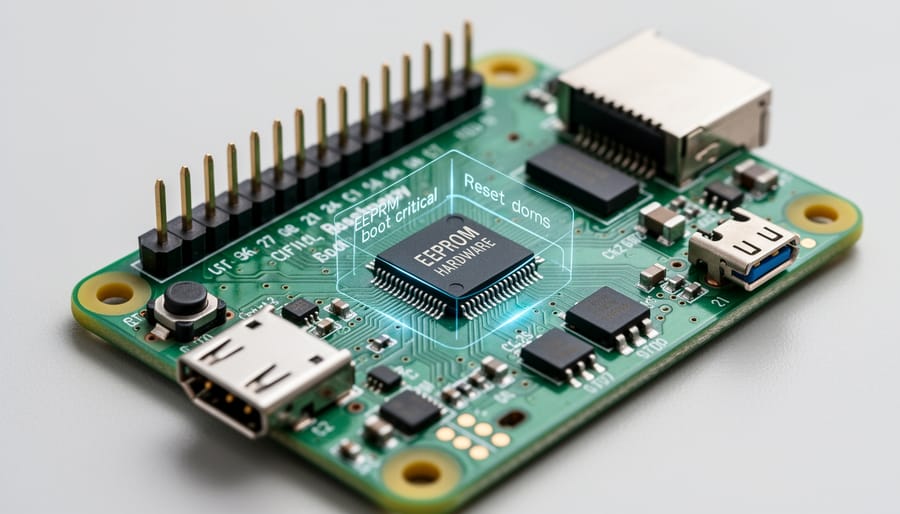
EEPROM stands for Electrically Erasable Programmable Read-Only Memory, a type of non-volatile storage that retains data even when power is removed. On Raspberry Pi 4 and later models (including the Pi 4 vs 4B variants), this small chip stores the bootloader, the critical firmware that runs the moment you supply power to your board.
Think of the bootloader as your Raspberry Pi’s startup manager. Before the operating system on your SD card or USB drive can load, the bootloader must initialize hardware, check for valid boot media, and hand off control to the OS. Earlier Raspberry Pi models stored this code in unchangeable ROM on the main processor, but newer boards moved it to EEPROM specifically so users could update and customize the bootloader EEPROM configuration without replacing hardware.
- EEPROM
- Non-volatile memory chip that stores firmware and retains data without power. Can be electrically rewritten multiple times.
- Bootloader
- First software to run when your Raspberry Pi powers on, responsible for initializing hardware and loading the operating system.
- Firmware
- Low-level software stored in EEPROM that controls hardware behavior before the operating system starts.
- Boot Sequence
- The ordered process your Raspberry Pi follows from power-on through hardware initialization to OS loading.
- Recovery Mode
- Special bootloader state that allows EEPROM reprogramming when normal boot fails.
This updateability is powerful but introduces risk. A corrupted EEPROM means your Pi can’t complete its boot sequence, leaving you with a board that appears dead. That’s where EEPROM reset becomes essential: it’s your method to restore the bootloader to a known-good state when something goes wrong. Understanding this relationship between EEPROM and boot process helps you recognize when reset is the right solution rather than chasing other hardware problems.
Recognizing the Symptoms: When You Need an EEPROM Reset
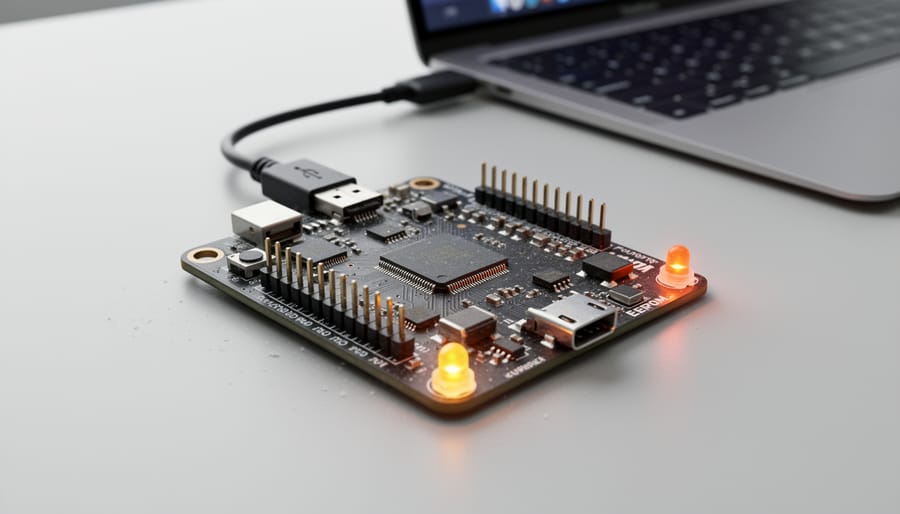
Your Raspberry Pi won’t boot, or it behaves strangely during startup. Before you panic or start swapping hardware, look for specific symptoms that point to EEPROM problems rather than SD card corruption or power supply failures.
The clearest indicator is unusual LED behavior during the boot sequence. On a healthy Raspberry Pi 4 or later model, you’ll see a solid green LED once the bootloader initializes. When EEPROM corruption occurs, you might encounter these telltale signs:
- Green LED flashing in a repeating pattern of long and short blinks, indicating bootloader error codes
- Continuous red LED without any green LED activity, suggesting the bootloader can’t start at all
- Boot loop where the Pi repeatedly attempts to start but never reaches the operating system
- Black screen with no HDMI output despite the red power LED being lit
- USB boot attempts failing consistently even with known-good USB drives
- Rainbow screen appearing briefly then disappearing without progressing to boot
- Error messages about “start.elf not found” or “failed to open device” during early boot
Pay attention to when the problem started. EEPROM issues often surface immediately after a failed firmware update, following a power outage during bootloader maintenance, or after experimenting with boot configuration settings. If your Pi worked fine yesterday and suddenly won’t start this morning without you changing anything, EEPROM corruption is less likely than an SD card problem.
You can distinguish EEPROM issues from other boot failures by testing with a fresh SD card. Flash a new Raspberry Pi OS image to a known-good card. If the fresh card also fails to boot with the same LED patterns or behavior, you’re almost certainly dealing with EEPROM trouble rather than a corrupted operating system.
Temperature and physical damage matter too. If your Pi overheated, experienced static discharge, or suffered a component failure, the symptoms might mimic EEPROM corruption but actually indicate hardware damage requiring different solutions.
Common Causes of EEPROM Corruption and Boot Failures
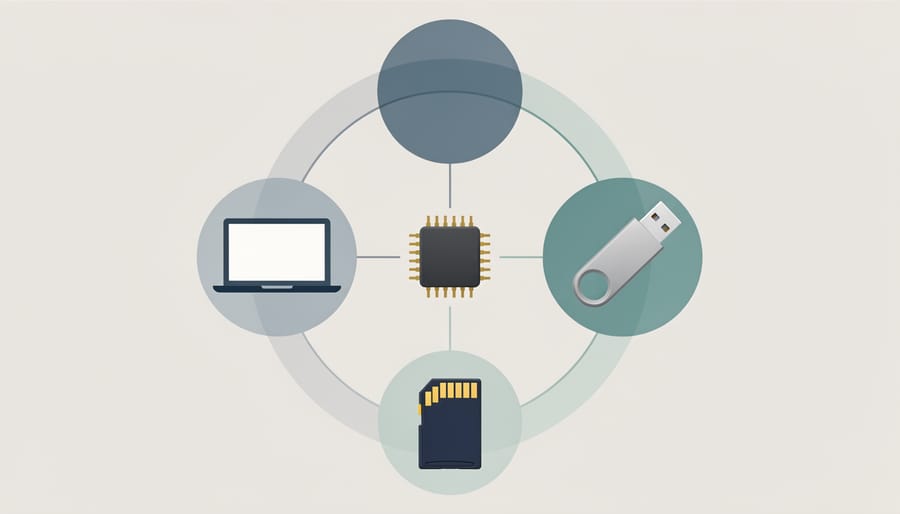
Understanding what causes EEPROM corruption helps you avoid these problems and respond quickly when they occur. Most EEPROM issues stem from a handful of preventable situations, though some are simply bad luck.
Failed or Interrupted Firmware Updates
The most common culprit is a firmware update that doesn’t complete properly. When you run `rpi-eeprom-update`, the process writes new bootloader code directly to the EEPROM chip. If something goes wrong mid-write, a power cut, accidental shutdown, or software crash, you’re left with partially written firmware that can’t execute properly. The Pi then fails to boot because its bootloader instructions are incomplete or corrupted.
Power Supply Problems
Unstable power during normal operation can gradually corrupt EEPROM contents, though this is less common than update-related failures. More critically, power interruptions during any write operation to EEPROM create immediate corruption. Using an inadequate power supply (below the recommended 3A for Pi 4) or experiencing brownouts during critical operations puts your bootloader at risk.
Incompatible Bootloader Versions
Installing a bootloader version not designed for your specific Pi model or one that conflicts with your operating system can render the system unbootable. This typically happens when manually installing firmware files rather than using official update tools, or when mixing beta firmware with stable OS releases.
Configuration Corruption
The EEPROM stores bootloader configuration settings like boot order and USB boot preferences. Manual configuration edits that introduce syntax errors, conflicting directives, or invalid parameters can prevent successful boot. While less severe than firmware corruption, configuration issues still require EEPROM intervention.
| Cause | Common Symptoms | Severity |
|---|---|---|
| Interrupted firmware update | No boot, no green LED activity, blank screen | Critical |
| Power supply issues | Random boot failures, instability, occasional corruption | Moderate |
| Incompatible bootloader version | Boot failure after update, error LED patterns | Critical |
| Configuration corruption | Wrong boot device, USB boot not working | Minor to Moderate |
| Hardware failure | Persistent issues despite recovery attempts | Critical |
Hardware failures represent the least common but most serious cause. If the EEPROM chip itself develops a fault or surrounding circuits fail, no software recovery will help. These cases require board replacement, though they’re rare compared to software-related corruption.
Step-by-Step EEPROM Reset and Recovery Process
What You’ll Need: Tools and Preparation
Before you begin the EEPROM reset process, gather your materials and take a few precautionary steps. Having everything ready beforehand prevents interruptions during the procedure and reduces the risk of complications.
Essential Tools and Materials
- A microSD card (4GB minimum, 8GB or larger recommended), this will be completely erased during the process
- A microSD card reader for your computer
- A computer with internet access (Windows, Mac, or Linux)
- Raspberry Pi Imager software (free download from the official Raspberry Pi website)
- Your Raspberry Pi 4, Pi 400, or newer model that uses EEPROM bootloader
- A reliable power supply (official Raspberry Pi power adapter recommended)
- A monitor and micro-HDMI cable to observe the reset process
Important Preparation Steps
If your Pi currently boots and contains important data, back up any critical files to external storage before proceeding. The EEPROM reset itself won’t erase your main SD card data, but having backups protects against unforeseen issues.
Remove any USB devices, HATs, or peripherals connected to your Pi. Run the reset with only the essentials: power supply, recovery SD card, and optionally a monitor to watch progress. External hardware can sometimes interfere with the recovery process or draw power in ways that complicate the reset.
Note your current bootloader version if possible (check with `vcgencmd bootloader_version` if your Pi still boots). This helps you verify the reset worked correctly afterward.
Method 1: Using Raspberry Pi Imager for EEPROM Recovery
The Raspberry Pi Imager method is the most straightforward way to reset your EEPROM, requiring minimal technical knowledge. This official tool automates the creation of a bootloader recovery image, making it ideal for beginners and experienced users alike.
- Download and install Raspberry Pi Imager from the official Raspberry Pi website. The tool is available for Windows, macOS, and Linux.
- Insert a blank microSD card (4GB or larger) into your computer’s card reader. Back up any existing data first, as this process erases the card completely.
- Launch Raspberry Pi Imager and click “Choose OS” from the main interface.
- Scroll down to “Misc utility images” near the bottom of the operating system list and select it.
- Choose “Bootloader” from the utility images menu, then select “SD Card Boot” for standard SD card recovery or “USB Boot” if you’re setting up USB boot functionality.
- Click “Choose Storage” and select your microSD card from the list. Double-check you’ve selected the correct drive to avoid erasing the wrong device.
- Click “Write” and confirm the warning prompt. The imaging process takes one to two minutes.
- Once complete, safely eject the microSD card from your computer and insert it into your powered-off Raspberry Pi.
- Power on your Pi without any other peripherals connected. The green activity LED will blink rapidly in a specific pattern as the EEPROM update occurs.
- Wait until the green LED blinks steadily in a slow, repeating pattern (usually after 10-20 seconds). This indicates the reset completed successfully.
- Power off the Pi, remove the recovery SD card, and insert your regular operating system card to boot normally.
The entire process typically takes under five minutes from start to finish. If your Pi doesn’t respond as expected during step 9, leave it powered on for up to two minutes before troubleshooting, as some models take longer to complete the update sequence.
Method 2: Manual Recovery Using Recovery Files
For advanced users or situations where Raspberry Pi Imager isn’t accessible, you can manually create an EEPROM recovery SD card using files from the official Raspberry Pi repository.
Start by downloading the latest recovery files from the Raspberry Pi firmware GitHub page (). Navigate to the firmware folder, then select the appropriate version for your board model. Download the recovery.bin file and the corresponding EEPROM image file (pieeprom-*.bin).
Format your microSD card as FAT32. This is critical, the bootloader cannot read other filesystem formats during recovery. On Windows, use the built-in format tool or diskpart. On macOS or Linux, use Disk Utility or the mkfs.vfat command respectively.
Copy both downloaded files to the root directory of the formatted SD card. Rename the pieeprom-*.bin file to simply “recovery.bin” if you want to use a specific version, or leave the default recovery.bin as is.
Create an empty file named “pieeprom.upd” (no extension) in the same directory. This signals the bootloader to enter recovery mode. On Windows, you can create this via command prompt: type nul > pieeprom.upd. On Unix systems, use touch pieeprom.upd.
Safely eject the SD card. Your manual recovery card is ready for use.
Performing the EEPROM Reset
Insert the prepared recovery SD card into your Raspberry Pi while it’s powered off, then connect the right power supply to begin the reset process. Within a few seconds, you’ll see the green activity LED start flashing in a specific pattern, this indicates the EEPROM update is in progress. The LED will typically blink rapidly at first, then settle into a slower, more regular pattern.
The entire reset process usually takes 10-30 seconds. You’ll know it’s complete when the green LED either stays solid for several seconds or begins blinking in a steady, slow pattern (approximately one blink per second). Some recovery methods will cause the Pi to automatically reboot after completion, while others require you to manually power cycle the device.
Once the LED pattern stabilizes or stops flashing entirely, wait an additional 10 seconds to ensure all writes have finished. Then power off the Pi, remove the recovery SD card, and insert your regular operating system card. When you power on again, your Raspberry Pi should boot normally with the refreshed EEPROM firmware. If you see the rainbow splash screen followed by normal boot activity, the reset was successful.
Troubleshooting Common EEPROM Reset Problems
Even with careful preparation, you might hit snags during the EEPROM reset process. Most issues have straightforward solutions once you understand what’s happening.
Recovery SD Card Won’t Boot
If your Pi shows no activity when you insert the recovery card, first verify you’ve written the image correctly. The card should appear as “boot” or show bootloader recovery files when viewed on your computer. Try a different microSD card if possible, some older or damaged cards fail to boot reliably. Check that you’ve fully inserted the card into the Pi’s slot and that your power supply delivers at least 3A at 5V. Insufficient power often causes silent boot failures that look like card problems.
Reset Appears Stuck or Frozen
The EEPROM reset typically takes 10-30 seconds. During this time, you’ll see the green LED flash in a specific pattern. If the LED stops blinking but stays solid green for more than two minutes, the process may have stalled. Power cycle the Pi completely, disconnect power, wait 10 seconds, then reconnect. If the reset stalls repeatedly, your EEPROM chip itself might have hardware damage, though this is rare.
Persistent Boot Problems After Reset
If your Pi still won’t boot normally after a successful EEPROM reset, the problem might not be bootloader-related. Test with a fresh OS installation on a known-good SD card to rule out corruption in your existing system. Some best operating systems handle EEPROM compatibility differently, so trying a recently updated OS image can help. Check that your board’s firmware and OS are compatible, mismatched versions sometimes cause unexpected behavior even with fresh bootloader firmware.
What if the green LED keeps blinking rapidly?
Rapid green LED blinking usually means the reset is still in progress. Wait up to 60 seconds before assuming something is wrong. If blinking continues beyond two minutes, power cycle and retry the reset.
Why won’t my Pi boot after reset?
If the reset completed successfully but normal boot fails, your SD card OS image may be corrupted or incompatible. Try a fresh OS installation on a different card to isolate the issue.
How do I know if the reset worked?
A successful reset ends with the green LED displaying a steady pattern or repeating sequence, and the Pi typically reboots on its own. Remove the recovery card and try booting normally with your OS card to confirm.
What if I still can’t boot from USB after reset?
USB boot requires specific EEPROM configuration beyond just resetting. After reset, you need to set the boot order using raspi-config or by updating BOOT_ORDER in the EEPROM configuration to prioritize USB devices.
Hardware-Related Complications
Sometimes the issue goes deeper than software. Inspect your Pi’s microSD slot for debris or bent pins that might prevent proper card contact. If you’ve recently installed a HAT or other hardware, try removing it temporarily, some accessories interfere with boot processes. Overheating can also cause erratic behavior, so ensure your Pi has adequate ventilation. In rare cases, physical damage to the EEPROM chip or board traces means the hardware itself needs repair or replacement, but exhaust all software solutions first.
Preventing Future EEPROM Issues: Best Practices
Once you’ve successfully performed an EEPROM reset, protecting your Raspberry Pi from future bootloader issues becomes straightforward with a few consistent habits. The most critical step is ensuring a stable power supply during any firmware operations, always use a quality power adapter that meets your Pi’s specifications and avoid unplugging during updates. Power interruptions during bootloader updates are the leading cause of EEPROM corruption.
Before making any changes to your bootloader configuration, document your current working settings or create a backup. You can check your current EEPROM version using the command `sudo rpi-eeprom-update` and save a copy of your configuration with `rpi-eeprom-config`. This simple step gives you a known-good state to return to if an update causes problems.
Not every bootloader update requires immediate installation. Unless you’re experiencing specific issues or need new features like improved USB boot support, stick with firmware versions that work reliably. The Raspberry Pi Foundation releases updates to address bugs and add functionality, but if your system is stable, there’s no urgency to update. When you do update, read the release notes first to understand what’s changing.
Keep a recovery SD card prepared with the bootloader recovery image stored somewhere accessible. Creating one takes five minutes now and could save hours of troubleshooting later. Finally, pay attention to compatibility warnings when updating your operating system, major OS updates sometimes require corresponding EEPROM firmware versions, and mismatches can prevent booting. Checking compatibility before upgrading prevents surprises.
Performing an EEPROM reset on your Raspberry Pi isn’t as intimidating as it might first appear. With the right tools and a methodical approach, you can recover from bootloader corruption and get your board running again. Whether you used the Raspberry Pi Imager method or manually created a recovery SD card, the process follows a logical sequence that becomes straightforward once you understand it.
The key takeaway is that EEPROM issues, while disruptive, are typically fixable. Most boot failures stem from interrupted updates or configuration conflicts rather than permanent hardware damage. By following the step-by-step procedures outlined in this guide and adopting preventive maintenance habits, you’ll minimize the chances of encountering these problems again.
Keep your bootloader firmware reasonably current, maintain stable power during updates, and back up working configurations. If you do run into persistent issues that don’t resolve with a standard reset, the Raspberry Pi community forums and official documentation provide excellent resources. Experienced users frequently share solutions for edge cases and unusual hardware configurations. With this knowledge in hand, you’re equipped to handle EEPROM challenges confidently and keep your Raspberry Pi projects running smoothly.