

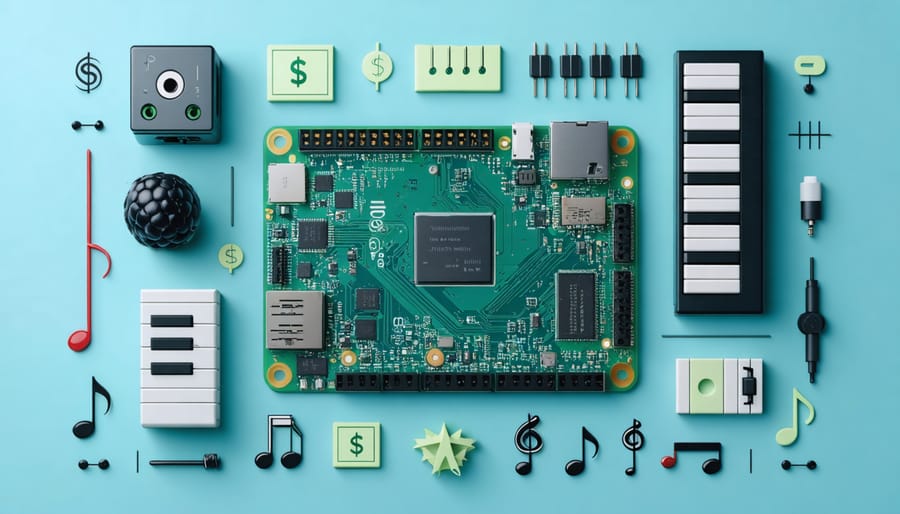
Transform your Raspberry Pi into a versatile music creation hub with powerful audio processing capabilities that rival expensive commercial solutions. Musicians and educators now harness this $35 computer to build digital instruments, create multi-track recording studios, and design interactive music learning platforms.
The Pi’s real-time audio processing, combined with its GPIO pins, enables everything from MIDI controllers to synthesizers, while its compact size makes it perfect for portable performance rigs. Recent advances in audio-focused Linux distributions like PiSound and Pure Data have eliminated the traditional barriers between affordable computing and professional music production.
Whether you’re a music educator seeking budget-friendly tools for your classroom or a performing artist looking to expand your technical arsenal, the Raspberry Pi offers an accessible entry point into digital music creation. Its open-source nature encourages experimentation and custom solutions, while its thriving community provides extensive support for audio projects of any scale.
Setting Up Your Music-Ready Raspberry Pi
Required Hardware Components
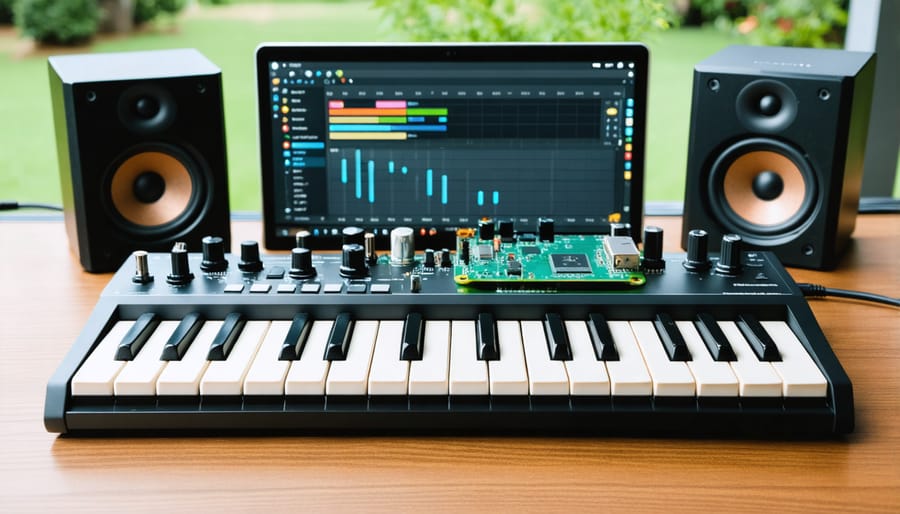
To transform your Raspberry Pi into a versatile music-making platform, you’ll need several essential hardware components. The most crucial piece is a high-quality audio interface, which enables high-quality audio recording and playback. Popular options include the HifiBerry DAC+ Pro and the Audio Injector Zero, both specifically designed for Raspberry Pi.
A MIDI controller is another vital component for musicians. USB MIDI keyboards and pad controllers work seamlessly with the Raspberry Pi, allowing you to play virtual instruments and control digital audio workstations (DAWs). Look for class-compliant MIDI devices to ensure compatibility.
For monitoring purposes, you’ll need a reliable pair of powered speakers or headphones. If you’re planning to record acoustic instruments or vocals, a good USB microphone or an XLR microphone (used with an audio interface) is essential.
Additional peripherals that enhance your setup include:
– A powered USB hub for connecting multiple devices
– SD card (32GB minimum recommended) for storage
– MIDI to USB adapter for connecting traditional MIDI equipment
– Power supply with at least 2.5A output
– Display, keyboard, and mouse for direct interaction
Consider investing in a protective case to safeguard your Raspberry Pi and any attached HATs (Hardware Attached on Top) from dust and damage.
Music Software Installation
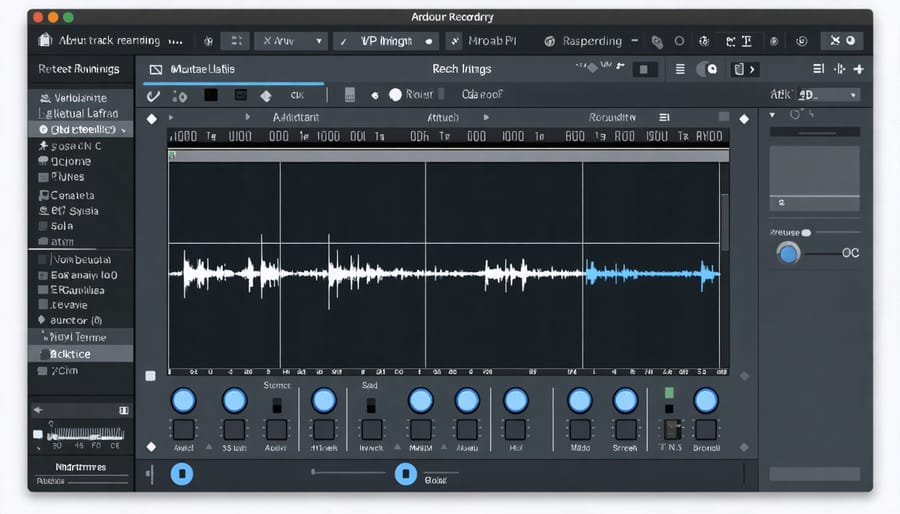
Setting up your Raspberry Pi for music production starts with installing the right software. The most popular Digital Audio Workstation (DAW) for Raspberry Pi is Ardour, which can be installed through the terminal using the command ‘sudo apt-get install ardour’. This professional-grade DAW offers multi-track recording and editing capabilities.
For MIDI support, install JACK Audio Connection Kit by entering ‘sudo apt-get install jackd2’. This essential audio server helps manage connections between your audio applications and hardware. After installation, configure JACK settings through QjackCtl, a user-friendly graphical interface for JACK.
Musicians should also consider installing MuseScore for notation, which can be added using ‘sudo apt-get install musescore’. For synthesizer capabilities, install Pure Data with ‘sudo apt-get install puredata’, offering endless possibilities for sound creation and experimentation.
To enhance your setup, add Hydrogen drum machine (‘sudo apt-get install hydrogen’) for rhythm programming and LMMS (‘sudo apt-get install lmms’) for electronic music production. These applications work together seamlessly through JACK, creating a comprehensive music production environment.
Remember to update your system before installing any software using ‘sudo apt-get update && sudo apt-get upgrade’. This ensures compatibility and optimal performance of your music applications.
Music Production Tools for Raspberry Pi
Digital Audio Workstations (DAWs)
The Raspberry Pi offers several Digital Audio Workstation (DAW) options that cater to different musical needs and skill levels. Ardour stands out as a professional-grade, open-source DAW that runs smoothly on the Pi, offering multi-track recording, MIDI sequencing, and comprehensive audio effects processing capabilities.
LMMS (Linux MultiMedia Studio) provides a more beginner-friendly alternative, featuring a familiar interface similar to FL Studio. It excels in beat-making and electronic music production, with built-in synthesizers and sample-based instruments that work well within the Pi’s resource constraints.
For those seeking simplicity, Audacity offers straightforward recording and editing features. While not a full-fledged DAW, it’s perfect for basic audio capture and manipulation tasks, making it ideal for educational settings or simple recording projects.
Sonic Pi deserves special mention as a unique hybrid between a DAW and a coding environment. It allows musicians to create music through programming, offering an innovative approach to composition and live performance.
When choosing a DAW for your Raspberry Pi, consider factors like:
– Available RAM and processing power
– Required features (MIDI support, plugin compatibility)
– Interface complexity
– Project requirements
– Learning curve
Most of these DAWs are free and open-source, making them excellent choices for budget-conscious musicians and educational institutions. They can be easily installed through the Pi’s package manager, requiring minimal setup time to get started with music production.
Music Learning Applications
The Raspberry Pi offers an excellent platform for music education through various learning applications that can transform your small computer into a comprehensive music teaching tool. Several open-source and free applications make music theory, ear training, and instrument learning both accessible and engaging.
For music theory enthusiasts, apps like Musescore and LenMus provide interactive lessons covering everything from basic notation to advanced harmony concepts. These applications run smoothly on the Raspberry Pi and offer exercises, quizzes, and visual demonstrations to reinforce learning.
Ear training applications such as Solfege and GNU Audio Trainer help develop critical listening skills. These programs generate interval recognition exercises, chord identification challenges, and rhythm training sequences. The Raspberry Pi’s audio capabilities ensure clear sound output, essential for accurate ear training.
For instrument learning, applications like Pianobooster offer an interactive way to learn piano, connecting via MIDI to compatible keyboards. Guitar enthusiasts can benefit from TuxGuitar, which provides tablature display and playback features, making it easier to learn new songs and practice techniques.
Many of these applications can be installed directly through the Raspberry Pi’s package manager, making setup straightforward. For optimal performance, consider using a Class 10 SD card and connecting quality speakers or headphones to ensure the best learning experience.
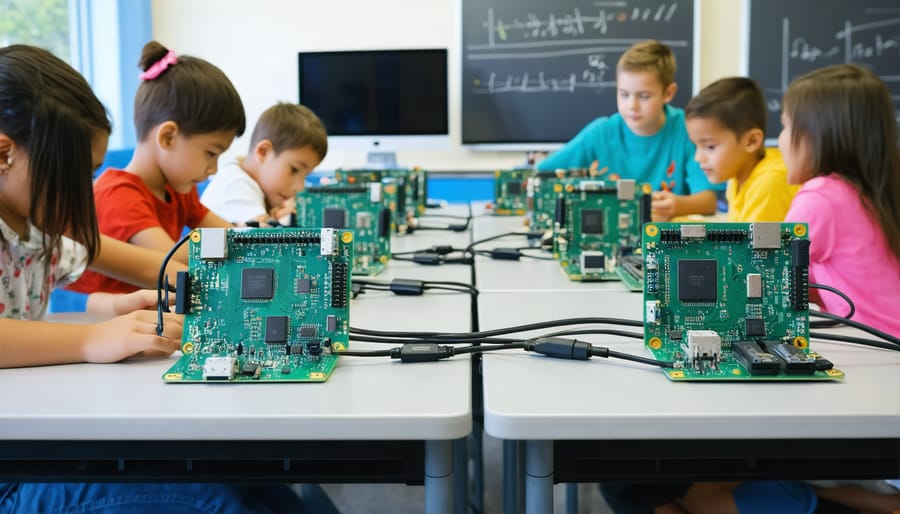
The beauty of using Raspberry Pi for music learning lies in its affordability and flexibility. Students can practice at their own pace, track their progress, and even create custom learning modules. Teachers can set up multiple stations in a classroom, each running different applications to cater to various skill levels and learning objectives.
Classroom Integration Projects
Group Performance Setup
The Raspberry Pi’s networking capabilities make it an excellent platform for creating synchronized group performances. By connecting multiple Pis over a local network, musicians can create collaborative music experiences that were previously only possible with expensive professional equipment.
To set up a basic networked performance system, start by configuring all Pis to connect to the same local network. Use a dedicated router to minimize latency and ensure stable connections. Install Sonic Pi or Pure Data on each device, as these applications support network messaging protocols like OSC (Open Sound Control).
For synchronization, designate one Pi as the master clock that sends timing signals to other devices. This ensures all instruments stay in perfect time. You can achieve this using Python scripts that utilize the UDP protocol for real-time communication between devices.
Consider implementing a simple web interface that allows performers to see shared musical information, such as current measure numbers or chord progressions. This can be done using lightweight web frameworks like Flask or Django.
For larger ensembles, create different network groups for various sections (percussion, melody, harmony) to manage data flow efficiently. Use network switches rather than Wi-Fi for the most reliable performance, especially when timing precision is crucial.
Remember to test your setup thoroughly before live performances, paying special attention to latency issues and network stability. Keep backup configurations ready in case of technical difficulties.
Interactive Music Lessons
The Raspberry Pi can transform traditional music education by creating interactive learning experiences that engage students while teaching fundamental musical concepts. Using tools like Sonic Pi and Pure Data, you can develop custom applications that teach music theory, rhythm, and composition in an engaging way.
One popular approach is creating a virtual piano teacher that uses LED indicators to guide students through scales and chord progressions. By connecting an LED strip to your Pi and programming it to light up in sequence with musical exercises, students receive immediate visual feedback as they practice. This multi-sensory learning approach helps reinforce musical concepts and makes practice more enjoyable.
You can also build rhythm training games using arcade-style buttons connected to the Pi’s GPIO pins. Students tap along with increasingly complex patterns, while the system tracks accuracy and provides real-time feedback. This gamification of rhythm practice keeps students motivated while developing their skills.
For teaching music theory, consider creating an interactive staff display using a touchscreen interface. Students can drag and drop notes onto the staff while the Pi plays the corresponding sounds, helping them understand the relationship between written notation and actual pitch.
These projects can be scaled from simple learning tools to comprehensive teaching platforms, making music education more accessible and engaging for students of all ages and skill levels.
Recording Studio Setup
Setting up a recording studio with your Raspberry Pi is surprisingly straightforward and cost-effective. Start with a Raspberry Pi 4 (8GB recommended) as your foundation, and connect a USB audio interface for better sound quality. Popular choices include the Focusrite Scarlett series or Behringer UMC interfaces, which provide XLR inputs for microphones and instrument connections.
Install a Linux-based Digital Audio Workstation (DAW) like Ardour or LMMS, which runs smoothly on Raspberry Pi’s architecture. These applications allow you to create a professional audio mixing setup without breaking the bank.
For optimal performance, connect your Pi to an external monitor and use a powered USB hub to handle multiple devices. Essential peripherals include:
– A quality condenser microphone
– Studio monitors or headphones
– MIDI keyboard controller
– Audio interface with preamps
– External storage drive for project files
Configure your audio settings in the Raspberry Pi’s operating system to minimize latency. Using the JACK Audio Connection Kit helps manage audio routing and ensures stable performance during recording sessions.
Remember to position your microphone properly and consider basic room acoustics. Even simple solutions like strategically placed blankets or foam panels can significantly improve your recording quality.
Troubleshooting Common Issues
When working with Raspberry Pi audio setups, you might encounter several common issues. Here’s how to resolve them effectively:
For audio problems, first check if your system recognizes your audio interface by running ‘aplay -l’ in the terminal. If no devices appear, try rebooting with the interface connected or updating your audio drivers. No sound output often stems from incorrect audio routing – verify your audio settings in ‘raspi-config’ and ensure the correct output is selected.
MIDI connectivity issues typically arise from permission problems. Add your user to the ‘audio’ group using ‘sudo usermod -a -G audio $USER’ and restart your Pi. If MIDI devices aren’t detected, confirm they’re powered properly and run ‘aconnect -l’ to list available MIDI ports.
Latency issues can impact real-time performance. Reduce latency by adjusting your buffer size in your DAW settings and considering a real-time kernel. If you experience crackling sounds, try increasing your buffer size slightly.
USB audio interfaces sometimes disconnect unexpectedly. This usually indicates insufficient power – use a powered USB hub or adjust your Pi’s USB current limiting with ‘max_usb_current=1’ in config.txt.
For wireless MIDI problems, ensure your network connection is stable and consider using a direct ethernet connection for more reliable performance. Remember to check your firewall settings if using network MIDI.
The Raspberry Pi offers musicians an incredible opportunity to enhance their craft through affordable and versatile technology. From creating custom digital instruments to building automated practice tools, the possibilities are limitless. By implementing these solutions, musicians can explore new creative horizons while developing valuable technical skills. The low cost of entry, combined with the extensive community support and available resources, makes the Raspberry Pi an ideal platform for both beginners and experienced musicians alike. Whether you’re looking to create a home recording studio, design interactive music lessons, or experiment with sound synthesis, the Raspberry Pi provides the perfect foundation for your musical journey. Take the first step today and join the growing community of musicians embracing this powerful technology to transform their musical experience.