

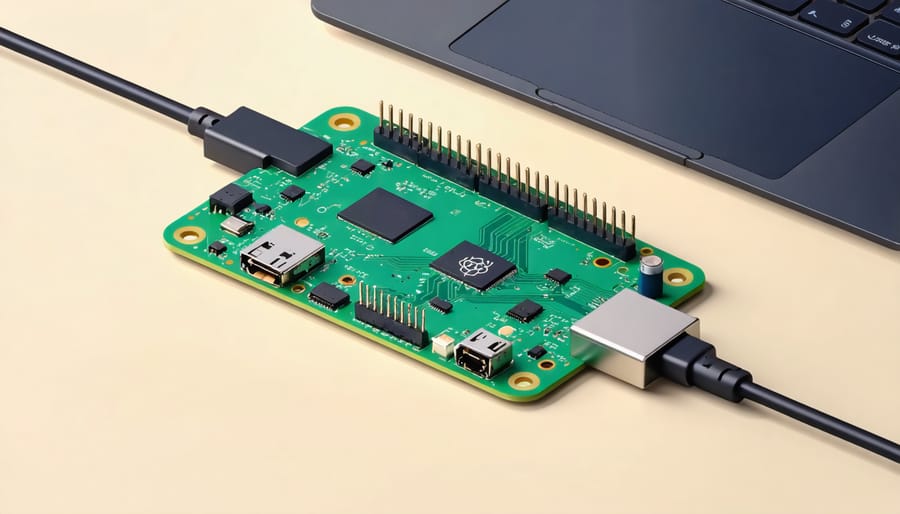
Configure your Raspberry Pi Zero’s wireless connectivity in minutes, whether you’re setting up headless or using the desktop interface. For headless setup, create a wpa_supplicant.conf file in the boot partition with your network credentials before first boot. Connect directly through the desktop environment using the built-in network manager, or edit configuration files manually for more precise control. Both methods require minimal hardware – just your Pi Zero W/WH and a power supply – making wireless setup straightforward even for beginners.
Power up your Pi Zero and start networking immediately with these battle-tested configuration methods, saving hours of troubleshooting and ensuring reliable WiFi connectivity for your projects. Whether you’re building an IoT device, setting up a portable computer, or creating a wireless sensor network, proper WiFi configuration forms the foundation of your Raspberry Pi Zero’s capabilities.
Essential Prerequisites for WiFi Setup
Required Hardware Components
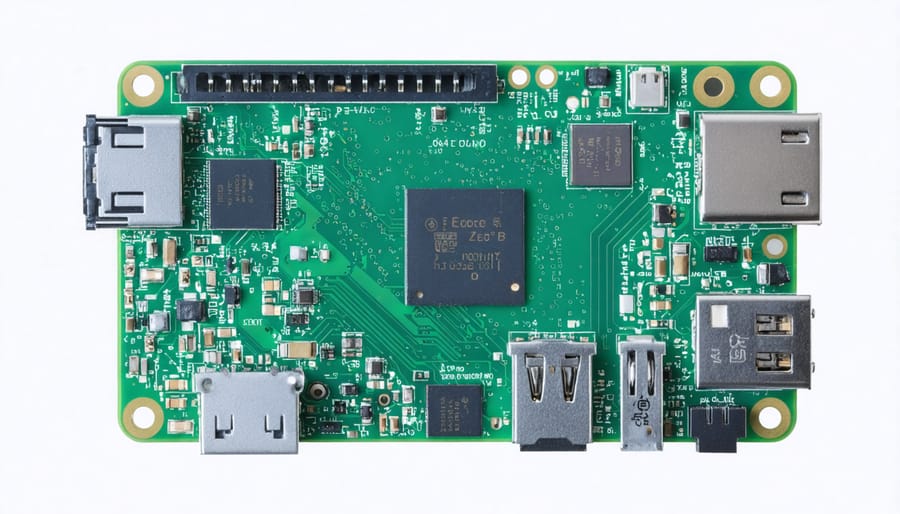
To configure WiFi on your Raspberry Pi Zero, you’ll need the Raspberry Pi Zero W or WH model, which comes with built-in wireless capabilities. If you’re using the original Pi Zero, you’ll require a compatible USB WiFi adapter and a USB OTG adapter cable for connectivity.
Essential components include:
– Raspberry Pi Zero W/WH (recommended) or Pi Zero with USB WiFi adapter
– Micro SD card (8GB minimum, Class 10 recommended)
– Power supply (5V/1.2A minimum)
– Micro USB cable
– USB OTG adapter (if using external WiFi adapter)
– Computer for initial setup
For headless setup, you may also want a USB-to-TTL serial cable for direct connection. When choosing a WiFi adapter for the original Pi Zero, ensure it’s compatible with Raspberry Pi OS and doesn’t require excessive power draw, as the Pi Zero has limited power output through its USB port.
Software Requirements
To configure WiFi on your Raspberry Pi Zero, you’ll need an optimized Raspberry Pi OS (Raspbian) version 2020-02-13 or newer. Essential software tools include a text editor for creating the wpa_supplicant.conf file and, if using a desktop setup, the built-in WiFi configuration utility. For headless configuration, you’ll need an SD card reader and imaging software like Raspberry Pi Imager or Etcher. A basic understanding of command-line operations is helpful but not mandatory. Make sure you have access to your WiFi network’s SSID and password before beginning the setup process.
Headless WiFi Configuration Method
Creating the wpa_supplicant.conf File
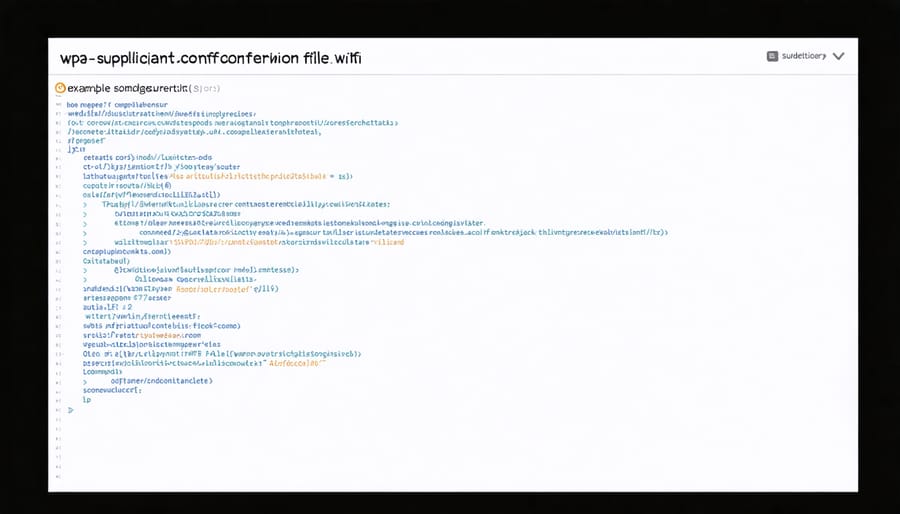
To configure WiFi on your Raspberry Pi Zero, you’ll need to create a wpa_supplicant.conf file that contains your wireless network credentials. This file should be placed in the boot partition of your SD card before first boot.
Create a new text file named wpa_supplicant.conf using any text editor on your computer. Copy and paste the following configuration template:
“`
country=US
ctrl_interface=DIR=/var/run/wpa_supplicant GROUP=netdev
update_config=1
network={
ssid=”YOUR_WIFI_NAME”
psk=”YOUR_WIFI_PASSWORD”
key_mgmt=WPA-PSK
}
“`
Replace “YOUR_WIFI_NAME” with your actual WiFi network name and “YOUR_WIFI_PASSWORD” with your network password. If you’re not in the United States, change the country code (US) to match your location using the two-letter ISO country code.
For multiple networks, you can add additional network blocks. Each network block should follow the same format:
“`
network={
ssid=”SECOND_NETWORK_NAME”
psk=”SECOND_NETWORK_PASSWORD”
key_mgmt=WPA-PSK
priority=1
}
“`
The priority value determines which network the Pi will prefer when multiple networks are available. Higher numbers indicate higher priority.
Save the file with Unix-style line endings (LF rather than CRLF) to ensure compatibility. Transfer this file to the boot partition of your SD card, and your Pi Zero will automatically configure the WiFi connection on first boot.
Enabling SSH Access
To enable SSH access on your Raspberry Pi Zero, you’ll need to create an empty file named “ssh” (without any extension) in the boot partition of your SD card. This tells the Pi to enable SSH on its first boot.
For Windows users, connect the SD card to your computer and navigate to the boot partition. Right-click inside the folder, select “New” > “Text Document,” and name it “ssh” (remove the .txt extension). Alternatively, you can open Command Prompt and use the command “type NUL > ssh” while in the boot directory.
Mac and Linux users can create the ssh file using Terminal. Mount the boot partition, navigate to it, and run the command “touch ssh” to create the empty file.
Once your Pi Zero boots up with WiFi configured, you can connect to it via SSH using the default credentials:
Username: pi
Password: raspberry
Open your computer’s terminal or SSH client and connect using:
ssh pi@raspberrypi.local
For security reasons, it’s crucial to change the default password after your first login. Use the command “passwd” to set a new, strong password. You should also consider setting up SSH keys for more secure authentication if you plan to use your Pi Zero on public networks.
Remember that SSH access will only work if both WiFi configuration and SSH enabling are done correctly before the first boot.
Desktop-Based WiFi Setup
For users who prefer a more visual approach, configuring WiFi through the Raspberry Pi’s desktop interface offers a straightforward alternative. This method requires your Pi Zero to be connected to a display, keyboard, and mouse, along with a USB WiFi adapter if you’re using an older model without built-in wireless capabilities.
Once you’ve booted into the Raspberry Pi OS desktop environment (which you can customize your Raspberry Pi desktop to your liking), locate the network icon in the top-right corner of the screen. It typically appears as either a WiFi symbol or two computer monitors, depending on your current connection status.
Click the network icon to display a list of available wireless networks. Select your desired network from the list, and a dialog box will appear requesting your network password. Enter your WiFi password and click “OK” to initiate the connection.
The system will attempt to establish a connection, and within a few moments, you should see the network icon change to indicate a successful wireless connection. To verify your connection, open a terminal window and type “ping google.com” to test internet connectivity.
For future reference, your WiFi credentials will be automatically saved in the system. This means your Pi Zero will automatically reconnect to this network whenever it’s in range, even after a reboot.
To manage your saved networks or modify connection settings, right-click the network icon and select “Wireless & Wired Network Settings.” Here you can add new networks, remove saved connections, or modify advanced settings like static IP addresses and DNS configurations.
Remember that while this method is more intuitive for beginners, it requires additional hardware setup compared to the headless approach. However, it provides immediate visual feedback and easier troubleshooting if you encounter connection issues.
Troubleshooting Common WiFi Issues
Connection Problems
When setting up Wi-Fi on your Raspberry Pi Zero, you might encounter some common connection issues. If your Pi isn’t connecting, first verify that your wpa_supplicant.conf file contains the correct network name (SSID) and password, being mindful of case sensitivity. Double-check for any typos, as these are often the culprit.
If the configuration appears correct but you’re still experiencing problems, ensure your power supply provides adequate voltage (at least 5V/2.5A). Insufficient power can cause intermittent Wi-Fi connectivity issues. Another common problem is incorrect regional settings – make sure you’ve set the correct country code in your configuration.
For persistent connection drops, try moving your Pi closer to your router or reducing physical obstacles between them. Some users find success by adding a delay to the network service startup by editing the dhcpcd.conf file.
If none of these solutions work, you can verify your Wi-Fi hardware is functioning properly by running ‘iwlist wlan0 scan’ in the terminal. This command will show all available networks, helping you determine if it’s a hardware or configuration issue.
Verification Steps
After configuring your Raspberry Pi Zero’s WiFi settings, you’ll want to verify that everything is working correctly. First, check if your Pi has successfully connected to the network by looking for its IP address. If you’re using a headless setup, wait about 2-3 minutes after powering on your Pi, then try to ping it from your computer using the hostname “raspberrypi.local.”
For a more direct verification, you can connect to your Pi via SSH. On Windows, use PuTTY or the command prompt; on Mac or Linux, use the Terminal and type “ssh pi@raspberrypi.local.” If you can successfully log in, your WiFi configuration is working.
To check the connection quality and signal strength, log into your Pi and use the command “iwconfig wlan0” in the terminal. This will display your wireless connection details, including signal quality and connection speed.
Finally, verify internet connectivity by running “ping -c 4 google.com” in the terminal. If you receive responses, your Pi Zero is successfully connected to the internet through WiFi. For troubleshooting purposes, you can also check your network configuration details using the “ifconfig” command.
Configuring WiFi on your Raspberry Pi Zero doesn’t have to be a daunting task. By following the methods outlined in this guide, you can get your Pi Zero connected to your wireless network quickly and reliably. Whether you’ve chosen the headless setup method by editing the wpa_supplicant.conf file or opted for the desktop environment approach, you now have the knowledge to establish a wireless connection.
Remember to keep your WiFi credentials secure and regularly update your Raspberry Pi’s operating system to ensure optimal performance and security. If you encounter issues, refer back to the troubleshooting section and double-check your configuration files for common syntax errors.
With your Pi Zero now connected to WiFi, you can explore countless project possibilities, from home automation to portable gaming systems. Consider starting with basic IoT projects to test your connection and gradually move on to more complex applications as you become more comfortable with your setup.
Don’t hesitate to experiment with different network configurations and security settings to find what works best for your specific needs. The Raspberry Pi community is always ready to help if you need additional support or inspiration for your next project.