

Powering your Raspberry Pi Pico with batteries unlocks true portability for your projects, transforming desktop prototypes into mobile innovations. Whether you’re building autonomous robots, environmental sensors, or wearable tech, selecting the right battery solution directly impacts your project’s success. From compact LiPo cells to reliable AA battery packs, each power source offers unique advantages for different applications.
This guide explores practical battery options and implementation techniques that balance power efficiency with reliable operation. You’ll discover how to calculate power requirements, implement voltage regulation, and maximize battery life through smart coding practices. We’ll focus on proven configurations that work consistently in real-world applications, helping you avoid common pitfalls that can damage your Pico or lead to unreliable performance.
For makers ready to break free from USB tethers, battery power opens up exciting possibilities. Whether you’re a seasoned electronics enthusiast or just starting your journey with the Pico, understanding these power fundamentals ensures your projects remain reliable wherever they go. Let’s dive into the essential components and techniques you need to successfully power your Pico projects with batteries.
Choosing the Right Battery Type
LiPo vs. Li-ion Batteries
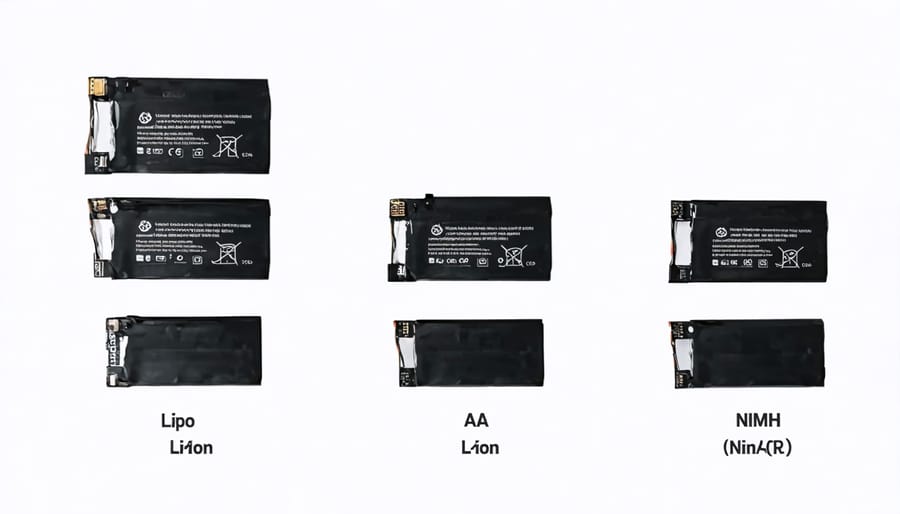
When choosing a battery for your Raspberry Pi Pico project, you’ll likely encounter two popular rechargeable options: LiPo (Lithium Polymer) and Li-ion (Lithium-ion) batteries. Each type has distinct advantages that make them suitable for different applications.
LiPo batteries are known for their high energy density and slim form factor, making them ideal for compact projects. They typically come in pouch-like packaging and can be found in various shapes and sizes. These batteries deliver consistent power output and can handle high discharge rates, which is beneficial for projects requiring sudden power bursts. However, they require careful handling and specific charging circuits to prevent damage.
Li-ion batteries, commonly found in cylindrical formats like 18650 cells, offer excellent energy storage and are generally more durable than LiPo batteries. They’re often more cost-effective and have a longer cycle life, making them suitable for long-term projects. While slightly bulkier than LiPo batteries, they’re more forgiving in terms of charging and discharging conditions.
For most Raspberry Pi Pico projects, both battery types work well when properly implemented. LiPo batteries are preferable for portable or space-constrained projects, while Li-ion batteries excel in applications where battery life and durability are paramount. Remember to always use appropriate charging circuits and protection mechanisms regardless of your choice.
Alkaline and NiMH Options
Alkaline and NiMH batteries offer a straightforward and accessible power solution for the Raspberry Pi Pico. For basic projects, a battery holder with three AA or AAA alkaline batteries in series provides approximately 4.5V, which falls within the Pico’s operating range. While alkaline batteries are readily available and affordable, they’re best suited for short-term or occasional use projects due to their non-rechargeable nature.
NiMH rechargeable batteries present a more sustainable and cost-effective alternative for long-term projects. Three NiMH batteries in series deliver about 3.6V, which is sufficient for most Pico applications. These batteries typically provide 2000-2500mAh capacity, offering several hours of operation depending on your project’s power requirements. The ability to recharge these batteries hundreds of times makes them particularly attractive for frequently used projects.
When using either battery type, it’s important to monitor voltage levels as they discharge. Alkaline batteries maintain a relatively stable voltage until near depletion, while NiMH batteries show a more gradual voltage decline. For optimal performance, consider adding a voltage regulator to maintain stable power delivery, especially in projects requiring consistent voltage levels.
Remember to include a power switch in your battery setup to prevent unnecessary drain when the project isn’t in use, and always ensure proper battery polarity when connecting to your Pico.
Power Management Techniques
Sleep Modes and Power States
The Raspberry Pi Pico offers several power-saving modes that can help you optimize power consumption and significantly extend battery life in your projects. Understanding these modes is crucial for creating efficient battery-powered devices.
The main sleep modes available on the Pico are:
1. Sleep Mode: This basic power-saving state reduces power consumption while maintaining RAM contents and GPIO states. The processor stops executing instructions but can wake up quickly through various triggers like GPIO interrupts or timer events.
2. Dormant Mode: A deeper sleep state that turns off more system components, including most of the processor’s resources. While it saves more power than Sleep Mode, it requires slightly longer wake-up times.
3. Shutdown Mode: The most power-efficient state, where almost all system components are powered down. While this mode provides maximum power savings, it requires a specific wake-up trigger and results in a complete system reset.
To implement these modes effectively:
– Use Sleep Mode for short inactive periods when quick response is needed
– Choose Dormant Mode for longer idle times when slower wake-up is acceptable
– Reserve Shutdown Mode for extended periods of inactivity
You can trigger wake-up events through:
– GPIO pin state changes
– RTC (Real-Time Clock) alarms
– USB bus activity
– External interrupts
For optimal battery performance, combine these sleep modes with strategic component management. Turn off unused peripherals, reduce CPU frequency during light tasks, and implement intelligent wake-up strategies based on your project’s specific needs.
Remember to properly configure your GPIO pins before entering sleep modes to prevent unnecessary power drain through floating inputs or unused outputs.
Voltage Regulation
When powering your Raspberry Pi Pico with a battery, proper voltage regulation is crucial for stable and safe operation. The Pico requires a steady 3.3V for its core functionality, while its VSYS pin accepts voltages between 1.8V and 5.5V. To ensure reliable performance, you’ll need to implement appropriate voltage regulation techniques.
The most straightforward approach is using a voltage regulator module, such as the LDO (Low-Dropout) regulator. These components maintain a constant output voltage despite varying input voltages from your battery. Popular choices include the MCP1700 or AMS1117 regulators, which are both cost-effective and efficient for Pico projects.
For battery-powered applications, it’s essential to consider the dropout voltage of your chosen regulator. This is the minimum voltage difference needed between input and output to maintain proper regulation. Lower dropout voltages mean you can use your battery for longer before it needs replacement or recharging.
When designing your voltage regulation circuit, include these key components:
– A capacitor on both input and output sides to smooth voltage fluctuations
– A reverse polarity protection diode to prevent damage from incorrect battery connection
– A power indicator LED (optional, but helpful for troubleshooting)
If you’re using lithium batteries, consider adding a battery protection circuit to prevent over-discharge and overcharging. For alkaline or NiMH batteries, ensure your voltage regulator can handle the full voltage range as batteries discharge over time.
Remember that efficiency matters – linear regulators are simpler but less efficient than switching regulators. For longer battery life, a switching regulator might be worth the additional complexity, especially in projects where power consumption is a critical factor. However, for most simple Pico projects, an LDO regulator provides a good balance of reliability and ease of implementation.
Battery Connection and Safety
Wiring and Connections
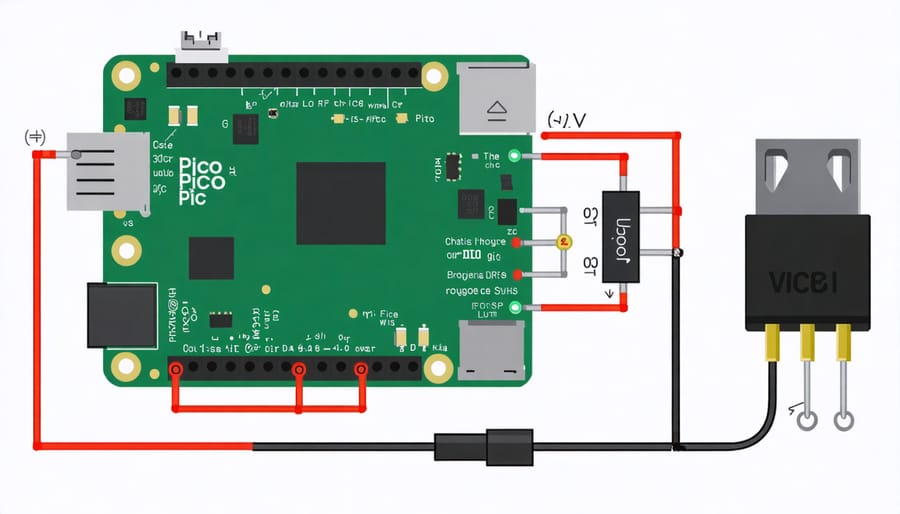
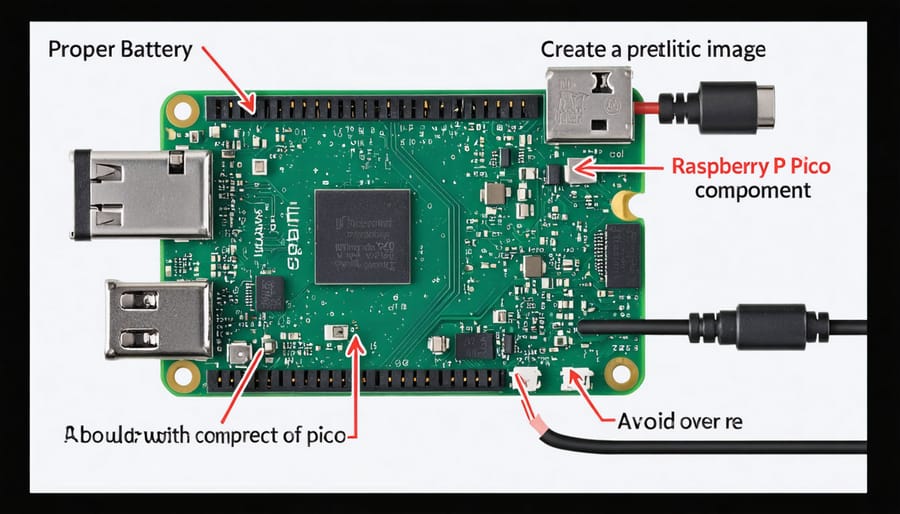
To power your Raspberry Pi Pico with a battery, proper wiring is crucial for safe and reliable operation. Start by identifying the correct voltage points on your Pico board. The VSYS pin (pin 39) accepts 2-5V input and is ideal for battery connections, while the GND pin (pin 38) serves as the ground connection.
For most applications, a 3.7V Li-ion or LiPo battery works best. Connect the battery’s positive terminal to the VSYS pin and the negative terminal to any GND pin. It’s recommended to include a small switch between the battery and VSYS pin for easy power control. Always use appropriate gauge wires – 22-26 AWG works well for most battery connections.
To protect your Pico and extend battery life, consider adding these components:
– A protection circuit module (PCM) to prevent over-discharge
– A voltage regulator if using batteries exceeding 5V
– A diode to prevent reverse current flow
– A capacitor (100µF) between VSYS and GND to smooth power delivery
When making connections, ensure all solder joints are clean and secure. If you’re using a battery holder, verify it makes solid contact with the battery terminals. For temporary connections, breadboard-compatible jump wires work well, but for permanent installations, consider soldering the connections directly.
Remember to monitor your battery voltage during operation. The Pico can read its own voltage through the ADC, helping you implement low-battery detection in your projects.
Protection Circuits
When powering your Raspberry Pi Pico with batteries, implementing proper protection circuits is crucial for both safety and longevity. These circuits safeguard your project and components from potential damage caused by over-voltage, under-voltage, and excessive current draw. Following battery management best practices, you should incorporate at least three essential protection mechanisms.
First, include an over-discharge protection circuit to prevent your battery from draining below its safe operating voltage. For Li-ion batteries, this typically means cutting off power when the voltage drops below 2.5V per cell. A simple voltage monitoring IC or a dedicated battery protection module can handle this task effectively.
Second, implement over-voltage protection to prevent overcharging, which can lead to battery damage or even dangerous situations. This is particularly important when using charging circuits or solar power systems. Most commercial battery management modules include this feature, but you can also build your own using voltage comparators and MOSFETs.
Finally, add current limiting protection to guard against short circuits and excessive current draw. A polyfuse or current-limiting IC can provide this protection while being cost-effective and easy to implement. For most Raspberry Pi Pico projects, a 500mA to 1A current limit is sufficient.
Consider using integrated battery protection modules that combine all these features in a single package. These modules are readily available, affordable, and save significant development time while ensuring reliable operation of your battery-powered Pico project.
Real-world Applications
Battery-powered Raspberry Pi Pico projects offer exciting possibilities for portable and remote applications. A popular implementation is a wireless environmental monitoring station that measures temperature, humidity, and air quality. When optimized for low power consumption, such a system can operate for several weeks on a single 2000mAh LiPo battery, drawing approximately 20mA during active sensing and just 1mA in sleep mode.
Another practical application is a motion-activated wildlife camera. By utilizing the Pico’s deep sleep capabilities, the system wakes only when movement is detected, extending battery life to over a month using a 3.7V 3000mAh battery. The average power consumption in this setup ranges from 0.5mA during sleep to 100mA during image capture and storage.
Makers have also created portable game consoles using the Pico, incorporating small LCD displays and basic controls. These typically consume around 80mA during gameplay and can run for 8-10 hours on a 1000mAh battery. For even longer battery life, some developers implement aggressive power-saving techniques, shutting down unnecessary peripherals when not in use.
Remote weather stations represent another successful implementation, where solar-charged batteries power the Pico. These systems typically consume 50mA during measurement and transmission cycles, dropping to 2mA during idle periods, achieving months of autonomous operation when paired with a 2000mAh battery and small solar panel.
Powering your Raspberry Pi Pico with batteries opens up endless possibilities for portable projects while requiring careful consideration of power management. By selecting the appropriate battery type, implementing sleep modes, and optimizing your code for efficiency, you can significantly extend your project’s battery life. LiPo and AA batteries remain popular choices, with LiPo offering better power density and AA batteries providing accessibility and easy replacement. Remember to always include proper voltage regulation and monitoring to protect your Pico and ensure stable operation. Whether you’re building a remote sensor, portable game console, or mobile robot, the key to success lies in balancing your power requirements with battery capacity and implementing smart power management strategies. Start with small projects to gain experience, and gradually work your way up to more complex battery-powered applications.