

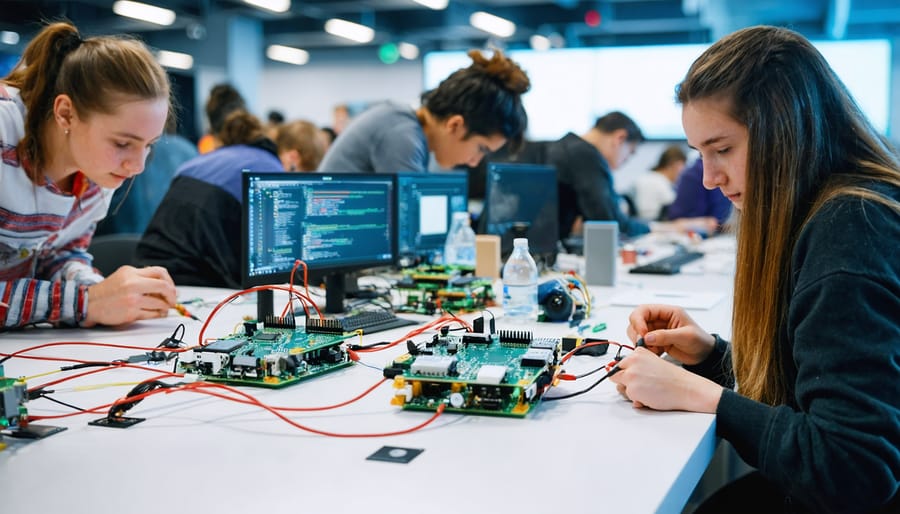
Transform static workshop sessions into dynamic learning experiences with hands-on activities that engage participants from the first minute. Interactive elements like pair programming challenges, hardware assembly competitions, and real-time coding exercises help make workshops more interactive while reinforcing technical concepts through practical application.
Set up exploration stations where participants rotate through different Raspberry Pi projects, from LED circuit building to sensor programming, allowing them to discover and learn at their own pace. Structure each station with clear objectives, step-by-step instructions, and challenge cards that encourage experimentation and creative problem-solving.
Incorporate team-based activities that combine technical skills with collaborative learning – assign groups to build working prototypes, debug intentionally flawed code, or create mini IoT projects using provided components. These shared experiences not only strengthen understanding but also build confidence through peer learning and immediate feedback.
Monitor engagement levels throughout the session by implementing quick response activities, live coding demonstrations, and instant debugging challenges that keep participants actively involved in the learning process. This dynamic approach ensures maximum knowledge retention while maintaining an energetic, focused workshop environment.
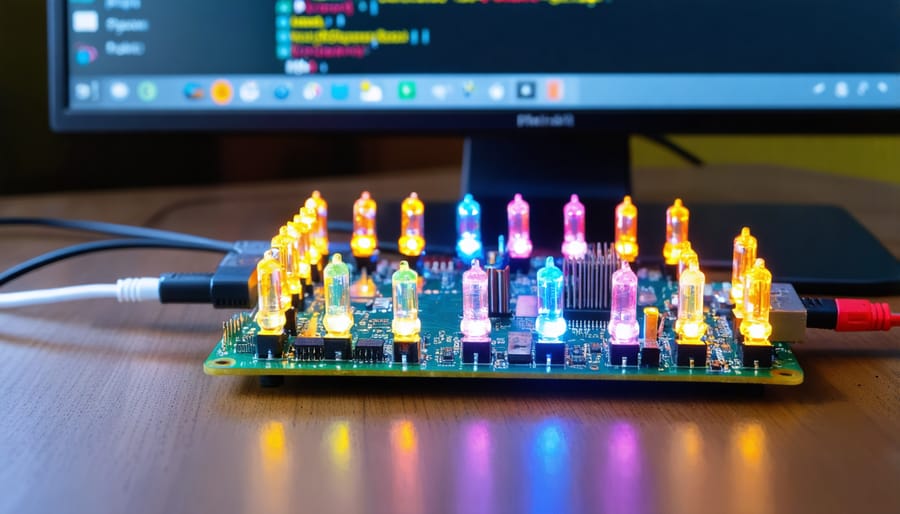
LED Light Show Programming Workshop
Hardware Setup
To get started with our interactive workshop activities, you’ll need several key components. Each participant should have access to a Raspberry Pi (preferably Model 4B or newer), a microSD card (16GB minimum), a power supply, and basic peripherals like a keyboard and mouse. While a display is optional, since connecting to your Raspberry Pi can be done remotely, having one available for demonstration purposes is recommended.
For group activities, ensure you have a reliable Wi-Fi network or ethernet connections available. Each workstation should be equipped with a breadboard, jumper wires, and basic electronic components like LEDs, resistors, and buttons. Having spare components on hand is always wise, as beginners might occasionally make connection mistakes.
Pre-workshop preparation should include flashing the latest Raspberry Pi OS onto all microSD cards and testing each Pi to ensure proper functionality. Consider creating a simple checklist for participants to verify their hardware setup, which can prevent common troubleshooting issues during the workshop itself.
Coding Exercise
Let’s create a simple LED pattern using Python and a Raspberry Pi. Connect three LEDs to GPIO pins 17, 27, and 22, with appropriate resistors. Here’s the code to create an engaging traffic light sequence:
“`python
import RPi.GPIO as GPIO
import time
# Set up GPIO pins
GPIO.setmode(GPIO.BCM)
GPIO.setup([17, 27, 22], GPIO.OUT)
def light_pattern():
try:
while True:
# Red light
GPIO.output(17, GPIO.HIGH)
time.sleep(2)
GPIO.output(17, GPIO.LOW)
# Yellow light
GPIO.output(27, GPIO.HIGH)
time.sleep(1)
GPIO.output(27, GPIO.LOW)
# Green light
GPIO.output(22, GPIO.HIGH)
time.sleep(2)
GPIO.output(22, GPIO.LOW)
except KeyboardInterrupt:
GPIO.cleanup()
light_pattern()
“`
This code creates a repeating pattern where each LED lights up in sequence. Participants can modify the timing or add new patterns by adjusting the sleep intervals and GPIO states. Challenge them to create different sequences, like a warning flasher or binary counter. For beginners, start with a single LED and gradually build up to more complex patterns.
Remember to properly ground your circuit and use 220-ohm resistors to protect the LEDs. This exercise teaches basic GPIO control, loops, and error handling in Python while creating a visually engaging output.
Build Your Own Weather Station
Sensor Integration
In this hands-on activity, participants will learn to integrate temperature and humidity sensors with their Raspberry Pi, creating an engaging foundation for various student project ideas. Start by gathering the necessary components: a DHT22 or DHT11 sensor, three jumper wires, and a 10k ohm resistor.
Begin by connecting the sensor to your Raspberry Pi’s GPIO pins. The DHT22/DHT11 has three main pins: VCC (power), DATA (signal), and GND (ground). Connect VCC to the 3.3V pin (Pin 1) on your Pi, GND to any ground pin, and the DATA pin to GPIO4 (Pin 7). The 10k ohm resistor should be placed between VCC and DATA as a pull-up resistor.
Install the required Python library by opening the terminal and running:
“`
sudo pip3 install Adafruit_DHT
“`
Create a simple Python script to read the sensor data:
“`python
import Adafruit_DHT
sensor = Adafruit_DHT.DHT22
pin = 4
humidity, temperature = Adafruit_DHT.read_retry(sensor, pin)
“`
Have participants modify the code to create their own temperature and humidity monitoring systems. Encourage experimentation with different reading intervals and data visualization methods. This setup serves as an excellent introduction to both hardware integration and Python programming.
Data Visualization
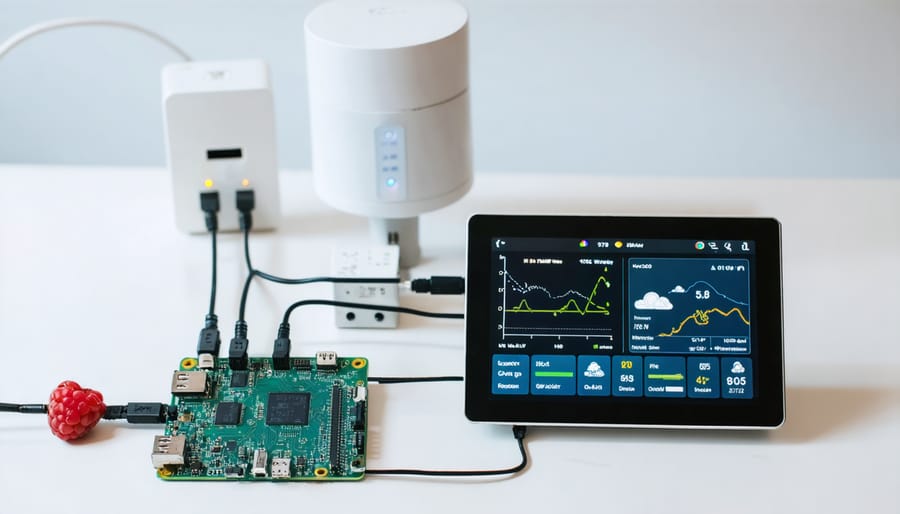
Visualizing weather data through interactive dashboards creates an engaging way to understand environmental patterns and practice data analysis skills. Start by connecting your Raspberry Pi to a weather sensor kit, which will collect real-time data including temperature, humidity, and atmospheric pressure. Using Python libraries like Dash or Streamlit, participants can create a simple web-based dashboard that updates automatically.
Guide workshop attendees through the process of organizing their data into meaningful visualizations. Begin with basic line charts showing temperature changes over time, then progress to more complex visualizations like humidity heat maps or pressure trend analysis. Encourage experimentation with different chart types and color schemes to make the data more accessible and visually appealing.
Include interactive elements such as dropdown menus for selecting different time periods or data parameters, and hover tooltips that display detailed information. This hands-on approach helps participants understand both the technical aspects of data visualization and the importance of user experience in dashboard design.
For additional engagement, challenge participants to create comparative visualizations using historical weather data alongside their real-time measurements. This exercise demonstrates the practical applications of data analysis while building fundamental programming and design skills. Remember to emphasize the importance of clear labeling and intuitive layout in creating effective data visualizations.
Security System Challenge
Motion Detection Setup
Setting up motion detection using PIR (Passive Infrared) sensors is a fundamental component that adds interactivity to your workshop projects. Begin by connecting the PIR sensor to your Raspberry Pi – the sensor typically has three pins: VCC (power), GND (ground), and OUT (signal). Connect VCC to the 5V pin on your Pi, GND to any ground pin, and OUT to GPIO pin 17 (though you can use any available GPIO pin).
Install the required Python libraries by opening the terminal and running ‘pip install RPi.GPIO’. Create a new Python script and import the GPIO library along with time for managing delays. Set up your GPIO mode using ‘GPIO.setmode(GPIO.BCM)’ and configure your chosen pin as input with ‘GPIO.setup(17, GPIO.IN)’.
The PIR sensor needs about 60 seconds to calibrate when first powered up. During this time, ensure there’s no movement in the sensor’s field of view. Once calibrated, the sensor will output HIGH (1) when motion is detected and LOW (0) when no motion is present.
Test your setup with a simple Python loop that prints “Motion Detected!” when the sensor triggers. Adjust the sensor’s sensitivity and delay time using the two potentiometers on the module – one controls detection range (typically 3-7 meters), while the other sets how long the signal remains HIGH after detection.
For workshop activities, mount the sensor at chest height and angle it slightly downward for optimal detection of participant movement.
Alert System Programming
In this hands-on activity, participants will create a simple yet effective alert system using Python and basic electronic components. The project teaches fundamental programming concepts while demonstrating practical applications of sensor-based notifications.
Start by connecting an LED and a buzzer to your Raspberry Pi’s GPIO pins. Using Python, write a basic script that monitors input from a sensor (such as a button or motion detector) and triggers both visual and audio alerts when activated. This creates an engaging way to learn about conditional statements and GPIO programming.
Here’s a basic example of the alert system code:
“`python
import RPi.GPIO as GPIO
import time
LED_PIN = 18
BUZZER_PIN = 23
SENSOR_PIN = 24
GPIO.setmode(GPIO.BCM)
GPIO.setup(LED_PIN, GPIO.OUT)
GPIO.setup(BUZZER_PIN, GPIO.OUT)
GPIO.setup(SENSOR_PIN, GPIO.IN)
while True:
if GPIO.input(SENSOR_PIN):
GPIO.output(LED_PIN, GPIO.HIGH)
GPIO.output(BUZZER_PIN, GPIO.HIGH)
time.sleep(1)
else:
GPIO.output(LED_PIN, GPIO.LOW)
GPIO.output(BUZZER_PIN, GPIO.LOW)
“`
Encourage participants to modify the code by adding different alert patterns, adjusting timing, or incorporating additional sensors. This activity can be extended by implementing network notifications or creating a web interface for remote monitoring.
Workshop Facilitation Tips
Time Management
Effective time management is crucial when organizing tech workshops. For a standard two-hour workshop, allocate the first 15 minutes for introductions and setup. Break down complex activities into 30-minute segments, allowing participants to maintain focus and enthusiasm throughout the session. Include a 10-minute break halfway through to prevent cognitive fatigue and give participants time to network.
Create a detailed timeline for each activity, factoring in additional buffer time for troubleshooting and questions. For Raspberry Pi workshops, reserve at least 5 minutes at the start of each hands-on segment to ensure all devices are properly connected and running. Keep track of progress using a visible timer, and announce time checkpoints to help participants stay on schedule.
Consider using the “time-boxing” technique: set specific time limits for each task and move forward when time is up, regardless of completion. This helps maintain workshop momentum while ensuring all planned activities are covered. Always save the last 10 minutes for wrap-up discussions and next steps.
Troubleshooting Common Issues
When running interactive workshops, you may encounter several common technical challenges. Here’s how to address them effectively:
For connectivity issues, always have offline versions of your workshop materials ready. Download necessary files beforehand and distribute them via USB drives if needed. Keep a mobile hotspot as backup for internet-dependent activities.
If participants experience hardware recognition problems, ensure all drivers are pre-installed on workshop computers. Have participants test their equipment during setup time, not during the main activity. Keep spare components handy for quick replacements.
To prevent software compatibility issues, create detailed setup guides with specific version requirements. Test all activities across different operating systems before the workshop. Consider using virtual environments or containers to maintain consistency.
For audio-visual problems, arrive early to test projectors and sound systems. Have backup displays ready and ensure presentation materials are visible from all angles. Keep copies of materials in multiple formats (PDF, PPT, Google Slides).
Remember to document common issues and solutions for future reference, helping you refine your workshop preparation process over time.
Group Dynamics
Managing diverse skill levels in a workshop setting requires careful planning and flexible approaches. Start by conducting a quick pre-workshop assessment to understand participants’ experience levels. This can be as simple as asking attendees to rate their familiarity with Raspberry Pi on a scale of 1-5.
Create mixed-skill groups where more experienced participants can naturally mentor beginners. This peer learning approach keeps advanced users engaged while supporting those who need extra help. Design activities with multiple complexity levels – for instance, a basic LED blinking project can be extended to include multiple LEDs or sensor integration for those who finish early.
Maintain engagement by implementing the “two-minute rule” – never let participants struggle alone for more than two minutes. Circulate regularly among groups, offering hints rather than direct solutions. Use visual aids and step-by-step guides that allow participants to progress at their own pace while keeping the overall group moving forward.
Consider implementing checkpoint systems where groups can earn “badges” or recognition for completing different stages, encouraging healthy competition while accommodating various learning speeds.
Interactive workshops have proven to be invaluable tools for fostering hands-on learning and practical skill development in the tech community. By incorporating these engaging activities into your teaching approach, you create an environment where participants not only learn but actively experience the concepts being taught. The combination of physical computing, problem-solving challenges, and collaborative projects ensures that knowledge is retained more effectively than through traditional lecture-based methods.
The success of these workshops lies in their ability to cater to different learning styles while maintaining engagement throughout the session. Whether it’s building simple LED circuits, creating automated systems, or developing IoT solutions, each activity provides immediate feedback and tangible results that motivate participants to explore further.
To implement these workshop activities effectively, start small and gradually build complexity as your participants gain confidence. Remember to prepare thoroughly, test all components beforehand, and have backup plans ready. Consider creating activity kits that participants can take home, encouraging continued learning beyond the workshop.
The impact of interactive workshops extends beyond technical skills – they build community, encourage creativity, and develop problem-solving abilities that are valuable across various technical domains. By implementing these activities in your educational programs, you’re not just teaching technology; you’re cultivating the next generation of makers and innovators.
Don’t wait to get started – choose an activity that matches your audience’s skill level and begin planning your interactive workshop today. The rewards of seeing participants light up with understanding and achievement are well worth the preparation effort.