

Transform your smart home automation with Z-Wave Controller integration in Home Assistant, the powerful open-source platform that seamlessly connects your devices and enables advanced voice control capabilities. Connect any Z-Wave USB stick to your Raspberry Pi, install the Z-Wave JS integration through Home Assistant’s user interface, and instantly gain control over hundreds of compatible smart devices. This robust combination delivers enterprise-grade security through AES-128 encryption, reliable mesh networking that strengthens with each added device, and unmatched flexibility in creating sophisticated automation routines. Whether you’re automating lights, securing doors, or monitoring sensors, Z-Wave’s proven protocol works flawlessly with Home Assistant to create a responsive, intelligent living space that adapts to your lifestyle.
Hardware Requirements for Your Z-Wave Hub
Choosing the Right Z-Wave Controller
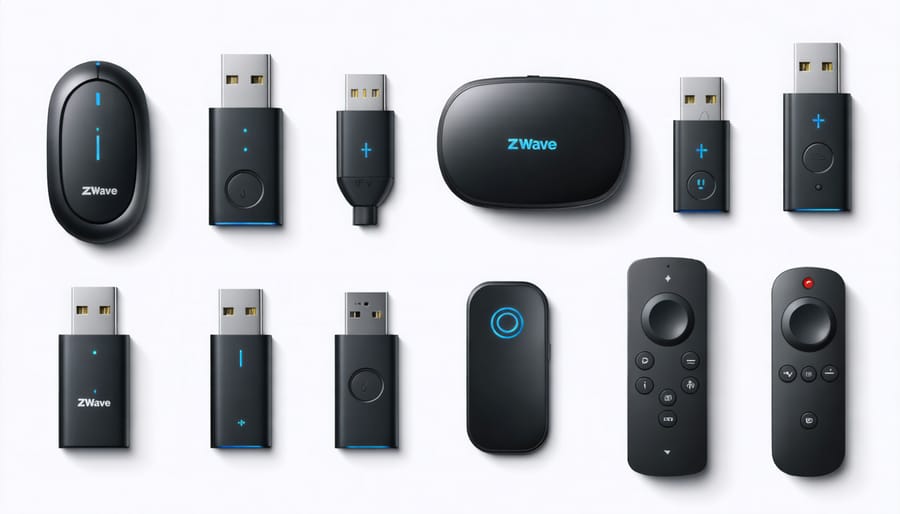
When setting up Home Assistant with Z-Wave smart devices, choosing the right controller is crucial for reliable performance. The Zooz ZST10 700 series stick is a popular choice, offering excellent range and compatibility with the latest Z-Wave Plus devices. For budget-conscious users, the Aeotec Z-Stick Gen5+ remains a reliable option, though it lacks some newer features.
The Silicon Labs UZB-7 stands out for its superior performance and stability, making it ideal for larger networks. It includes built-in backup protection and enhanced security features. The HomeSeer SmartStick+ offers similar capabilities with the added benefit of frequency agility to reduce interference.
Consider these key factors when selecting your controller:
– Protocol version support (Z-Wave 700 series recommended)
– Range and antenna quality
– Local processing capabilities
– Backup/recovery features
– Price point and availability
– Community support and documentation
Remember that while more expensive controllers often provide better performance, even basic models will work well for smaller smart home setups.
Raspberry Pi Setup Specifications
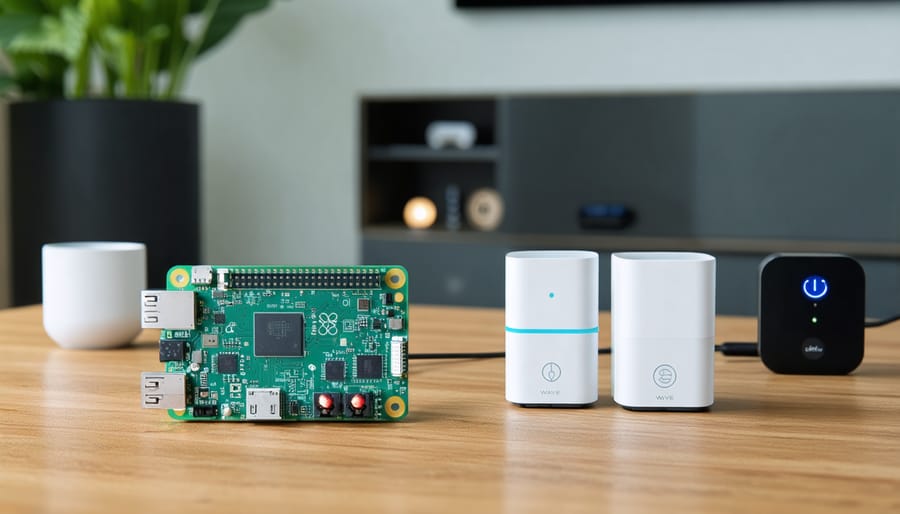
For optimal performance of your Z-Wave controller with Home Assistant, we recommend using a Raspberry Pi 4 with at least 2GB RAM, though 4GB is ideal for smoother operation. You’ll need a quality power supply (5V/3A), a microSD card (32GB minimum), and a USB Z-Wave stick or HAT module. For reliable operation, use a good-quality microSD card from reputable brands like Samsung or SanDisk. A case with proper ventilation is essential to prevent overheating, especially if your setup runs 24/7. While older Raspberry Pi models can work, they may experience performance limitations when managing multiple Z-Wave devices. Don’t forget an Ethernet cable for stable network connectivity, though Wi-Fi is also supported.
Installing Home Assistant with Z-Wave Support
Home Assistant OS Installation
Before integrating your Z-Wave controller with Home Assistant, you’ll need to install Home Assistant OS on your Raspberry Pi. This process transforms your Pi into a powerful smart home hub that can manage all your connected devices.
Start by downloading the Home Assistant OS image for your specific Raspberry Pi model from the official Home Assistant website. Using a tool like Balena Etcher, flash the image onto a high-quality microSD card (minimum 32GB recommended). Insert the microSD card into your Raspberry Pi and connect it to your network via ethernet cable for the most stable initial setup.
Power on your Raspberry Pi and wait approximately 20 minutes for the first boot process to complete. Home Assistant will automatically create its instance and acquire an IP address. You can access the interface by typing “homeassistant.local:8123” in your web browser, or by using the IP address assigned to your Pi.
Follow the onscreen setup wizard to create your admin account, set your location, and configure basic settings. Once complete, you’ll have access to the Home Assistant dashboard, where you can begin adding your Z-Wave devices and creating automations.
Remember to perform regular backups of your configuration once everything is set up. This ensures you can quickly recover your system if needed.
Z-Wave Integration Setup
To add Z-Wave support to Home Assistant, you’ll first need to install the Z-Wave integration. Navigate to your Home Assistant’s Configuration menu and select “Integrations.” Click the “Add Integration” button and search for “Z-Wave JS.”
If you’re using a USB Z-Wave controller stick, plug it into your Raspberry Pi or host device before proceeding. Home Assistant should automatically detect the USB device. Select the correct USB port from the dropdown menu (usually something like /dev/ttyACM0 on Linux systems).
For network-based Z-Wave controllers, you’ll need to enter the WebSocket URL. This is typically in the format ws://your-device-ip:3000. Make sure your Z-Wave controller is properly configured and accessible on your network before attempting the connection.
Once the integration is added successfully, Home Assistant will begin discovering your Z-Wave devices. This process can take several minutes depending on your network size. Newly discovered devices will appear automatically in your Home Assistant dashboard.
To add new Z-Wave devices, click on the Z-Wave JS integration in Home Assistant and select “Add Node.” Put your Z-Wave device in pairing mode according to its manual, and Home Assistant will begin the inclusion process. After successful pairing, you can customize the device’s entity name and add it to your automations.
Remember to secure your Z-Wave network by using a unique network key during the initial setup. This ensures your devices communicate securely and prevents unauthorized access to your home automation system.
Configuring Voice Control Integration
Amazon Alexa Integration
Integrating Amazon Alexa with your Z-Wave-enabled Home Assistant setup adds convenient voice control capabilities to your smart home system. To get started, you’ll need to configure the Home Assistant Cloud (Nabu Casa) subscription or set up a manual integration using the Alexa skill.
For the simplest method using Nabu Casa:
1. Subscribe to Home Assistant Cloud
2. Enable the Alexa integration in Home Assistant
3. Install the Home Assistant skill in your Alexa app
4. Discover your devices through the Alexa app
For manual integration (advanced):
1. Configure port forwarding on your router
2. Set up SSL certification for secure access
3. Create an Amazon Developer account
4. Configure the Alexa Smart Home Skill
5. Link your Home Assistant account
Once connected, you can control your Z-Wave devices using voice commands like “Alexa, turn on the living room lights” or “Alexa, set the thermostat to 72 degrees.” You can also create Alexa routines that incorporate your Z-Wave devices for more complex automation scenarios.
Remember to expose only the devices you want to control via voice in your Home Assistant configuration. This helps maintain security and prevents unwanted access to sensitive devices. You can manage exposed devices through the Home Assistant interface under the Alexa integration settings.
Google Assistant Setup
To enable Google Assistant control for your Z-Wave devices through Home Assistant, you’ll need to configure both the Home Assistant Cloud (Nabu Casa) service and your Google account. Start by subscribing to Nabu Casa, which provides the easiest method for Google Assistant integration while supporting Home Assistant’s development.
Once subscribed, log into your Home Assistant instance and navigate to Configuration > Home Assistant Cloud. Sign in with your Nabu Casa account and enable the Google Assistant integration from the cloud dashboard. Next, open the Google Home app on your mobile device and tap the plus icon to add a device. Choose “Works with Google” and search for “Home Assistant Cloud.”
Link your Nabu Casa account when prompted, and wait for Google Home to discover your Z-Wave devices. Only entities marked as “exposed” in Home Assistant will appear in Google Home. You can manage exposed entities through Configuration > Integrations > Home Assistant Cloud > Expose Entities.
After setup, you can control your Z-Wave devices using voice commands like “Hey Google, turn on the living room lights” or “OK Google, set the thermostat to 72 degrees.” For more complex automations, create scripts in Home Assistant and expose them to Google Assistant for voice control.
Remember to keep your Home Assistant instance updated to ensure compatibility with the latest Google Assistant features and security patches.
Creating Voice-Controlled Automations
Basic Voice Commands
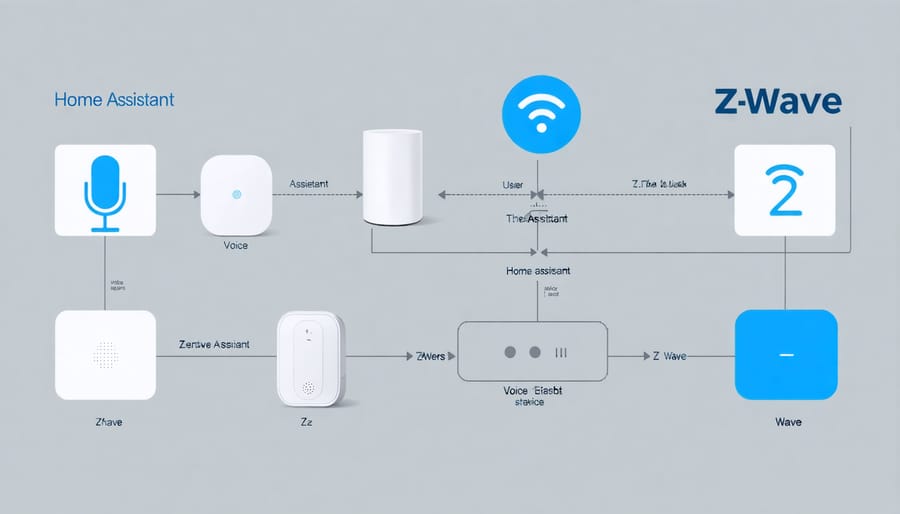
Voice control adds a convenient hands-free dimension to your Z-Wave home automation setup. With Home Assistant, you can implement basic voice commands through popular voice assistants like Google Assistant or Amazon Alexa. Start by creating simple voice triggers for common actions such as “turn on living room lights” or “set bedroom temperature to 72 degrees.”
To set up voice commands, first ensure your Z-Wave devices are properly named in Home Assistant with clear, recognizable labels. Then, create automation scripts that group related actions together. For example, a “goodnight” command could trigger multiple Z-Wave devices to turn off lights, lock doors, and adjust thermostats.
For reliable voice control, use specific device names and create alternate phrases for common commands. Instead of just “turn on lights,” use “turn on kitchen lights” or “turn on dining room lights” for better accuracy. You can also create custom phrases for complex scenarios, like “movie time” to dim lights, lower blinds, and adjust the thermostat simultaneously.
Remember to test your voice commands thoroughly and adjust the automation scripts as needed for optimal performance. Keep commands simple and intuitive for the best user experience.
Advanced Automation Scenarios
Creating voice-controlled automation scenarios with Z-Wave and Home Assistant unlocks powerful possibilities for smart home control. One advanced scenario involves creating a “Good Morning” routine that gradually increases bedroom lights, adjusts the thermostat, and starts the coffee maker when you say “Hey Google, good morning.” You can also set up conditional automations, like having your system check if windows are open before activating the HVAC system.
Security-focused routines can automatically lock all Z-Wave doors, arm motion sensors, and adjust lighting when you say “Time for bed” or “We’re leaving.” For entertainment, create scenes that dim lights, lower smart blinds, and activate your home theater system with a single voice command.
Complex multi-device automations can include weather-dependent actions. For instance, saying “Movie time” could check if it’s daytime, then close blinds and dim lights, or simply adjust lighting if it’s already dark outside. These advanced scenarios showcase the true potential of integrating voice control with Z-Wave devices in Home Assistant.
Troubleshooting Common Issues
When troubleshooting your Z-Wave controller in Home Assistant, start by checking the USB connection. If your controller isn’t being recognized, try a different USB port or cable. Sometimes, a simple power cycle of both the controller and Home Assistant can resolve connectivity issues.
Common network healing problems can be addressed by ensuring your Z-Wave devices are within proper range. If devices frequently drop offline, consider adding repeater nodes or repositioning devices to create a stronger mesh network. Remember that metal objects and thick walls can interfere with Z-Wave signals.
Database inconsistencies often occur after system updates. If you notice devices missing or behaving erratically, try removing and re-including problematic devices. Before doing this, make sure to document your device configurations to save time during reconnection.
Security issues might arise when mixing different security classes. Ensure all your devices support the same security protocol (S0, S1, or S2). If you’re experiencing delayed responses, check if your network is overloaded with too many secure devices, as encrypted communications can add latency.
For optimization, regularly maintain your Z-Wave network by running periodic heal operations, especially after adding new devices. Keep your Z-Wave controller’s firmware updated, and consider using node routing visualization tools to identify weak points in your mesh network.
If you encounter persistent issues, check Home Assistant’s logs for specific error messages. The community forums are excellent resources for troubleshooting, where many users share similar experiences and solutions. Remember to back up your Z-Wave configuration regularly to prevent data loss during troubleshooting procedures.
Integrating a Z-Wave controller with Home Assistant opens up a world of possibilities for creating a truly smart and automated home. By following the setup steps and configuration guidelines outlined in this guide, you’ve laid a solid foundation for a versatile home automation system that can grow with your needs.
The combination of Z-Wave technology and Home Assistant provides exceptional reliability, broad device compatibility, and powerful automation capabilities. With this setup, you can control lights, locks, sensors, and other smart devices seamlessly while maintaining local control of your system without relying on cloud services.
To expand your system further, consider starting with basic automation scenarios like motion-activated lighting or temperature-based climate control. As you become more comfortable with the platform, you can implement more complex automations involving multiple devices and conditions. Adding more Z-Wave devices is straightforward thanks to Home Assistant’s intuitive interface and the robust Z-Wave protocol.
Remember to regularly update your Home Assistant installation and Z-Wave firmware to ensure optimal performance and security. Join the active Home Assistant community forums to share experiences, troubleshoot issues, and discover new automation ideas from other users.
Whether you’re just beginning your smart home journey or expanding an existing setup, the Z-Wave and Home Assistant combination provides a reliable, secure, and flexible foundation for your home automation needs.