

Transform your Raspberry Pi into a powerful AI hub using JavaScript’s most efficient machine learning libraries. TensorFlow.js, Brain.js, and ML5.js now enable developers to implement sophisticated AI capabilities directly on Pi hardware, making edge computing more accessible than ever. From image recognition to natural language processing, these lightweight libraries leverage the Pi’s GPU acceleration while maintaining optimal performance within its resource constraints.
Modern JavaScript AI libraries have revolutionized what’s possible on single-board computers, offering pre-trained models and intuitive APIs that drastically reduce development time. Whether you’re building a smart home controller, an automated garden system, or an intelligent robotics project, these libraries provide the perfect balance of power and efficiency for Raspberry Pi implementations.
Key advantages include reduced latency through edge processing, offline functionality, and significantly lower cloud computing costs. By processing AI workloads locally on your Pi, you’ll achieve faster response times and better data privacy while maintaining the flexibility and ease of use that JavaScript developers expect.
Let’s explore how to harness these powerful libraries to create intelligent, responsive applications that make the most of your Raspberry Pi’s capabilities.
Why JavaScript for AI on Raspberry Pi?
JavaScript has emerged as an excellent choice for implementing edge AI capabilities on Raspberry Pi, offering several compelling advantages that make it particularly suitable for both beginners and experienced developers. The combination of JavaScript’s widespread ecosystem and Raspberry Pi’s versatility creates a powerful platform for AI experimentation and development.
First, JavaScript’s extensive npm package repository provides immediate access to thousands of AI libraries and tools, many of which are optimized for resource-constrained environments like the Raspberry Pi. This rich ecosystem means developers can quickly implement AI features without building everything from scratch.
The language’s event-driven architecture aligns perfectly with real-time AI applications, such as sensor data processing and computer vision tasks. JavaScript’s non-blocking I/O model ensures smooth handling of multiple AI operations without overwhelming the Pi’s resources.
Another significant advantage is JavaScript’s low barrier to entry. Web developers can leverage their existing knowledge to create AI applications on Raspberry Pi without learning a new programming language. This familiarity accelerates development time and reduces the learning curve for implementing AI features.
Node.js’s cross-platform compatibility ensures that AI applications developed on Raspberry Pi can easily be deployed across different devices and operating systems. This flexibility is particularly valuable for prototyping and scaling AI projects.
Moreover, JavaScript’s strong community support means developers can find solutions to common problems quickly, access updated documentation, and participate in active forums dedicated to AI development on Raspberry Pi. This collaborative environment fosters innovation and knowledge sharing among makers and developers.
TensorFlow.js on Raspberry Pi
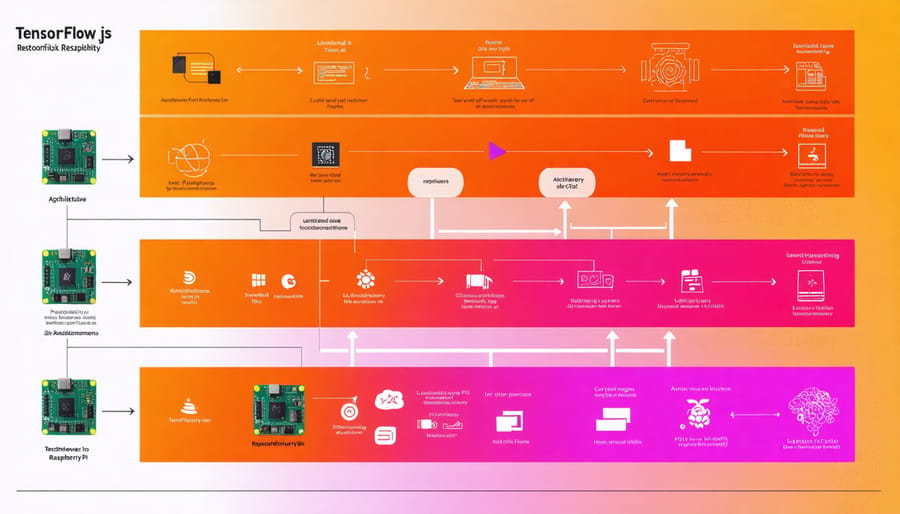
Installation and Setup
Getting started with TensorFlow.js is straightforward, even on a Raspberry Pi. First, ensure you have Node.js installed on your system by running ‘node -v’ in your terminal. If Node.js isn’t present, install it using:
“`bash
sudo apt-get update
sudo apt-get install nodejs npm
“`
Once Node.js is ready, create a new project directory and initialize it:
“`bash
mkdir tfjs-project
cd tfjs-project
npm init -y
“`
Now, install TensorFlow.js by running:
“`bash
npm install @tensorflow/tfjs
“`
For projects requiring browser support, include the TensorFlow.js CDN in your HTML file:
“`html
“`
To verify your installation, create a simple test file named ‘test.js’:
“`javascript
const tf = require(‘@tensorflow/tfjs’);
// Simple test model
const model = tf.sequential();
model.add(tf.layers.dense({units: 1, inputShape: [1]}));
console.log(‘TensorFlow.js installed successfully!’);
“`
Run the test file using:
“`bash
node test.js
“`
If you see the success message without errors, you’re ready to start building AI applications with TensorFlow.js. Remember to manage memory efficiently on your Raspberry Pi by using model.dispose() when you’re done with your tensors and models.
Performance Optimization Tips
When running TensorFlow.js on your Raspberry Pi, optimizing performance with limited RAM is crucial for smooth operation. Start by using the WebGL backend whenever possible, as it significantly improves computation speed compared to the CPU backend. Enable memory growth by setting the GPU memory fraction dynamically, allowing TensorFlow.js to allocate memory as needed rather than all at once.
Consider implementing model quantization to reduce memory usage without significantly impacting accuracy. This technique converts your model’s weights from 32-bit floating-point numbers to 8-bit integers, dramatically reducing the model size and improving inference speed.
Batch processing is another effective strategy. Instead of processing single inputs, group them into appropriately sized batches. This reduces overhead and maximizes GPU utilization. However, keep batch sizes modest on the Pi to avoid memory issues.
For real-time applications, use the tf.tidy() function to automatically clean up intermediate tensors after computations. This prevents memory leaks and keeps your application running smoothly. Additionally, consider using the dispose() method explicitly on tensors you no longer need.
Pre-warm your models by running a few inference passes before actual use. This ensures the initial delay doesn’t affect your application’s responsiveness. Finally, monitor memory usage using tf.memory() to identify and address potential bottlenecks in your implementation.
Brain.js for Lightweight Neural Networks
Getting Started with Brain.js
Getting started with Brain.js is straightforward, even for those new to AI development. First, ensure you have Node.js installed on your Raspberry Pi, then open your terminal and install Brain.js using npm:
“`bash
npm install brain.js
“`
After installation, create a new JavaScript file and import the library:
“`javascript
const brain = require(‘brain.js’);
const net = new brain.NeuralNetwork();
“`
Brain.js makes it easy to create and train neural networks. Here’s a simple example that teaches the network to recognize XOR patterns:
“`javascript
net.train([
{ input: [0, 0], output: [0] },
{ input: [0, 1], output: [1] },
{ input: [1, 0], output: [1] },
{ input: [1, 1], output: [0] }
]);
“`
To use the trained network, simply call the run method:
“`javascript
const output = net.run([1, 0]);
console.log(output);
“`
Brain.js supports various neural network types and configurations, making it ideal for beginners while offering enough flexibility for more complex projects. The library’s lightweight nature makes it particularly suitable for Raspberry Pi applications where resources might be limited.
Real-world Applications
JavaScript AI libraries are powering numerous real-world applications on Raspberry Pi devices, making sophisticated machine learning accessible to hobbyists and developers alike. From simple image recognition systems to complex natural language processing tasks, these libraries enable creators to build practical AI project examples with minimal setup.
Popular implementations include smart home automation systems that use TensorFlow.js to detect household objects and control IoT devices. Developers are creating voice-controlled assistants using Brain.js to process commands and manage Pi-powered electronics. Computer vision projects utilizing ML5.js have enabled makers to build everything from plant health monitors to simple security systems.
Educational applications are another growing area, with libraries like Synaptic being used to create interactive learning tools and pattern recognition games. These projects demonstrate how JavaScript AI libraries can transform a Raspberry Pi into a powerful learning platform while maintaining reasonable performance within the device’s hardware limitations.
ML5.js for Beginner-Friendly AI
For those getting started with machine learning, ML5.js stands out as a friendly gateway into the world of artificial intelligence. Built on top of TensorFlow.js, this JavaScript library simplifies complex AI concepts into approachable functions that even coding beginners can grasp and implement.
ML5.js excels in making machine learning accessible through its intuitive API and extensive documentation. Whether you’re interested in image recognition, sound classification, or natural language processing, the library offers pre-trained models that work right out of the box. This means you can start experimenting with AI without diving deep into the mathematical complexities behind machine learning algorithms.
What makes ML5.js particularly suitable for Raspberry Pi projects is its lightweight nature and browser-based implementation. You can run ML5.js applications directly in a web browser, reducing the need for complex setup procedures or heavy computational resources. The library includes several key features that beginners will appreciate:
– Simple syntax that feels natural to JavaScript developers
– Ready-to-use neural networks for common tasks
– Built-in support for webcam and microphone input
– Comprehensive examples and tutorials
– Active community support and resources
For instance, you can create an image classification project with just a few lines of code, or build a simple pose detection system using your Raspberry Pi’s camera module. The library’s modular approach allows you to start small and gradually expand your project’s capabilities as you become more comfortable with AI concepts.
Remember that while ML5.js abstracts away much of the complexity, it still provides enough flexibility for more advanced applications as your skills grow. This makes it an excellent choice for both learning and practical implementation of AI features in your Raspberry Pi projects.
Resource Management and Optimization
Running AI libraries on a Raspberry Pi requires careful resource management to ensure optimal performance. The limited processing power and memory of the Pi make it essential to implement efficient strategies when working with JavaScript AI libraries.
First, consider memory management. Before loading any AI models, check your available RAM using Node.js’s process.memoryUsage() function. Most JavaScript AI libraries allow you to specify model sizes – opt for smaller, optimized models when possible. For TensorFlow.js, use the tfjs-node-lite package instead of the full version to reduce memory footprint.
CPU optimization is crucial. Implement lazy loading for AI models, only initializing them when needed. Use async/await patterns to prevent blocking the main thread during intensive computations. Consider running models in separate worker threads using the Node.js Worker Threads module to maintain responsiveness in your applications.
Temperature management shouldn’t be overlooked. AI computations can cause significant CPU load, potentially leading to thermal throttling. Monitor your Pi’s temperature using simple shell commands and implement cooling breaks in your code during extended processing tasks.
For storage optimization, cache model weights locally instead of downloading them repeatedly. Use streaming approaches when processing large datasets, and implement garbage collection calls after heavy computations to free up memory.
Performance monitoring is essential. Use built-in Node.js performance hooks or lightweight monitoring libraries to track resource usage. Set up automatic alerts for when memory or CPU usage exceeds predetermined thresholds, allowing your application to gracefully degrade or take corrective actions.
Remember to test your AI applications under various load conditions to ensure stable performance on your Raspberry Pi.
JavaScript AI libraries have opened up exciting possibilities for implementing artificial intelligence on Raspberry Pi devices. From TensorFlow.js’s powerful deep learning capabilities to Brain.js’s intuitive neural networks, and ML5.js’s beginner-friendly approach, developers now have a robust toolkit for creating AI-powered applications. By starting with simple projects and gradually exploring more complex implementations, you can build your expertise in AI development on the Pi platform.
To begin your journey, try implementing a basic image recognition project using TensorFlow.js, or create a simple prediction model with Brain.js. Join online communities, participate in forums, and share your experiences with fellow enthusiasts. Remember to optimize your code for the Pi’s resources and stay updated with the latest library releases and best practices. With dedication and practice, you’ll be well-equipped to create innovative AI solutions using JavaScript on your Raspberry Pi.