

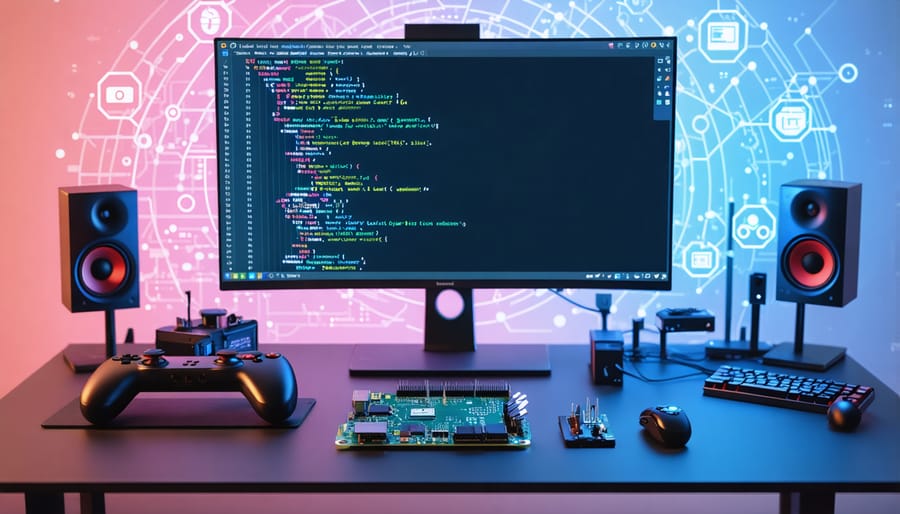
Transform your Raspberry Pi into a multiplayer game development powerhouse with the right tools and framework. Independent game developers can leverage the Pi’s versatile hardware and networking capabilities to create engaging multiplayer experiences without expensive development infrastructure. Start with Python and Pygame for rapid prototyping, implement UDP networking for real-time gameplay, and utilize the Pi’s GPIO pins for unique controller interfaces.
The indie game development landscape has evolved dramatically, making the Raspberry Pi an ideal platform for ambitious developers seeking to build and test multiplayer games. Its combination of affordability, Linux-based architecture, and active community support provides the perfect foundation for independent creators. Whether you’re crafting a local multiplayer party game or an online multiplayer adventure, the Pi’s ecosystem offers the essential tools and libraries to bring your vision to life.
Let’s dive into the practical aspects of multiplayer game development on Raspberry Pi, focusing on network architecture, state synchronization, and optimal performance strategies that work within the Pi’s hardware constraints.
Why Raspberry Pi is Perfect for Indie Game Development
Cost-Effective Development Environment
Getting started with indie game development on Raspberry Pi 4 is remarkably cost-effective compared to traditional development setups. The basic hardware investment starts at around $35-55 for the board itself, with additional costs for essential peripherals like a display, keyboard, and mouse typically totaling under $100.
For development tools, you’ll find plenty of free and open-source options perfectly suited for game creation. The Raspberry Pi OS comes pre-installed with Python, which is excellent for beginners and capable of handling 2D game development through libraries like Pygame. For more advanced development, tools like Godot Engine run smoothly on the Pi and offer a complete game development environment without licensing fees.
Visual Studio Code, available as a free download, provides a robust IDE for coding, while GIMP and Inkscape serve as free alternatives to expensive graphics software for creating game assets. Version control through Git is also free and essential for managing your project’s code base, even as a solo developer.
Built-in Networking Capabilities
The networking capabilities built into the r indie dev framework make multiplayer game development on Raspberry Pi surprisingly straightforward. The framework includes a robust UDP and TCP implementation, allowing developers to choose between reliable or fast communication depending on their game’s needs. For real-time multiplayer games, the UDP protocol offers low-latency performance, while TCP ensures reliable data transmission for turn-based games or critical game states.
Developers can easily set up both client and server components using simple function calls. The framework handles complex networking tasks like connection management, packet serialization, and automatic reconnection attempts. Built-in support for peer-to-peer connections enables direct player-to-player communication, while the client-server model supports traditional multiplayer architectures.
The networking API includes helpful features like automatic game state synchronization, player lobbies, and matchmaking capabilities. Error handling and network diagnostics come pre-configured, making it easier to debug connection issues during development. The framework also supports both local network play and internet-based multiplayer, with built-in NAT traversal to help players connect across different networks.

Essential Tools and Frameworks
Game Engines Compatible with Raspberry Pi
Several game engines work well with Raspberry Pi, offering various capabilities for multiplayer game development. Godot stands out as a popular choice, providing excellent performance on the Pi while supporting both 2D and 3D game development. Its built-in networking features make it particularly suitable for creating multiplayer experiences.
LÖVE (Love2D) is another lightweight option that runs smoothly on Raspberry Pi. This Lua-based framework is perfect for 2D games and offers networking capabilities through additional libraries like LÖVE.socket. Its minimal resource requirements make it ideal for Pi’s hardware constraints.
Python developers might prefer Pygame, which is naturally compatible with Raspberry Pi’s default operating system. While it may not be as feature-rich as commercial engines, Pygame provides essential multiplayer networking support through the pygame.net module and works well for creating simple multiplayer games.
For web-based games, Phaser.js runs effectively on Raspberry Pi’s browser environment. It supports WebSocket connections for multiplayer functionality and performs well even on the Pi’s limited resources.
MonoGame, a C#-based framework, also works on Raspberry Pi through .NET Core. Though it requires additional setup, it offers robust networking capabilities and good performance for both 2D and 3D games.
When choosing an engine, consider factors like programming language familiarity, development complexity, and specific multiplayer requirements for your project.
Networking Libraries and Protocols
For indie developers looking to add multiplayer features to their Raspberry Pi games, several reliable networking libraries and protocols are available. The most popular choice is SDL_net, which integrates seamlessly with SDL2 and provides essential networking functions for both TCP and UDP communications. It’s particularly suitable for real-time games and can help you run a game server with minimal overhead.
Another excellent option is SFML’s networking module, which offers an intuitive API for handling network communications. It’s especially useful for developers already using SFML for their game development, providing a consistent experience across the entire framework.
For lighter implementations, developers can utilize libraries like ENet, which offers reliable UDP networking with features like packet ordering and congestion control. ZeroMQ is another powerful choice, particularly suitable for multiplayer games requiring message queuing and advanced networking patterns.
When working with web-based multiplayer features, WebSocket libraries like libwebsockets can enable real-time communication between your game and web clients. For turn-based games or less demanding networking requirements, simple REST APIs implemented using libraries like libcurl might suffice.
Remember to consider factors like latency, bandwidth usage, and synchronization when choosing your networking solution. The right choice often depends on your game’s specific requirements and performance needs.
Setting Up Your Development Environment
Hardware Requirements and Setup
To get started with R-Indie game development on your Raspberry Pi, you’ll need a basic hardware setup that meets the minimum requirements. At its core, you’ll need a Raspberry Pi 4 Model B with at least 4GB of RAM, though 8GB is recommended for smoother development. A reliable power supply rated at 5V/3A is essential to prevent performance issues.
For storage, use a high-quality microSD card with at least 32GB capacity and good read/write speeds. Class 10 or UHS-I cards are recommended for optimal performance. You’ll also need a display with HDMI input, a USB keyboard, and mouse for comfortable development work.
For networking capabilities, ensure your Raspberry Pi has either a stable Ethernet connection or reliable Wi-Fi access. This is crucial for multiplayer game testing and development.
Additional recommended hardware includes:
– A dedicated cooling solution (heatsinks or fan)
– A protective case
– External USB storage for backups
– A second display for debugging
For game testing, consider having multiple controllers on hand, such as USB gamepads or Bluetooth controllers. Having a second Raspberry Pi unit can be invaluable for testing multiplayer functionality in a realistic environment.
Remember to properly ground yourself when handling components and ensure adequate ventilation for your setup.
Software Installation and Configuration
Getting started with indie game development on Raspberry Pi requires setting up the right development environment. Begin by installing a Linux distribution compatible with game development, such as Raspbian or Ubuntu for Raspberry Pi. Next, install essential development tools including Python 3, pip package manager, and your preferred code editor (like VS Code or Sublime Text).
For multiplayer game development, you’ll need to install additional libraries such as Pygame, Networking libraries (like Socket.io), and relevant game frameworks. Use the following command to install Pygame:
sudo apt-get update
sudo apt-get install python3-pygame
Consider setting up a remote development setup to work more efficiently from your main computer. This allows you to use more powerful development tools while testing directly on the Raspberry Pi.
Configure your development environment by setting up version control with Git, establishing a project structure, and creating a virtual environment for your game project. This helps manage dependencies and keeps your development environment clean:
python3 -m venv gamedev
source gamedev/bin/activate
pip install -r requirements.txt
Remember to test your installation by running a simple test script to ensure all components are working correctly before proceeding with game development.
Implementing Multiplayer Features
Basic Networking Architecture
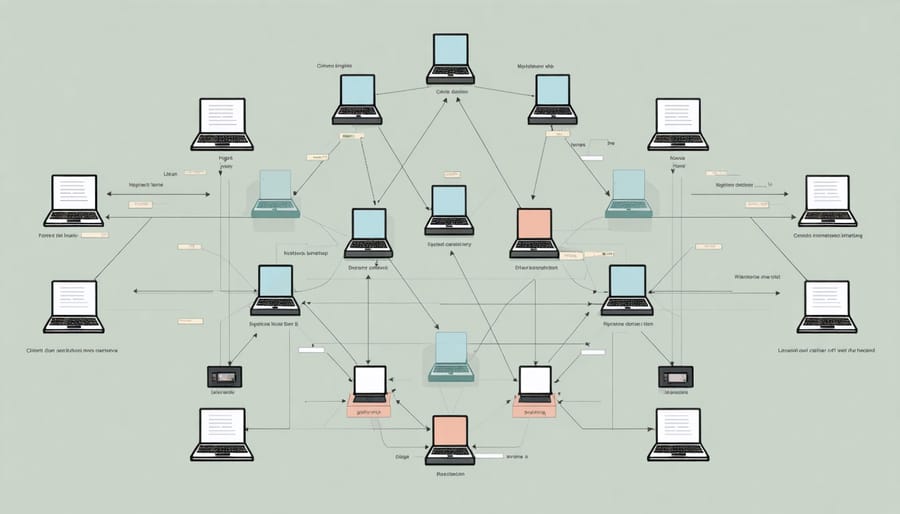
When developing multiplayer games on Raspberry Pi, understanding the basic client-server architecture is crucial. In this model, one Raspberry Pi acts as the server, maintaining the game state and coordinating communication between all connected players, while other devices function as clients that send player inputs and receive game updates.
The server manages the authoritative game state, processes player actions, and broadcasts updates to all connected clients. This centralized approach helps maintain consistency across all players’ games and prevents cheating. The clients, meanwhile, handle player input, render the game world, and communicate with the server through network protocols like TCP/IP or UDP.
For indie developers, implementing a basic client-server setup typically involves creating two main components: a server program that runs on the host Raspberry Pi, and a client program that runs on each player’s device. The server listens for incoming connections on a specific port, while clients connect to the server using its IP address and port number.
This architecture provides a solid foundation for multiplayer game development, though developers should consider factors like latency compensation and state synchronization for smooth gameplay.
State Synchronization
State synchronization is crucial for maintaining consistent gameplay across all connected players in a multiplayer game. For Raspberry Pi game development, two main approaches are commonly used: delta synchronization and snapshot synchronization.
Delta synchronization involves sending only the changes in game state since the last update. This method is bandwidth-efficient and works well for games with frequent small updates. For example, in a racing game, you might only need to transmit player position and velocity changes rather than the entire game state.
Snapshot synchronization, on the other hand, sends complete game state updates at regular intervals. While this requires more bandwidth, it’s more reliable for complex games and helps prevent state drift between players. This method is particularly useful for turn-based games or situations where occasional larger updates are acceptable.
To implement either method, use a reliable UDP protocol for time-critical data and TCP for important state changes. Consider implementing a basic interpolation system to smooth out movement between updates, and add a simple prediction system to handle network latency. Remember to include timestamp information with each update to maintain proper game timing across all connected Raspberry Pi devices.
Testing Multiplayer Features
Testing multiplayer features in your Raspberry Pi game requires a systematic approach to ensure smooth gameplay across different devices. Start by creating a local test environment using multiple Raspberry Pis on the same network. This setup allows you to simulate real-world conditions without external dependencies.
Begin with basic connectivity tests to verify that your devices can communicate effectively. Use simple ping tests and connection handshakes to confirm network stability. Once basic connectivity is established, implement automated testing scripts to simulate multiple player actions simultaneously. This helps identify potential race conditions and synchronization issues early in development.
Remember to test different network conditions by artificially introducing latency and packet loss. Tools like tc (traffic control) on Linux can help simulate various network scenarios. Pay special attention to state synchronization between players and ensure your game handles disconnections gracefully.
For thorough testing, organize small playtesting sessions with other developers or friends. Real-world testing often reveals issues that automated tests might miss, such as timing-sensitive bugs or user experience problems. Document all bugs and unexpected behaviors systematically, prioritizing fixes that affect core gameplay mechanics.
Lastly, implement logging mechanisms to track network events and player interactions. This data proves invaluable when debugging multiplayer-specific issues.
Performance Optimization Tips
When developing multiplayer games for Raspberry Pi, it’s crucial to optimize game performance for smooth gameplay. Start by implementing delta time for frame-independent movement, ensuring consistent game speed across different Pi models. Use sprite batching to reduce draw calls and minimize GPU overhead, particularly important when rendering multiple players.
Consider implementing level-of-detail (LOD) systems, reducing visual complexity for distant objects or off-screen elements. Network optimization is equally important – implement client-side prediction and interpolation to handle latency, and use binary protocols instead of JSON for reduced packet sizes.
Memory management is critical on the Pi’s limited resources. Pool frequently used objects rather than creating and destroying them repeatedly, and use texture atlases to reduce memory fragmentation. Keep your game loop efficient by updating only visible elements and implementing spatial partitioning for collision detection.
For multiplayer synchronization, consider using a fixed timestep for physics calculations while allowing variable rendering rates. This ensures consistent gameplay across different Pi models while maintaining visual smoothness where possible. Lastly, profile your game regularly using tools like cProfile or gprof to identify and eliminate performance bottlenecks early in development.
Remember to test your optimizations across different Raspberry Pi models, as performance characteristics can vary significantly between versions.
The journey of indie game development on Raspberry Pi offers unique opportunities for creative expression and technical growth. By leveraging the platform’s capabilities and the supportive indie dev community, you can bring your multiplayer game ideas to life while building valuable skills. Remember that successful indie development isn’t just about coding – it’s about persistence, continuous learning, and engaging with your target audience throughout the development process. Whether you’re creating a simple multiplayer puzzle game or an ambitious RPG, the Raspberry Pi ecosystem provides the tools and resources you need to succeed. Start small, focus on core gameplay mechanics, and gradually expand your project’s scope. The indie game development community welcomes developers of all skill levels, so don’t hesitate to take that first step into game creation on Raspberry Pi. Your unique perspective and creativity could lead to the next breakthrough indie title.