


Transform your Raspberry Pi into a powerful AI hub with projects that blend cutting-edge machine learning capabilities with affordable computing. From real-time object detection systems and voice-controlled home automation to predictive analytics and natural language processing applications, the possibilities are limitless. Whether you’re a coding novice or an experienced developer, these AI projects leverage popular frameworks like TensorFlow Lite and OpenCV to create sophisticated solutions without breaking the bank.
The Raspberry Pi’s compact size, low power consumption, and robust GPIO capabilities make it an ideal platform for experimenting with AI at the edge. Connect cameras, sensors, and actuators to build smart systems that can recognize faces, analyze speech patterns, or even predict equipment maintenance needs. Best of all, most projects can be completed with a standard Raspberry Pi 4, a power supply, and basic peripherals – proving that advanced AI implementation doesn’t require expensive hardware or complex setups.
Join thousands of makers worldwide who are pushing the boundaries of what’s possible with this versatile $35 computer. Let’s explore how to turn your Raspberry Pi into an AI powerhouse.
Getting Your Raspberry Pi Ready for AI
Hardware Requirements
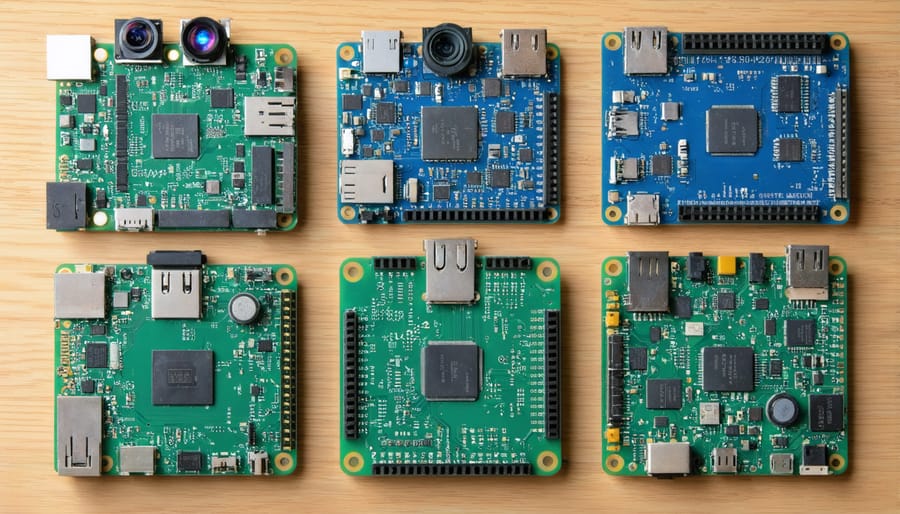
For AI projects on Raspberry Pi, you’ll want to start with at least a Raspberry Pi 4 Model B with 4GB or 8GB RAM for optimal performance. The extra memory is crucial for running machine learning models efficiently. While the 2GB version can handle basic AI tasks, you might experience limitations with more complex projects.
Essential components include a reliable power supply (5.1V/3A), a high-quality microSD card (32GB minimum, Class 10), and adequate cooling solutions like heatsinks or fans. For computer vision projects, the Raspberry Pi Camera Module V2 or the newer HQ Camera is recommended. Consider the Google Coral USB Accelerator for enhanced AI processing capabilities.
Don’t forget about the essential hardware accessories like GPIO expansion boards and dedicated AI HATs that can significantly boost your project’s capabilities. A decent display (via HDMI or the official 7-inch touchscreen) and a sturdy case will complete your setup. For projects requiring voice interaction, add a USB microphone or the ReSpeaker HAT for better audio processing.
Software Setup
To get started with AI projects on your Raspberry Pi, you’ll need to set up the necessary software environment. Begin by installing Raspberry Pi OS (formerly Raspbian) using the Raspberry Pi Imager tool. Once your operating system is ready, update it using the terminal commands ‘sudo apt update’ and ‘sudo apt upgrade’.
Essential frameworks for AI development include TensorFlow Lite, which is optimized for Raspberry Pi’s ARM architecture. Install it using pip: ‘pip3 install tflite-runtime’. You’ll also need OpenCV for computer vision projects, which can be installed with ‘pip3 install opencv-python’.
For natural language processing projects, install NLTK and its dependencies. Python’s scientific computing libraries like NumPy and SciPy are crucial – install them using ‘pip3 install numpy scipy’. Consider installing scikit-learn for machine learning capabilities.
Don’t forget to set up a virtual environment using ‘python3 -m venv myenv’ to keep your projects isolated and manage dependencies effectively. For deep learning projects, you might want to install PyTorch for Raspberry Pi, though be mindful of the computational limitations of your specific Pi model.
Computer Vision Projects
Real-time Object Detection
Real-time object detection is one of the most exciting AI projects you can build with your Raspberry Pi, transforming it into a smart surveillance system that can identify and track objects in its field of view. Using a Raspberry Pi Camera Module or USB webcam, along with popular frameworks like TensorFlow Lite and OpenCV, you can create a system that recognizes multiple objects simultaneously.
To get started, you’ll need to install TensorFlow Lite and OpenCV on your Raspberry Pi, along with the necessary Python libraries. The project uses pre-trained models like COCO SSD (Single Shot Detection) or YOLO (You Only Look Once), which can identify common objects such as people, cars, animals, and everyday items.
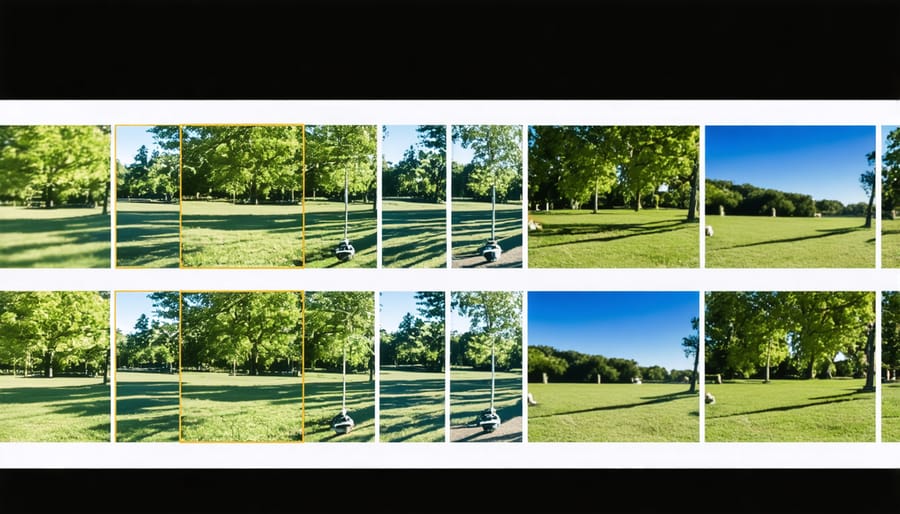
The system processes video frames in real-time, drawing bounding boxes around detected objects and displaying their classification labels with confidence scores. You can customize the detection threshold and choose which objects to track based on your specific needs. For example, you might want to focus only on detecting people for a security system or specifically track vehicles for a parking lot monitor.
To enhance the project, consider adding features like:
– Motion-triggered recording
– SMS or email alerts when specific objects are detected
– Real-time statistics logging
– Web interface for remote monitoring
The complete setup typically achieves 2-4 frames per second on a Raspberry Pi 4, which is suitable for many monitoring applications. While not as fast as specialized hardware, it’s an excellent way to learn about computer vision and create a practical AI system on a budget.
Remember to position your camera in a well-lit area and adjust the detection parameters to reduce false positives for optimal performance.
Face Recognition Security System
Transform your Raspberry Pi into a sophisticated security system using facial recognition technology. This project combines OpenCV and machine learning to create a smart surveillance camera that can identify and track faces in real-time. The system can distinguish between known and unknown individuals, maintaining a log of detected faces and sending instant notifications when unrecognized people are spotted.
To build this system, you’ll need a Raspberry Pi (3B+ or 4 recommended), a Pi Camera or USB webcam, and basic Python programming knowledge. The project utilizes the face_recognition library along with OpenCV for image processing and TensorFlow Lite for efficient face detection on the Pi’s limited resources.
Start by installing the required libraries and setting up your camera. Create a database of known faces by storing clear images of authorized individuals. The system will compare detected faces against this database using deep learning algorithms to determine if someone should have access.
You can enhance the security features by adding:
– Email or SMS alerts when unknown faces are detected
– Time-stamped video recordings of security events
– Web interface for remote monitoring
– Door lock integration for automated access control
– Motion detection to conserve resources
The system can process 2-3 frames per second on a Raspberry Pi 4, which is sufficient for most home security applications. For better performance, consider using a coral USB accelerator to speed up inference times.
This project serves as an excellent introduction to computer vision and machine learning while creating a practical security solution for your home or office.
Voice Assistant Projects
Custom Wake Word Detection
Transform your Raspberry Pi into a personalized voice assistant by implementing custom wake word detection. This exciting project allows you to create your own trigger phrases, similar to “Hey Siri” or “OK Google,” but tailored to your preferences. Using open-source libraries like Porcupine or Snowboy, you can train your Raspberry Pi to recognize specific wake words in real-time.
To get started, you’ll need a USB microphone or a compatible microphone HAT for your Raspberry Pi. The implementation typically involves using Python scripts alongside machine learning models that process audio input. Popular frameworks like TensorFlow Lite or PyTorch can be utilized to create and train your wake word detection model.
The process involves recording multiple samples of your chosen wake word, training the model with these samples, and fine-tuning the detection sensitivity. You can enhance the system’s accuracy by including background noise samples during training and implementing noise reduction techniques.
A practical application could be creating a smart home controller that responds to phrases like “Hey Home” or “Computer.” The system can be integrated with other home automation projects, allowing voice-activated control of lights, appliances, or other connected devices.
For optimal performance, consider using a dedicated neural compute module like the Coral USB Accelerator, which can significantly improve the detection speed and reliability of your wake word system.
Smart Home Controller
Transform your Raspberry Pi into a powerful voice-controlled smart home hub that revolutionizes how you interact with your living space. By combining AI technologies like speech recognition and natural language processing with home automation solutions, you can create a system that responds to voice commands to control lights, appliances, and other connected devices.
The project utilizes popular libraries like PyAudio for voice input, SpeechRecognition for converting speech to text, and GPIO controls for device manipulation. You’ll need a USB microphone, relay modules for controlling appliances, and compatible smart devices to get started.
Begin by setting up a voice recognition system using Google’s Speech-to-Text API or the offline alternative Pocketsphinx. Configure your automation rules using Home Assistant or OpenHAB platforms, which integrate seamlessly with Raspberry Pi. These platforms provide extensive device support and customizable automation scenarios.
Key features you can implement include:
– Voice-activated lighting control
– Smart thermostat adjustment
– Security camera monitoring
– Automated appliance scheduling
– Custom voice command creation
The system can be expanded to include machine learning capabilities, allowing it to learn from your preferences and adapt to your daily routines. Consider adding features like presence detection or time-based automation to make your system even smarter.

Machine Learning Applications
Weather Prediction System
Transform your Raspberry Pi into a sophisticated weather prediction system using machine learning algorithms and sensor data. This project combines hardware integration with AI to create accurate local weather forecasts, making it both practical and educational.
Start by connecting a BME280 sensor to your Raspberry Pi to collect temperature, humidity, and atmospheric pressure data. This environmental sensor provides the foundation for your weather predictions. Install the necessary Python libraries, including TensorFlow Lite or scikit-learn, which will power the prediction model.
Create a data collection script that records sensor readings at regular intervals, storing them in a database. For optimal results, gather data for at least a month to capture various weather patterns. This historical dataset will serve as the training data for your machine learning model.
Implement a simple neural network or decision tree algorithm to analyze patterns in your collected data. The model should identify correlations between sensor readings and weather conditions, enabling it to make short-term forecasts. Consider incorporating online weather API data to improve prediction accuracy and validate your model’s performance.
Design a user-friendly interface using Flask or Django to display current conditions and predictions. Add features like temperature trends, humidity forecasts, and pressure changes. You can enhance the system by including additional sensors for wind speed and rainfall, making predictions more comprehensive.
This project not only provides practical weather insights but also serves as an excellent introduction to environmental monitoring and machine learning applications on the Raspberry Pi. Regular model retraining ensures your predictions become more accurate over time.
Plant Health Monitor
Transform your Raspberry Pi into an intelligent plant caretaker with this fascinating AI-powered monitoring system. By combining environmental sensors with machine learning capabilities, you can create a smart solution that keeps your plants thriving while learning about AI applications in agriculture.
The system uses a combination of moisture sensors, temperature/humidity sensors, and a camera module to collect comprehensive data about your plants’ health. The moisture sensor monitors soil conditions, while the DHT22 sensor tracks ambient temperature and humidity. The camera captures regular images of the plant to analyze growth patterns and detect early signs of disease through leaf color analysis.
TensorFlow Lite runs on the Raspberry Pi to process this data and make intelligent decisions about plant care. The AI model can be trained to recognize optimal growing conditions for different plant species and detect potential issues before they become serious problems. When the system detects suboptimal conditions, it can send notifications to your smartphone or automatically activate connected systems like water pumps or grow lights.
To build this project, you’ll need a Raspberry Pi (3B+ or newer recommended), environmental sensors, a camera module, and basic Python programming knowledge. The system can be expanded with additional features like automated watering systems, LED growth indicators, or integration with smart home platforms.
This project serves as an excellent introduction to both AI implementation and IoT applications while creating a practical solution for plant care. It’s particularly valuable for maintaining indoor gardens or greenhouse environments where consistent monitoring is essential.
Troubleshooting and Optimization
When working with AI projects on Raspberry Pi, you may encounter common challenges like high CPU usage, memory limitations, or slow inference times. To optimize performance, ensure your Pi has adequate cooling – consider adding a heat sink or fan for intensive tasks. Regularly monitor system resources using commands like ‘top’ or ‘htop’ to identify bottlenecks.
For memory-intensive projects, try reducing model size through quantization or pruning. Consider using lite versions of AI frameworks when available, as they’re specifically optimized for resource-constrained devices. If your project runs slowly, check that you’re using hardware acceleration when possible – TensorFlow Lite and OpenVINO both offer options for this.
Common issues often include dependency conflicts and version mismatches. Create a virtual environment for each project to prevent these problems. If you encounter “out of memory” errors, try batch processing your data instead of loading everything at once. For better power efficiency, adjust your Pi’s clock speed and disable unnecessary services running in the background.
Finally, keep your system updated and regularly clean up unused files to maintain optimal performance.
The world of Raspberry Pi AI projects continues to evolve, offering endless possibilities for innovation and learning. From image recognition systems to voice assistants, these projects demonstrate the impressive capabilities of combining AI with affordable computing. As AI technology advances, we can expect even more exciting applications and easier implementation methods. Whether you’re a beginner or an experienced maker, the Raspberry Pi remains an excellent platform for exploring artificial intelligence and bringing your creative ideas to life.