

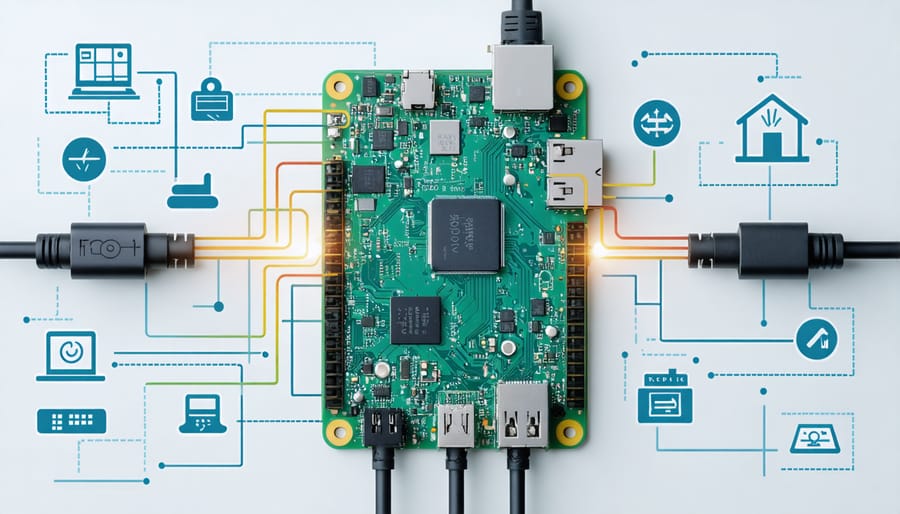
Transform your Raspberry Pi into a versatile network controller by leveraging GPIO pins for Ethernet connectivity, enabling seamless integration with modern IoT protocols and real-time device communication. Connect industrial sensors, control systems, and networking equipment directly through GPIO pins using the SPI interface, creating robust automation solutions without additional hardware controllers. Configure GPIO pins 19, 21, 23, and 24 for RMII (Reduced Media-Independent Interface) operation, achieving reliable 10/100 Mbps Ethernet communication while maintaining digital I/O flexibility for parallel tasks. This powerful combination of GPIO and Ethernet capabilities opens up possibilities for industrial automation, smart home control systems, and distributed sensor networks, all while maintaining the Pi’s compact form factor and energy efficiency.
Program your GPIO-Ethernet interface using Python’s RPi.GPIO library or C with direct register access, implementing real-time monitoring, data acquisition, and network control through a single, integrated platform. Whether you’re building an IoT gateway, industrial controller, or networked sensor array, GPIO-Ethernet integration provides the foundation for sophisticated, responsive systems that bridge the physical and digital domains.
Understanding GPIO-Ethernet Integration
GPIO Basics for Network Communication
General Purpose Input/Output (GPIO) pins serve as the fundamental interface between your Raspberry Pi and external hardware components, including network-related devices. These digital pins can be programmed to either send or receive electrical signals, making them versatile tools for network communication projects. Understanding proper GPIO pin configuration is crucial for successful network implementations.
The GPIO pins can communicate using various protocols, including SPI, I2C, and UART, which are commonly used in network applications. When working with Ethernet applications, specific GPIO pins can be utilized to create custom network interfaces or control Ethernet shields. Each pin can be set as either an input or output, operating at 3.3V logic levels, and can handle data transfer rates suitable for basic network communication.
For network projects, it’s essential to identify the correct pins for your specific protocol and ensure proper voltage levels and timing requirements are met. This prevents damage to your hardware while maintaining reliable communication between devices.
Ethernet Controller Integration
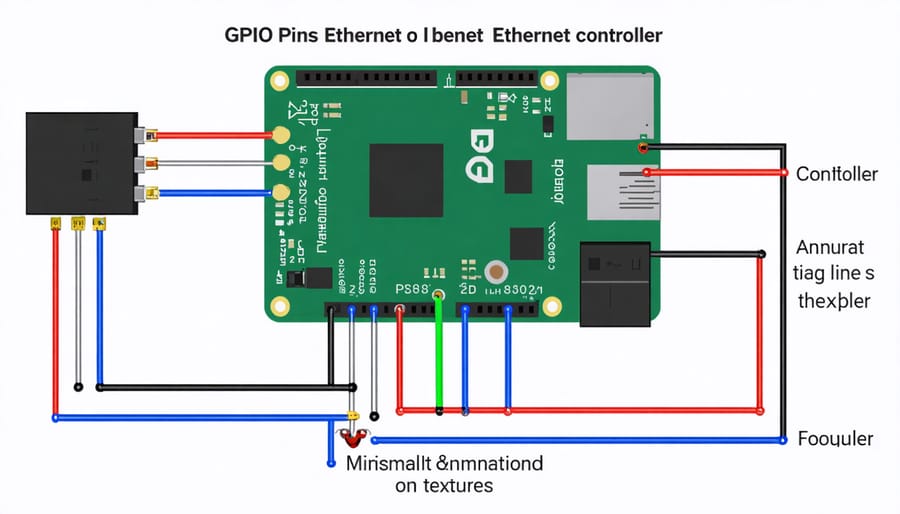
The Raspberry Pi’s Ethernet controller interfaces with the GPIO pins through a dedicated hardware module that manages data flow between the network interface and the system. On most Raspberry Pi models, the Ethernet controller connects to the SoC (System on Chip) via the RGMII (Reduced Gigabit Media-Independent Interface) protocol, utilizing specific GPIO pins for data transmission and reception.
The controller primarily uses GPIO pins 28-31 for transmitting data (TXD), pins 32-35 for receiving data (RXD), and additional pins for clock synchronization and control signals. This direct integration allows for efficient network communication while maintaining the flexibility to use other GPIO pins for different purposes.
For developers working with custom networking projects, it’s important to note that these GPIO pins are typically reserved by the system and shouldn’t be repurposed unless you’re implementing a custom network stack. The Ethernet controller automatically handles low-level protocols, including packet framing and physical layer signaling, making it transparent to most user applications.
The controller also supports features like Wake-on-LAN and network boot capabilities, which can be particularly useful for remote management and headless setups.
Setting Up GPIO-Ethernet Communication
Hardware Requirements
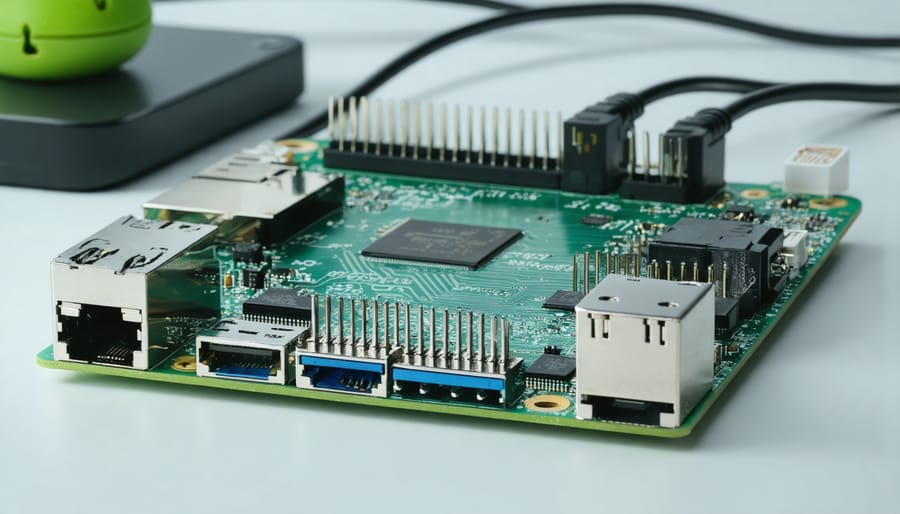
To get started with GPIO Ethernet projects, you’ll need several essential components. The primary requirement is a Raspberry Pi board (any model from 3B+ onwards is recommended) with functioning GPIO pins. You’ll also need a standard Ethernet cable (Cat5e or Cat6) and an RJ45 connector for network connectivity.
For power supply, ensure you have a reliable 5V power adapter rated at least 2.5A to provide stable power to your Raspberry Pi. A breadboard and jumper wires are necessary for prototyping and connecting components. If you’re planning to build permanent installations, consider getting a GPIO breakout board and proper cable crimping tools.
Additional components may include:
– LED indicators for visual feedback
– Resistors (220Ω and 10kΩ recommended)
– Network switch or router for testing
– MicroSD card (16GB or larger) with Raspberry Pi OS
– Heat sinks for temperature management
For development purposes, you’ll also need a computer with SSH capabilities and network configuration tools. A multimeter can be helpful for troubleshooting connections and verifying voltage levels during setup.
Software Configuration
To get started with GPIO Ethernet configuration, you’ll need to install several essential software packages on your Raspberry Pi. Begin by updating your system’s package list using the command ‘sudo apt-get update’ followed by ‘sudo apt-get upgrade’ to ensure you have the latest versions.
Install the WiringPi library by running ‘sudo apt-get install wiringpi’. This library provides the fundamental GPIO control functions needed for Ethernet communication. Next, install the ‘python3-gpiozero’ package if you plan to use Python for your projects, which offers a more user-friendly interface for GPIO control.
For network configuration, you’ll need the ‘ethtool’ package (install with ‘sudo apt-get install ethtool’) to manage Ethernet device settings. The ‘net-tools’ package is also recommended for network diagnostics and configuration.
When setting up for IoT integration setup, install ‘mosquitto’ and ‘mosquitto-clients’ for MQTT protocol support. These packages enable reliable communication between your GPIO-controlled devices and other network components.
Remember to configure your firewall settings using ‘ufw’ (Uncomplicated Firewall) to secure your GPIO Ethernet communications. Install it with ‘sudo apt-get install ufw’ and enable necessary ports for your specific project requirements.
Finally, consider installing ‘minicom’ or ‘screen’ for serial communication debugging. These tools prove invaluable when troubleshooting GPIO Ethernet connectivity issues and monitoring data flow between devices.
Testing the Connection
Once you’ve completed the physical connections and configured your GPIO Ethernet setup, it’s crucial to verify that everything is working correctly. Start by using the ‘ping’ command to test basic connectivity. Open your terminal and type:
ping 192.168.1.1 (or your configured IP address)
If you receive responses, your connection is functioning at a basic level. For a more thorough test, you can use the ‘ethtool’ utility to check the link status:
sudo ethtool eth0
Look for “Link detected: yes” in the output, which confirms a physical connection is established.
To verify data transmission, try transferring a small file between devices. If you encounter issues, here are common troubleshooting steps:
1. Check all physical connections and ensure pins are properly seated
2. Verify power supply is adequate (GPIO pins require stable power)
3. Confirm network settings in /etc/network/interfaces
4. Monitor system logs for network-related errors using ‘dmesg’
For real-time monitoring, use the ‘iftop’ tool to observe network traffic:
sudo apt-get install iftop
sudo iftop -i eth0
If you’re still experiencing issues, try resetting the network interface:
sudo ifdown eth0
sudo ifup eth0
Remember to check your firewall settings if you’re having trouble with specific applications or services accessing the network.
Implementing IoT Protocols
MQTT Implementation
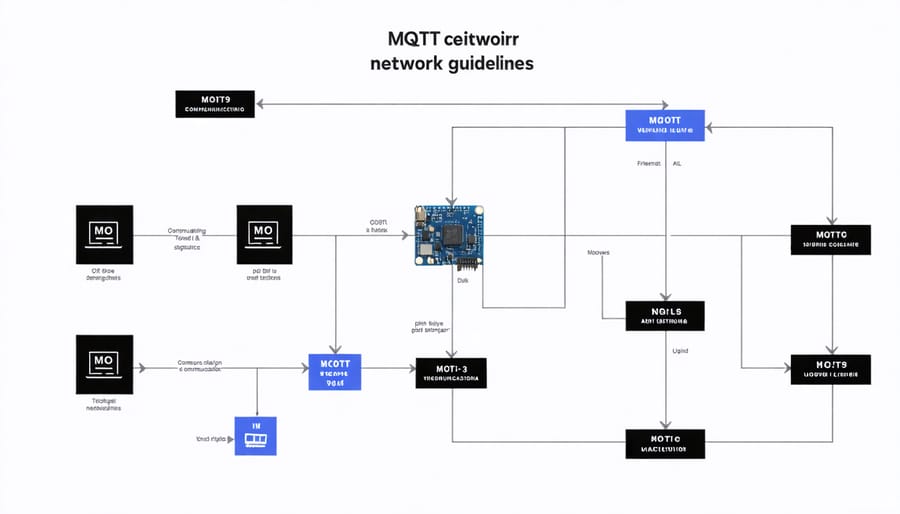
MQTT (Message Queuing Telemetry Transport) provides an efficient way to handle GPIO-Ethernet communication in your projects. To implement MQTT, first install the Mosquitto broker on your device using the command ‘sudo apt-get install mosquitto mosquitto-clients’. Then, install the Python MQTT library with ‘pip install paho-mqtt’.
Create a basic MQTT client by importing the required libraries and establishing a connection to your broker:
“`python
import paho.mqtt.client as mqtt
import RPi.GPIO as GPIO
client = mqtt.Client()
client.connect(“localhost”, 1883, 60)
“`
Set up GPIO pins and create callback functions to handle incoming messages:
“`python
GPIO.setmode(GPIO.BCM)
GPIO.setup(18, GPIO.OUT)
def on_message(client, userdata, message):
if message.topic == “gpio/control”:
if message.payload.decode() == “ON”:
GPIO.output(18, GPIO.HIGH)
elif message.payload.decode() == “OFF”:
GPIO.output(18, GPIO.LOW)
“`
Subscribe to relevant topics and start the MQTT loop:
“`python
client.on_message = on_message
client.subscribe(“gpio/control”)
client.loop_start()
“`
This implementation allows you to control GPIO pins remotely through MQTT messages, creating a foundation for IoT applications. Remember to implement proper error handling and security measures in production environments.
CoAP Integration
CoAP (Constrained Application Protocol) offers a lightweight alternative to HTTP for IoT devices, making it ideal for GPIO-enabled ethernet projects. This protocol is particularly effective when working with resource-constrained devices and low-power networks, providing a reliable way to monitor and control GPIO pins over ethernet connections.
To implement CoAP in your GPIO ethernet project, you’ll first need to install a CoAP library. For Python projects, the aiocoap library is widely used and can be installed using pip:
“`python
pip install aiocoap
“`
A basic CoAP server setup for GPIO control might look like this:
“`python
import asyncio
from aiocoap import *
import RPi.GPIO as GPIO
GPIO.setmode(GPIO.BCM)
GPIO.setup(18, GPIO.OUT)
class GPIOResource(Resource):
async def render_put(self, request):
payload = request.payload.decode()
if payload == “1”:
GPIO.output(18, GPIO.HIGH)
else:
GPIO.output(18, GPIO.LOW)
return Message(code=CHANGED)
“`
This implementation allows for efficient machine-to-machine communication with minimal overhead, making it perfect for automation systems and sensor networks. CoAP’s built-in support for discovery and resource observation means you can easily set up automated monitoring of GPIO states and receive updates when changes occur.
Remember to implement proper error handling and security measures, as CoAP operates over UDP and may require additional protection in exposed networks.
Security Considerations
When implementing GPIO-Ethernet communications, security should be a top priority to protect your devices and data. Start by implementing proper authentication mechanisms, such as using secure tokens or certificates, to ensure only authorized devices can access your GPIO pins through the network.
Enable encryption for all data transmissions between your GPIO devices and Ethernet connections. Use established protocols like TLS/SSL to create secure communication channels, especially when your devices are accessible over the internet.
Regularly update your firmware and software components to patch potential vulnerabilities. Create a strong access control system by implementing user permissions and role-based access to restrict who can modify GPIO settings through network connections.
Consider implementing network segmentation to isolate your GPIO-enabled devices from other network traffic. Use VLANs or separate network segments to minimize exposure to potential threats.
Monitor your GPIO-Ethernet communications for unusual patterns or unauthorized access attempts. Set up logging and alerting systems to quickly identify and respond to security incidents.
Remember to change default passwords and disable unnecessary services or ports. Only expose the minimum required functionality through your Ethernet interface, and regularly audit your security configurations to ensure they remain effective.
For critical applications, consider implementing hardware-based security features and redundancy measures to protect against both physical and network-based attacks.
Real-World Applications
GPIO Ethernet technology finds numerous practical applications in modern IoT and automation projects. One common implementation is in industrial automation systems, where Raspberry Pi devices monitor manufacturing equipment through GPIO pins while transmitting data to central servers via Ethernet connections. This setup enables real-time monitoring and remote control of machinery.
Smart home enthusiasts frequently use GPIO Ethernet configurations to create custom security systems. For example, door sensors connected to GPIO pins can trigger alerts that are sent through the network to homeowners’ smartphones. Similarly, automated lighting systems use GPIO inputs to detect motion while maintaining network connectivity for remote control and scheduling.
Weather stations represent another popular application, where sensors collecting temperature, humidity, and rainfall data through GPIO pins transmit their readings to weather monitoring services via Ethernet. This combination ensures reliable data transmission even in harsh outdoor conditions.
In educational settings, students often build simple network-controlled robots using GPIO pins for motor control while maintaining Ethernet communication for remote operation. This hands-on approach helps them understand both hardware interfacing and network protocols simultaneously.
Agricultural applications include automated greenhouse systems where GPIO-connected sensors monitor soil moisture and temperature, with Ethernet connectivity enabling farmers to access data and control irrigation systems remotely through web interfaces or mobile apps.
GPIO Ethernet technology has revolutionized how we approach network connectivity in embedded systems and IoT devices. By combining the flexibility of GPIO pins with Ethernet capabilities, makers and developers can create robust, cost-effective networking solutions. The ability to control physical devices through network protocols while maintaining direct pin access opens up countless possibilities for automation, remote monitoring, and industrial applications.
Looking ahead, the integration of GPIO Ethernet with emerging IoT protocols and edge computing platforms promises even more innovative applications. As security standards evolve and new networking technologies emerge, we can expect to see more sophisticated implementations that balance connectivity, performance, and power efficiency. Whether you’re building a home automation system or developing industrial control solutions, GPIO Ethernet provides a solid foundation for your networked projects.