


Transform your Raspberry Pi 4 Model B into a versatile virtualization powerhouse, unlocking endless possibilities for running multiple operating systems and testing environments simultaneously. Virtual machines on Raspberry Pi have revolutionized how makers and developers approach project development, offering isolated environments for experimentation while maintaining energy efficiency.
Running VMs on Raspberry Pi combines the affordability of single-board computing with the flexibility of enterprise-grade virtualization technology. Whether you’re setting up a home lab, testing software configurations, or learning about different operating systems, Raspberry Pi VM solutions provide a cost-effective and energy-efficient platform for virtualization experiments.
This guide explores essential VM implementation strategies, power optimization techniques, and practical solutions for common virtualization challenges on Raspberry Pi. From selecting the right hypervisor to managing resource allocation, you’ll discover how to maximize your Pi’s potential while maintaining optimal performance and energy consumption.
Understanding VM Options for Raspberry Pi
QEMU vs VirtualBox: Making the Right Choice
When choosing a virtualization platform for your Raspberry Pi projects, QEMU and VirtualBox stand out as popular options, each with distinct advantages. QEMU excels in power efficiency and compatibility with ARM architecture, making it particularly suitable for Raspberry Pi environments. It operates at a lower system level, resulting in reduced power consumption and better performance on resource-constrained devices.
VirtualBox, while more user-friendly with its graphical interface, typically demands more system resources and power. However, it offers a more intuitive setup process and better snapshot management capabilities. For Raspberry Pi users focused on power efficiency, QEMU is generally the preferred choice, consuming approximately 15-20% less power than VirtualBox under similar workloads.
Consider your priorities: if you’re running power-sensitive applications or operating on battery power, QEMU’s lightweight approach is ideal. If you value ease of use and don’t mind the additional power draw, VirtualBox might be more suitable. Remember that both platforms support essential features like network connectivity and shared folders, ensuring flexibility for various project requirements.

Docker as a Lightweight Alternative
For those seeking a more resource-efficient alternative to traditional virtual machines, Docker containers offer an excellent solution for Raspberry Pi systems. Unlike full VMs, containers share the host system’s kernel while maintaining isolation between applications, resulting in significantly lower overhead and faster startup times.
Docker on Raspberry Pi allows you to run multiple isolated applications without the memory and processing demands of complete virtual machines. This approach is particularly beneficial for the Pi’s limited resources, as containers typically consume only a fraction of the memory and storage space required by traditional VMs.
Setting up Docker on Raspberry Pi is straightforward. With a simple installation command and basic configuration, you can quickly begin deploying containerized applications. The Docker Hub repository provides numerous pre-built images optimized for ARM architecture, making it easy to run various services on your Pi.
For developers and hobbyists working on multiple projects, Docker containers offer the perfect balance between isolation and efficiency. You can easily switch between different development environments or run multiple services simultaneously without overwhelming your Pi’s resources.
Optimizing VM Performance and Power Usage
Resource Allocation Strategies
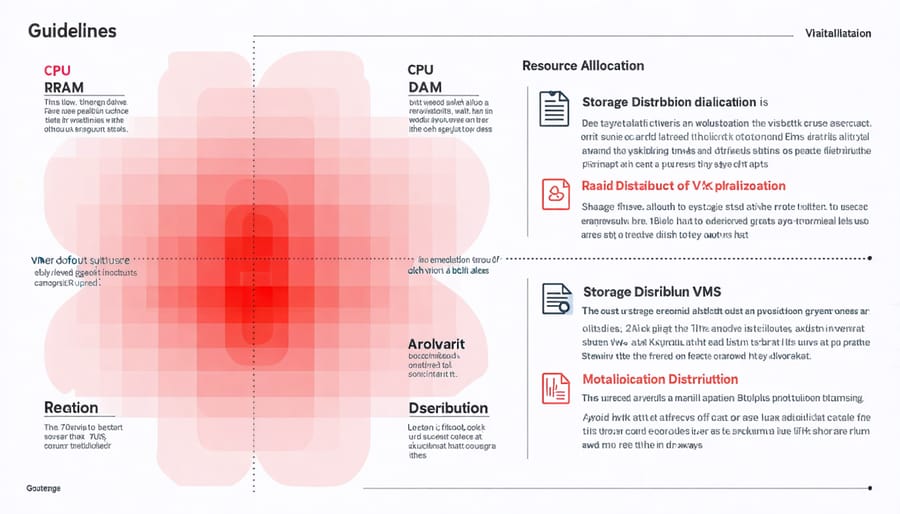
When setting up virtual machines on your Raspberry Pi, proper resource allocation is crucial for optimal performance. Start by determining the total available resources on your Pi – most modern models come with 2GB to 8GB of RAM and quad-core processors. A good rule of thumb is to allocate no more than 75% of your total RAM to virtual machines, leaving enough resources for the host system.
For CPU allocation, consider assigning 1-2 cores to each VM, depending on its intended use. Light workloads like web servers or development environments can run efficiently with a single core, while more demanding applications might require two cores. Avoid allocating all available cores to ensure the host system remains responsive.
RAM allocation should be tailored to each VM’s specific needs. For basic Linux distributions, 512MB to 1GB is usually sufficient. Windows VMs typically require at least 2GB for stable operation. Monitor your VM’s memory usage during operation and adjust accordingly – too little RAM can cause slow performance, while too much wastes resources.
Storage allocation requires careful planning. Create fixed-size virtual disks rather than dynamically allocated ones for better performance. Start with 8GB for basic Linux installations and at least 20GB for Windows VMs. Keep your virtual disk files on external USB 3.0 storage when possible to preserve the Pi’s SD card lifespan and improve overall system performance.
Remember to implement a monitoring solution to track resource usage and make adjustments as needed. This ensures your VMs run efficiently while maintaining system stability.
Power-Saving Configuration Tips
When running virtual machines on your Raspberry Pi, implementing power-saving configurations can significantly extend battery life and reduce energy consumption. For optimal power efficiency, start by adjusting your VM’s CPU allocation. Limit the number of virtual cores to only what’s necessary for your specific workload – typically, one or two cores are sufficient for basic tasks.
Memory management plays a crucial role in power consumption. Configure your VM with the minimum RAM required for your applications, and enable memory ballooning to dynamically adjust allocation. This approach is particularly valuable for solar-powered Raspberry Pi setup projects where power conservation is critical.
Consider implementing these specific power-saving tweaks:
– Enable CPU frequency scaling by setting the governor to “powersave” mode
– Disable unnecessary USB ports through system configuration
– Reduce screen brightness or disable the display output when running headless
– Configure automatic suspension for idle VMs
– Use lightweight Linux distributions specifically optimized for virtualization
For network-connected VMs, enable Wake-on-LAN only when necessary and configure network interfaces to enter power-saving mode during periods of inactivity. Additionally, schedule regular maintenance tasks during off-peak hours when power availability is optimal.
Monitor power consumption using tools like powerstat or GPIO-connected power meters to identify power-hungry processes and optimize accordingly. Regular assessment of your VM’s resource usage will help maintain an energy-efficient setup while ensuring reliable performance.
Monitoring and Managing VM Energy Usage
Power Monitoring Tools
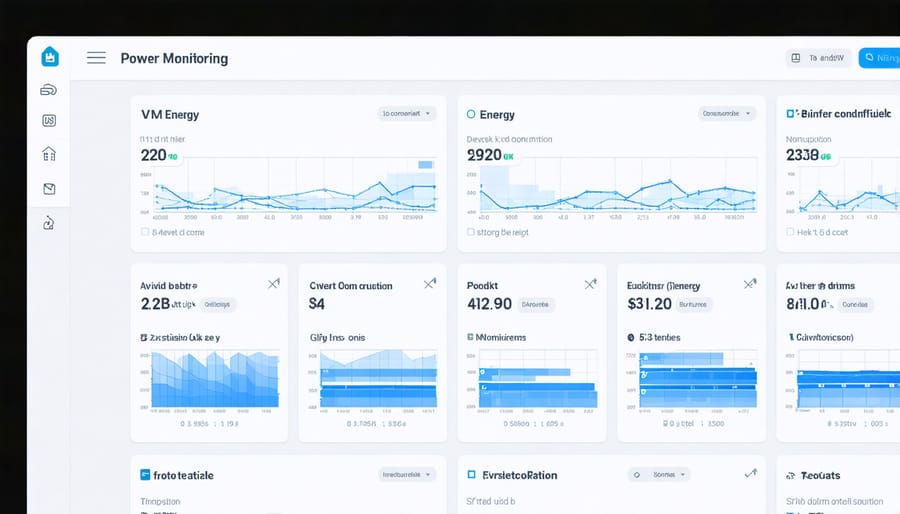
Power consumption monitoring is crucial when running virtual machines on your Raspberry Pi, especially if you’re operating multiple VMs simultaneously. Several effective system monitoring tools can help you track and optimize power usage.
PowerTop is a popular utility that provides detailed analysis of power consumption, helping you identify which processes and VMs are consuming the most energy. To install it, simply run ‘sudo apt-get install powertop’ in your terminal.
For real-time monitoring, consider using htop or top commands, which show CPU usage and system resources for each VM. These tools help you identify power-hungry processes and adjust your VM configurations accordingly.
The vcgencmd command set is particularly useful for Raspberry Pi users, offering specific power-related information. Use ‘vcgencmd measure_temp’ to monitor temperature and ‘vcgencmd get_throttled’ to check if your Pi is throttling due to power issues.
For graphical monitoring, the Raspberry Pi Desktop includes a task manager that displays power-related metrics in an easy-to-understand format. Additionally, consider installing Ganglia or Munin for long-term power usage tracking and analysis, especially useful when running multiple VMs over extended periods.
Remember to regularly check these metrics to maintain optimal performance while keeping power consumption in check.
Automated Power Management
Managing power consumption efficiently is crucial when running virtual machines on a Raspberry Pi. By implementing automated power management scripts, you can significantly reduce energy usage while maintaining optimal performance.
One effective approach is to use cron jobs to schedule VM operations. For example, you can create a simple bash script that automatically shuts down unnecessary VMs during off-hours and starts them when needed:
“`bash
#!/bin/bash
if [ $(date +%H) -gt 18 ]; then
virsh shutdown vm_name
fi
“`
The Linux utility ‘powertop’ can help monitor power consumption and identify power-hungry processes. Install it using:
“`bash
sudo apt-get install powertop
“`
To automate VM resource allocation based on usage patterns, consider implementing a Python script that monitors system load and adjusts VM resources accordingly:
“`python
from libvirt import libvirtError
import time
def adjust_resources():
if system_load < threshold:
reduce_vm_memory()
else:
increase_vm_memory()
```
You can also leverage systemd timer units to schedule regular power optimization tasks. These are more flexible than traditional cron jobs and provide better logging capabilities.
Remember to monitor temperature levels, as power management directly affects heat generation. Use built-in commands like 'vcgencmd measure_temp' to track CPU temperature and adjust VM workloads accordingly.
Real-World VM Deployment Scenarios
Home Lab Setup
Setting up a home lab environment for your Raspberry Pi VM experiments requires minimal but specific hardware and software components. Start with a Raspberry Pi 4 (preferably with 8GB RAM) as your base system, connected to a reliable power supply and ethernet connection. For storage, use a high-quality microSD card (32GB minimum) or an SSD for better performance.
Install Raspberry Pi OS as your host system, ensuring it’s updated to the latest version. You’ll need virtualization software like QEMU or VirtualBox, which can be installed through the terminal using simple apt commands. Configure your network settings to allow VM networking, either through bridge mode for direct network access or NAT for isolated testing.
Create a dedicated directory structure for your VM images and snapshots, maintaining organized testing environments. This setup can be expanded to include multiple Raspberry Pis for cluster experiments or home network security setup testing.
Monitor system resources using tools like htop or VMstat to ensure optimal performance. Consider implementing SSH access for remote management and automated backups of your VM configurations. This basic setup provides a solid foundation for experimenting with different operating systems and configurations while maintaining efficient resource usage.
Remember to document your configurations and keep track of performance metrics to optimize your setup over time.
Production Server Configuration
To achieve enterprise-grade performance on your Raspberry Pi VM setup, focus on optimizing both system resources and power consumption. Start by implementing proper CPU throttling using the cpufreq-utils package, which allows you to set dynamic frequency scaling based on workload demands. This helps maintain a balance between performance and power efficiency.
Configure your VM with appropriate memory allocation, typically leaving at least 512MB for the host system. Use zram or swap on an SSD rather than the SD card to prevent wear and extend your storage device’s lifespan. Enable lightweight process scheduling by implementing the BFQ I/O scheduler, which works particularly well with VM workloads on ARM processors.
For network optimization, enable jumbo frames if your network infrastructure supports them, and implement QoS (Quality of Service) rules to prioritize critical VM traffic. Use the built-in power management features by enabling PowerSave governor when possible, but switch to Performance governor during high-demand periods.
Monitor your setup using lightweight tools like collectd or Prometheus with node_exporter, which provide valuable insights without significantly impacting system resources. Implement automatic shutdown procedures during extended idle periods using cron jobs combined with power usage monitoring.
Set up proper backup routines using rsync or similar tools, scheduling them during low-usage periods to minimize impact on production workloads. Finally, ensure your cooling solution is adequate, as thermal throttling can significantly impact VM performance.
Running virtual machines on a Raspberry Pi opens up exciting possibilities for learning, development, and experimentation. Throughout this guide, we’ve explored how to set up and optimize VMs on your Pi, making the most of its capabilities while managing resource constraints effectively.
Remember that while the Raspberry Pi may not match the raw power of a dedicated server, it serves as an excellent platform for understanding virtualization concepts and developing practical skills. The ability to run multiple operating systems simultaneously makes it an invaluable tool for testing, development, and educational purposes.
To get started with your own Raspberry Pi VM setup, begin with a fresh installation of your preferred hypervisor, ensuring your Pi meets the minimum requirements. Take time to optimize your virtual machines for performance, and don’t forget to implement proper backup strategies for your VM environments.
For those looking to expand their knowledge, consider exploring container technologies like Docker as a lightweight alternative to full virtualization. Additionally, experimenting with different operating systems and configurations will help you better understand the capabilities and limitations of virtualizing on the Pi.
Whether you’re a hobbyist, educator, or developer, the skills you develop working with VMs on Raspberry Pi will prove valuable in larger-scale virtualization projects. Start small, experiment often, and don’t hesitate to join the vibrant Raspberry Pi community for support and inspiration.