

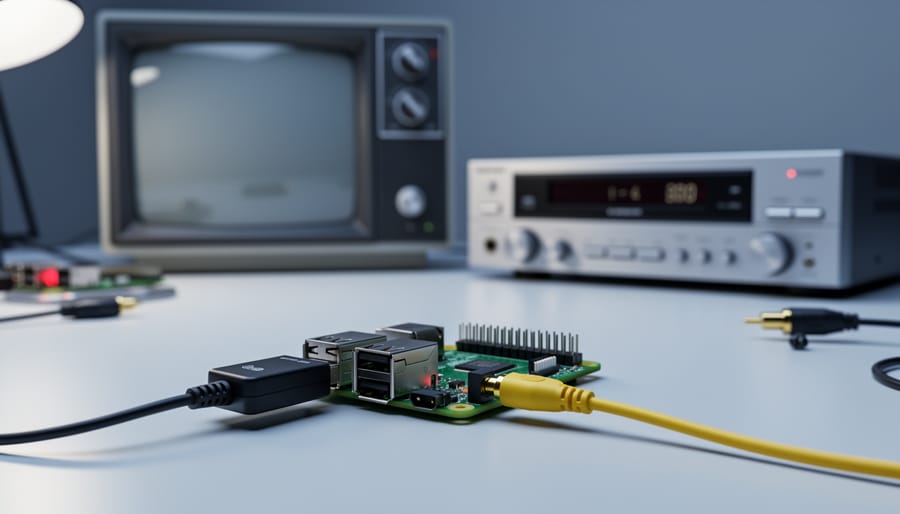
Connect your Raspberry Pi to analog video sources using a USB video capture device—the most straightforward solution for bringing VHS tapes, retro gaming consoles, and vintage cameras into the digital realm. Choose capture dongles with EasyCap or similar chipsets that offer native Linux support, ensuring compatibility before purchase since the Raspberry Pi lacks built-in analog video inputs.
Install Video4Linux2 utilities immediately after connecting your capture device to verify recognition and begin streaming. Run “v4l2-ctl –list-devices” in the terminal to confirm your Pi detects the hardware, then use “ffmpeg” or “vlc” to capture and preview your analog feed in real-time without additional drivers on most Raspberry Pi OS installations.
Position your analog video project within broader DIY electronics by getting started with Raspberry Pi fundamentals if you’re new to the platform—understanding GPIO pins, software installation, and basic command-line operations will accelerate your success with video capture projects.
Expect resolution limitations inherent to analog video standards: NTSC delivers 480i while PAL provides 576i, both falling short of modern HD expectations but perfectly adequate for archiving old media or building retro gaming stations. Budget $10-30 for reliable USB capture hardware, though premium options with better analog-to-digital converters exist for quality-critical applications like professional archiving or video production work.
This guide walks you through hardware selection, software configuration, practical capture techniques, and real-world projects that transform your Raspberry Pi into a versatile analog video processing station.
Why Raspberry Pi Doesn’t Have Built-In Analog Video Input
Understanding why your Raspberry Pi can’t directly accept analog video signals is essential before diving into solutions. The core issue comes down to how these devices are fundamentally designed.
The Raspberry Pi, like most modern computers, operates entirely in the digital realm. It processes information as binary data—ones and zeros. When you look at the GPIO pins, HDMI ports, or CSI camera connector on your Pi, they’re all designed to handle digital signals. This digital-only architecture keeps manufacturing costs low and allows the Pi to remain compact and energy-efficient.
Analog video signals, on the other hand, work completely differently. Devices like VHS players, older security cameras, and retro game consoles output continuous electrical waves that represent brightness, color, and synchronization information. These smooth, varying voltage levels carry video information in a format that was standard for decades before digital technology took over.
The fundamental challenge is this: there’s no direct way to bridge these two worlds without translation. Your Raspberry Pi simply doesn’t have the circuitry needed to interpret those analog waveforms. Think of it like trying to play a vinyl record on a CD player—the formats are incompatible without conversion equipment.
This is where additional hardware becomes necessary. You’ll need a device that can capture those analog signals, convert them into digital data through a process called analog-to-digital conversion, and then present that data in a format your Raspberry Pi understands—typically through USB or the CSI connector.
While this might seem like an obstacle, it’s actually straightforward once you have the right capture device. The good news is that several affordable options exist specifically designed to work with Raspberry Pi, making analog video projects entirely achievable for hobbyists and educators alike.
The Best Hardware Solutions for Analog Video Capture
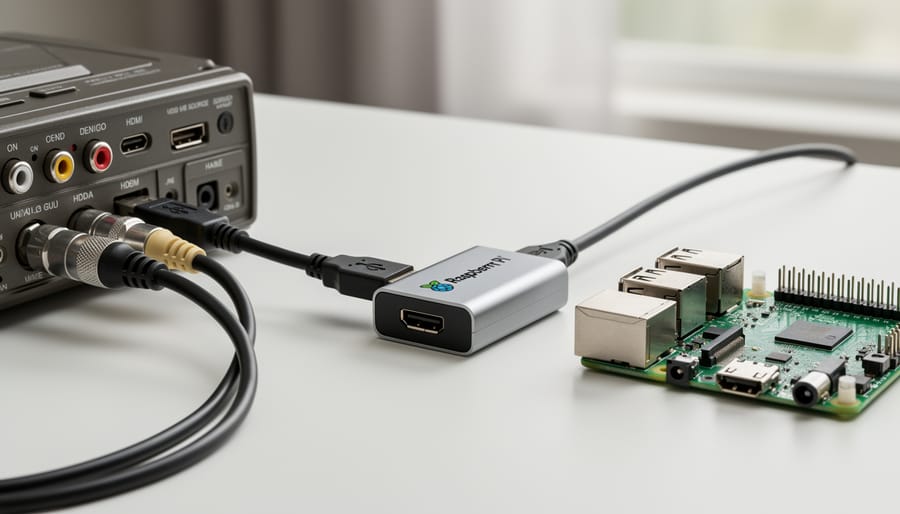
USB Video Capture Devices
USB video capture devices offer the most straightforward path to connecting analog video sources to your Raspberry Pi. These dongles and capture cards convert composite or S-Video signals into digital streams your Pi can process through its USB ports, making them plug-and-play solutions for most projects.
The most popular option among hobbyists is the EasyCap device, typically priced between $8 and $15. These compact dongles accept composite (yellow RCA) and sometimes S-Video inputs, capturing video at resolutions up to 720×480 (NTSC) or 720×576 (PAL). While genuine EasyCap devices work reliably, beware of clone versions that may have driver compatibility issues with Linux-based systems like Raspberry Pi OS. Look for models explicitly stating Linux support.
For better quality, consider mid-range options like the August VGB100 ($25-35) or Hauppauge USB-Live2 ($40-50). These devices offer improved video processing chips, resulting in cleaner captures with less noise and better color accuracy. The Hauppauge model is particularly recommended for its excellent Linux driver support and consistent performance.
While Elgato’s popular capture cards deliver broadcast-quality results, their $150+ price tags and power requirements make them overkill for most Raspberry Pi projects. Stick with budget to mid-range options unless you specifically need professional-grade features.
When selecting a USB capture device, verify UVC (USB Video Class) compatibility, which ensures your device will work with standard Video4Linux2 drivers on the Raspberry Pi. Check the maximum resolution and frame rate specifications—most budget devices cap at 30fps, which is adequate for vintage video sources. Remember that higher-end devices may draw more power than your Pi can supply through USB, potentially requiring a powered USB hub for stable operation.
HAT and Add-On Boards
If you’re looking for a plug-and-play solution, specialized HATs and add-on boards offer the most streamlined approach to bringing analog video into your Raspberry Pi. These purpose-built devices sit directly on top of your Pi and handle all the complex signal conversion work for you.
The most popular option is the Raspberry Pi Camera Module with composite input capabilities, though dedicated analog input HATs provide more robust features. Products like the Auvidea B101 and B102 boards support composite video and come with HDMI pass-through functionality, making them excellent choices for video capture projects. These boards typically connect via the CSI camera port and can capture standard definition video at 480i or 576i resolution.
For those wanting more flexibility, boards like the Geekworm Video Capture HAT support multiple input formats including composite, S-Video, and component video. This versatility means you can connect everything from vintage VHS players to retro gaming consoles without needing different adapters.
When selecting a HAT, consider your specific needs. Some boards focus purely on capture quality, while others include features like real-time encoding, audio input support, and hardware deinterlacing. Price points range from around $30 for basic models to over $100 for professional-grade solutions.
Installation is generally straightforward: mount the HAT onto your GPIO pins, enable the camera interface in raspi-config, and install the manufacturer’s drivers. Most vendors provide detailed documentation and sample code to get you started quickly, making these boards an excellent choice for beginners who want reliable results without extensive troubleshooting.
IP Cameras with Analog-to-Digital Conversion
If you’re building a security camera system or need multiple analog video inputs, IP cameras with built-in analog-to-digital converters offer an elegant solution. These devices handle the conversion externally and stream digital video directly to your Raspberry Pi over your local network, eliminating the need for USB capture devices.
Popular options include IP camera encoders that accept composite or component video inputs and convert them to network streams using protocols like RTSP or MJPEG. Your Raspberry Pi can then capture these streams using software like Motion, MotionEyeOS, or custom Python scripts with OpenCV. This approach is particularly valuable for security applications where you need to monitor multiple analog cameras simultaneously—your Pi can process streams from several IP encoders without worrying about USB bandwidth limitations.
The benefits are significant: you gain flexibility in camera placement since network cables can run much longer distances than USB, you can access streams from multiple Raspberry Pis or computers on your network, and you reduce processing overhead on the Pi itself. Many encoders also include features like motion detection and night vision support. While IP camera encoders cost more than simple USB capture cards (typically 30-80 dollars per unit), they provide professional-grade reliability and scalability for serious surveillance projects or multi-camera installations.
Quick Comparison Table
Here’s a quick comparison to help you choose the right analog video input solution for your Raspberry Pi project:
USB capture devices offer the easiest setup with prices ranging from $10-$40. They’re perfect for beginners since they work plug-and-play with minimal configuration. Video quality reaches 480p, which works great for digitizing VHS tapes or connecting retro game consoles. Simply connect your composite or S-Video source, plug into any USB port, and start capturing.
HAT modules like the EasyCap-compatible boards cost $15-$35 and mount directly to your Pi’s GPIO pins. They provide better integration and slightly improved quality but require some driver configuration. These work wonderfully for permanent installations or embedded projects.
For professional-grade results, dedicated capture cards ($50-$150) deliver the highest quality with real-time processing capabilities. They’re ideal for serious archiving projects or broadcast applications but demand more technical expertise.
The DIY ADC approach costs under $20 and offers maximum flexibility for custom projects. However, it requires soldering skills and extensive coding knowledge, making it suitable only for advanced users who need specific features unavailable in commercial solutions.
Setting Up Your Analog Video Input System
Hardware Connection and Requirements
Setting up analog video input on your Raspberry Pi requires a few essential components and careful attention to connections. Let’s walk through what you’ll need and how to get everything working smoothly.
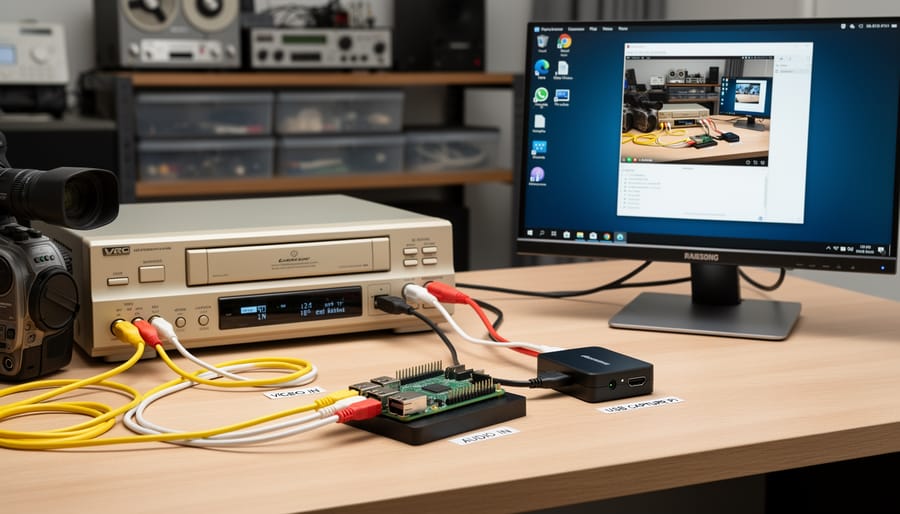
First, you’ll need a USB video capture device that accepts composite video input. These affordable dongles typically feature RCA connectors (yellow for video, red and white for audio) and connect to any USB port on your Raspberry Pi. Popular options include the EasyCap and similar generic USB capture cards, which work well with most Raspberry Pi models.
For cable requirements, start with standard RCA composite cables. These are the same cables used with older TVs and DVD players, featuring the familiar yellow, red, and white connectors. Make sure your cables are in good condition, as damaged or corroded connectors can cause fuzzy images or connection failures. If your analog source uses different outputs like S-Video, you’ll need an appropriate adapter.
Power considerations are crucial. The USB capture device draws power from your Raspberry Pi, so ensure you’re using an adequate power supply. A quality 5V 3A power adapter is recommended, especially when running video capture alongside other USB peripherals. Insufficient power can cause the capture device to disconnect randomly or produce unstable video.
When connecting everything, plug your analog video source into the capture device using RCA cables, matching colors carefully. Then connect the capture device to your Raspberry Pi’s USB port. The Pi should recognize it automatically as a video device.
If you encounter issues, check that all connections are secure and cables aren’t damaged. Try different USB ports, as some may provide more stable power. Verify your capture device appears in the system using the command “lsusb” in the terminal.
Software Installation and Configuration
Now that you’ve got your hardware connected, it’s time to install the software that will bring your analog video input to life. The good news is that most of the tools you’ll need are open-source and readily available for Raspberry Pi.
Start by updating your system to ensure you have access to the latest packages. Open a terminal and run the standard update commands to refresh your package lists and upgrade existing software. This creates a solid foundation for everything that follows.
The first essential package is Video4Linux (V4L), which provides the drivers and utilities needed to handle video devices in Linux. Most USB capture devices work with V4L2, the second version of this framework. Install the v4l-utils package, which includes handy command-line tools for testing and configuring your video input. Once installed, you can use the v4l2-ctl command to list connected devices and check their capabilities.
Next, install FFmpeg, a powerful multimedia framework that can capture, convert, and stream video. FFmpeg works seamlessly with V4L2 devices and gives you tremendous flexibility in how you process your analog video. For those planning more advanced projects involving motion detection or image recognition, OpenCV is another valuable addition to your toolkit.
After installation, verify that your Raspberry Pi recognizes the capture device by running v4l2-ctl with the list-devices flag. You should see your USB capture card appear, typically as /dev/video0. If you’re planning to work on your Pi through remote access setup, now is a good time to configure that.
To test your connection, use FFmpeg to capture a few seconds of video to a file. This simple test confirms that data is flowing from your analog source through the capture device and into your Raspberry Pi. If you see a file created with a reasonable size, congratulations—your analog video input is working!
Optimizing Video Quality and Performance
Getting the best possible video quality from your analog capture setup requires balancing several factors with your Raspberry Pi’s processing capabilities. Start by adjusting your capture resolution—while 720×480 (NTSC) or 720×576 (PAL) represents full analog resolution, you may need to drop to 640×480 or even 320×240 if you’re experiencing frame drops or system lag.
Frame rate is another crucial setting. Standard analog video runs at 30fps (NTSC) or 25fps (PAL), but capturing at 15fps can significantly reduce processing load while still producing watchable results for many applications. Use tools like v4l2-ctl to adjust these parameters: “v4l2-ctl –set-fmt-video=width=640,height=480,pixelformat=YUYV –set-parm=30”.
Color correction improves visual quality considerably. Most capture software allows you to tweak brightness, contrast, saturation, and hue. Start with neutral settings and adjust based on your source material—old VHS tapes often benefit from increased contrast and reduced saturation.
Monitor your Pi’s CPU usage during capture using “top” or “htop”. If you’re consistently hitting 80-90% CPU usage, reduce quality settings or consider hardware acceleration options. The Raspberry Pi 4 handles analog capture much better than earlier models, so upgrading hardware might be your best solution if you’re working with older boards.
Advanced Video Processing Techniques for Analog Input
Real-Time Video Enhancement and Filtering
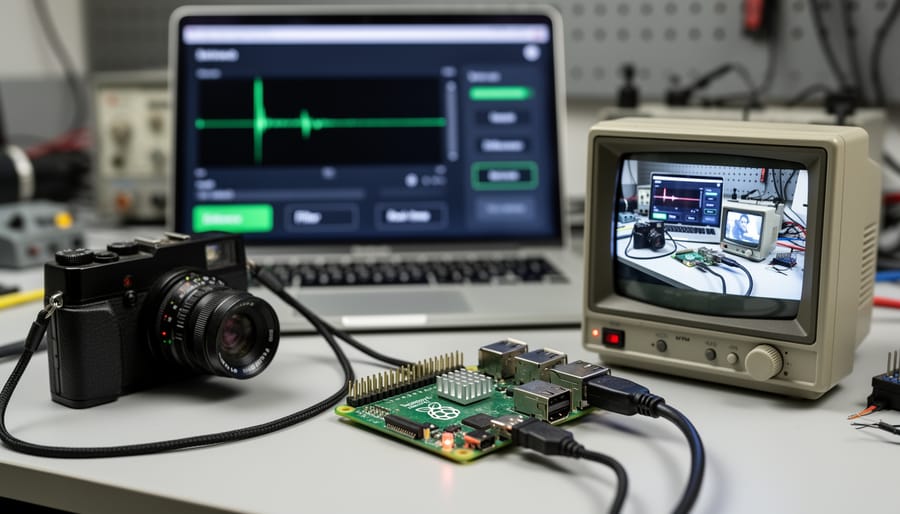
Once you’ve successfully captured analog video with your Raspberry Pi, you can take things further by applying real-time enhancements using software tools. This transforms your basic capture setup into a powerful video processing station that can breathe new life into aging footage.
OpenCV (Open Source Computer Vision Library) is your best friend for real-time video manipulation on the Raspberry Pi. While the Pi’s processing power has limitations, the Raspberry Pi 4 and Pi 5 can handle several enhancement techniques simultaneously when optimized correctly.
Start with noise reduction, which is essential for cleaning up the grainy, snowy appearance common in old analog tapes. OpenCV’s fastNlMeansDenoisingColored function works well, though you may need to reduce resolution or frame rate to maintain real-time performance. For lighter processing, try Gaussian blur combined with bilateral filtering to smooth out noise while preserving edges.
Deinterlacing addresses the horizontal line artifacts visible in interlaced video signals. OpenCV provides simple deinterlacing through field separation, or you can use FFmpeg’s yadif (Yet Another Deinterlacing Filter) for higher quality results. This step is crucial when digitizing VHS tapes or footage from vintage cameras.
Color correction compensates for faded hues and incorrect white balance in aged recordings. Adjust brightness, contrast, and saturation using OpenCV’s convertScaleAbs and LUT (lookup table) functions. For automatic correction, implement histogram equalization to redistribute color values across the spectrum.
Sharpening recovers detail lost during analog transmission. Apply unsharp masking through OpenCV by subtracting a blurred version from the original image. Be careful not to over-sharpen, which amplifies noise rather than improving clarity.
Combine these techniques in a processing pipeline, testing each filter’s performance impact individually before stacking them together for optimal results.
Motion Detection and Object Tracking
Once you’ve successfully captured analog video with your Raspberry Pi, you can unlock powerful computer vision capabilities using OpenCV and motion detection libraries. This transforms your setup into an intelligent surveillance system or automated recording solution.
Start with motion detection using OpenCV’s background subtraction algorithms. The MOG2 (Mixture of Gaussians) method works exceptionally well for identifying moving objects in your analog video stream. Install OpenCV with a simple pip command and implement basic motion detection in just a few lines of Python code. When motion exceeds a threshold you define, trigger recording or send alerts to your phone.
For more advanced applications, integrate object detection using pre-trained models like YOLO or MobileNet. These recognize specific objects—people, vehicles, animals—from your analog cameras. While the Raspberry Pi 4 handles basic detection reasonably well, consider using the Coral USB Accelerator for real-time performance with complex models.
Security applications benefit enormously from these techniques. Set up your vintage cameras to monitor entry points, automatically recording only when activity occurs, saving storage space and making review easier. The analog sources you’re repurposing might have lower resolution than modern IP cameras, but they’re perfectly adequate for motion-triggered recording and basic object recognition tasks.
Experiment with zone-based detection to ignore irrelevant movement areas and reduce false alerts from swaying trees or passing cars.
Video Streaming and Recording
Once you’ve captured analog video on your Raspberry Pi, you’ll want to stream or record it efficiently. For streaming, Motion is an excellent choice—it’s lightweight and perfect for the Pi’s resources. Install it with a simple apt-get command, then configure the motion.conf file to set your video source, resolution, and frame rate. Motion can stream over HTTP, making your analog video accessible from any browser on your network.
For more advanced streaming, consider using FFmpeg to push video to platforms like YouTube Live or Twitch. The command structure is straightforward: specify your input device, apply compression settings, and define your streaming destination. H.264 compression works well on newer Pi models with hardware acceleration enabled.
Recording schedules become crucial for continuous capture scenarios. Motion includes built-in motion detection that triggers recording automatically, saving storage space. Alternatively, cron jobs can automate FFmpeg recordings at specific times—perfect for digitizing old VHS tapes overnight.
Storage management requires careful planning. A 32GB SD card fills quickly with uncompressed video, so consider these options: mount a USB hard drive for extended storage, use network-attached storage via NFS or Samba, or implement automatic compression and transfer scripts. Setting up logrotate-style systems ensures older recordings get compressed or deleted automatically, preventing storage overflow while preserving your most important captures.
Real-World Project Ideas
VHS and Camcorder Digitization Station
Transform your dusty VHS collection into pristine digital files with a Raspberry Pi-powered digitization station. This project combines analog video capture hardware with automated processing software to streamline the conversion process. You’ll need a USB capture device capable of handling composite or S-Video inputs, connected to your Pi running specialized capture software like FFmpeg or VLC for recording. The beauty of this setup lies in automation—schedule captures to run overnight, automatically trim commercials or dead space using motion detection algorithms, and organize files by metadata. Add a simple Python script to monitor the capture process and split recordings into manageable segments. For enhanced functionality, integrate basic video editing tools like OpenCV to stabilize shaky camcorder footage, adjust brightness and contrast, or even apply simple noise reduction filters. This station preserves precious memories while teaching valuable skills in video processing and automation, making it perfect for digitizing family archives or vintage media collections efficiently.
Retro Gaming Capture System
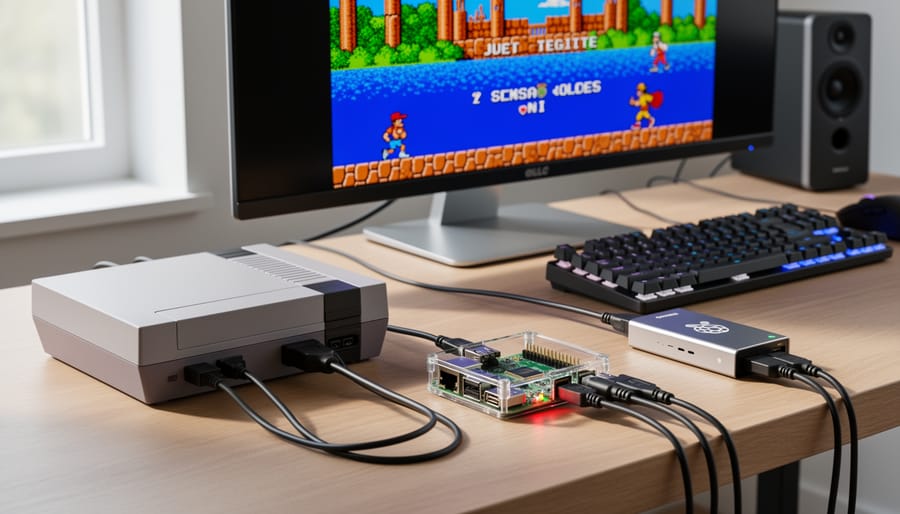
Transform your Raspberry Pi into a powerful retro gaming capture station by connecting vintage consoles through analog video input. Using an affordable USB video capture device, you can record and stream gameplay from NES, SNES, Genesis, and other classic systems directly to your retro gaming console setup. Popular capture solutions like the EasyCap or similar composite adapters work seamlessly with software such as FFmpeg or OBS Studio on Raspberry Pi 4 or Pi 5. The real magic happens when you add custom overlays displaying game information, frame counters, or controller inputs during streams. Configure your Pi to automatically record gameplay sessions in MP4 format, perfect for creating highlight reels or sharing speedruns. The low-latency setup ensures minimal lag between your console output and what appears on screen, maintaining the authentic gaming experience while simultaneously capturing high-quality footage.
Smart Security Camera System
Transform your legacy analog security cameras into a modern smart security system using your Raspberry Pi and an analog capture card. Start by connecting your cameras through a USB capture device, then install motion detection software like MotionEyeOS or Motion. These tools automatically detect movement and trigger recording, eliminating hours of useless footage. Configure cloud storage integration with Dropbox or Google Drive to back up critical recordings offsite. Set up push notifications through Telegram or email alerts to receive instant updates when motion is detected. You can even add facial recognition capabilities using OpenCV libraries. This approach breathes new life into older cameras while providing enterprise-level features at a fraction of commercial system costs. The best part is you maintain complete control over your data, avoiding monthly subscription fees while enjoying remote viewing capabilities from anywhere via web browser or mobile app.
Common Issues and Troubleshooting
Working with analog video input on your Raspberry Pi can be incredibly rewarding, but you might encounter a few bumps along the way. Let’s walk through the most common issues and their solutions to get your setup running smoothly.
Poor video quality is often the first challenge users face. If your captured video looks fuzzy or has strange colors, check your cable connections first. Composite video cables are notorious for loose connections, so ensure everything is firmly plugged in. Also, verify that your capture device supports the video standard your source uses (NTSC or PAL). Using the wrong standard can result in black-and-white images or rolling pictures. If quality issues persist, try a different USB port, as some ports may not provide sufficient power for your capture device.
Lag and stuttering during video capture typically stem from insufficient processing power or bandwidth issues. The Raspberry Pi 4 handles analog video much better than earlier models, but you can optimize performance by closing unnecessary applications and reducing the capture resolution. If you’re using V4L2 or FFmpeg, experiment with different encoding settings to find the sweet spot between quality and performance. Consider using hardware acceleration when available to reduce CPU load.
Driver compatibility problems can be frustrating, especially with USB capture devices. Not all capture cards work seamlessly with the Raspberry Pi’s Linux-based operating system. Before purchasing hardware, research whether other users have successfully used that specific model with Raspberry Pi. If your device isn’t recognized, run the command “lsusb” in the terminal to check if it’s detected at all. Sometimes a simple reboot or updating your Raspberry Pi OS to the latest version resolves driver conflicts.
Connection timeout errors often occur when software can’t communicate with your capture device. This usually happens when another program is already using the device. Make sure to close any previous capture sessions before starting a new one. You can also check which processes are accessing your video device using the “fuser” command.
Working with analog video input on your Raspberry Pi opens up exciting possibilities for preserving memories, building retro gaming stations, and breathing new life into legacy equipment. While there’s admittedly a learning curve involved in selecting the right capture hardware and configuring your software, the Raspberry Pi’s flexibility makes it an excellent platform for these projects. You’ve learned about USB capture devices, HAT solutions, and various software options to get your analog footage digitized and processed.
The key takeaways are straightforward: invest in quality capture hardware that matches your needs, take time to properly configure your software settings, and don’t be afraid to experiment with different approaches. Whether you’re digitizing family VHS tapes or creating a retro gaming setup, you now have the knowledge to tackle these projects confidently.
Remember, you’re not alone in this journey. The Raspberry Pi community is incredibly supportive, with forums, GitHub repositories, and detailed documentation available to help you troubleshoot issues and optimize your setup. If you’re looking for more Raspberry Pi projects to explore, there’s always something new to discover. Start small, test your setup thoroughly, and enjoy bringing analog video into the digital age with your Raspberry Pi.