


Transform your stack of Raspberry Pis into a powerful cloud-ready Kubernetes cluster and launch your journey into enterprise-grade container orchestration – right from your desktop. Building a Pi-powered K8s cluster delivers hands-on experience with production-level container management while keeping costs remarkably low. This compact yet mighty setup mirrors real-world datacenter architectures, making it perfect for learning DevOps practices, testing distributed applications, or experimenting with microservices.
Modern Kubernetes clusters typically demand significant hardware investments, but Raspberry Pi boards offer an ingenious alternative. Their ARM architecture, low power consumption, and minimal footprint create an ideal testing ground for container orchestration concepts. Whether you’re a hobbyist developer wanting to understand container orchestration or an IT professional building a home lab, a Pi-based Kubernetes cluster provides the perfect blend of accessibility and practical learning.
What makes this project particularly compelling is its scalability – start with just three nodes and expand as your needs grow. The skills gained from managing this miniature datacenter translate directly to enterprise environments, making it an invaluable learning tool for modern cloud infrastructure.
Why Build a Raspberry Pi Kubernetes Cluster?
Cost-Effective Learning Platform
Building a Kubernetes cluster with Raspberry Pis offers a cost-effective alternative to traditional cloud services while providing invaluable hands-on learning experience. While cloud platforms can cost hundreds of dollars monthly, a basic three-node Raspberry Pi cluster typically requires a one-time investment of around $200-300, including the Pis, power supply, and networking equipment.
This setup allows you to experiment freely without worrying about unexpected cloud billing or service limits. You’ll gain practical experience with physical hardware configuration, networking, and cloud service integration, making it easier to understand these concepts in real-world scenarios.
The learning benefits extend beyond cost savings. Having physical access to your cluster helps visualize complex Kubernetes concepts, like node management and container orchestration. You can safely experiment with different configurations, intentionally crash nodes to understand failover behavior, and learn troubleshooting techniques without impacting production environments.
Moreover, the skills gained from managing a physical Kubernetes cluster are directly transferable to enterprise environments, making this an excellent investment in your technical education.
Real-World Applications
A Kubernetes Raspberry Pi cluster offers numerous practical applications beyond just learning and experimentation. You can transform your setup into a powerful mini data center for hosting various services at home. Common applications include running a personal cloud storage solution, managing a home media server, or deploying automated backup systems.
Many enthusiasts use their clusters to host development environments for testing applications before deployment to production. The setup is perfect for running continuous integration/continuous deployment (CI/CD) pipelines, allowing developers to test their code in a production-like environment without incurring cloud costs.
Home automation is another popular use case, where the cluster can manage smart home devices, collect sensor data, and run automation scripts. Educational institutions often utilize these clusters to teach distributed computing concepts, allowing students to gain hands-on experience with container orchestration.
The scalability of Kubernetes makes it ideal for running multiple web applications, monitoring systems, and even small-scale machine learning projects, all while maintaining high availability and efficient resource utilization.
Hardware Requirements and Setup
Required Components
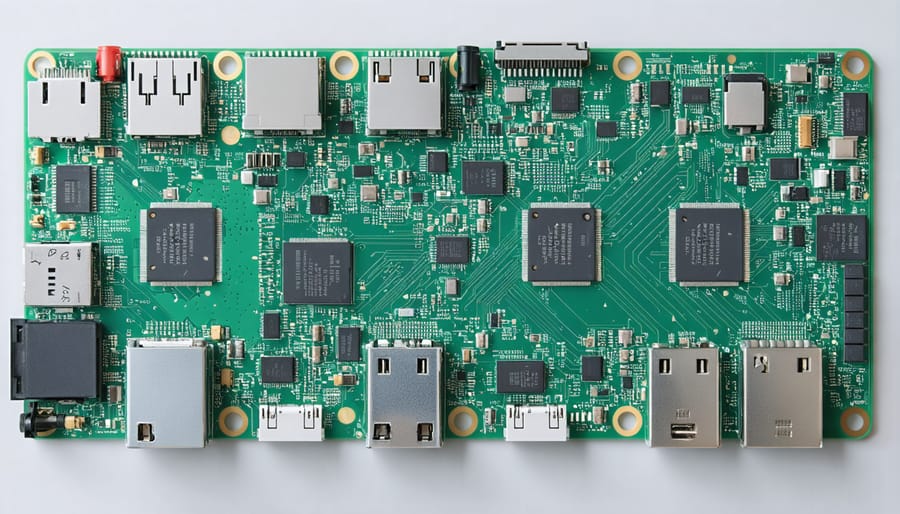
To build a Kubernetes cluster with Raspberry Pi, you’ll need several essential components. At the heart of your cluster, you’ll require a minimum of two Raspberry Pi boards (preferably Raspberry Pi 4 Model B with at least 4GB RAM), though three or more is recommended for a more robust setup. Each Pi needs its own power supply (official 15W USB-C recommended) and microSD card (32GB or larger, Class 10 for better performance).
For networking, you’ll need a small network switch (8-port gigabit recommended) and CAT6 Ethernet cables for each Pi. While Wi-Fi is possible, wired connections provide better stability for your cluster. A compact rack or case designed for multiple Raspberry Pis will help organize your setup and improve cooling.
Additional recommended components include:
– Cooling solutions (heatsinks or fans) for each Pi
– A dedicated USB keyboard and mouse for initial setup
– An HDMI cable and monitor for troubleshooting
– A USB flash drive for backups
– Optional: Uninterruptible Power Supply (UPS) for power stability
For better organization and maintenance, consider getting:
– Cable management solutions
– Network cable labels
– A small toolset for assembly
– A quality surge protector
Remember that while this might seem like a significant investment, it’s considerably more affordable than traditional server hardware while providing valuable hands-on experience with Kubernetes.
Network Configuration
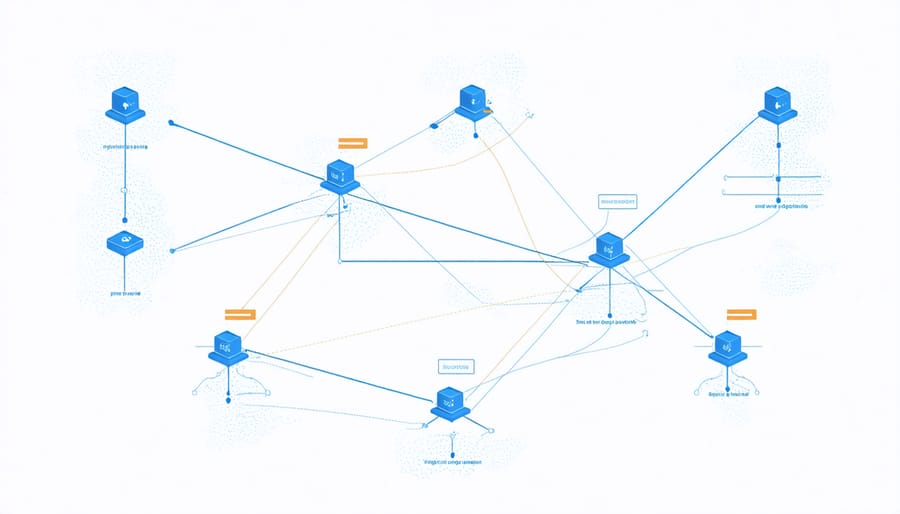
Proper network configuration is crucial for your Raspberry Pi Kubernetes cluster to function effectively. Start by assigning static IP addresses to each Pi node through the /etc/dhcpcd.conf file. This ensures consistent communication between nodes and simplifies cluster management.
For the master node, configure the following settings:
interface eth0
static ip_address=192.168.1.100/24
static routers=192.168.1.1
static domain_name_servers=192.168.1.1
Worker nodes should follow similar configurations but with incremental IP addresses (192.168.1.101, 192.168.1.102, etc.). After setting static IPs, ensure all Pis can communicate by testing with ping commands between nodes.
Enable container networking by installing Flannel or Calico. Flannel is recommended for beginners due to its simplicity, while Calico offers advanced networking features suitable for cloud integration architectures.
Configure your network plugin using kubectl:
kubectl apply -f https://raw.githubusercontent.com/coreos/flannel/master/Documentation/kube-flannel.yml
Finally, verify network connectivity within your cluster:
kubectl get nodes -o wide
kubectl get pods –all-namespaces
Remember to update your cluster’s DNS settings and ensure all nodes are on the same subnet for seamless communication.
Operating System Installation
For our Kubernetes cluster, we’ll use Raspberry Pi OS Lite (64-bit), as it provides the perfect balance between performance and resource usage. Start by downloading the official Raspberry Pi Imager tool from the Raspberry Pi website to flash your SD cards.
Once you’ve installed the Imager tool, insert your SD card and select “Raspberry Pi OS Lite (64-bit)” as your operating system. Before writing the image, click the gear icon to access advanced options. Here, enable SSH, set your hostname (like k8s-master for the control plane and k8s-worker-X for worker nodes), and configure your WiFi settings if you’re not using ethernet.
After flashing the OS, boot up each Raspberry Pi and connect to them via SSH. Update the system packages by running:
“`bash
sudo apt update && sudo apt upgrade -y
“`
Next, modify the boot configuration to enable container features. Edit /boot/cmdline.txt and add:
“`
cgroup_enable=cpuset cgroup_enable=memory cgroup_memory=1
“`
For optimal Kubernetes performance, disable swap by running:
“`bash
sudo dphys-swapfile swapoff
sudo dphys-swapfile uninstall
sudo systemctl disable dphys-swapfile
“`
Finally, reboot each Pi to apply these changes:
“`bash
sudo reboot
“`
Remember to repeat these steps for each Raspberry Pi in your cluster. This configuration ensures your nodes are properly prepared for Kubernetes installation in the next phase.
Installing and Configuring Kubernetes
Master Node Setup
Now that we have our Raspberry Pi nodes ready, let’s set up our master node (also known as the control plane) where Kubernetes will orchestrate our cluster operations. First, ensure your designated master Pi is running and you’re logged in as the primary user.
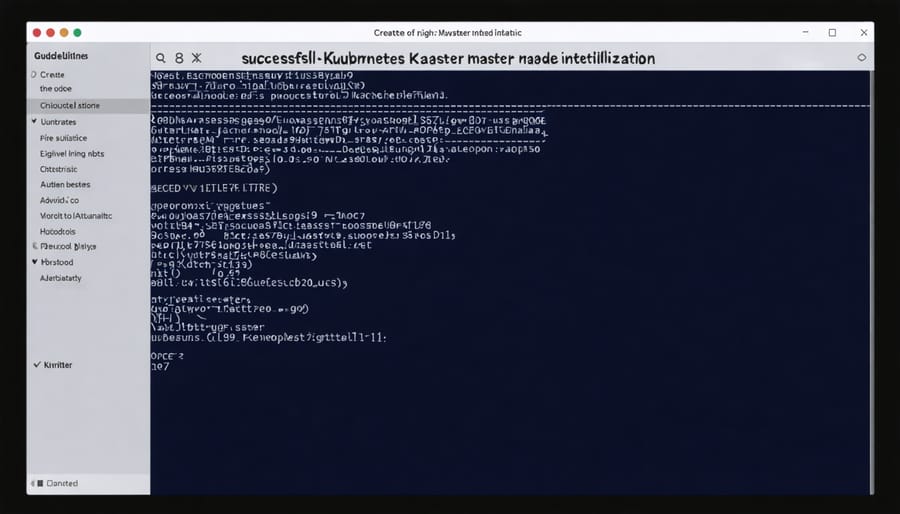
Begin by initializing Kubernetes with kubeadm. Run the following command:
“`bash
sudo kubeadm init –pod-network-cidr=10.244.0.0/16 –apiserver-advertise-address=[master-node-ip]
“`
Replace [master-node-ip] with your master Pi’s IP address. This process may take several minutes to complete. Once finished, you’ll receive important configuration instructions – save these for later use.
To start using your cluster, execute these commands:
“`bash
mkdir -p $HOME/.kube
sudo cp -i /etc/kubernetes/admin.conf $HOME/.kube/config
sudo chown $(id -u):$(id -g) $HOME/.kube/config
“`
Next, install a Container Network Interface (CNI) to enable pod networking. For Raspberry Pi clusters, Flannel works well:
“`bash
kubectl apply -f https://raw.githubusercontent.com/flannel-io/flannel/master/Documentation/kube-flannel.yml
“`
Verify your master node is running correctly:
“`bash
kubectl get nodes
“`
Your master node should show as “Ready” within a few minutes. Save the join command provided during initialization – you’ll need this to connect worker nodes to your cluster. Keep your master node running continuously, as it’s essential for cluster operations and management.
Worker Node Configuration
With your control node ready, it’s time to add worker nodes to your Kubernetes cluster. Each worker node will need to run the same version of Raspberry Pi OS and have unique hostnames for proper identification within the cluster.
Begin by preparing your worker Raspberry Pis with the basic configuration we used for the control node. Ensure each worker has a static IP address and can communicate with the control node over the network. Update and upgrade the system packages on each worker node:
“`bash
sudo apt update && sudo apt upgrade -y
“`
Install the required packages on each worker:
“`bash
sudo apt install -y kubelet kubeadm kubectl
sudo apt-mark hold kubelet kubeadm kubectl
“`
On your control node, generate the join command by running:
“`bash
kubeadm token create –print-join-command
“`
Copy the output command and run it on each worker node with sudo privileges. The command will look similar to:
“`bash
sudo kubeadm join 192.168.1.100:6443 –token xxxxx.xxxxxxxxxxxxx –discovery-token-ca-cert-hash sha256:xxxxxxxxxxxxxxxxxxxxxxxxxxxxxxxxxxxxxxxxxxxxxxxxxxxxxxxxxxxxxxxx
“`
After running the join command, return to your control node and verify the connection:
“`bash
kubectl get nodes
“`
You should see all your worker nodes listed with a “Ready” status after a few minutes. If a node shows “NotReady,” check the node’s status and logs using:
“`bash
kubectl describe node
“`
Remember to label your worker nodes appropriately for workload distribution and resource management. This helps Kubernetes make informed decisions about pod placement.
Testing Your Cluster
After setting up your Raspberry Pi Kubernetes cluster, it’s essential to verify that everything is working correctly. Start by checking the node status using the command `kubectl get nodes`. You should see all your Raspberry Pi nodes listed with a “Ready” status, indicating they’re successfully connected to the cluster.
To test basic functionality, deploy a simple test application using:
“`
kubectl create deployment nginx –image=nginx
kubectl expose deployment nginx –port=80 –type=LoadBalancer
“`
This creates a basic web server that you can access from your network. Verify the deployment status with `kubectl get pods` – you should see the nginx pod running without any errors.
Test cluster resilience by intentionally stopping one of your worker nodes. The cluster should automatically reschedule any affected pods to other available nodes. Monitor this process using `kubectl get pods -o wide` to observe pod migration.
Another useful test is checking resource distribution. Deploy multiple replicas of an application:
“`
kubectl scale deployment nginx –replicas=3
“`
Verify that the pods are distributed across different nodes using `kubectl get pods -o wide`. This confirms that the scheduler is working correctly.
Finally, test your cluster’s self-healing capabilities by deliberately deleting a pod:
“`
kubectl delete pod [pod-name]
“`
Kubernetes should automatically create a new pod to maintain the desired state. If all these tests pass successfully, your Raspberry Pi Kubernetes cluster is properly configured and ready for real workloads.
Remember to monitor resource usage during testing, as Raspberry Pis have limited resources compared to traditional servers.
Common Challenges and Solutions
Performance Optimization
To get the most out of your Raspberry Pi Kubernetes cluster, implementing performance optimization strategies is crucial. Start by adjusting your worker nodes’ configurations – set appropriate memory limits and CPU requests for your containers to prevent resource contention. Consider using lightweight container images specifically designed for ARM architecture to optimize cloud performance and reduce resource usage.
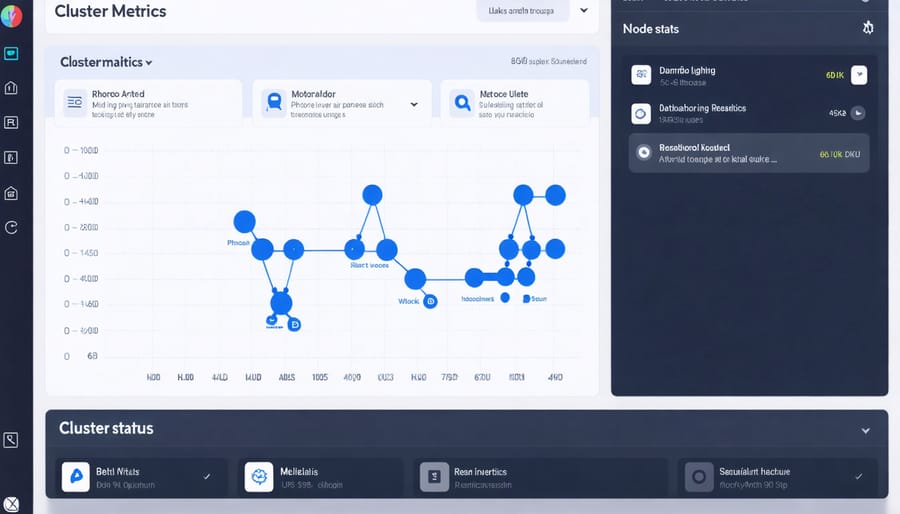
Enable monitoring tools like Prometheus and Grafana to track cluster metrics and identify bottlenecks. This data helps you make informed decisions about resource allocation and scaling. Use node labels to ensure workloads are distributed efficiently across your Pi nodes, and implement horizontal pod autoscaling to handle varying loads effectively.
Storage optimization is equally important. Utilize high-quality Class 10 SD cards or consider using USB SSDs for better I/O performance. Configure your cluster to use local storage where possible, reducing network overhead. If using network storage, implement caching mechanisms to improve access times.
Network performance can be enhanced by using ethernet connections instead of Wi-Fi where possible, and configuring your network policies to minimize unnecessary traffic between pods. Consider implementing a service mesh like Istio Lite for better traffic management, though be mindful of the additional resource overhead this may introduce.
Remember to regularly update your cluster components and clean up unused resources to maintain optimal performance. Keep your Pi nodes well-ventilated and consider adding heat sinks or cooling fans to prevent thermal throttling.
Troubleshooting Guide
When building your Raspberry Pi Kubernetes cluster, you might encounter some common issues. Here’s how to address them effectively:
If nodes fail to join the cluster, first check your network connectivity between the master and worker nodes. Ensure all Pi devices are on the same network and can ping each other. Sometimes, simply rebooting the problematic node resolves connection issues.
For pods stuck in “Pending” state, verify that your nodes have sufficient resources. Raspberry Pis have limited memory, so monitor your resource usage and adjust pod specifications accordingly. You can use the command ‘kubectl describe pod’ to identify specific resource constraints.
DNS resolution problems are another frequent challenge. If containers can’t resolve domain names, check your CoreDNS configuration and ensure it’s running properly. You might need to restart the CoreDNS pods or verify your network’s DNS settings.
High CPU temperature warnings are common in Pi clusters. Ensure proper ventilation and consider adding cooling fans. Monitor temperatures using ‘vcgencmd measure_temp’ and implement automatic throttling if needed.
If the control plane becomes unresponsive, check the status of etcd and the API server. Sometimes, clearing the etcd data and reinitializing the cluster might be necessary, but always backup your configurations first.
For storage-related issues, verify that your SD cards are healthy and have sufficient space. Consider using external USB storage for better reliability and performance.
Building a Kubernetes cluster with Raspberry Pi is an exciting journey that opens up countless possibilities for learning and experimentation. Through this project, you’ve gained hands-on experience with container orchestration, networking, and distributed computing concepts that are valuable in modern IT environments.
By following the setup process, you’ve created a cost-effective home lab that mirrors enterprise-grade infrastructure. This cluster serves as an excellent platform for testing applications, learning DevOps practices, and exploring cloud-native technologies. The skills you’ve developed are directly transferable to professional environments using Kubernetes.
To continue your learning journey, consider exploring more advanced topics such as implementing high availability, setting up persistent storage, or deploying real-world applications on your cluster. You might also want to experiment with different monitoring solutions or implement automated CI/CD pipelines.
Remember to regularly update your cluster components and maintain proper documentation of your setup. Join online communities and forums to share your experiences and learn from others building similar projects. The Raspberry Pi Kubernetes cluster community is particularly welcoming and supportive of newcomers.
Whether you’re using this cluster for education, development, or just pure experimentation, you’ve created a powerful platform that will help you stay current with modern containerization technologies. Keep exploring, keep learning, and most importantly, keep having fun with your Raspberry Pi Kubernetes cluster.