

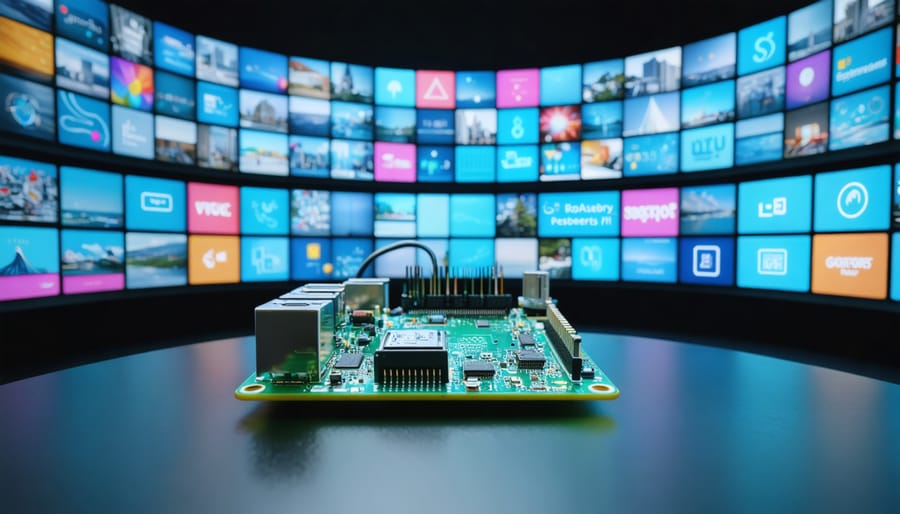
Transform any display into a dynamic digital signage solution with Raspberry Pi and powerful open-source platforms like Screenly OSE, PiSignage, and OpenSplash. These lightweight, cost-effective solutions deliver professional-grade digital signage without recurring subscription fees or proprietary hardware limitations. By combining the versatility of Raspberry Pi’s compact computing power with robust open-source software, businesses and organizations can deploy customizable digital displays for a fraction of traditional costs.
Create engaging content loops, schedule dynamic updates, and manage multiple displays remotely through web-based interfaces. The open-source nature of these platforms enables complete customization, from custom HTML5 content to real-time data integration, while the active community support ensures continuous improvements and security updates. Whether deploying a single information kiosk or orchestrating a network of synchronized displays across multiple locations, Raspberry Pi’s open-source digital signage solutions offer enterprise-level features with unmatched flexibility and control.
Get started with basic hardware – a Raspberry Pi 4, SD card, and display – then leverage Python scripts and web technologies to build a tailored signage system that perfectly matches your requirements.
Why Open Source Digital Signage Makes Sense
Cost Benefits and Community Support
Implementing digital signage with Raspberry Pi and open source software offers significant cost advantages compared to commercial solutions. While traditional digital signage systems can cost thousands of dollars per display, a Raspberry Pi setup typically requires only the board itself ($35-70), a display, and storage media. This dramatic cost reduction makes it particularly attractive for small businesses, educational institutions, and non-profit organizations.
The open source nature of these solutions eliminates recurring licensing fees and subscription costs, offering complete ownership and control over the system. Additionally, the vibrant Raspberry Pi community provides extensive support through forums, documentation, and continuous development of new features and improvements. Users can find ready-to-use solutions, troubleshooting guidance, and custom modifications shared by other community members.
This collaborative ecosystem not only ensures long-term sustainability but also enables rapid innovation and problem-solving. Community-driven development means that security updates, bug fixes, and new features are regularly contributed by developers worldwide, making the platform more robust and reliable over time. The availability of free technical support through community channels further reduces the total cost of ownership.
Customization and Security
Open source digital signage solutions for Raspberry Pi offer unparalleled flexibility in customization, allowing users to modify both the appearance and functionality to meet specific needs. Users can adjust everything from display layouts and transition effects to content scheduling and player behavior. The source code accessibility means you can add custom features, integrate with existing systems, or modify the interface to match your brand identity.
From a security perspective, open source solutions provide significant advantages. The transparent nature of the code allows for community scrutiny, helping identify and fix vulnerabilities quickly. Users can implement additional security measures, such as custom authentication methods or content encryption, without being restricted by proprietary limitations.
The ability to self-host your digital signage system gives you complete control over your data and content distribution. You can implement network isolation, configure firewalls, and manage user access according to your security requirements. Regular community updates and patches ensure your system stays protected against emerging threats while maintaining stability and performance.
Top Open Source Digital Signage Platforms
Screenly OSE
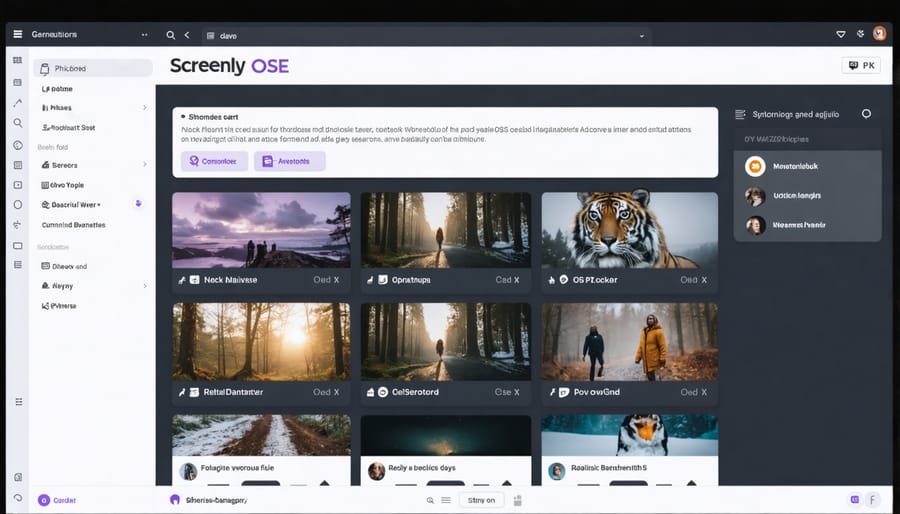
Screenly OSE (Open Source Edition) stands out as a popular digital signage solution for Raspberry Pi enthusiasts, offering a robust set of features without any licensing costs. This web-based platform supports various media types, including images, videos, and web pages, making it versatile for different display needs.
Setting up Screenly OSE is straightforward: users can download the dedicated image, flash it to their SD card, and boot their Raspberry Pi. The system includes a user-friendly web interface for content management and scheduling, along with remote management capabilities that make it ideal for maintaining multiple displays across different locations.
Key features include playlist management, content scheduling, and support for both landscape and portrait orientations. The platform can handle most common media formats, including PNG, JPG, GIF, MP4, and HTML5 content. Users can set custom transition effects and display durations for each asset, creating professional-looking presentations.
Common use cases include retail displays, information boards in educational institutions, corporate communications, and public information systems. The open-source nature of Screenly OSE allows for customization and community-driven improvements, making it particularly attractive for developers and organizations looking to modify the platform for specific needs.
While Screenly OSE may lack some advanced features found in paid solutions, its stability, active community support, and zero cost make it an excellent choice for small to medium-scale digital signage deployments.
PiSignage
PiSignage stands out as a powerful open-source digital signage solution specifically designed for Raspberry Pi devices. This platform offers a comprehensive set of features that make it an attractive choice for both beginners and experienced users looking to deploy digital signage solutions.
At its core, PiSignage provides a web-based interface for content management, allowing users to upload, schedule, and manage their digital signage content remotely. The platform supports various media formats including images, videos, HTML content, and live web pages, making it versatile for different use cases.
One of PiSignage’s key strengths is its ability to handle multiple screens through a centralized management system. Users can group displays, create playlists, and schedule content deployment across different locations. The platform also includes features like screen layout customization, emergency messaging, and real-time monitoring of connected displays.
Setting up PiSignage involves installing the dedicated image on your Raspberry Pi and connecting to the management interface. The system supports both online and offline operation modes, providing flexibility for different deployment scenarios. Advanced features include RSS feed integration, weather widgets, and custom JavaScript support for interactive content.
While the core platform is open source, PiSignage also offers a premium hosted service for users who need additional features and support. This makes it suitable for both small-scale projects and enterprise-level deployments while maintaining its open-source foundations.
Info-Beamer
Info-Beamer stands out as a powerful digital signage solution specifically designed for Raspberry Pi devices. This open-source platform offers a comprehensive package system that allows users to create and manage sophisticated digital displays with relative ease. The software utilizes Lua programming language for creating custom packages, though it also comes with several pre-built templates for those who prefer a quick setup.
What makes Info-Beamer particularly appealing is its robust feature set, including real-time content updates, seamless video playback, and support for various media formats. The platform handles multiple zones on screen, enabling users to display different content types simultaneously, such as weather updates, news tickers, and custom graphics.
Setting up Info-Beamer involves downloading the OS image, flashing it to your Raspberry Pi, and connecting to the Info-Beamer hosted service for management. The hosted version provides a user-friendly web interface for content management, though users can also opt for the open-source version if they prefer local hosting.
Advanced users will appreciate Info-Beamer’s extensive API documentation and the ability to create custom packages. The platform supports features like remote monitoring, scheduled content updates, and automatic failover, making it suitable for both small-scale installations and larger digital signage networks. The active community surrounding Info-Beamer continuously contributes to its package ecosystem, offering various solutions for different use cases.
Setting Up Your First Digital Sign
Hardware Requirements
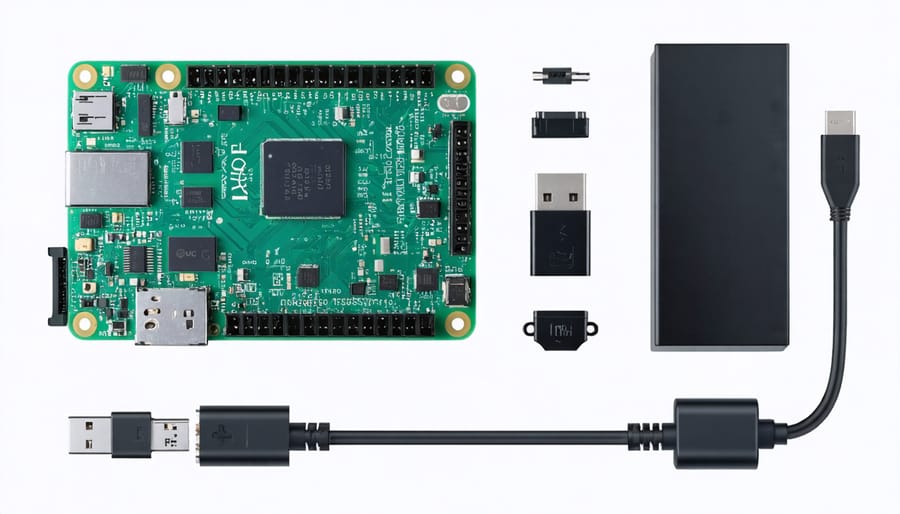
To build a reliable digital signage system with a Raspberry Pi, you’ll need several essential components. At the core, a Raspberry Pi 4 Model B with at least 2GB RAM is recommended for optimal performance. You’ll also need a microSD card (16GB minimum, but 32GB is preferred) to store your operating system and content.
For display output, an HDMI cable and a compatible display screen are necessary. The Pi 4’s dual micro-HDMI ports allow for connecting two screens if needed. A reliable power supply (official 15W USB-C recommended) ensures stable operation.
Optional but recommended accessories include:
– A case with proper ventilation to protect your Pi
– A cooling fan or heatsinks for temperature management
– A wireless keyboard and mouse for initial setup
– An ethernet cable for stable network connection
– A real-time clock module for accurate timing
– A USB drive for additional storage
For professional installations, consider adding:
– A surge protector
– Cable management solutions
– A backup power supply (UPS)
– Anti-theft mounting hardware
Software Installation
Getting started with your Raspberry Pi digital signage project begins with installing the necessary software components. First, ensure your Raspberry Pi is running the latest version of Raspberry Pi OS (formerly Raspbian) by using the command ‘sudo apt-get update && sudo apt-get upgrade’ in the terminal.
For a straightforward digital signage setup guide, you’ll need to choose and install one of the popular open-source platforms. Screenly OSE, PiSignage, and OpenSplash are among the most reliable options. To install Screenly OSE, for example, open the terminal and execute the following command:
wget -O – https://www.screenly.io/install-ose.sh | bash
The installation process typically takes 15-20 minutes, depending on your internet connection. During installation, the system will automatically configure the necessary dependencies and create a web-based management interface.
After installation completes, reboot your Raspberry Pi using ‘sudo reboot’. The system will start in digital signage mode, displaying the IP address of your device. Note this address – you’ll need it to access the web interface for content management.
Remember to configure your Raspberry Pi to automatically start the digital signage software on boot. This ensures your display continues working even after power cycles or system updates.
Content Management Tips
Effective content management is crucial for maintaining engaging digital signage displays. Create a structured content folder system on your Raspberry Pi, organizing media files by type (images, videos, HTML) and display location. Use descriptive file names and maintain a consistent naming convention to easily track and update content.
Implement a regular content update schedule and automate where possible. Tools like cron jobs can help schedule content updates during off-peak hours. Consider using version control systems like Git to track changes and maintain backup copies of your display content.
For dynamic content, utilize RSS feeds or API integrations to automatically pull fresh content. Remember to compress media files appropriately to ensure smooth playback while maintaining quality. Images should typically be in JPG or PNG format, while videos should be encoded in H.264 for optimal performance on Raspberry Pi.
Monitor your content’s performance regularly. Check for broken links, outdated information, and display issues. Keep a log of content changes and viewer feedback to help optimize your digital signage strategy over time. Back up your content regularly to prevent data loss and enable quick recovery if needed.
Troubleshooting Common Issues
When implementing digital signage on your Raspberry Pi, you might encounter several common issues. Here’s how to address them effectively:
Display Issues:
If your screen remains black or shows artifacts, first check your HDMI connection and power supply. Ensure your power adapter provides at least 2.5A for consistent performance. Edit your config.txt file to adjust display settings if needed, particularly the hdmi_force_hotplug=1 and hdmi_group parameters.
Performance Slowdowns:
For sluggish playback or system responsiveness, monitor your CPU temperature using ‘vcgencmd measure_temp’. Install heatsinks or improve ventilation if temperatures exceed 80°C. Consider implementing network boot configuration to reduce SD card wear and improve reliability.
Network Connectivity:
Intermittent network issues can disrupt content updates. Use a wired connection when possible, or position your Pi where WiFi signal is strongest. Configure a static IP address to prevent connection drops during DHCP renewal.
Content Management:
If media files aren’t displaying correctly, verify file formats are compatible (H.264 for video, JPG/PNG for images). Use hardware acceleration when available by enabling it in your digital signage software settings.
Memory Management:
Clear browser cache regularly if using web-based content. Adjust swap file size for better performance, but avoid excessive swapping which can reduce SD card lifespan.
Storage Space:
Monitor available storage using ‘df -h’. Implement automatic cleanup scripts for log files and cached content. Consider using external storage for media files if space becomes limited.
These solutions should address most common issues, but remember to regularly update your software and maintain backups of your configuration files for quick recovery if needed.
Implementing digital signage with Raspberry Pi and open-source solutions offers a cost-effective and flexible way to create engaging displays for various purposes. By leveraging platforms like Screenly OSE, PiSignage, or OpenSplash, you can build a professional-grade signage system without breaking the bank. The key advantages of open-source solutions include customization freedom, community support, and regular updates driven by user feedback.
To get started, select your preferred platform based on your specific needs, gather the necessary hardware, and follow the setup guides we’ve outlined. Remember to consider factors like content management, network connectivity, and display requirements when planning your implementation. With the right preparation and the vibrant Raspberry Pi community behind you, creating your own digital signage system is an achievable and rewarding project that can grow with your needs.