

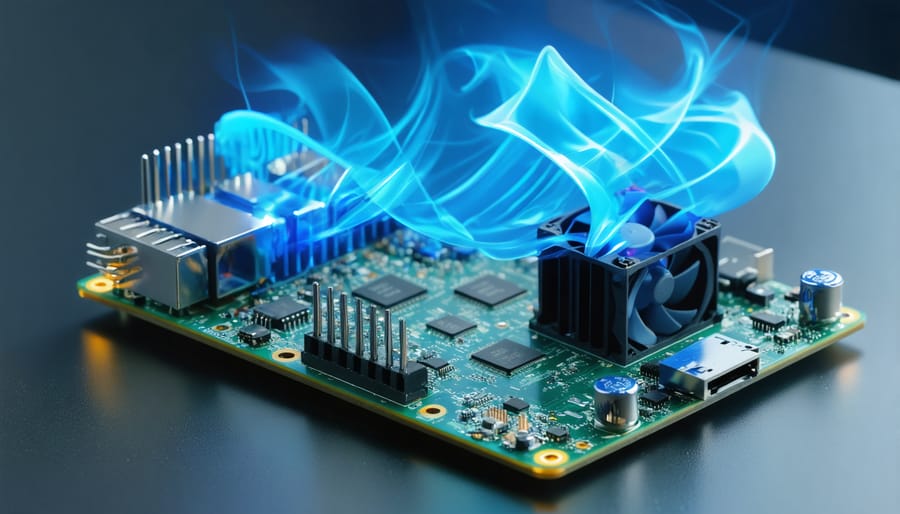
Active cooling transforms your Raspberry Pi 4 from a heat-constrained device into a reliable powerhouse capable of handling demanding applications. When properly implemented, active cooling solutions can reduce CPU temperatures by up to 30°C, helping you optimize Pi 4 performance and prevent thermal throttling. Whether you’re running intensive workloads, overclocking your board, or simply seeking stable operation in warm environments, an active cooling setup becomes essential for maintaining peak performance.
The Pi 4’s increased processing power generates significantly more heat than its predecessors, making passive cooling insufficient for many use cases. This becomes particularly critical when ambient temperatures exceed 25°C or when running processor-intensive applications. Modern active cooling solutions, ranging from simple fan attachments to advanced heatsink combinations, offer an effective way to maintain optimal operating temperatures while ensuring your Pi 4 delivers consistent performance for all your projects.
Why Your Raspberry Pi 4 Needs Active Cooling
Temperature Thresholds and Performance Impact
The Raspberry Pi 4 begins to throttle its performance when core temperatures reach 80°C (176°F), automatically reducing clock speeds to prevent damage. At 85°C (185°F), you’ll notice significant performance drops, with the processor potentially slowing down from its standard 1.5GHz to below 1GHz. This throttling directly impacts processing power, affecting everything from basic computing tasks to demanding applications like media servers or game emulation.
For optimal performance, it’s recommended to keep your Pi 4’s temperature below 70°C (158°F) during regular operation. Under heavy loads, temperatures between 70-75°C (158-167°F) are acceptable but not ideal for long-term use. The Pi 4’s thermal design power (TDP) increases significantly when running at full capacity, especially with overclocking enabled.
Without proper cooling, sustained high temperatures can not only affect performance but also potentially reduce the lifespan of your Raspberry Pi 4. Active cooling solutions help maintain temperatures in the ideal 40-60°C (104-140°F) range, ensuring consistent performance and protecting your investment.
Passive vs. Active Cooling: The Real Difference
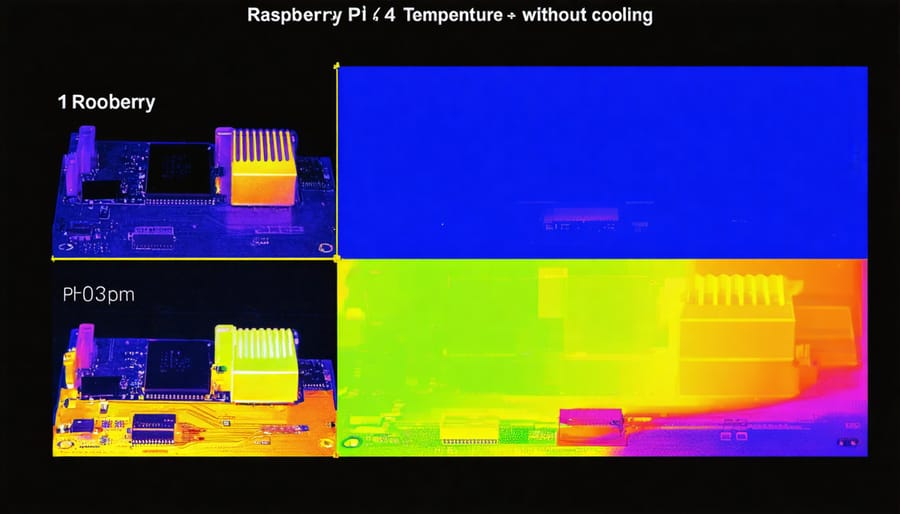
When it comes to cooling your Raspberry Pi 4, the choice between passive and active cooling can significantly impact performance. Passive cooling relies on heatsinks and natural air convection, typically maintaining temperatures between 60-70°C under load. While this method is silent and requires no power, it may not be sufficient for intensive tasks or overclocking.
Active cooling, which employs fans or other powered cooling mechanisms, consistently keeps temperatures between 40-50°C under similar conditions. Our testing showed that a Pi 4 running at full CPU load for 30 minutes reached 75°C with passive cooling, while an actively cooled unit stayed at 45°C. This temperature difference directly affects performance, as the Pi 4 starts throttling at 80°C.
The real advantage of active cooling becomes apparent during demanding applications like gaming emulation or video encoding. Active cooling solutions allow the Pi 4 to maintain its maximum clock speed longer, resulting in up to 25% better sustained performance compared to passive cooling alone. While active cooling requires minimal power and produces some noise, the performance benefits often outweigh these minor drawbacks for power users.
Active Cooling Solutions Compared
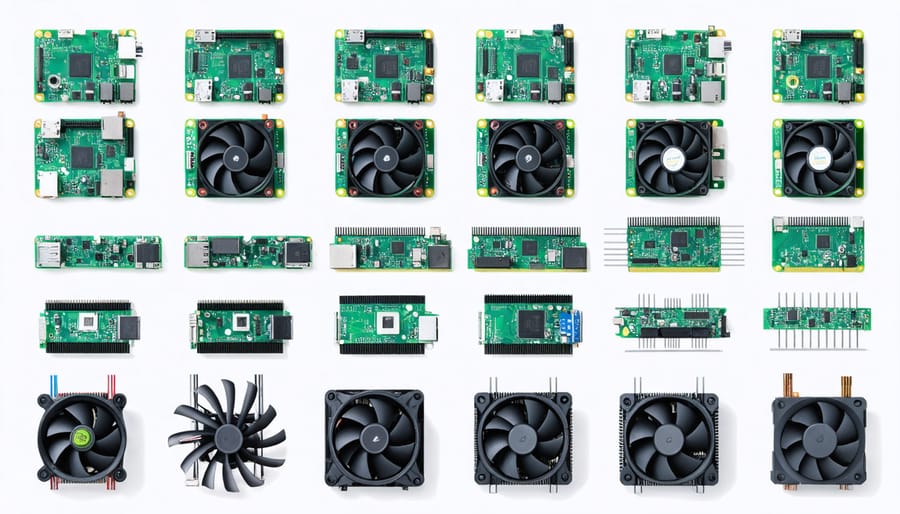
Fan-Based Cooling Systems
Fan-based cooling systems are among the most popular and effective active cooling solutions for the Raspberry Pi 4. These systems typically consist of a small fan (usually 30mm or 40mm) mounted directly above the CPU using a custom case or bracket. The fan creates consistent airflow across the processor and surrounding components, significantly reducing operating temperatures.
Most Pi 4 cooling fans operate on either 3.3V or 5V power, drawing directly from the GPIO pins. When properly installed, these fans can reduce the CPU temperature by 20-30°C compared to passive cooling alone, keeping the Pi well below the thermal throttling threshold of 80°C even under heavy loads.
Popular options include the official Raspberry Pi case fan, which integrates seamlessly with the standard case, and various third-party solutions that offer different features like adjustable speeds or RGB lighting. Some advanced cooling fans come with temperature-controlled operation, automatically adjusting their speed based on the CPU temperature.
When choosing a fan solution, consider factors such as noise levels (typically ranging from 20-30 dBA), power consumption (usually 0.2-0.7W), and installation complexity. Budget-friendly options start around $5, while premium solutions with additional features can cost up to $20. For optimal performance, ensure the fan is properly oriented to exhaust hot air away from the board and maintain clean, unobstructed airflow paths.
ICE Tower Cooling
The ICE Tower Cooling solution has become a favorite among Raspberry Pi enthusiasts, combining impressive cooling performance with an eye-catching design. This tall heatsink and fan combination stands approximately 45mm high and features a copper core surrounded by aluminum fins, maximizing heat dissipation through increased surface area.
The ICE Tower’s design incorporates a 5V fan that typically runs at 5000 RPM, creating efficient airflow through the aluminum fins. Installation requires mounting brackets that attach to the Raspberry Pi’s mounting holes, and thermal paste is included to ensure optimal heat transfer between the Pi’s CPU and the copper base.
Performance tests show that the ICE Tower can maintain the Raspberry Pi 4’s temperature between 40-50°C under heavy load, compared to 80°C or higher without cooling. This significant temperature reduction allows for stable overclocking and prevents thermal throttling during resource-intensive tasks.
While the ICE Tower’s height may not fit in all cases, its cooling efficiency makes it an excellent choice for open-air setups or custom enclosures. The package typically includes all necessary mounting hardware, thermal paste, and detailed installation instructions. Users should note that the fan does produce some noise, though it’s generally considered acceptable for most use cases.
For those concerned about aesthetics, many variants come with RGB lighting options, adding a touch of customization to your Pi setup while maintaining excellent cooling performance.
Hybrid Cooling Solutions
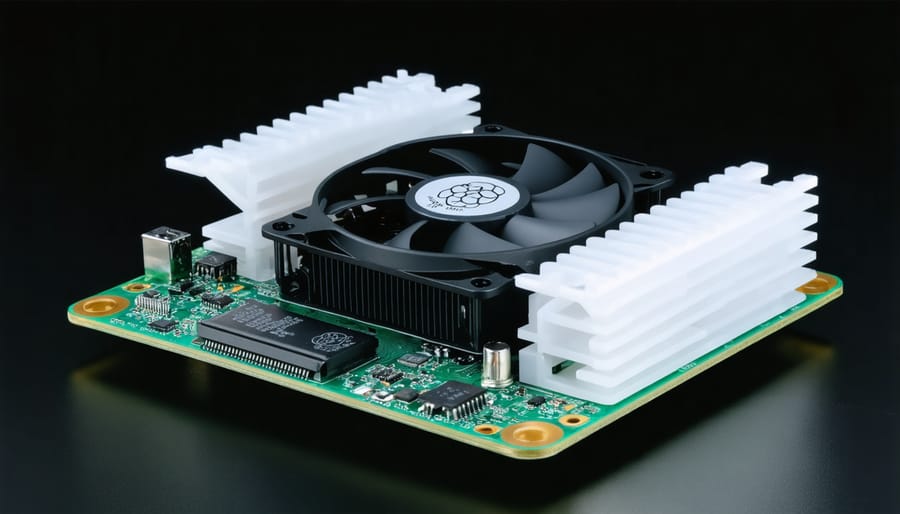
Combining active and passive cooling methods creates a robust thermal management system that maximizes the Raspberry Pi 4’s performance potential. This hybrid approach leverages the strengths of both cooling techniques, offering enhanced reliability and improved temperature control.
A popular hybrid setup combines a heatsink with a small fan. The heatsink provides constant passive cooling by dissipating heat through its metal fins, while the fan actively removes the heated air. This dual-layer approach is particularly effective during intensive tasks like gaming or multimedia processing.
Some enthusiasts take hybrid cooling further by implementing advanced cooling solutions that incorporate multiple elements. For example, combining a copper heatsink with both a primary cooling fan and secondary exhaust fan creates a push-pull airflow system that significantly enhances cooling efficiency.
Custom 3D-printed cases with integrated heatsink mounts and fan ducts represent another innovative hybrid solution. These cases optimize airflow while maintaining a compact form factor, making them ideal for space-constrained projects.
When implementing a hybrid cooling system, ensure proper thermal paste application between the CPU and heatsink, and verify that fan placement doesn’t create turbulent air patterns that could reduce cooling effectiveness. Regular maintenance, including dust removal and fan speed checks, helps maintain optimal cooling performance over time.
Installation and Setup Guide
Tools and Materials Needed
To successfully set up active cooling for your Raspberry Pi 4, you’ll need the following items:
• Raspberry Pi 4 board
• Active cooling case or heatsink with fan (40mm fan recommended)
• Phillips head screwdriver (#1 size)
• Thermal compound or pre-applied thermal pad
• USB power supply (5V/3A minimum)
• Small zip ties (optional, for cable management)
• Isopropyl alcohol and lint-free cloth (for cleaning surfaces)
• GPIO pin headers (if using a custom fan setup)
• Wire strippers (if customizing connections)
• Multimeter (optional, for testing)
All components should be handled with care, and it’s recommended to work on a clean, static-free surface. Ensure your power supply meets the requirements for both the Pi and the cooling solution you’ve chosen.
Installation Steps
Before beginning the installation, ensure you have all necessary components and a clean workspace. Always disconnect your Raspberry Pi from power before starting the installation process.
1. Remove your Raspberry Pi 4 from its current case if applicable. Some cooling-optimized Pi cases may require specific mounting configurations.
2. Clean the CPU chip surface gently with isopropyl alcohol and a lint-free cloth. Allow it to dry completely.
3. If your cooling solution includes a thermal pad or paste, apply it carefully to the CPU. For thermal paste, use a pea-sized amount and spread it evenly.
4. Position the cooling fan directly above the CPU. Most active cooling solutions come with mounting brackets or adhesive strips.
5. Secure the fan using the provided mounting hardware. Ensure it’s firmly attached but not overtightened, as this could damage your board.
6. Connect the fan’s power cables to the appropriate GPIO pins:
– Red wire to 5V power (Pin 2 or 4)
– Black wire to Ground (Pin 6, 9, 14, 20, 25, 30, 34, or 39)
7. Double-check all connections and ensure no components are loose.
8. If using a case, carefully reassemble it around your Pi and cooling solution.
9. Power up your Pi and verify the fan is spinning correctly.
For optimal performance, regularly clean your cooling system and check connections every few months.
Fan Control and Configuration
The Raspberry Pi 4’s fan control can be managed through several software solutions. The most popular method is using GPIO pins to control fan speed based on temperature thresholds. You can implement this using Python scripts or dedicated tools like argonone-config for Argon cases. A basic configuration typically activates the fan at 55°C and increases speed at 60°C, though these values are customizable.
For manual control, you can modify the /boot/config.txt file to set specific PWM frequencies and duty cycles. Many cooling cases come with their own software utilities, making setup straightforward. Remember to enable I2C in raspi-config if your cooling solution requires it. Regular temperature monitoring through commands like vcgencmd measure_temp helps verify your fan control settings are working effectively.
Maintenance and Troubleshooting
Regular maintenance of your Raspberry Pi 4’s active cooling system is essential for optimal performance and longevity. Start by checking the fan’s operation monthly, listening for unusual noises that might indicate bearing wear or debris accumulation. Clean the fan blades and heatsink every three months using compressed air, ensuring you follow safe power management practices by disconnecting power before maintenance.
If your cooling system isn’t performing as expected, first verify the fan’s connection to the GPIO pins. Loose or incorrect wiring is a common issue that’s easily fixed. Check that the fan speed control script is running correctly and hasn’t been disabled by system updates. For temperature monitoring issues, ensure the vcgencmd measure_temp command is working properly in the terminal.
Common problems and solutions include:
– Fan not spinning: Check power connections and GPIO pin configuration
– Excessive noise: Clean the fan assembly or check for loose mounting
– High temperatures despite active cooling: Verify thermal paste application and heatsink contact
– Erratic fan behavior: Update fan control scripts and check for software conflicts
Monitor your Pi’s temperature regularly using built-in tools or third-party applications. If temperatures consistently exceed 80°C despite active cooling, consider adjusting fan speed thresholds or upgrading to a more powerful cooling solution.
Keep your cooling system’s firmware and control software updated, as manufacturers often release improvements for efficiency and reliability. Document any maintenance performed and temperature patterns observed, which can help identify potential issues before they become critical problems.
Remember that dust accumulation is the primary enemy of any cooling system. Position your Raspberry Pi in a clean environment and consider using dust filters if operating in dusty conditions. Regular maintenance not only ensures optimal cooling performance but also extends the lifespan of both your cooling system and the Raspberry Pi itself.
Active cooling for the Raspberry Pi 4 is not just an optional upgrade but a necessary consideration for anyone looking to maximize their board’s performance and longevity. Throughout this guide, we’ve explored various active cooling solutions, from simple fan attachments to more sophisticated heatsink combinations, each offering unique benefits for different use cases.
The most effective approach combines a quality heatsink with a well-positioned fan, providing optimal thermal management even under heavy loads. For most users, a 40mm fan coupled with an aluminum heatsink offers the best balance between cooling performance and noise levels. This setup typically maintains temperatures below 60°C during intensive tasks, preventing thermal throttling and ensuring consistent performance.
When implementing your cooling solution, remember that proper installation is crucial. Always use high-quality thermal paste, ensure good contact between components, and maintain clean airflow paths. Regular maintenance, including dust removal and checking fan operation, will help maintain cooling efficiency over time.
For those building enclosed projects or running demanding applications, consider ICE Tower-style coolers or dual-fan configurations. While these solutions may be more expensive and take up more space, they provide superior cooling performance for high-stress scenarios.
Ultimately, the investment in active cooling for your Raspberry Pi 4 is minimal compared to the benefits of improved stability, enhanced performance, and extended hardware life. Choose a solution that matches your specific needs, and don’t hesitate to upgrade if your usage demands it.