

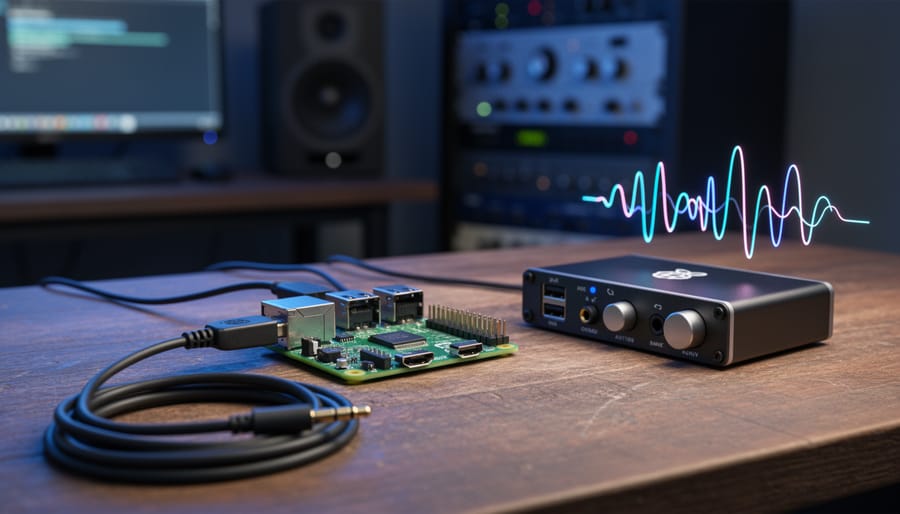
QSoundFX lets you trigger, layer, and randomize sound effects on a Raspberry Pi, and with a short Python script you can turn a handful of audio clips into ambient sound that keeps changing on its own. Expect about an hour of work, a beginner-friendly skill level, and one prerequisite: a Pi with working audio output, whether that’s the 3.5 mm jack, HDMI, or a USB sound card.
The method is simple. QSoundFX handles playback, while your script decides when each effect fires, how loud it is, and which ones overlap. Add a little randomness to those choices and the result never loops the same way twice. That’s the core idea behind algorithmic soundscapes where rules and chance replace a fixed playlist.
Below, you’ll see what QSoundFX actually is, what to gather before you start, and how to build the setup one step at a time. We’ll finish with a quick way to verify it’s working and some ideas for taking it further. If you’ve never touched audio on a Pi, don’t worry. Each step is explained in plain terms.
What QSoundFX Does and How It Fits Into Algorithmic Soundscapes
QSoundFX is Qt’s class for playing short sound effects with very little delay. You load a small WAV clip once, and it sits ready in memory, so a click, a drip, or a bird chirp starts the instant you call it. That low latency is exactly what you want when a script is firing many sounds on its own schedule.
An algorithmic soundscape is simply a set of rules that decide what plays. Instead of looping one track, your code picks which clip to trigger, waits a random interval, and nudges the volume up or down each time. A steady wind bed with an occasional owl hoot is a good example. Run it long enough and the pattern never quite repeats.
A Raspberry Pi suits this job well. It sips power, runs happily around the clock, and its GPIO pins let a button, motion sensor, or light sensor change the soundscape in real time. If you’ve already played with a music synth on the Pi, you’ll recognize the same logic of generating audio from code.
One limit to keep in mind: QSoundFX is built for short effects, not long streaming music. For full-length tracks, use a different player and let QSoundFX handle the accents on top.
What You’ll Need: Tools, Materials, and Software Setup
Choosing an Audio Output That Fits Your Project
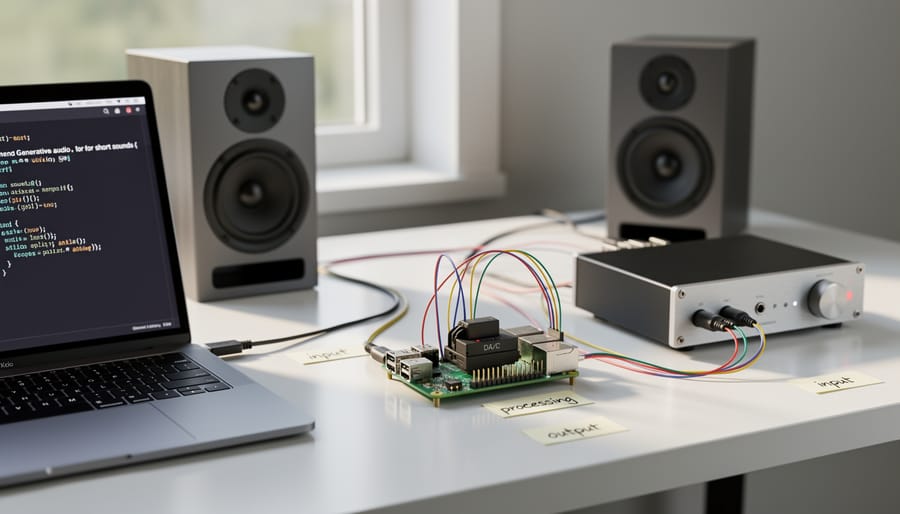
The right audio output depends on how much effort you want to spend and how good the sound needs to be. Here is how the four common routes compare.
– 3.5mm jack: The simplest option. Plug in powered speakers or headphones and go. The built-in output is fine for testing and casual ambient sound, though you may hear faint background noise at low volumes.
– HDMI: A good pick if the Pi is already connected to a monitor or TV. Audio quality is clean and digital, but you’re tied to that display being on.
– USB audio adapter: An inexpensive way to get cleaner sound than the onboard jack. It’s plug-and-play on Raspberry Pi OS and works well for always-on installations.
– DAC HAT: The best quality and the most flexible, with options for balanced outputs and better amplification. It costs more and takes a little extra setup.
For a first soundscape, I’d start with the 3.5mm jack or a cheap USB adapter, then upgrade only if you hear noise you don’t like. Short effects played through QSoundFX are forgiving, so you won’t need a premium setup to get good results.
If you’d like a closer look at the trade-offs, our [Raspberry Pi audio hardware comparison]() walks through the options side by side.
Before You Start: Safety, Volume, and Stop Conditions
Algorithms can stack several effects at once, so a quiet test run can suddenly turn loud. Turn the master volume down before you press play, and raise it a little at a time.
Power the Pi down fully before you connect anything to the GPIO header, since a stray wire on a live board can damage it. Use a quality power supply rated for your model, because a weak one causes crackling and random crashes. Never wire a speaker straight to a GPIO pin. The pins can’t drive speaker-level loads, so use the audio jack, a USB adapter, or a DAC HAT.
If your Pi is on a network, change the default password, keep the OS updated, and don’t expose any control interface to the internet. For a deeper walkthrough, see our guide to Raspberry Pi security and hardening.
Stop the project and power down if you notice any of these:
– Crackling, popping, or distorted audio that doesn’t clear up
– The board getting uncomfortably hot
– An undervoltage warning on screen or in the logs
– A runaway audio loop where sounds keep stacking up
Step-by-Step: Build Your First Algorithmic Soundscape With QSoundFX
Adding Rules: Randomness, Timing, and Layers
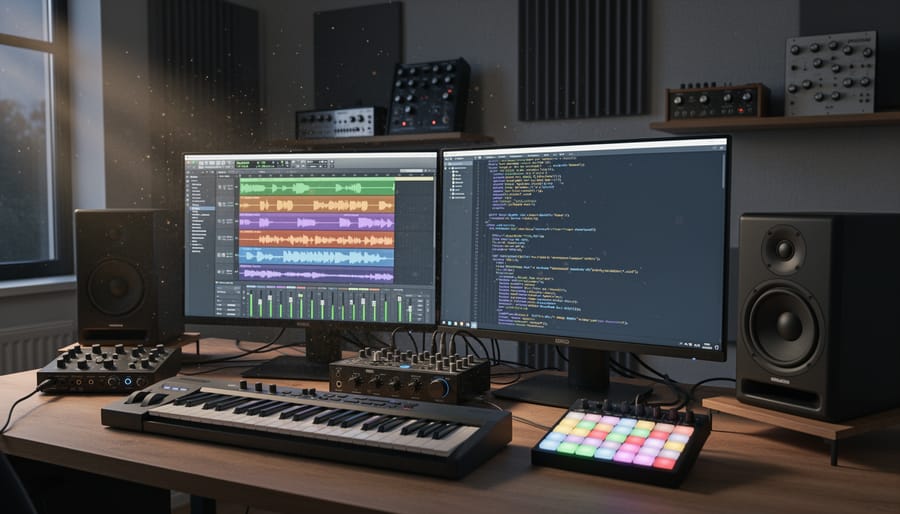
A single looping sound is just a player. Rules are what make it a soundscape. Start with random intervals: instead of firing a QSoundEffect on a fixed timer, pick a delay each cycle with something like `random.uniform(4, 20)` seconds. The gaps feel organic, and no two minutes sound alike.
Next, add weighted selection so some sounds are rarer. Python’s `random.choices(sounds, weights=[60, 30, 8, 2])` lets a quiet wind bed play constantly while a distant bird or creaking door shows up only occasionally. Those rare accents are what make a listener look up.
Then vary the volume slightly each time you play a clip. A small nudge, say `effect.setVolume(random.uniform(0.3, 0.6))`, stops repeats from sounding like copy-paste. Keep the upper limit modest while you test.
Finally, cap the layers. Track how many effects are playing (check `effect.isPlaying()`) and skip a trigger if you’re already at three or four. This is your best defense against the sudden loud pileups mentioned in the safety section.
Once those rules work, you can feed them real-world input. Let a motion sensor boost the odds of accent sounds, or shift the weights by time of day so mornings sound brighter than nights. That sensor-driven approach is the same idea behind interactive art projects, and it’s a natural next experiment.
Check That It Works and Fix Common Problems
Start with your ears. Run the soundscape for ten minutes at low volume and listen for gaps, sudden loud overlaps, or the same clip repeating too often. If a stack of effects clips, lower your per-effect volume or cap how many can play at once. Then open `htop` in another terminal and watch CPU use for a while. A healthy build stays flat rather than creeping upward. Finally, reboot the Pi and confirm everything behaves the same after a cold start.
If something’s off, work through the usual suspects:
– No sound: check the system volume in `alsamixer`, then confirm your script loaded the files (a wrong path fails quietly).
– Wrong output device: set the default in Raspberry Pi OS audio settings, or switch between 3.5mm, HDMI, and USB.
– Latency: keep clips short and uncompressed WAV, and load them before playback starts.
– Clicks or pops: trim silence at clip edges, add tiny fades, and use a solid power supply.
Why is there no sound?
Most often it’s the wrong output device or a muted mixer. Check `alsamixer` and your audio settings first, then verify the WAV file paths.
Can QSoundFX play MP3s?
QSoundFX is designed for short WAV clips, so convert MP3s to WAV for reliable low-latency playback.
Can I run this headless?
Yes. Connect over SSH and run your script without a screen, though you may need to set the audio output manually.
How do I start it at boot?
Use a systemd service or an autostart entry that launches your Python script after login.
Once it’s stable, try autostarting it on boot so it runs like an appliance. From there you could add GPIO sensors to influence the sounds, or build a themed installation. If you want visual controls, a graphical interface lets you tweak settings without editing code.
You now have a Raspberry Pi that plays layered sound effects on its own, using random timers, weighted choices, and overlap limits to keep the mix changing. Swap in your own WAV files, tweak the rules, and see what happens. A rainy-day set sounds very different from a forest dawn.
Ready for the next step? Try wiring a motion sensor with a Raspberry Pi GPIO sensor project, or compare options in our Raspberry Pi audio hardware guide. If this runs on a network, revisit Raspberry Pi security basics too.