


Transform your Raspberry Pi into a voice-controlled command center that automates your entire home with just a few affordable components and straightforward coding. By combining a USB microphone, the powerful Google Assistant API, and Python’s versatile libraries, you can create a system that controls lights, appliances, and smart devices through natural speech commands. Voice control represents the perfect fusion of Raspberry Pi’s flexibility and modern AI capabilities, enabling everything from simple task automation to complex multi-device orchestration.
The beauty of building a voice-controlled Raspberry Pi system lies in its endless customization possibilities – whether you’re looking to create a simple digital assistant for basic commands or develop a comprehensive home automation hub that rivals commercial solutions like Alexa or Google Home. This project not only serves as an excellent introduction to speech recognition technology but also provides hands-on experience with Linux systems, API integration, and Python programming.
In this guide, we’ll walk through the complete process of setting up voice control on your Raspberry Pi, from selecting the right hardware components to implementing advanced features like custom wake words and multi-room audio control. Let’s transform your Pi into an intelligent, voice-responsive system that makes home automation both practical and engaging.
Essential Hardware Components
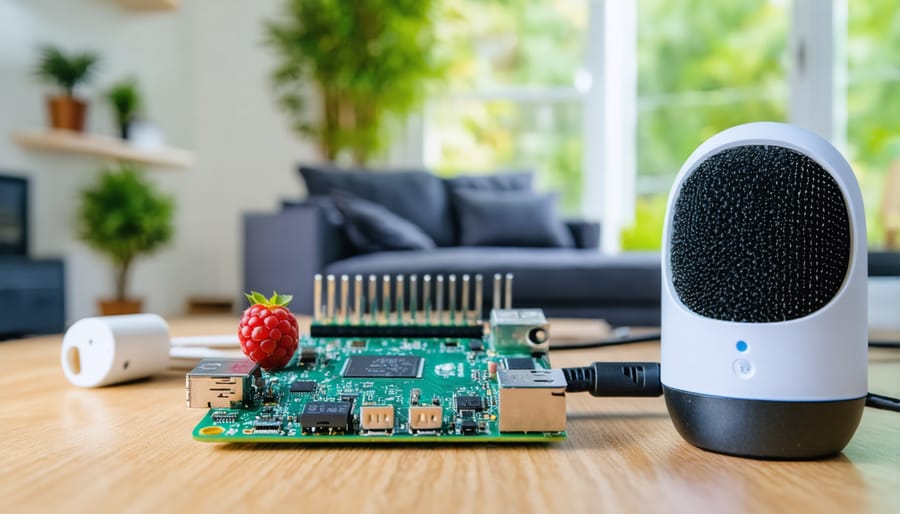
Choosing the Right Microphone
Selecting the right microphone is crucial for reliable voice recognition on your Raspberry Pi project. USB microphones are generally the most straightforward option, offering plug-and-play functionality and good audio quality. Look for models with built-in noise cancellation, which helps filter out background sounds that could interfere with voice commands.
For optimal results, consider USB boundary microphones or conference-style microphones, which are designed to capture voice clearly from multiple directions. Popular choices include the Blue Snowball ICE or the PlayStation Eye, both known for their compatibility with Raspberry Pi and excellent voice pickup.
If you’re working with a tighter budget, a standard USB lapel microphone can work well, especially in quieter environments. For more advanced projects, you might want to explore HAT-based microphone arrays, which offer superior noise cancellation and directional audio capture.
Avoid using analog microphones that require additional audio interfaces, as they can introduce complications and reduce reliability. Also, steer clear of wireless microphones unless absolutely necessary, as they may introduce latency or connection issues that could affect your voice control system’s responsiveness.
Compatible Smart Devices
The Raspberry Pi’s versatility shines when paired with various smart home devices, making it an excellent hub for voice-controlled automation. Popular compatible devices include Z-Wave smart bulbs and other lighting solutions that can be easily integrated through GPIO pins or wireless protocols. Smart switches and plugs from brands like TP-Link and Sonoff work seamlessly with the Pi, allowing voice control over various household appliances.
For environmental monitoring, sensors like DHT11/DHT22 (temperature and humidity) and motion detectors can be connected directly to the Pi’s GPIO pins. Smart speakers and microphones, such as the ReSpeaker or Matrix Voice, enhance voice recognition capabilities. Security cameras like the Raspberry Pi Camera Module or compatible USB webcams can be incorporated for voice-activated surveillance.
Home entertainment devices, including IR-controlled TVs and audio systems, can be managed through an IR transmitter connected to the Pi. Smart blinds, fans, and even DIY automated pet feeders can be controlled through voice commands when properly configured with relay modules and appropriate hardware interfaces.
Setting Up Your Voice Recognition System
Software Installation
Before diving into voice control functionality, we’ll need to install several essential software packages on your Raspberry Pi. Start by ensuring your system is up to date by running the following commands in the terminal:
sudo apt-get update
sudo apt-get upgrade
Next, install the required dependencies for voice recognition. The primary packages we’ll use are SpeechRecognition and PyAudio. Open terminal and enter:
sudo apt-get install python3-pip
sudo apt-get install python3-pyaudio
pip3 install SpeechRecognition
For better voice recognition accuracy, we’ll also need PocketSphinx for offline processing:
sudo apt-get install python3-sphinxbase
sudo apt-get install python3-sphinx
pip3 install pocketsphinx
To handle audio input properly, install the following additional packages:
sudo apt-get install portaudio19-dev
sudo apt-get install flac
Once these installations are complete, verify everything is working by running a quick test:
python3
>>> import speech_recognition as sr
>>> sr.Recognizer()
If no errors appear, your software installation is successful. Remember to reboot your Raspberry Pi after installing all packages:
sudo reboot
This setup provides the foundation for both online and offline voice recognition capabilities, allowing you to proceed with configuring your voice control system.
Voice Assistant Configuration
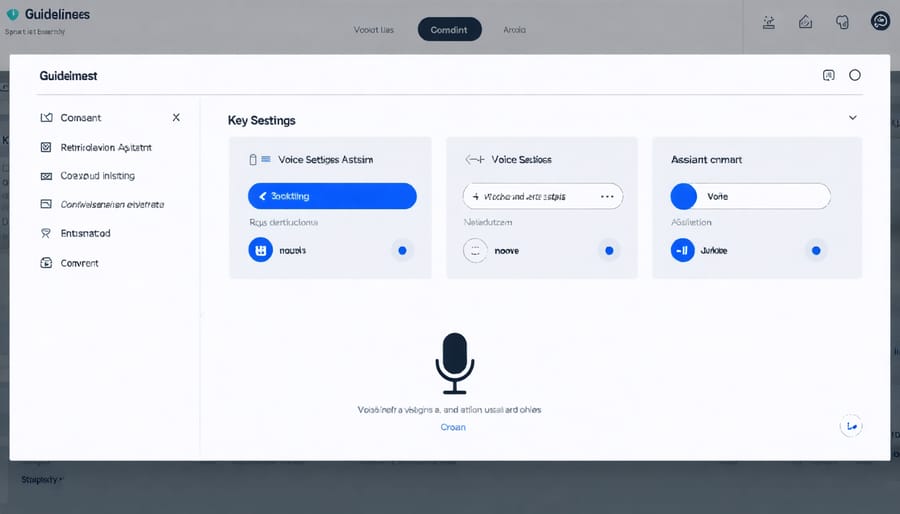
Once you’ve installed your preferred voice assistant software, it’s time to fine-tune the configuration for optimal performance. Start by accessing the configuration files, typically located in the home directory of your Raspberry Pi. For most voice assistants, you’ll need to set up wake words – the specific phrases that activate your assistant. Common choices include “Hey Pi” or “Computer,” but you can customize these to your preference.
Configure your audio input and output devices by editing the audio settings. Ensure your microphone is set as the default input device and your speakers or audio output are properly configured. You may need to adjust the input sensitivity and noise cancellation settings for better voice recognition in your specific environment.
Next, set up your assistant’s response behavior. This includes choosing the voice type, speech rate, and volume levels. Many voice assistants offer multiple language options – select your preferred language and accent for both input recognition and output speech.
For enhanced functionality, configure action triggers and custom commands. These are specific phrases that trigger predetermined actions, like controlling smart home devices or executing scripts. Create a list of custom commands that align with your project’s goals, whether it’s home automation, information queries, or system control.
Remember to test your configuration thoroughly in different conditions and adjust settings as needed for optimal performance.
Creating Custom Voice Commands
Creating custom voice commands for your Raspberry Pi involves working with speech recognition libraries and defining your own command patterns. Start by creating a Python script that utilizes the SpeechRecognition library along with a custom dictionary of commands and their corresponding actions.
Here’s a basic structure for implementing custom commands:
“`python
def process_command(command):
if “turn on lights” in command:
control_lights(“on”)
elif “play music” in command:
start_music_player()
“`
You can expand this framework by adding regular expressions for more flexible command matching. For example, “turn {device} {state}” can match multiple variations like “turn lights off” or “turn fan on.”
To make your commands more reliable, consider these best practices:
– Use phonetically distinct command phrases
– Include alternative trigger words
– Implement confirmation feedback
– Add error handling for misheard commands
Store your commands in a configuration file for easy updates:
“`python
commands = {
“lights”: {
“triggers”: [“lights”, “lamp”, “switch”],
“actions”: [“on”, “off”, “dim”]
}
}
“`
Test your commands thoroughly in different environments and speaking volumes. Remember to account for background noise and accent variations by training your system with multiple voice samples if possible.
For complex actions, create separate functions that can be called by your command processor, keeping your code organized and maintainable.
Connecting Smart Devices
Smart Lights Integration
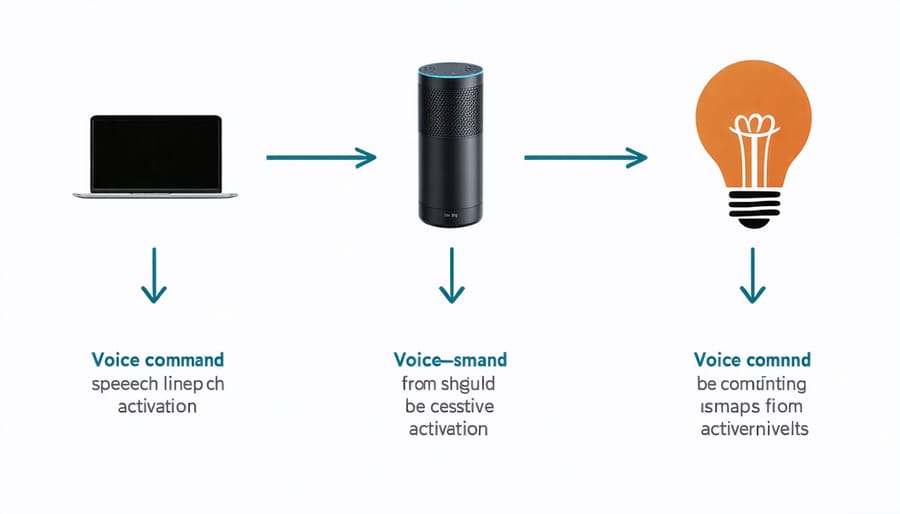
Integrating smart lights with your Raspberry Pi voice control system opens up exciting possibilities for power-saving lighting automation. To get started, you’ll need compatible smart bulbs or switches that support common protocols like Zigbee, Z-Wave, or WiFi. Popular options include Philips Hue, LIFX, or TP-Link smart bulbs.
Begin by installing the necessary libraries on your Raspberry Pi. For WiFi-based bulbs, you can use the ‘python-kasa’ library for TP-Link devices or ‘phue’ for Philips Hue. If you’re using Zigbee devices, install ‘zigbee2mqtt’ along with a compatible USB coordinator.
Create voice commands that map to specific lighting functions:
– “Turn on/off [room] lights”
– “Dim lights to [percentage]”
– “Set [room] lights to [color]”
– “Activate evening mode”
Configure your voice assistant to trigger these commands through simple Python scripts. Here’s a basic example:
“`python
if command == “turn on lights”:
smart_bulb.turn_on()
elif command == “dim lights”:
smart_bulb.set_brightness(50)
“`
Remember to implement error handling for network connectivity issues and device timeouts. For complex setups involving multiple rooms or scenes, consider creating a configuration file to manage your lighting zones and preferences efficiently.
Temperature Control
Integrating temperature control into your voice-controlled Raspberry Pi system opens up exciting possibilities for smart climate management. By connecting compatible smart thermostats like Nest or Ecobee, or using DIY temperature sensors, you can create a responsive climate control system that responds to voice commands.
To get started, you’ll need a compatible temperature sensor such as the DHT22 or DS18B20, which can be connected directly to your Raspberry Pi’s GPIO pins. For basic temperature monitoring, connect the sensor’s data pin to GPIO4, and ensure proper power and ground connections. Install the required Python libraries (Adafruit_DHT for DHT sensors) to read temperature data.
For more advanced control, integrate smart thermostats using their respective APIs. Most modern smart thermostats offer REST APIs that can be easily implemented in Python. Create voice commands like “set temperature to 72 degrees” or “what’s the current temperature?” using your chosen voice recognition system.
Here’s a basic setup sequence:
1. Install and configure your temperature sensor or smart thermostat
2. Write Python scripts to interface with the device
3. Create voice command triggers for temperature adjustments
4. Implement feedback responses for temperature queries
For safety, always include temperature limits in your code and implement confirmation dialogues for significant temperature changes. Consider adding scheduling capabilities to automate temperature adjustments based on time of day or voice-activated routines.
Remember to position sensors away from heat sources and direct sunlight for accurate readings. For whole-home systems, you might need multiple sensors to ensure even temperature control across different rooms.
Troubleshooting and Optimization
Voice Recognition Issues
Voice recognition on Raspberry Pi projects can sometimes be challenging, but most common issues have straightforward solutions. If your system isn’t responding to voice commands, first check your microphone’s physical connection and ensure it’s properly configured in your Raspberry Pi’s audio settings. Background noise can significantly impact recognition accuracy, so consider using a noise-canceling microphone or repositioning your setup away from noise sources.
For users experiencing poor recognition rates, adjusting the microphone sensitivity and threshold levels can make a substantial difference. Many voice recognition libraries allow you to fine-tune these parameters in their configuration files. Training your system with samples of your voice in different conditions can also improve accuracy.
Network connectivity issues often affect cloud-based voice recognition services like Google Speech-to-Text or Amazon Alexa. Ensure your Raspberry Pi has a stable internet connection and sufficient bandwidth. For offline solutions, local speech recognition engines like PocketSphinx might require additional language models or acoustic training to perform optimally.
Memory usage can impact voice recognition performance, especially on older Raspberry Pi models. Monitor your system resources and consider closing unnecessary processes. If you’re using Python-based voice recognition libraries, implementing proper exception handling and buffer clearing can prevent memory leaks and system crashes.
Remember to regularly update your voice recognition software and associated libraries to benefit from the latest improvements and bug fixes. Many recognition issues can be resolved simply by updating to the most recent versions of your chosen voice control solution.
Performance Optimization
To ensure your voice-controlled Raspberry Pi system runs smoothly, implementing key optimization strategies is essential. Start by adjusting the microphone sensitivity settings to match your room’s acoustics, reducing false activations while maintaining reliable response rates. Consider using a dedicated USB microphone instead of GPIO-based solutions for better audio quality and reduced system load.
Memory management plays a crucial role in system performance. Limit background processes and implement proper cleanup routines for voice processing tasks. Setting up a RAM disk for temporary audio files can significantly improve processing speed and reduce SD card wear.
For enhanced voice recognition accuracy, maintain a clean wake word database and regularly update your voice models. Consider implementing local processing for basic commands while reserving cloud-based solutions for more complex queries. This hybrid approach balances responsiveness with functionality, especially useful for lighting control optimization and other home automation tasks.
Monitor CPU temperature and implement throttling protection if needed. Using a small cooling fan or heat sinks can prevent performance degradation during extended use. Additionally, scheduling regular system maintenance tasks during low-usage periods helps maintain consistent performance over time.
Finally, implement error handling and recovery procedures to ensure your system remains stable even when voice commands aren’t perfectly understood. This creates a more reliable and user-friendly experience.
Implementing voice control on your Raspberry Pi opens up endless possibilities for home automation and innovative projects. By combining affordable hardware with powerful voice recognition technologies, you can create sophisticated control systems that enhance daily life. The flexibility of this setup allows for continuous expansion, whether you’re interested in adding more smart devices, implementing advanced voice commands, or integrating with existing home automation platforms. Future enhancements could include natural language processing improvements, multi-language support, and integration with AI assistants for more complex interactions. As voice control technology continues to evolve, your Raspberry Pi-based system can grow alongside it, making it a worthwhile investment for both learning and practical applications. The skills and knowledge gained from this project provide a solid foundation for more advanced IoT and automation projects.