

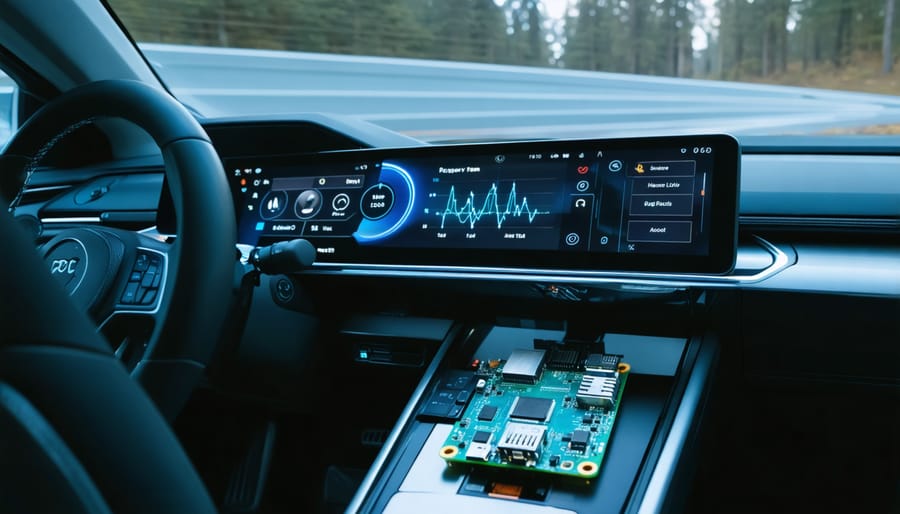
Transform your vehicle into a smart diagnostic powerhouse by connecting your Raspberry Pi to its OBD-II port. This powerful combination unlocks real-time engine data, performance metrics, and diagnostic capabilities previously reserved for professional mechanics. Armed with just a Raspberry Pi, an ELM327 adapter, and basic Python knowledge, you’ll gain direct access to your car’s vital signs – from engine RPM and fuel efficiency to trouble codes and emissions data.
Modern vehicles generate massive amounts of data through their OBD-II systems, and the Raspberry Pi serves as the perfect platform to capture, analyze, and visualize this information. Whether you’re a hobbyist mechanic looking to monitor engine performance, a data enthusiast interested in logging vehicle metrics, or simply want to decode that pesky check engine light, this Raspberry Pi project opens up endless possibilities for vehicle diagnostics and analysis.
This guide will walk you through setting up your own OBD-II monitoring system, from selecting the right hardware components to installing essential software libraries and creating your first diagnostic scripts. Get ready to tap into your car’s hidden data stream and join the growing community of DIY automotive diagnostics enthusiasts.
Hardware Requirements and Setup
Required Components
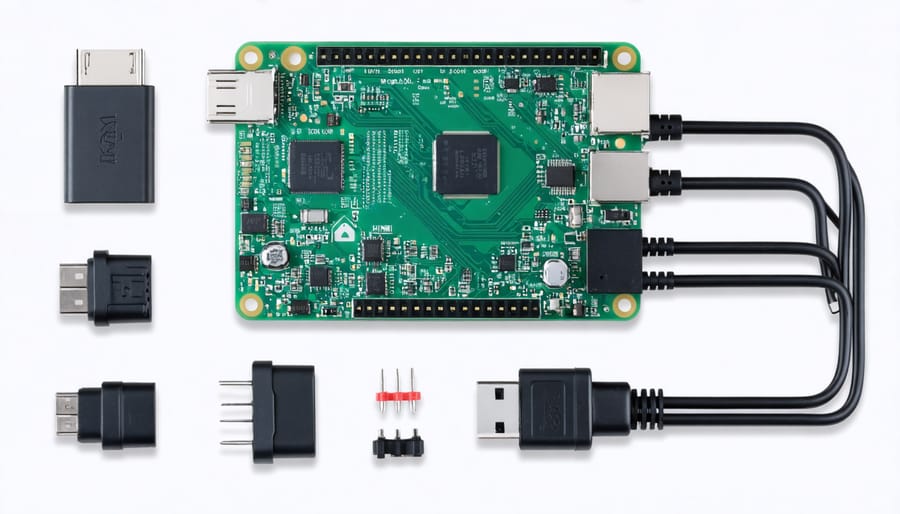
To build your OBD-II Raspberry Pi diagnostic system, you’ll need several key components. First, ensure you have a compatible Raspberry Pi model – the Pi 4 Model B is recommended for optimal performance, though Pi 3B+ also works well. When considering Raspberry Pi compatibility, newer models offer better processing power for real-time data analysis.
Essential components include:
– OBD-II to USB adapter (ELM327-based recommended)
– USB to TTL converter
– 16GB or larger microSD card
– 5V/3A power supply
– Display (7-inch official Raspberry Pi touchscreen suggested)
– Case for protection
Optional but recommended components:
– GPS module for location tracking
– Temperature sensor
– Accelerometer
– Battery backup system
– WiFi/Bluetooth adapter (if not built-in)
– Extended-length OBD-II cable
Remember to choose quality components from reputable manufacturers to ensure reliable performance and accurate readings from your vehicle’s diagnostic system.
Physical Connection Setup
Connect your OBD-II adapter to your Raspberry Pi by following these straightforward steps:
1. Locate your vehicle’s OBD-II port, typically found under the dashboard on the driver’s side. This 16-pin diagnostic port is standard in all vehicles manufactured after 1996.
2. Power up your Raspberry Pi and ensure it’s running the latest operating system. Connect your OBD-II adapter to the Raspberry Pi:
– For USB adapters: Simply plug it into any available USB port on your Pi
– For Bluetooth adapters: Power on the adapter and pair it with your Pi through the Bluetooth settings
– For WiFi adapters: Connect the adapter to your Pi’s network through the wireless settings
3. Plug the OBD-II adapter into your vehicle’s port. The adapter’s LED indicator should light up, confirming a successful connection.
4. Verify the connection by checking your Pi’s device manager:
– For USB: Run ‘lsusb’ in terminal
– For Bluetooth: Use ‘bluetoothctl devices’
– For WiFi: Check ‘iwconfig’
Once connected, your Raspberry Pi is ready to communicate with your vehicle’s ECU and gather diagnostic data.
Software Configuration
Operating System Preparation
Begin by downloading the latest version of Raspberry Pi OS (formerly Raspbian) from the official Raspberry Pi website. The Lite version is sufficient for this project, though you can use the Desktop version if you prefer a graphical interface. After flashing the OS to your microSD card using tools like Balena Etcher, boot up your Raspberry Pi and perform the initial setup.
Once your system is running, update it by opening the terminal and running:
“`
sudo apt-get update
sudo apt-get upgrade
“`
Next, install the necessary dependencies for OBD-II communication:
“`
sudo apt-get install python3-pip bluetooth bluez-tools
sudo pip3 install obd
“`
Enable the serial interface by accessing the Raspberry Pi configuration tool:
“`
sudo raspi-config
“`
Navigate to “Interface Options” and enable both “Serial Port” and “I2C.” These interfaces are crucial for communicating with your OBD-II adapter.
Finally, reboot your Raspberry Pi to apply all changes:
“`
sudo reboot
“`
Your Raspberry Pi is now prepared for OBD-II communication. The next step will be connecting your OBD-II adapter and configuring the communication settings.
OBD-II Software Installation
To get your Raspberry Pi communicating with your vehicle’s OBD-II system, you’ll need to install and configure the appropriate software. Start by opening the terminal and updating your system:
“`
sudo apt-get update
sudo apt-get upgrade
“`
Next, install the primary dependencies:
“`
sudo apt-get install python3-pip
sudo pip3 install obd
sudo pip3 install pyserial
“`
The ‘python-obd’ library is essential for configuring data communication protocols between your Raspberry Pi and the OBD-II adapter. After installation, verify the connection by running:
“`
sudo python3
import obd
obd.scan_serial()
“`
This command should list available OBD ports. If your adapter isn’t detected, check your USB connection and ensure it’s properly seated. You might need to modify permissions to access the serial port:
“`
sudo usermod -a -G dialout pi
“`
Remember to reboot your Raspberry Pi after making these changes. To test the complete setup, create a simple Python script:
“`
connection = obd.OBD()
if connection.is_connected():
print(“Successfully connected to vehicle”)
“`
This basic configuration will enable your Raspberry Pi to communicate with your vehicle’s OBD-II port, setting the foundation for more advanced diagnostics and monitoring applications.
Configuring Data Logging
Once your Raspberry Pi is connected to your vehicle’s OBD-II port, you’ll need to set up proper data logging to capture and store the diagnostic information. Start by installing a SQLite database to efficiently store your vehicle data. Create a new database using the command ‘sqlite3 car_data.db’ in your terminal.
Configure your Python script to collect specific parameters like engine RPM, vehicle speed, and temperature readings. Here’s a basic structure for your logging setup:
“`python
import sqlite3
import time
def log_data(pid, value):
conn = sqlite3.connect(‘car_data.db’)
cursor = conn.cursor()
cursor.execute(“INSERT INTO readings (timestamp, pid, value) VALUES (?, ?, ?)”,
(time.time(), pid, value))
conn.commit()
conn.close()
“`
Consider implementing a rotating log system to prevent your storage from filling up. You can use the ‘logrotate’ utility on Raspberry Pi to automatically archive old data files. Set up periodic data exports to CSV format for easy analysis in spreadsheet applications.
For real-time monitoring, configure your script to save critical parameters more frequently while logging less important data at longer intervals. This approach helps balance storage usage with data accuracy.
Advanced Features and Customization
Real-time Data Monitoring
Once your OBD-II adapter is connected and configured, you can begin real-time data monitoring from your vehicle. Using Python libraries like python-OBD, you can fetch and display various parameters including engine RPM, vehicle speed, coolant temperature, and throttle position.
Start by creating a simple Python script that continuously polls your vehicle’s ECU for data. Here’s what you’ll need to monitor:
1. Initialize the connection to your OBD-II adapter
2. Define which parameters you want to track
3. Set up a display interface (LCD screen or web dashboard)
4. Create a logging system for data storage
You can use libraries like Tkinter or PyQt for creating a graphical interface, or Flask for a web-based dashboard. For beginners, we recommend starting with basic console output before moving to more complex displays.
Consider implementing a refresh rate of 1-2 seconds to avoid overwhelming your vehicle’s ECU while maintaining responsive updates. You can also set up warning thresholds for critical parameters like engine temperature or RPM, triggering alerts when values exceed safe ranges.
Remember to include error handling in your code to manage connection drops or invalid data readings. This ensures your monitoring system remains stable and reliable during extended use.
Custom Sensor Integration
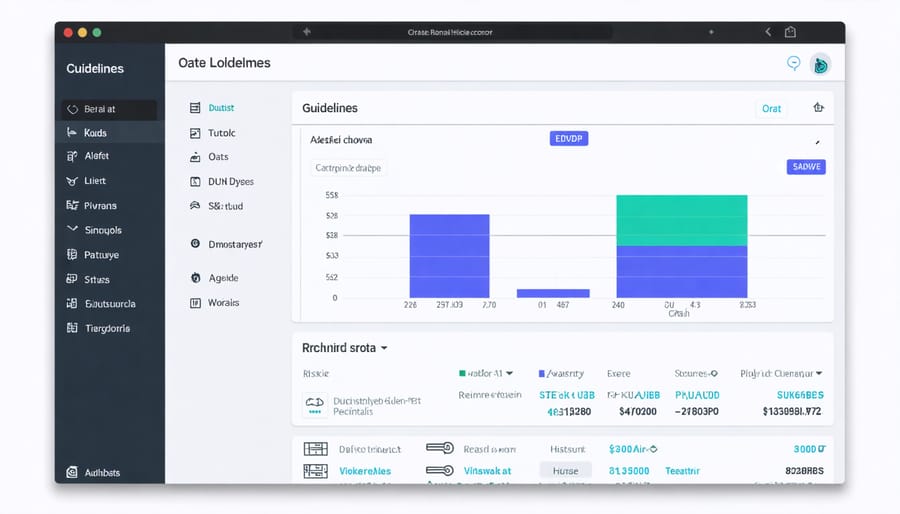
The power of an OBD-II Raspberry Pi setup can be significantly enhanced through sensor integration with additional data sources. By combining the OBD-II data with external sensors, you can create a more comprehensive vehicle monitoring system.
Popular sensor additions include GPS modules for tracking location and speed, accelerometers for measuring g-forces and vehicle dynamics, and temperature sensors for monitoring both engine and ambient conditions. These can be connected to the Raspberry Pi’s GPIO pins and integrated into your existing OBD-II monitoring setup.
To combine multiple data streams, you’ll need to modify your Python script to handle concurrent sensor readings. Using libraries like threading or asyncio helps manage simultaneous data collection without performance bottlenecks. For example, you can log GPS coordinates alongside engine RPM and throttle position to create detailed performance maps.
Consider adding environmental sensors like air quality monitors or humidity sensors to correlate engine performance with atmospheric conditions. The I2C and SPI interfaces on the Raspberry Pi make it easy to connect multiple sensors simultaneously.
Remember to properly power your additional sensors, either through the Raspberry Pi’s power pins or with a separate power distribution board for more demanding setups. This ensures stable operation and reliable data collection across all your sensors.
Creating Custom Alerts
One of the most powerful features of combining OBD-II with Raspberry Pi is the ability to create custom alerts that notify you about specific vehicle conditions. Using Python scripts, you can set up automated warnings for various parameters like engine temperature, RPM thresholds, or diagnostic trouble codes (DTCs).
To create basic alerts, start by defining threshold values in your monitoring script. For example, you can set up temperature warnings:
“`python
if engine_temp > 220:
send_notification(“Engine temperature critical!”)
“`
Notifications can be delivered through multiple channels. Email alerts are popular and easy to implement using Python’s SMTP library. For real-time notifications, consider using platforms like Pushbullet or Telegram. You can also set up SMS alerts using services like Twilio.
For more sophisticated monitoring, implement multi-level alerts:
– Warning level: First notification when approaching threshold
– Critical level: Urgent notification when exceeding safe limits
– Recovery notification: Alert when values return to normal
Don’t forget to include logging functionality to track alert history. This helps identify patterns and potential recurring issues. Consider setting up a simple database to store alert data, which can be useful for future analysis and maintenance planning.
Remember to test your alert system thoroughly while the vehicle is stationary to avoid unnecessary distractions while driving. Start with conservative threshold values and adjust based on your vehicle’s normal operating parameters.
Troubleshooting and Optimization
Common Issues and Solutions
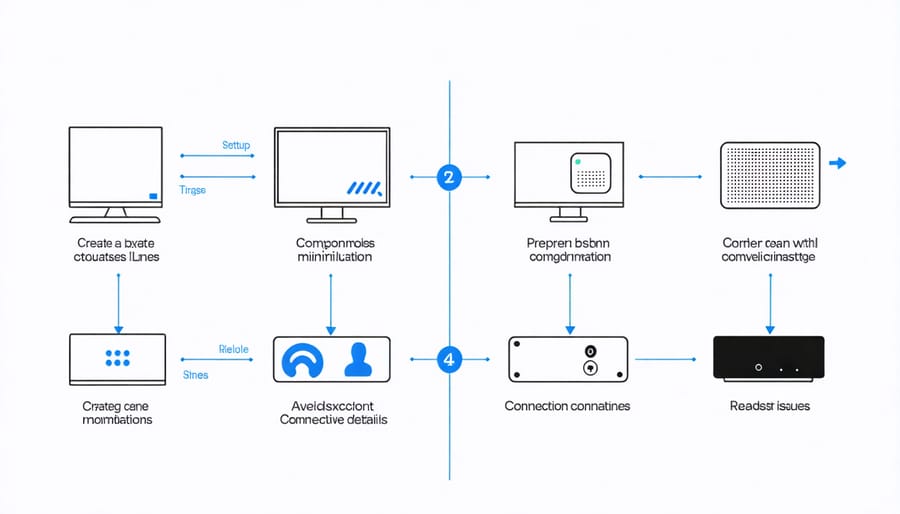
When setting up your OBD-II Raspberry Pi system, you might encounter several common issues. Connection problems often arise due to incorrect ELM327 adapter settings or incompatible baud rates. To resolve this, double-check your adapter’s configuration and try different baud rate settings in your software setup.
Power supply issues can cause intermittent connections or system crashes. Ensure your Raspberry Pi receives stable power through a reliable 5V power supply rated at least 2.5A. For vehicle installations, consider using a dedicated 12V to 5V converter to prevent power fluctuations.
Software compatibility problems typically occur with newer vehicle models or certain OBD-II protocols. Keep your software libraries updated and verify your vehicle’s OBD-II protocol compatibility before starting. If you experience data reading errors, try reconnecting the adapter or clearing the vehicle’s DTCs (Diagnostic Trouble Codes).
Bluetooth connectivity issues are common with wireless adapters. To fix these, ensure your Bluetooth adapter is properly paired and try reducing interference from other devices. For Wi-Fi adapters, check your network settings and firewall configurations that might block communication.
Performance Optimization
To optimize your OBD-II Raspberry Pi setup, start by using a powered USB hub to ensure stable communication between your Pi and the OBD-II adapter. This prevents data loss and connection drops during monitoring sessions. Configure your Pi to run in headless mode when possible, reducing system resource usage and improving overall performance.
Consider implementing data caching mechanisms to store frequently accessed vehicle information locally. This reduces the number of queries sent to the car’s ECU and speeds up data retrieval. Set up a reasonable polling rate for sensor data – updating too frequently can overwhelm both the Pi and the vehicle’s systems, while updating too slowly might miss important changes.
For logging applications, use efficient data storage formats like SQLite or CSV files with appropriate indexing. Enable disk write caching but remember to implement proper shutdown procedures to prevent data corruption. If you’re running a web interface, optimize your code by minimizing JavaScript execution and implementing client-side caching.
Regularly monitor your Pi’s CPU temperature and throttling status, especially in hot engine bays. Consider adding a small cooling fan or heat sinks if necessary. Finally, perform periodic maintenance by clearing old log files and optimizing your database to maintain consistent performance over time.
The combination of Raspberry Pi and OBD-II technology opens up a world of possibilities for automotive enthusiasts and DIY mechanics. This affordable and versatile setup enables real-time vehicle monitoring, custom dashboard creation, and advanced diagnostics capabilities that were once limited to professional tools. Whether you’re tracking your vehicle’s performance, monitoring fuel efficiency, or developing innovative automotive applications, the OBD-II Raspberry Pi system provides a powerful platform for experimentation and practical implementation. The modular nature of this setup allows for continuous expansion and customization, making it an excellent choice for both educational purposes and serious automotive projects. As the automotive industry continues to evolve, this DIY solution remains relevant and adaptable, offering a perfect balance of functionality, affordability, and learning opportunities for tech enthusiasts of all skill levels.