


Transform your Raspberry Pi into a powerful network hub by deploying it as a UniFi Controller for your Ubiquiti network infrastructure. Install the UniFi Controller software using a one-line installation script, configure your Pi with a static IP address, and manage your entire Ubiquiti ecosystem from a single, energy-efficient device. This cost-effective solution eliminates the need for expensive cloud keys or dedicated hardware controllers while providing enterprise-grade network management capabilities at a fraction of the cost.
The combination of Raspberry Pi’s reliability and UniFi’s robust management interface creates a perfect bridge between DIY networking and professional-grade infrastructure. Advanced users can further enhance their setup with automatic backups, SSL certificates, and custom monitoring solutions, while beginners benefit from the straightforward web-based interface and extensive community support.
Why Choose Raspberry Pi for Ubiquiti Network Management
Cost Benefits Analysis
When comparing a Raspberry Pi-based UniFi Controller to traditional network controllers, the cost savings are significant. A complete Raspberry Pi setup, including the board, power supply, and SD card, typically costs between $50-75, while Ubiquiti’s dedicated Cloud Key starts at $199. This represents a potential saving of over $120 for network administrators.
Beyond initial hardware costs, the Raspberry Pi solution offers flexibility in terms of storage expansion and system customization. Users can easily upgrade SD card capacity or attach external storage without purchasing proprietary hardware. Power consumption is another advantage, with the Raspberry Pi consuming roughly 2.5W during normal operation, compared to the Cloud Key’s 5W usage.
However, it’s important to consider that the DIY approach requires more technical knowledge and time investment for setup and maintenance. The Cloud Key provides a plug-and-play solution with official support, while the Raspberry Pi setup demands basic Linux skills and occasional troubleshooting. For tech-savvy users or those managing small to medium networks, the cost benefits of the Raspberry Pi solution often outweigh these considerations, especially when factoring in the potential for using the Pi for additional network tasks alongside the UniFi Controller.

Performance Capabilities
The Raspberry Pi, particularly models 3B+ and 4, demonstrates impressive capabilities when running the UniFi Controller software. With 1GB to 8GB of RAM depending on the model, these devices can comfortably handle networks with up to 50 devices and manage basic to moderate UniFi deployments. The Pi 4’s quad-core processor efficiently handles tasks like device adoption, configuration management, and statistics gathering without significant lag.
Performance testing shows that the UniFi Controller typically uses between 300-500MB of RAM during normal operation, leaving ample headroom for other processes. Boot times average around 2-3 minutes, and the web interface remains responsive even when managing multiple access points and switches. However, users should note that larger deployments with heavy analytics or extensive logging might experience slight delays in dashboard updates.
For optimal performance, running the controller on a Pi 4 with at least 2GB RAM is recommended. The system can maintain stable operation 24/7, with proper cooling and power supply considerations. While not as powerful as dedicated hardware, the Raspberry Pi proves to be a cost-effective and reliable platform for home and small business UniFi network management.
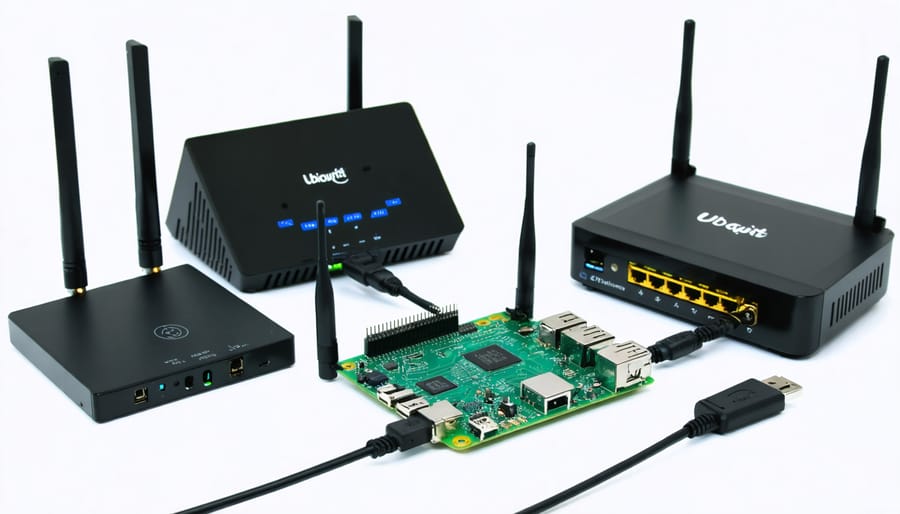
Hardware Requirements and Setup
Recommended Raspberry Pi Models
For optimal performance of your UniFi Controller, we recommend using either the Raspberry Pi 4 Model B (4GB or 8GB RAM variants) or the Raspberry Pi 3 Model B+. These models offer the best balance of processing power and reliability for running Ubiquiti’s controller software. The Pi 4’s improved Ethernet connectivity options and faster CPU make it particularly well-suited for managing larger networks.
While the 2GB version of the Pi 4 can run the controller, we suggest opting for at least 4GB RAM to ensure smooth operation, especially if you’re managing multiple devices or plan to run additional services. The Pi 3 Model B+ remains a viable budget-friendly option for smaller networks with fewer devices.
Avoid using older Pi models like the Pi 2 or original Pi 3, as they lack the processing power needed for newer UniFi Controller versions. Also, steer clear of the Pi Zero series, as they don’t provide adequate performance for this application.
Storage and Memory Considerations
When setting up a Raspberry Pi as a UniFi Controller, proper storage and memory allocation are crucial for smooth operation. For storage, a minimum of 32GB microSD card is recommended, though opting for a 64GB or larger card provides better long-term performance and more space for system logs and backups. Choose a high-quality microSD card with good read/write speeds (Class 10 or UHS-I) to prevent bottlenecks in system performance.
For optimal performance, use a Raspberry Pi model with at least 2GB of RAM. While the UniFi Controller can run on 1GB RAM models, you may experience sluggish performance when managing multiple devices or accessing the interface. The Raspberry Pi 4 with 4GB or 8GB RAM provides the best experience, especially when running additional services alongside the UniFi Controller.
Consider implementing a swap file of 2GB to provide additional virtual memory, though this should not be relied upon as a substitute for adequate RAM. For enhanced reliability and longevity, you might want to boot from a USB SSD instead of a microSD card. This setup offers faster read/write speeds and better durability, particularly important for write-intensive operations like logging and database updates.
Remember to regularly backup your UniFi Controller configuration and maintain at least 25% free storage space to prevent performance degradation. Implementing log rotation and periodic cleanup of old backups helps manage storage usage effectively over time.
Software Installation and Configuration
Operating System Setup
To begin setting up your Raspberry Pi for use with Ubiquiti’s UniFi Controller, you’ll need to start with a clean installation of Raspberry Pi OS (formerly known as Raspbian). While there are several operating system choices available, Raspberry Pi OS is the most stable and well-supported option for this project.
Download the latest version of Raspberry Pi OS Lite (64-bit) from the official Raspberry Pi website. The Lite version is preferred as we don’t need a desktop environment for running the UniFi Controller. Using the Raspberry Pi Imager tool, flash the OS onto your microSD card. This tool makes the process straightforward and includes helpful options like enabling SSH and setting up Wi-Fi credentials during the initial configuration.
Before removing the microSD card from your computer, create an empty file named ‘ssh’ (without any extension) in the boot partition. This enables SSH access to your Pi right from the first boot. If you’re not using ethernet, you’ll also need to configure your wireless network settings by creating a ‘wpa_supplicant.conf’ file in the same location.
Insert the microSD card into your Raspberry Pi, connect it to power and network, and wait a few minutes for the initial boot process to complete. You can then access your Pi via SSH using the default credentials (username: pi, password: raspberry). Remember to change these default credentials immediately for security purposes.
UniFi Controller Installation
Installing the UniFi Controller on your Raspberry Pi requires several steps, but we’ll walk through them systematically. First, ensure your Pi is running the latest version of Raspberry Pi OS and open a terminal window.
Begin by updating your system:
“`
sudo apt-get update && sudo apt-get upgrade -y
“`
Next, install the required dependencies:
“`
sudo apt-get install ca-certificates apt-transport-https
“`
Add the Ubiquiti repository to your sources:
“`
echo ‘deb https://www.ui.com/downloads/unifi/debian stable ubiquiti’ | sudo tee /etc/apt/sources.list.d/100-ubnt-unifi.list
“`
Import the Ubiquiti GPG key:
“`
sudo wget -O /etc/apt/trusted.gpg.d/unifi-repo.gpg https://dl.ui.com/unifi/unifi-repo.gpg
“`
Update your package list again and install the UniFi Controller:
“`
sudo apt-get update
sudo apt-get install unifi -y
“`
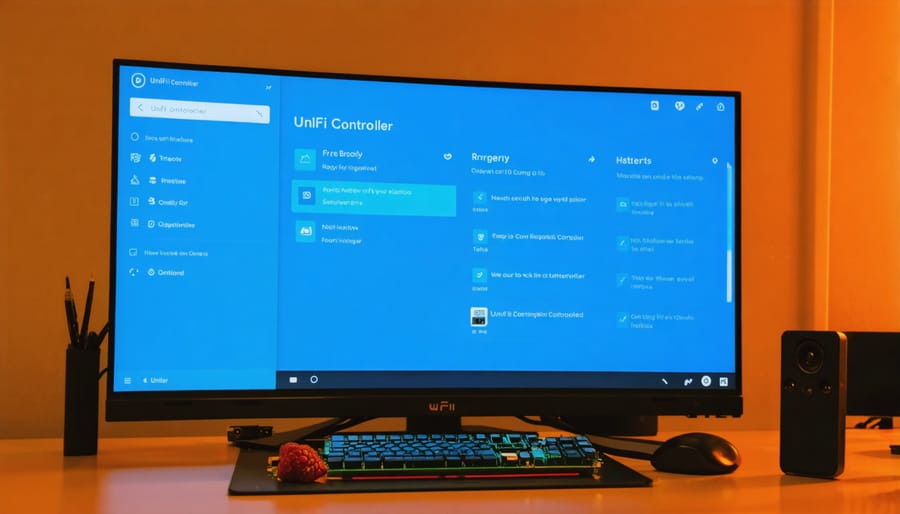
The installation process may take several minutes. Once complete, the UniFi Controller will automatically start. You can access the controller’s web interface by opening a browser and navigating to:
https://localhost:8443
For first-time setup, you’ll need to create an admin account and configure your network settings. The controller may take a few minutes to initialize fully on the first run.
Network Configuration
Configuring your network settings is crucial for establishing a reliable connection between your Raspberry Pi and Ubiquiti devices. Start by assigning a static IP address to your Raspberry Pi through the terminal using the command ‘sudo nano /etc/dhcpcd.conf’. Add your desired IP address, router, and DNS settings to ensure consistent connectivity.
For optimal performance, connect your Raspberry Pi directly to your UniFi Security Gateway or switch using an Ethernet cable. While Wi-Fi configuration is possible, a wired connection provides better stability for controller operations.
Next, configure your UniFi devices to discover the controller. Access your devices’ management interface and set the “inform URL” to point to your Raspberry Pi’s IP address using the format: ‘http://[YOUR-PI-IP]:8080/inform’.
Remember to configure your firewall settings to allow necessary traffic through these ports:
– TCP 8080: Device and controller communication
– TCP 8443: Controller GUI access
– TCP 8880: HTTP portal redirect
– UDP 3478: STUN service
For enhanced security, consider setting up SSL certificates for secure communications. You can generate self-signed certificates or use Let’s Encrypt for valid SSL certification.
Once network settings are properly configured, your UniFi devices should automatically discover and connect to the controller running on your Raspberry Pi, enabling centralized management of your network infrastructure.
Maintenance and Troubleshooting
Regular Maintenance Tasks
To maintain your Ubiquiti Raspberry Pi controller effectively, establish a regular maintenance schedule that includes several key tasks. First, perform weekly backups of your UniFi controller configuration to prevent data loss. These backups can be automated using simple cron jobs or through the controller’s built-in remote management capabilities.
Monitor your system’s storage space regularly, as log files can accumulate quickly. Set up log rotation to automatically manage file sizes and prevent storage issues. Keep an eye on your RAM usage and CPU temperature through the Raspberry Pi’s monitoring tools, especially during peak network traffic periods.
Update your UniFi Controller software monthly to ensure you have the latest security patches and features. However, always review release notes before updating to avoid potential compatibility issues. Similarly, update your Raspberry Pi’s operating system when security updates are available.
Check network connectivity and controller accessibility at least weekly. Set up simple ping tests or monitoring scripts to alert you of any downtime. Clean your Raspberry Pi’s case and check for dust accumulation quarterly, as overheating can impact performance.
Remember to periodically verify that your SSL certificates are valid and not approaching expiration. Also, review your UniFi controller’s device adoption status and network topology to ensure all devices are properly connected and managed.
Common Issues and Solutions
When running a UniFi Controller on a Raspberry Pi, several common issues may arise. Here’s how to address them effectively:
Memory Usage Problems:
If your controller becomes sluggish, check the memory usage with ‘top’ command. Allocate more swap space or consider upgrading your Pi’s RAM if you’re running multiple applications.
Database Connectivity Issues:
When MongoDB fails to start, verify its status using ‘systemctl status mongodb’. Common fixes include clearing corrupt database files and ensuring proper permissions are set in the /usr/lib/unifi/data directory.
Network Discovery Failures:
If devices aren’t being discovered, confirm that your Pi’s firewall allows traffic on ports 8080 and 3478. Check that your devices and controller are on the same subnet, and verify DHCP settings.
Automatic Updates Breaking Controller:
Disable automatic updates and manually update your controller to avoid compatibility issues. Always backup your configuration before updates using the built-in backup feature.
Boot Time Errors:
For startup problems, check system logs using ‘journalctl -xe’. Common solutions include reinstalling the UniFi software package or fixing corrupted configuration files.
SSL Certificate Warnings:
Generate a new SSL certificate or import a valid one to resolve browser security warnings. Ensure your Pi’s time is correctly synchronized using NTP to prevent certificate validation issues.
Implementing these solutions should resolve most common problems while maintaining stable controller operation.
By implementing a Raspberry Pi as your UniFi Controller, you’ll enjoy a cost-effective, energy-efficient solution for managing your Ubiquiti network devices. This lightweight yet powerful setup offers reliable performance while consuming minimal resources. The flexibility to customize and expand your network control system makes it an ideal choice for both home networks and small business deployments. Whether you’re a networking enthusiast or a professional administrator, this solution provides the perfect balance of functionality and simplicity. Take the leap into self-hosted network management today – your Raspberry Pi is ready to transform into a capable UniFi Controller that will serve your networking needs for years to come.