


Transform your Raspberry Pi 4 into a powerful AI assistant by setting up AI on Raspberry Pi with just a few strategic steps. Install the latest 64-bit Raspberry Pi OS for optimal performance, connect a high-quality USB microphone for accurate voice recognition, and leverage Python-based frameworks like Mycroft or Rhasspy to create a responsive, customizable AI experience. This compact yet capable $35 computer packs enough processing power to run sophisticated natural language processing models, handle home automation tasks, and deliver personalized responses – all while consuming minimal energy. Whether you’re building a smart home hub, a voice-controlled assistant, or an educational AI platform, the Pi 4’s quad-core processor and up to 8GB RAM provide the perfect foundation for creating an AI assistant that rivals commercial alternatives at a fraction of the cost.
Hardware Requirements and Setup
Essential Components
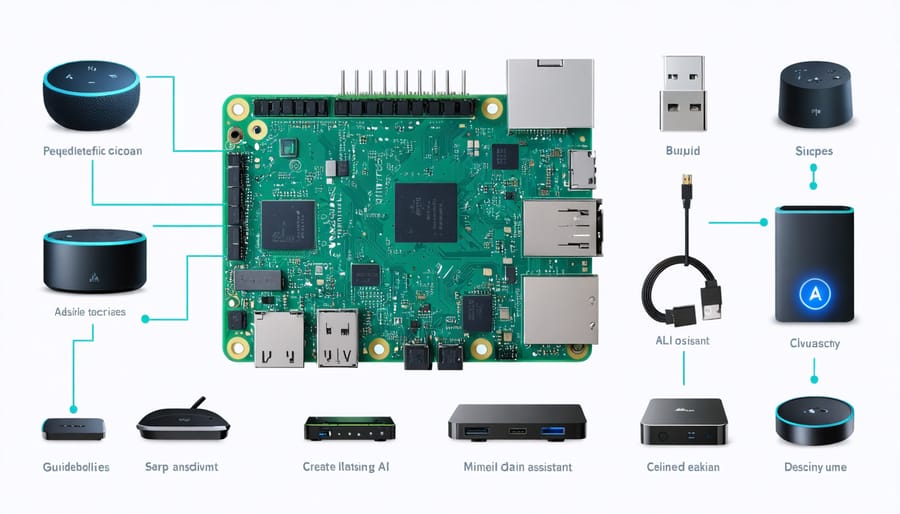
To build your Raspberry Pi 4 AI assistant, you’ll need several key components to ensure optimal performance. The core element is the Raspberry Pi 4 board itself – the 4GB or 8GB RAM model is recommended for smooth AI processing. A high-quality microSD card (32GB minimum) is essential for storing the operating system and AI software.
For voice interaction, you’ll need a USB microphone or USB microphone array for clear audio input, and speakers or headphones for output. A reliable power supply rated at 5V/3A with USB-C connection is crucial to prevent performance issues.
For the physical setup, gather these additional items:
– Official Raspberry Pi 4 case or equivalent for protection
– Heat sinks and a cooling fan for temperature management
– HDMI cable for initial setup and configuration
– USB keyboard and mouse
– Ethernet cable or WiFi connectivity
– Optional: Camera module for visual recognition features
Remember to choose quality components, especially for the power supply and microSD card, as these can significantly impact your AI assistant’s reliability and performance.
Optional Enhancements
While the Raspberry Pi 4 is capable of running AI applications out of the box, several hardware additions can significantly enhance its performance. Consider adding a CPU cooling fan to maintain optimal operating temperatures during intensive AI processing tasks. For enhanced audio interaction, a USB microphone array like the ReSpeaker or Matrix Voice offers superior voice recognition capabilities compared to basic USB microphones.
Storage performance can be improved by using a high-speed SSD connected via USB 3.0 instead of the standard microSD card. This upgrade particularly benefits machine learning models that require frequent data access. For specialized AI applications, AI-optimized HAT add-ons can provide dedicated neural processing units, significantly accelerating inference times.
Consider adding a quality display with touchscreen functionality for a more interactive experience. The official 7-inch Raspberry Pi touchscreen display works seamlessly with most AI applications and provides an intuitive interface for user interactions. For portable applications, a compact power bank with at least 10,000mAh capacity ensures extended operation without requiring a constant power connection.
Software Installation and Configuration
Operating System Preparation
To build an effective AI assistant on your Raspberry Pi 4, you’ll need to start with a solid operating system foundation. Begin by downloading the latest version of Raspberry Pi OS (64-bit) from the official website, as this provides the best compatibility for AI applications. Using the Raspberry Pi Imager tool, flash the OS onto a high-speed microSD card (Class 10 or higher recommended).
After booting up your Pi, run the following essential updates:
“`
sudo apt update
sudo apt upgrade -y
“`
To maximize limited hardware resources, adjust your system configuration through raspi-config:
“`
sudo raspi-config
“`
Navigate to Performance Options and:
– Increase GPU memory to 128MB
– Enable OpenGL driver
– Adjust CPU governor to “performance”
Consider creating a swap file of at least 2GB to handle memory-intensive AI tasks:
“`
sudo dphys-swapfile swapoff
sudo nano /etc/dphys-swapfile
“`
Set CONF_SWAPSIZE=2048 and restart the swap service:
“`
sudo dphys-swapfile setup
sudo dphys-swapfile swapon
“`
These optimizations ensure your Raspberry Pi 4 is ready to handle AI workloads efficiently while maintaining system stability.
AI Framework Setup
Setting up the AI framework on your Raspberry Pi 4 requires installing several essential libraries and frameworks that will power your AI assistant. Let’s start by updating your system to ensure compatibility:
“`bash
sudo apt update && sudo apt upgrade -y
“`
First, install Python 3 and pip if they aren’t already on your system:
“`bash
sudo apt install python3 python3-pip
“`
Next, we’ll install TensorFlow Lite, which is optimized for the Raspberry Pi’s ARM architecture:
“`bash
pip3 install tflite-runtime
“`
For natural language processing capabilities, install the transformers library and necessary dependencies:
“`bash
pip3 install transformers torch
“`
To enable voice recognition features, install the following packages:
“`bash
sudo apt install portaudio19-dev
pip3 install pyaudio
pip3 install SpeechRecognition
“`
For text-to-speech functionality, install:
“`bash
sudo apt install espeak
pip3 install pyttsx3
“`
Create a virtual environment to manage your dependencies effectively:
“`bash
python3 -m venv ai_assistant
source ai_assistant/bin/activate
“`
To optimize performance, consider installing NumPy and Pandas for data handling:
“`bash
pip3 install numpy pandas
“`
Remember to monitor your Pi’s temperature while installing these packages, as the process can be resource-intensive. You might want to use a cooling solution if you notice high temperatures.
After installation, verify your setup by running a simple test script:
“`python
import tflite_runtime.interpreter as tflite
import torch
import speechrecognition as sr
print(“AI framework setup complete!”)
“`
If you encounter any memory issues during installation, try installing packages one at a time and restart your Pi between installations if necessary.
Implementing AI Features
Voice Recognition Integration
Voice recognition is a crucial component of your Raspberry Pi AI assistant, enabling natural interaction through speech commands and responses. To implement this feature, you’ll need to set up both speech-to-text (STT) and text-to-speech (TTS) capabilities.
Start by installing the necessary dependencies for voice recognition. The most popular option is Google’s Speech Recognition API, which can be installed using pip:
“`bash
pip install SpeechRecognition
pip install pyaudio
“`
For text-to-speech functionality, install the pyttsx3 library:
“`bash
pip install pyttsx3
“`
Configure your microphone by connecting it to your Raspberry Pi’s USB port or audio jack. Test the audio input levels using the following command:
“`bash
arecord -l
“`
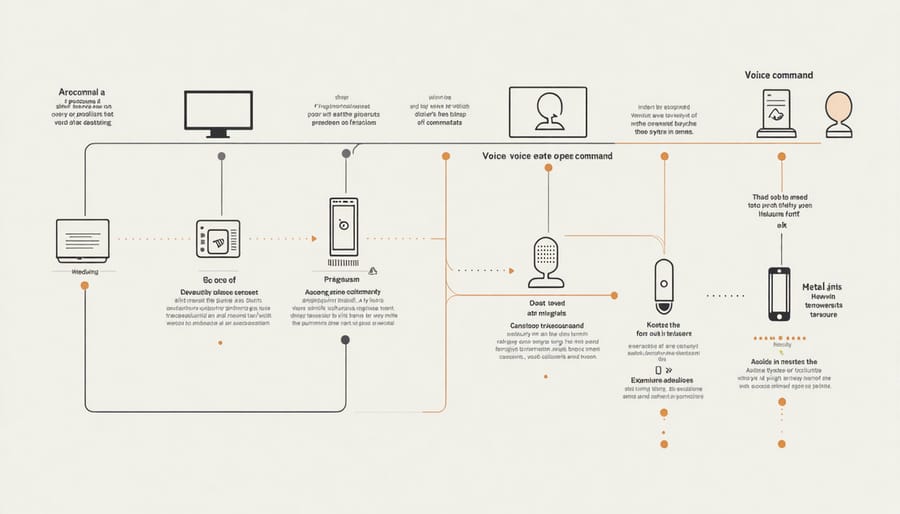
Create a Python script that continuously listens for voice input. Implement wake word detection (like “Hey Assistant”) to trigger the listening mode. This helps conserve resources and prevents unwanted activations. When the wake word is detected, the assistant will process the subsequent command using the speech recognition engine.
For better accuracy, consider implementing noise reduction and audio filtering. You can also adjust the recognition sensitivity and timeout settings to match your environment. Remember to handle potential recognition errors gracefully by providing appropriate feedback to the user when commands aren’t understood.
To enhance the natural feel of interactions, add conversation context handling and custom wake word options. This creates a more personalized experience while maintaining reliable voice control functionality.
Natural Language Processing
Natural Language Processing (NLP) is the backbone of your Raspberry Pi AI assistant’s ability to understand and respond to commands. To implement text understanding, you can leverage powerful Python libraries like NLTK (Natural Language Toolkit) or spaCy, which work efficiently on the Pi 4’s hardware. These libraries enable your assistant to parse user input, identify intent, and extract key information from commands.
For basic text processing, start by implementing tokenization to break down user input into meaningful segments. You can enhance understanding by adding part-of-speech tagging and named entity recognition, helping your assistant identify important elements like dates, names, and actions within commands.
Text generation capabilities can be added using pre-trained models like GPT-2 small or BERT-tiny, which are optimized for devices with limited resources like the Raspberry Pi. These models allow your assistant to generate contextually relevant responses while maintaining reasonable performance.
To improve response accuracy, implement a simple intent classification system using scikit-learn. This helps your assistant categorize user requests into predefined actions like setting reminders, answering questions, or controlling smart home devices.
Remember to optimize your NLP pipeline by using smaller model variants and implementing caching mechanisms to reduce processing time. You can also enhance performance by running text processing tasks in parallel, taking advantage of the Pi 4’s quad-core processor.
Custom Skills Development
One of the most exciting aspects of building your own Raspberry Pi 4 AI assistant is the ability to develop custom skills tailored to your specific needs. Using Python, you can create personalized functions that extend your assistant’s capabilities beyond basic commands.
To begin developing custom skills, create a new Python script in your project directory and define a function that performs your desired task. For example, you might create a function to control smart home devices, fetch personalized news updates, or manage your calendar events. Each skill should follow a modular structure, making it easy to integrate with your assistant’s main program.
Here’s a basic framework for creating custom skills:
1. Define clear input parameters and expected outputs
2. Implement error handling for robust performance
3. Add documentation for future reference
4. Test thoroughly before integration
Popular areas for custom skill development include:
– Weather monitoring with local sensor data
– Personal task management systems
– Custom voice commands for home automation
– Data analysis and reporting tools
– Media control and playlist management
Remember to use existing Python libraries when possible to save development time. For instance, leverage libraries like requests for API interactions or pandas for data manipulation. Always consider memory usage and processing power limitations when developing new skills, as the Raspberry Pi 4 has finite resources.
For best results, maintain a consistent coding style across all custom skills and implement proper logging to track performance and debug issues effectively.
Performance Optimization
To ensure your Raspberry Pi 4 AI assistant runs smoothly, implementing key performance optimizations is essential. Start by managing system resources effectively through proper CPU governor settings and selective background process management. You can significantly optimize AI model performance by using model quantization techniques, which reduce model size while maintaining accuracy.
Consider using lightweight versions of AI models specifically designed for edge devices. TensorFlow Lite and ONNX Runtime offer excellent alternatives to full-scale models, providing better performance on the Pi’s limited resources. Enable GPU acceleration when available, as this can dramatically improve processing speed for compatible AI tasks.
Memory management is crucial – implement proper swap space configuration and monitor memory usage regularly. Setting up a dedicated RAM disk for frequently accessed files can reduce I/O bottlenecks. Additionally, use asyncio programming patterns in Python to handle multiple tasks efficiently without overwhelming the system.
Cool your Raspberry Pi properly to prevent thermal throttling. Consider adding a small fan or heatsink, as maintaining optimal operating temperature directly impacts processing speed and overall performance. Monitor CPU temperature using built-in tools like vcgencmd.
For voice recognition features, optimize audio processing by adjusting buffer sizes and sampling rates to match your needs. Use wake word detection instead of continuous processing to conserve resources. Finally, implement caching mechanisms for frequently requested information and responses to reduce processing overhead and improve response times.
These optimizations will help create a more responsive and efficient AI assistant while working within the Raspberry Pi 4’s hardware constraints.
Building a Raspberry Pi 4 AI assistant opens up a world of possibilities for both personal automation and learning. Through this project, you’ll gain valuable experience in Linux systems, Python programming, AI implementation, and hardware integration. The combination of affordability, versatility, and processing power makes the Raspberry Pi 4 an excellent platform for creating a customized AI assistant that suits your specific needs.
Looking ahead, there are numerous ways to enhance your AI assistant. Consider adding computer vision capabilities for object recognition, implementing natural language processing for more complex conversations, or integrating with home automation systems. You could also explore incorporating machine learning models for personalized responses and behavior adaptation.
The beauty of this project lies in its scalability – start with basic functionality and gradually expand as your skills and requirements grow. Whether you’re a hobbyist, educator, or tech enthusiast, this project provides a solid foundation for exploring AI applications while maintaining complete control over your privacy and data.
Remember to stay updated with the latest Raspberry Pi developments and AI libraries to continuously improve your assistant’s capabilities.