

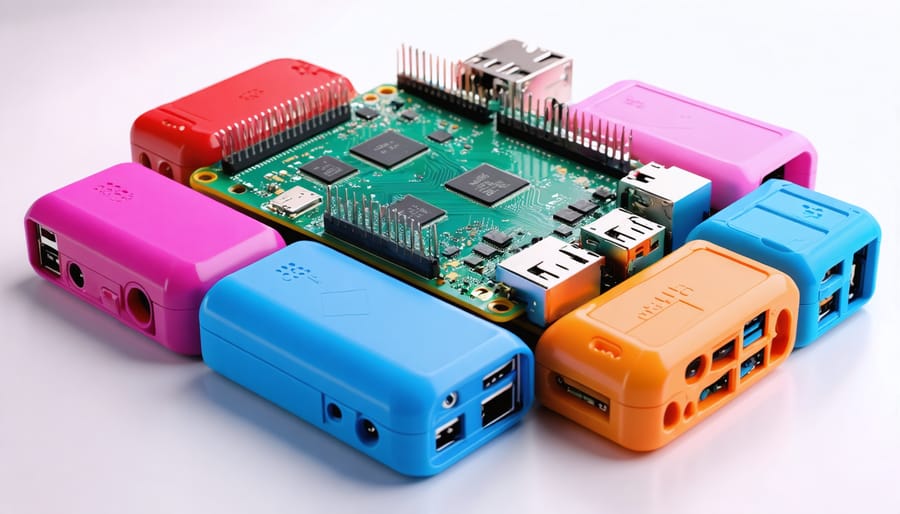
Transform your Raspberry Pi into a professional-grade computing solution by 3D printing a custom case that rivals industrial-grade Pi cases. Select high-quality PETG or ABS filament for durability and heat resistance, ensuring proper ventilation through strategic vent placement and fan mounting options. Design your case with precise measurements for GPIO pin access, camera module compatibility, and clean cable management, while incorporating snap-fit mechanisms for tool-free assembly. Consider modular components that allow for future upgrades and modifications, including options for mounting additional hardware or incorporating specialized cooling solutions. Whether you’re prototyping on a budget or crafting a permanent housing solution, 3D printing offers unmatched customization potential for your Raspberry Pi project, combining practicality with personal design preferences.
Essential Requirements for 3D Printing Pi Cases
3D Printer Specifications
For optimal results when printing your Raspberry Pi case, use a 3D printer with a minimum build volume of 120mm x 120mm x 60mm. Set your layer height between 0.15mm to 0.2mm for a balance of detail and print time. The nozzle diameter should be 0.4mm, which is standard for most printers and works well for case features.
Use a print temperature between 200-220°C for PLA filament, which is the recommended material for its ease of use and durability. Set your print bed temperature to 50-60°C for good adhesion. Enable supports for overhanging features, particularly around port openings and mounting points. A cooling fan is essential to maintain clean edges and prevent warping.
For best results, maintain print speeds between 40-60mm/s. Higher speeds may compromise the quality of detailed areas. Set your infill density to 20-25% for adequate strength while conserving material. Using a brim or raft can help prevent corner lifting, especially for larger case designs.
Remember to calibrate your printer and ensure proper bed leveling before starting. This attention to detail will result in a professional-looking case that fits your Raspberry Pi perfectly.
Best Materials for Pi Cases
When selecting durable case materials for your Raspberry Pi, several filament options stand out. PLA is the most popular choice due to its ease of printing and wide color range, making it perfect for beginners. While it’s not the most heat-resistant, it’s more than adequate for typical Pi applications.
PETG offers an excellent middle ground, combining durability with good heat resistance. It’s slightly more challenging to print than PLA but provides better protection against accidental drops and temperature fluctuations. For those seeking maximum durability, ABS delivers superior impact resistance and heat tolerance, though it requires a heated enclosure for successful printing.
TPU, a flexible filament, can create shock-absorbing cases that protect against impacts, but it’s trickier to print and may not provide the rigid structure some users prefer. For outdoor or industrial applications, ASA provides excellent UV resistance and weather durability, making it ideal for cases that will be exposed to the elements.
Remember that ventilation holes and port access should influence your material choice, as some filaments are easier to print with fine details than others.
Designing Your Custom Case
Design Software Options
When it comes to designing your custom Raspberry Pi case, several powerful software options can help bring your ideas to life. Tinkercad stands out as an excellent choice for beginners, offering a web-based interface and intuitive building blocks that make 3D modeling accessible to everyone. Its simple drag-and-drop functionality and basic shape manipulation tools are perfect for creating straightforward case designs.
For more experienced makers, FreeCAD provides a robust, open-source alternative with advanced parametric modeling capabilities. It offers precise control over dimensions and features specific workbenches for mechanical design, making it ideal for complex case projects with specific mounting requirements.
Fusion 360, while requiring a subscription for commercial use, offers free licenses for hobbyists and students. It provides comprehensive design tools, including advanced features like stress analysis and assembly modeling, which can be particularly useful when designing cases with multiple parts or mechanical features.
OpenSCAD takes a different approach, using text-based programming to create 3D models. This method appeals to those who prefer coding over visual modeling and offers excellent precision for technical designs. While the learning curve is steeper, it excels at creating parametric designs that can be easily modified and shared.
For those seeking inspiration or ready-made solutions, Thingiverse and Printables host numerous pre-designed Raspberry Pi cases that can be downloaded and modified to suit your needs.
Critical Design Considerations
When designing a 3D-printed case for your Raspberry Pi, several critical factors demand careful attention to ensure optimal functionality. Proper ventilation stands as the foremost consideration, as your Pi needs adequate airflow to prevent overheating during operation. Strategic vent placement, particularly near the CPU and power components, is essential for creating robust case designs that maintain optimal operating temperatures.
Access to ports is another crucial element. Your case design should incorporate precise cutouts for all necessary connections, including USB ports, HDMI, ethernet, and power input. Consider leaving additional clearance around port openings to accommodate various cable sizes and ensure easy plug-and-unplug actions without strain on the connectors.
Mounting options deserve thorough planning, both for securing the Pi within the case and for attaching the case to other surfaces. Include mounting posts or screw holes that align perfectly with the Pi’s PCB mounting points, typically using M2.5 screws. External mounting provisions, such as wall-mount brackets or DIN rail attachments, can significantly enhance the case’s versatility.
Remember to account for any additional components you might add later, such as HATs or cooling fans. Including modular elements in your design allows for future modifications without requiring a complete case replacement.
Printing and Assembly Tips
Optimal Print Settings
To achieve the best results when 3D printing your Raspberry Pi case, start with these proven settings. Use PLA filament at a temperature between 190-210°C, with 200°C being the sweet spot for most brands. Set your bed temperature to 60°C for optimal first-layer adhesion.
Layer height should be 0.2mm for a good balance between print time and detail. For parts that need to fit together precisely, like snap-fit mechanisms or screw holes, reduce this to 0.15mm. Use 3-4 perimeter walls and 15-20% infill for structural stability without excessive material usage.
Print speed should be moderate – around 50-60mm/s for the main body and 30mm/s for detailed areas. Enable retraction settings (5mm distance, 45mm/s speed) to prevent stringing between parts. Adding a brim of 5-8mm will help prevent corner lifting, especially important for larger cases.
For cooling, maintain fan speed at 100% after the first layer to ensure clean overhangs and prevent drooping. Orient the case with the largest flat surface on the build plate to minimize support material. When supports are necessary, use a 50-degree overhang angle and ‘lines’ pattern for easy removal.
These settings should produce a case with clean surfaces, accurate dimensions, and strong structural integrity. Remember to adjust these baseline settings based on your specific printer and filament characteristics. Test prints with small sections can help fine-tune these parameters for your setup before committing to a full case print.
Assembly Guidelines
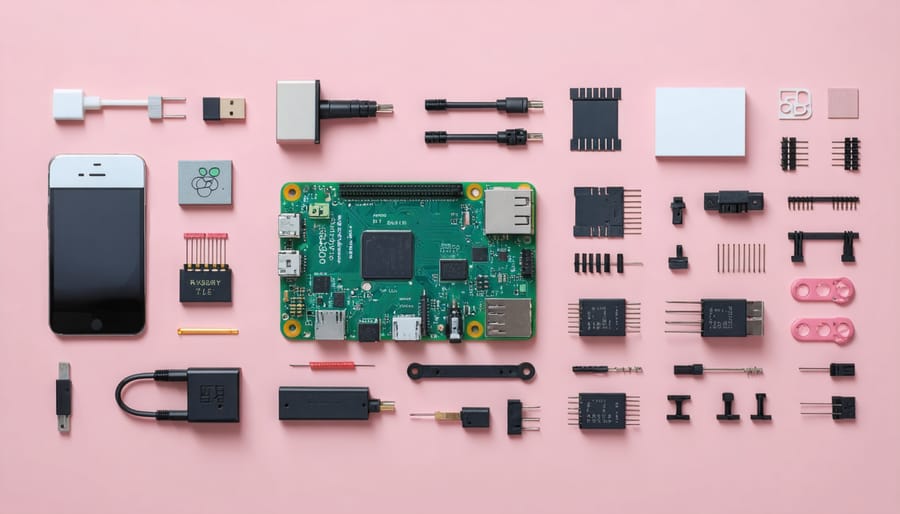
Once you’ve successfully printed all the case components, follow these assembly steps to ensure a proper fit for your Raspberry Pi. Begin by laying out all printed parts and your Raspberry Pi board on a clean, static-free workspace. You’ll also need a small Phillips-head screwdriver and the mounting screws that came with your Raspberry Pi.
First, inspect all printed parts for any imperfections or stringing. Use fine-grit sandpaper to smooth any rough edges that might interfere with the assembly. Pay special attention to the screw holes and port openings to ensure they’re clear of any printing artifacts.
Start by placing your Raspberry Pi board into the bottom case half, aligning it with the mounting posts. Common mistake: Don’t force the board if it doesn’t fit perfectly – this might indicate your print needs adjustment. Insert the mounting screws through the board into the posts, but don’t fully tighten them yet.
Next, test-fit the top case half before final assembly. Check that all ports align properly with their corresponding openings. A frequent pitfall is rushing this step – take your time to ensure perfect alignment. If you’re using any additional components like fans or displays, install these now.
Finally, carefully snap or screw the top half onto the bottom portion. Now you can fully tighten the mounting screws. Important: Don’t overtighten, as this can crack the plastic or damage the board. Test all ports and ensure any buttons or switches are accessible and functioning properly.
For optimal cooling, ensure any ventilation holes are clear of debris. If your case design includes slots for heat sinks, verify they’re properly seated before final assembly.
Advanced Customization Ideas
Adding Extra Features
A custom 3D-printed Raspberry Pi case becomes even more functional when you incorporate additional features. For cooling, consider adding ventilation holes in a grid pattern along the sides or top of the case. You can also design mounting points for a 30mm or 40mm fan to ensure optimal temperature control during intensive operations.
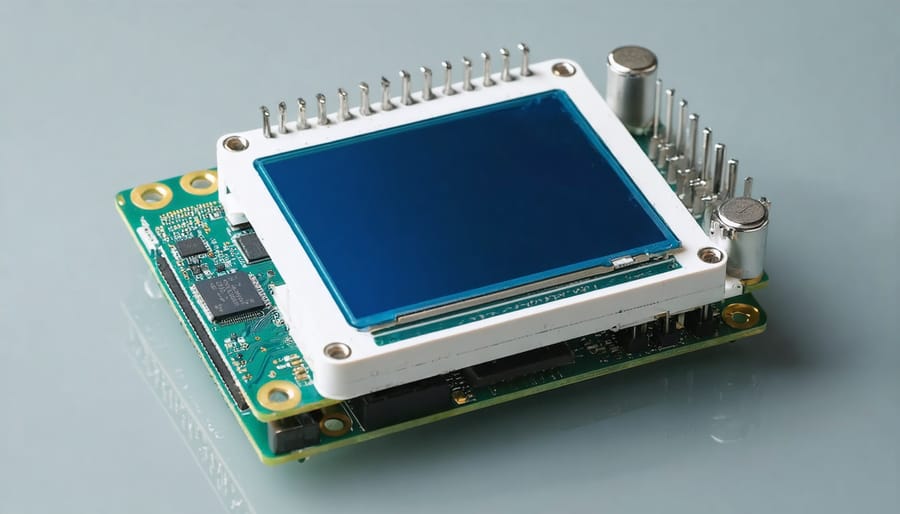
To monitor your Pi’s status, integrate a cutout for a small OLED or LCD display on the front panel. This allows you to view system information like temperature, CPU usage, and network status at a glance. Make sure to include proper cable routing channels in your design to keep everything tidy.
Consider adding extra port accessibility by designing dedicated openings for USB hubs, GPIO ribbon cables, or camera modules. You can create snap-on expansion modules that attach to the main case, perfect for adding external storage or battery backup systems.
For improved usability, incorporate mounting brackets or rails that allow the case to be attached to walls or under desks. Adding anti-slip feet or rubber bumpers can help stabilize the case and reduce vibration noise.
Remember to test-fit all components before final printing and ensure adequate clearance for heat dissipation. If you’re using additional hardware like screws or standoffs, design appropriate mounting points that won’t interfere with the Pi’s functionality.
Finishing Touches
Once your case is printed, a few finishing touches can transform it from a basic print to a polished masterpiece. Start by carefully removing any support material using needle-nose pliers, then sand the exterior surfaces with progressively finer grits (220, 400, and 800) for a smooth finish. Pay special attention to layer lines and any rough edges around port openings.
For a professional appearance, consider applying a primer specifically designed for 3D prints. Two light coats, with gentle sanding between applications, will create an excellent base for painting. Choose heat-resistant spray paint for the final color coat, as Raspberry Pi cases can get warm during operation. Some makers opt for professional case modifications like adding rubber feet for stability or incorporating custom badges.
To protect your case and enhance its durability, apply a clear coat finish. This not only adds shine but also helps prevent scratches and UV damage. If your case design includes ventilation holes, ensure they remain unobstructed during finishing. For cases with snap-fit components, test the fit periodically during sanding to avoid over-processing and maintaining proper tolerances.
Finally, clean any port openings with compressed air and verify that all USB, HDMI, and power connections align perfectly before final assembly. These finishing steps might take extra time, but they’re essential for creating a case that looks and functions like a commercial product.
Creating your own 3D printed Raspberry Pi case is an exciting and rewarding project that combines the best of both maker worlds – 3D printing technology and single-board computing. Throughout this guide, we’ve explored the essential aspects of designing and printing the perfect case for your Pi, from selecting the right materials to optimizing your print settings for the best results.
Remember that the beauty of 3D printing lies in its flexibility and customization potential. Whether you choose to start with a pre-designed case from online repositories or create your own from scratch, you now have the knowledge to make informed decisions about your project. The key considerations we’ve covered – ventilation, port accessibility, and structural integrity – will help ensure your finished case is both functional and protective.
Don’t be afraid to experiment with different designs and iterations. Each print is a learning opportunity, and even if your first attempt isn’t perfect, the skills you gain will be invaluable for future projects. Consider sharing your designs with the community and contributing to the ever-growing ecosystem of Raspberry Pi accessories.
Ready to start? Gather your materials, fire up your 3D printer, and begin creating your custom Raspberry Pi case. With patience and attention to detail, you’ll soon have a professional-looking enclosure that perfectly suits your needs while showcasing your maker skills.