


Transform your Raspberry Pi 4 into a versatile development powerhouse by running virtual machines, enabling simultaneous testing environments and isolated development spaces on this compact $35 computer. Modern virtualization tools like QEMU and VirtualBox, combined with the Pi 4’s quad-core processor and up to 8GB RAM, make running lightweight Linux distributions and even Windows 10 ARM possible with surprising efficiency.
The ability to run multiple operating systems concurrently opens new possibilities for developers, from testing cross-platform applications to creating secure sandboxes for experimental code. Whether you’re building a home lab, setting up a remote development environment, or learning about virtualization, the Raspberry Pi 4’s enhanced hardware capabilities make it an ideal platform for exploring virtual machines without significant investment.
This guide explores practical implementations, performance optimization techniques, and real-world applications of virtual machines on the Raspberry Pi 4, helping you maximize the potential of this powerful single-board computer. From selecting the right virtualization software to configuring network settings and managing resources effectively, we’ll cover everything you need to know to get started with VM deployment on your Pi.
Why Virtual Machines on Raspberry Pi 4 Make Sense
Hardware Requirements and Limitations
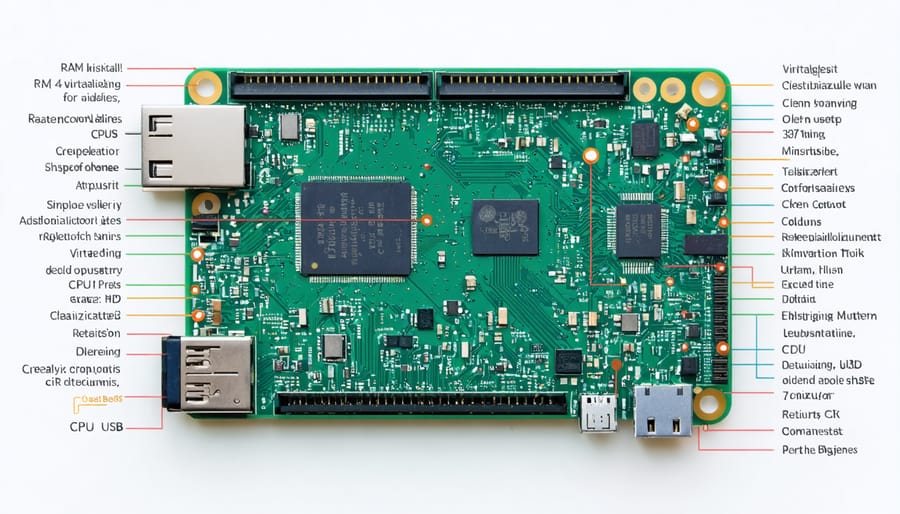
The Raspberry Pi 4 offers impressive capabilities for running virtual machines, but understanding its hardware limitations is crucial for optimal performance. The recommended minimum configuration includes the 4GB RAM model, though the 8GB variant provides significantly better performance when running multiple VMs simultaneously. Storage requirements depend on your intended usage, but a high-quality microSD card (Class 10 or higher) with at least 32GB capacity is essential.
For better performance, consider using a USB 3.0 SSD as your primary storage, as it offers faster read/write speeds compared to microSD cards. The Pi 4’s quad-core Cortex-A72 processor running at 1.5GHz can handle lightweight VMs effectively, but you should limit yourself to running 1-2 VMs concurrently to maintain reasonable performance.
Network connectivity is also crucial – the Pi 4’s Gigabit Ethernet port or 5GHz WiFi capabilities ensure smooth remote access to your VMs. For cooling, the official Raspberry Pi case fan or a third-party cooling solution is recommended, as running VMs can increase CPU temperature significantly. Keep in mind that while the Pi 4 supports 64-bit operating systems, not all VM software is optimized for the ARM architecture.
Performance Expectations
When running virtual machines on the Raspberry Pi 4, it’s important to set realistic expectations about performance. The Pi 4’s quad-core ARM processor and up to 8GB RAM can handle basic virtualization tasks, but you’ll notice some limitations compared to traditional desktop systems.
For lightweight Linux distributions like Alpine or Debian without GUI, you can expect smooth performance with 1-2 VMs running simultaneously. Each VM should be allocated 1-2GB of RAM and 1-2 CPU cores for optimal performance. Desktop environments within VMs will run, but with noticeable lag, especially during graphic-intensive tasks.
Windows virtual machines are possible but not recommended due to significant performance overhead. You’ll experience better results focusing on ARM-based operating systems that are optimized for the Pi’s architecture.
Network performance within VMs typically ranges from 10-30 MB/s, depending on your configuration and network setup. Storage performance will vary based on your boot media, with USB 3.0 SSDs offering the best experience for running VMs.
For development environments and testing scenarios, the Pi 4 proves capable, but keep VM workloads light and focused on specific tasks rather than running multiple resource-intensive applications simultaneously.
Setting Up Your Virtualization Environment
Installing Virtualization Software
Before diving into virtual machines, you’ll need to install QEMU (Quick Emulator) on your Raspberry Pi. After setting up Raspberry Pi OS, open the terminal and update your system:
sudo apt update && sudo apt upgrade -y
Next, install QEMU and its essential components with:
sudo apt install qemu-system-arm qemu-utils
You’ll also need additional packages for optimal performance:
sudo apt install libvirt-clients libvirt-daemon-system bridge-utils
Once installed, verify the installation by running:
qemu-system-arm –version
To enhance your virtualization capabilities, install virt-manager for a graphical interface:
sudo apt install virt-manager
This tool provides an intuitive way to manage your virtual machines. After installation, configure user permissions:
sudo usermod -aG libvirt $USER
sudo usermod -aG kvm $USER
Remember to reboot your Raspberry Pi to apply these changes. These tools will give you a solid foundation for creating and managing virtual machines on your Pi. The installation process might take a few minutes, depending on your internet connection speed.
Network Configuration
When setting up virtual machines on your Raspberry Pi 4, proper network configuration is crucial for ensuring smooth communication between your VMs and the outside world. There are two main networking modes to consider: bridged and NAT (Network Address Translation).
Bridged networking allows your VMs to configure network connectivity directly on your local network, appearing as separate devices with their own IP addresses. This is ideal when you need your VMs to be directly accessible from other devices on your network. To set up bridged networking, you’ll need to create a network bridge interface on your Raspberry Pi and configure your VM to use this bridge.
NAT networking, on the other hand, shares the Raspberry Pi’s network connection with your VMs. In this mode, VMs can access the internet through the host’s connection, but they’re not directly visible to other devices on your network. This provides an additional layer of security and is simpler to set up, making it the recommended choice for beginners.
For most use cases, the default NAT configuration provided by your virtualization software will work fine. However, if you need specific ports to be accessible from outside the VM, you’ll need to set up port forwarding rules in your virtualization software’s network settings.
Remember to configure your VM’s network settings before installation for the smoothest experience. Most virtualization platforms for Raspberry Pi offer simple GUI tools for managing these network configurations.

Creating and Managing Virtual Machines
Installing Your First VM
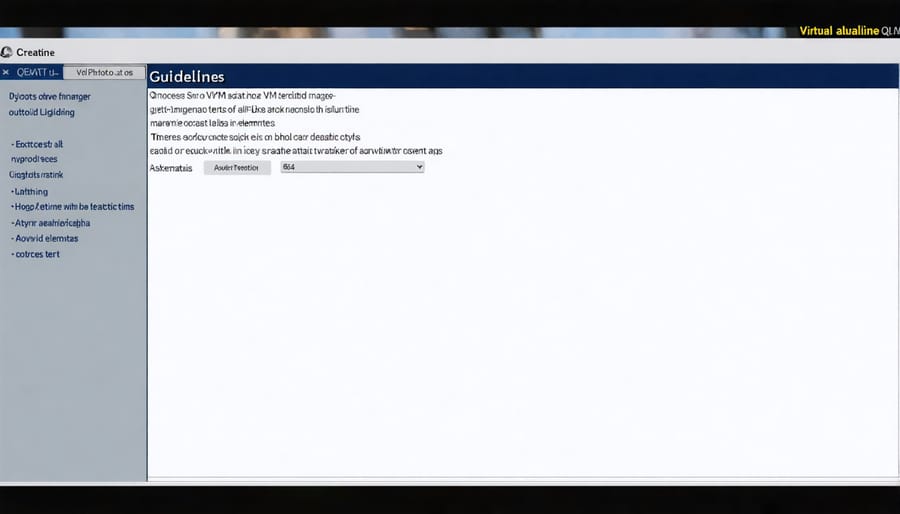
Let’s walk through creating your first virtual machine on the Raspberry Pi 4. Before starting, ensure you have QEMU installed and at least 16GB of free storage space on your SD card or external drive.
First, download a lightweight Linux distribution ISO file suitable for ARM architecture. Ubuntu Server or Debian are excellent choices for beginners. Store the ISO file in your home directory or a dedicated VM folder.
Open the terminal and create a directory for your virtual machine:
“`
mkdir ~/my-first-vm
cd ~/my-first-vm
“`
Next, create a virtual hard disk using this command:
“`
qemu-img create -f qcow2 vm-disk.img 8G
“`
This creates an 8GB virtual disk that will expand as needed. Now, launch your VM with basic settings:
“`
qemu-system-aarch64 -m 1024 -M virt \
-cpu cortex-a72 -smp 2 \
-drive file=vm-disk.img,format=qcow2 \
-cdrom ubuntu-server-arm64.iso \
-nographic
“`
This command allocates 1GB RAM, emulates 2 CPU cores, and starts the installation process. Follow the on-screen instructions to install your chosen Linux distribution.
Once installation completes, remove the -cdrom option from the command and restart your VM. You now have a working virtual machine! Use SSH for easier management, or add the “-vnc :0” parameter to enable VNC access.
Remember to adjust RAM and CPU allocation based on your needs, but keep in mind the Raspberry Pi 4’s resources. Start with conservative values and increase them gradually while monitoring performance.
Resource Management
Effective resource management is crucial when running virtual machines on your Raspberry Pi 4. Start by allocating RAM wisely – a good rule of thumb is to reserve at least 1GB for the host system and distribute the remaining 3GB among your VMs based on their requirements. For basic Linux VMs, 1GB RAM per instance usually suffices, while Windows environments may need 2GB or more.
CPU allocation requires careful consideration. The Pi 4’s quad-core processor can handle multiple VMs, but it’s recommended to limit concurrent VM usage to maintain smooth performance. Assign 1-2 cores per VM and avoid running more than two resource-intensive VMs simultaneously.
Storage management is equally important. Use high-quality microSD cards (Class 10 or higher) or USB 3.0 SSDs for better performance. Create fixed-size virtual disks rather than dynamically allocated ones to prevent fragmentation and performance degradation. For optimal results, maintain at least 25% free space on your storage device.
To enhance overall performance:
– Enable GPU memory split and allocate only the minimum required for the host system
– Use lightweight Linux distributions for VMs when possible
– Implement proper cooling solutions to prevent thermal throttling
– Monitor resource usage with tools like htop or VM manager statistics
– Schedule resource-intensive tasks during different time windows
– Consider using lightweight containerization alternatives for less demanding applications
Regular maintenance, such as clearing temporary files and unused VM snapshots, helps maintain optimal performance. Remember that while the Pi 4 is capable of running multiple VMs, it’s essential to balance ambition with practical limitations to ensure a smooth experience.
Remote Development Best Practices
SSH and Remote Access
Accessing your virtual machines remotely is crucial for efficient management and development. Setting up SSH access to your VMs on the Raspberry Pi 4 requires proper remote access configuration to ensure both security and convenience.
To enable SSH access to your VMs, first ensure that each virtual machine has the SSH server installed. For Linux-based VMs, install OpenSSH using the command:
sudo apt install openssh-server
Next, configure your VM’s network settings to use bridged networking, which allows direct access from your local network. Note down the IP address assigned to each VM using the ‘ip addr’ command.
For enhanced security, create SSH keys instead of relying on password authentication:
ssh-keygen -t rsa -b 4096
ssh-copy-id username@vm-ip-address
You can also set up port forwarding on your Raspberry Pi to access specific VMs through different ports. Add these rules to your SSH config file (~/.ssh/config):
Host vm1
HostName 192.168.1.x
Port 22001
User username
Remember to configure your firewall rules appropriately and always use strong passwords or key-based authentication to protect your virtual environments from unauthorized access.
Development Tools Integration
Modern IDEs and development tools integrate seamlessly with virtual machines on the Raspberry Pi 4, making it an excellent platform for coding and testing. Popular IDEs like Visual Studio Code, PyCharm, and Eclipse can connect to your VM environment through SSH or remote development extensions, allowing you to optimize development workflow while maintaining a clean separation between development environments.
To set up remote development, install the Remote Development extension pack in VS Code, which enables direct connection to your VM through SSH. This allows you to edit, debug, and run code directly within the virtual machine while using your main computer’s resources for the IDE interface. Similarly, PyCharm Professional offers built-in remote development capabilities that work well with Raspberry Pi VMs.
For containerized development, Docker integration tools can be used alongside your VM setup. This enables you to build and test containerized applications within isolated environments, perfect for microservices development and testing deployment configurations.
Version control tools like Git work naturally within the VM environment, and you can configure SSH keys for seamless repository access. Additionally, debugging tools and extensions specific to your programming language will function as expected, provided you’ve properly configured the necessary ports and network access between your host system and the VM.
Running virtual machines on your Raspberry Pi 4 opens up exciting possibilities for learning, development, and experimentation. Throughout this guide, we’ve explored how to set up and manage VMs effectively on this versatile single-board computer. The Pi 4’s improved hardware capabilities, particularly with 8GB RAM models, make it a viable platform for lightweight virtualization tasks.
Remember that while the Pi 4 can handle virtual machines, it’s essential to manage your expectations and resources carefully. Start with lightweight Linux distributions and gradually experiment with more demanding systems as you become comfortable with the setup. Monitor your RAM usage and CPU temperature to ensure optimal performance and longevity of your device.
For those just getting started, we recommend beginning with a single VM running a lightweight Linux distribution like Alpine or Debian. As you gain confidence, explore different hypervisors and more complex configurations. The skills you develop working with VMs on the Pi 4 are directly transferable to larger-scale virtualization projects.
Looking ahead, consider exploring container technologies like Docker alongside your VM setup, as they can offer lighter-weight alternatives for certain use cases. Whether you’re using your Pi 4 for development, testing, or learning purposes, virtual machines provide an excellent platform for expanding your technical capabilities while maintaining a cost-effective and energy-efficient computing environment.