


Transform your Raspberry Pi Zero into a powerful personal VPN server, creating a secure, private connection to your home network from anywhere in the world. Like many popular Raspberry Pi Zero projects, setting up a VPN server combines affordability with enterprise-level security features. This compact $10 device, when properly configured, delivers encrypted tunneling capabilities comparable to commercial VPN services—without monthly fees or data logging concerns. The Pi Zero’s minimal power consumption and tiny footprint make it ideal for a 24/7 VPN solution, while its ARM processor efficiently handles OpenVPN or WireGuard protocols. Whether protecting your data on public Wi-Fi networks, accessing home automation systems remotely, or bypassing geo-restrictions, a Pi Zero VPN server puts you in complete control of your digital privacy.
Required Hardware and Software
Hardware Components
To build your Raspberry Pi Zero VPN server, you’ll need several essential hardware components. The centerpiece is the Raspberry Pi Zero W or Zero W 2, which offers built-in WiFi capability crucial for network connectivity. Make sure to get the ‘W’ version, as the standard Pi Zero lacks wireless functionality.
You’ll need a microSD card with at least 8GB capacity, though 16GB or larger is recommended for better performance and longevity. Choose a high-quality card from reputable manufacturers like SanDisk or Samsung for reliable operation.
Additional required components include:
– A 5V/2.5A micro-USB power supply
– A micro-USB to USB-A adapter (for initial setup)
– A microSD card reader (if your computer doesn’t have one built-in)
– A small heatsink (optional but recommended)
For easier setup and maintenance, consider these optional items:
– Mini HDMI to HDMI adapter
– USB OTG adapter
– Small case for protection
– USB keyboard and mouse (for initial configuration)
Remember to verify all components are compatible with the Pi Zero model you’ve chosen before purchasing.

Software Requirements
To set up a VPN on your Raspberry Pi Zero, you’ll need to start with a compatible operating system. Raspberry Pi OS Lite (formerly Raspbian) is recommended for this project due to its lightweight nature and optimal performance on the Pi Zero. Make sure to download the latest version from the official Raspberry Pi website.
For the VPN software itself, you have several excellent options. OpenVPN is the most popular choice, offering a robust combination of security and ease of use. WireGuard is another strong contender, known for its modern approach and faster performance, though it might require more technical knowledge to set up.
Additional software requirements include:
– SSH client for remote access
– Text editor (nano or vim)
– Network configuration tools
– Certificate management utilities
You’ll also need to install dependencies such as:
– curl
– git
– iptables
– Network Manager
– UFW (Uncomplicated Firewall)
Before proceeding with installation, ensure your Pi Zero is updated with the latest packages by running ‘apt update’ and ‘apt upgrade’ commands. This ensures compatibility and security for your VPN setup.
Initial Setup and Configuration
Operating System Installation
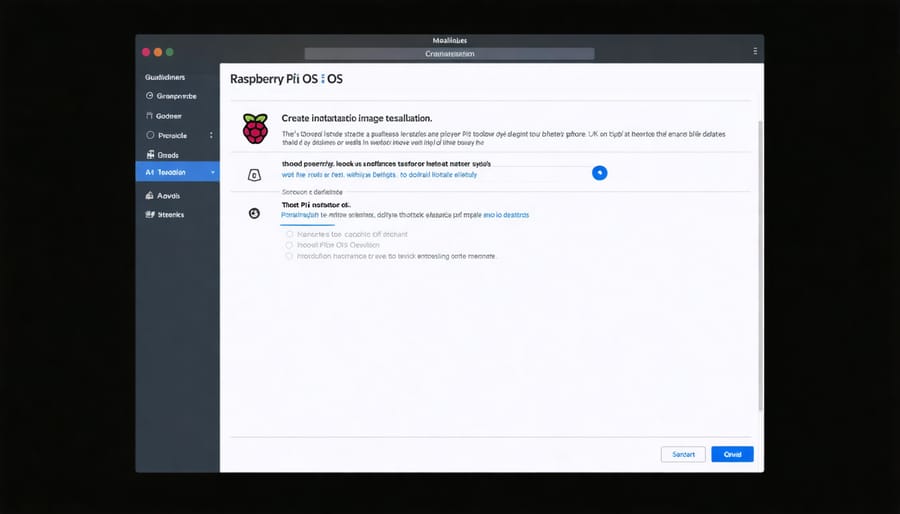
To get started with your VPN server, you’ll need to install and configure the Raspberry Pi Operating System (formerly known as Raspbian). Begin by downloading the Raspberry Pi Imager tool from the official Raspberry Pi website. This user-friendly software simplifies the OS installation process significantly.
After installing the Raspberry Pi Imager on your computer, insert your microSD card into your computer using an appropriate card reader. Launch the Imager tool and select “Raspberry Pi OS Lite (32-bit)” as your operating system – we don’t need the desktop environment for a VPN server.
Click “Choose Storage” and select your microSD card. Before writing the image, click the settings gear icon to enable SSH and configure your Wi-Fi credentials. This step is crucial as the Pi Zero doesn’t have an Ethernet port. Set a username and password, and remember to keep these secure.
Click “Write” and wait for the process to complete. Once finished, safely eject the microSD card and insert it into your Raspberry Pi Zero. Connect the power supply to boot up your Pi.
You can now connect to your Pi Zero via SSH using the credentials you configured earlier. Open a terminal on your computer and type: ssh username@raspberrypi.local. After logging in, run ‘sudo apt update’ and ‘sudo apt upgrade’ to ensure your system is up to date before proceeding with the VPN installation.
Network Configuration
Proper network configuration is crucial for your Raspberry Pi Zero VPN server to function securely and efficiently. Start by accessing your Pi’s network settings through the terminal. If you’re new to this process, you can follow our detailed network configuration guide for additional support.
First, ensure your Pi Zero has a static IP address by editing the /etc/dhcpcd.conf file. Add the following lines, replacing the values with your network specifics:
interface eth0
static ip_address=192.168.1.200/24
static routers=192.168.1.1
static domain_name_servers=8.8.8.8
For Wi-Fi connections, use ‘wlan0’ instead of ‘eth0’. Next, configure your firewall rules using UFW (Uncomplicated Firewall):
sudo apt-get install ufw
sudo ufw allow SSH
sudo ufw allow 1194/udp
sudo ufw enable
These commands establish basic security by allowing only necessary connections through ports 22 (SSH) and 1194 (OpenVPN). Remember to enable IP forwarding by editing /etc/sysctl.conf and uncommenting the line:
net.ipv4.ip_forward=1
Apply changes with:
sudo sysctl -p
This configuration provides a solid foundation for your VPN server while maintaining essential security measures.
VPN Software Installation
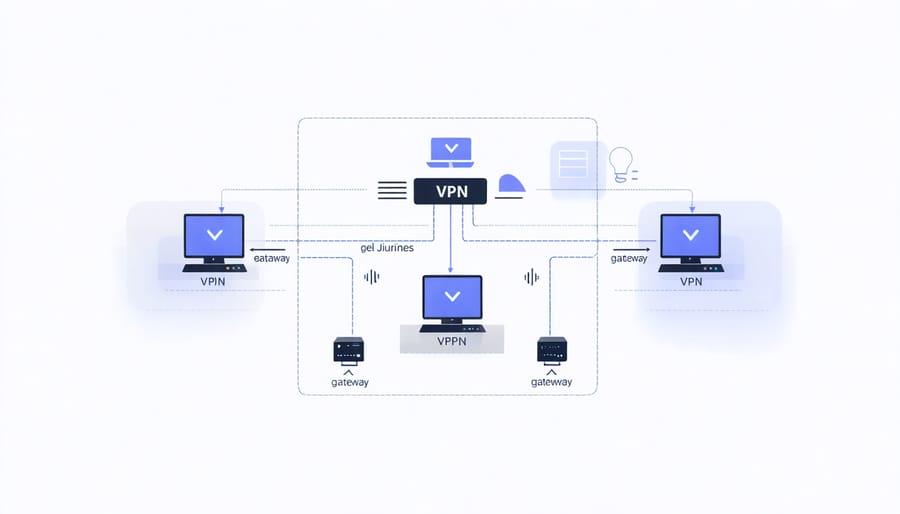
For a secure VPN server setup, you have two excellent options: OpenVPN and WireGuard. While both are reliable choices, WireGuard has gained popularity for its simplicity and performance advantages on the Pi Zero’s limited hardware.
To install WireGuard, open your terminal and run:
“`
sudo apt update
sudo apt install wireguard
“`
For OpenVPN installation, use:
“`
sudo apt update
sudo apt install openvpn
“`
After installation, you’ll need to generate encryption keys and configure your chosen VPN software. WireGuard configuration involves creating a private-public key pair and setting up the wg0.conf file in the /etc/wireguard/ directory. The process is straightforward, requiring minimal configuration changes.
OpenVPN requires more setup steps but offers greater customization. You’ll need to set up your certificate authority, generate server and client certificates, and configure server settings in the /etc/openvpn/ directory.
For both options, remember to:
– Enable IP forwarding
– Configure firewall rules
– Set up port forwarding on your router
– Create client configuration files
Choose WireGuard if you prefer simplicity and better performance on the Pi Zero’s limited resources. Opt for OpenVPN if you need more advanced configuration options and broader client compatibility.
Security Hardening
Firewall Configuration
A robust firewall configuration is essential for protecting your Raspberry Pi Zero VPN server. We’ll focus on using UFW (Uncomplicated Firewall) as it provides an accessible way to implement network security best practices while maintaining effective protection.
Start by installing UFW:
“`
sudo apt-get install ufw
“`
Configure the basic rules to allow SSH and VPN traffic:
“`
sudo ufw default deny incoming
sudo ufw default allow outgoing
sudo ufw allow 22/tcp
sudo ufw allow 1194/udp
“`
If you’re using WireGuard instead of OpenVPN, replace port 1194 with 51820:
“`
sudo ufw allow 51820/udp
“`
Enable packet forwarding by editing /etc/ufw/before.rules and adding these lines at the top:
“`
*nat
:POSTROUTING ACCEPT [0:0]
-A POSTROUTING -s 10.8.0.0/24 -o eth0 -j MASQUERADE
COMMIT
“`
Finally, activate the firewall:
“`
sudo ufw enable
“`
To verify your configuration:
“`
sudo ufw status verbose
“`
Remember to test your SSH connection before closing your current session to ensure you haven’t accidentally locked yourself out. If you need to make changes, you can always disable UFW temporarily with ‘sudo ufw disable’.
Certificate Management
Certificate management is a crucial aspect of setting up a secure VPN on your Raspberry Pi Zero. The process begins with generating your SSL certificates using Easy-RSA, a flexible key management system. First, install Easy-RSA using the command ‘sudo apt-get install easy-rsa’ and create a dedicated directory for your certificates.
Navigate to your new directory and initialize the public key infrastructure (PKI) by running ‘./easyrsa init-pki’. You’ll need to generate a Certificate Authority (CA) certificate, which acts as the root of trust for your VPN. Do this by executing ‘./easyrsa build-ca’. When prompted, enter a strong passphrase and common name for your CA.
Next, create your server certificate with ‘./easyrsa build-server-cert servername’. For each client that will connect to your VPN, generate individual certificates using ‘./easyrsa build-client-cert clientname’. Remember to sign each certificate with your CA’s private key when prompted.
Store your certificates securely in the /etc/openvpn/server/ directory for the server certificates and create a separate folder for client certificates. Always maintain secure backups of your certificates and private keys, as losing them would require regenerating all VPN credentials.
For added security, consider implementing certificate revocation lists (CRL) to manage compromised certificates. This allows you to invalidate specific client certificates without disrupting other VPN users’ access.
Access Controls
Implementing proper access controls is crucial for maintaining the security of your Raspberry Pi Zero VPN server. Start by creating individual user accounts for each person who needs VPN access, rather than sharing credentials. Use strong passwords with a minimum of 12 characters, including a mix of uppercase, lowercase, numbers, and special characters.
Configure certificate-based authentication for an additional layer of security. Generate unique certificates for each user, which they’ll need alongside their login credentials to establish a VPN connection. This two-factor approach significantly reduces the risk of unauthorized access.
Set up access rules to restrict VPN users to only the necessary network resources. Create separate user groups with different permission levels – for example, “admin” users might have full network access, while “basic” users could be limited to internet access only. Implementation of IP-based access controls can further restrict connections to specific geographical locations or trusted IP ranges.
Enable logging to monitor VPN usage and detect potential security issues. Configure automatic notifications for failed login attempts and unusual connection patterns. Regular audit of access logs helps identify and address security concerns promptly.
Remember to periodically review and revoke access for inactive users, and update certificates before they expire. Implementing a clear access management policy ensures your VPN remains secure while serving its intended purpose.
Testing and Troubleshooting
Connection Testing
After setting up your VPN on the Raspberry Pi Zero, it’s crucial to verify that the connection is working correctly and securely. Start by checking your IP address using online tools like whatismyip.com or ipleak.net. Your IP address should now show the location of your VPN server rather than your actual location.
To test for DNS leaks, visit dnsleaktest.com and run both the standard and extended tests. These will confirm whether your DNS queries are being properly routed through the VPN tunnel. If you see your actual ISP’s DNS servers, you’ll need to adjust your VPN configuration to prevent DNS leaks.
For a comprehensive security check, use the command ‘curl ifconfig.me’ in the terminal. This displays your public IP address as seen by other devices on the internet. Additionally, run ‘ping -c 4 google.com’ to verify that your internet connectivity is working through the VPN.
Setting up a kill switch is recommended to prevent data leaks if the VPN connection drops. You can test this by temporarily disconnecting your VPN while monitoring network traffic. The kill switch should immediately block all internet access until the VPN reconnects.
For those interested in monitoring VPN performance, consider implementing a remote access setup to check connection status and logs from anywhere. Use tools like speedtest-cli to measure connection speed and latency through your VPN tunnel.
Remember to periodically rerun these tests, especially after making configuration changes or updating your system, to ensure continued security and optimal performance.
Common Issues and Solutions
When setting up a VPN on your Raspberry Pi Zero, you might encounter several common issues. Here’s how to address them effectively:
Connection Drops: If you experience frequent disconnections, check your power supply first. The Pi Zero requires a stable 5V power source, and inadequate power can cause connection issues. Using a high-quality power adapter rated at least 2.5A can resolve this problem.
Slow Connection Speeds: VPN connections on the Pi Zero might run slower than expected due to its limited processing power. To optimize performance, consider using lighter VPN protocols like WireGuard instead of OpenVPN, and ensure your Pi isn’t running unnecessary background processes.
DNS Leaks: Sometimes, your real IP address might leak through DNS requests. Fix this by forcing all DNS queries through the VPN tunnel and configuring your VPN client to use secure DNS servers. You can verify DNS leaks using online testing tools.
Configuration File Errors: Missing or incorrect settings in configuration files are common. Double-check your config files for syntax errors, proper permissions, and correct server addresses. Keep a backup of working configuration files before making changes.
Port Forwarding Issues: If clients can’t connect to your VPN server, ensure you’ve properly configured port forwarding on your router. Verify that the chosen port is open and correctly directed to your Pi Zero’s local IP address.
Memory Problems: The Pi Zero’s limited RAM can cause stability issues. Monitor your memory usage with the ‘top’ command and consider enabling swap space if needed, though this might impact performance slightly.
If problems persist after trying these solutions, check your system logs for specific error messages, which can provide more detailed information about the root cause of the issue.
Setting up a VPN server on your Raspberry Pi Zero offers a unique combination of affordability, practicality, and security that makes it an attractive option for both tech enthusiasts and privacy-conscious users. By transforming this compact device into a personal VPN server, you’ve created a powerful tool that provides secure remote access to your home network while maintaining complete control over your data privacy.
The Pi Zero’s minimal power consumption and tiny footprint make it an ideal choice for a dedicated VPN server that can run 24/7 without significant energy costs. Whether you’re accessing your home network while traveling, securing your internet connection on public Wi-Fi, or simply learning about network security, this setup delivers exceptional value for its modest investment.
The versatility of this solution extends beyond basic VPN functionality. You can enhance your setup by adding monitoring tools, implementing additional security measures, or even combining it with other services like Pi-hole for ad blocking. This scalability ensures that your Pi Zero VPN server can grow alongside your needs and technical expertise.
Moreover, the hands-on experience gained from this project provides valuable insights into networking, Linux administration, and cybersecurity principles. These skills are increasingly relevant in today’s connected world and can be applied to various other tech projects and professional scenarios.
Remember that maintaining your VPN server requires regular updates and security patches to ensure optimal performance and protection. With proper maintenance and configuration, your Raspberry Pi Zero VPN server will continue to serve as a reliable gateway to secure, private internet access for years to come.