

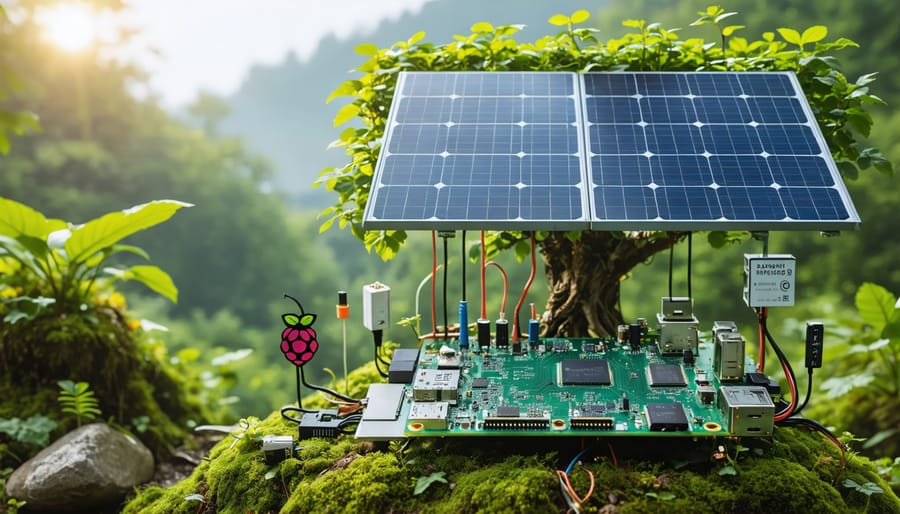
Transform your home into a sustainable energy hub with three innovative solar-powered Raspberry Pi projects that combine cutting-edge technology with renewable energy. Build a solar-powered weather station that monitors local conditions while running entirely off-grid, construct an automated solar tracking system that maximizes energy collection by following the sun’s path, or create a smart energy monitoring dashboard that helps optimize your household power consumption.
These DIY renewable energy projects not only reduce your carbon footprint but also provide hands-on experience with programming, electronics, and sustainable technology. Using readily available components and step-by-step instructions, you’ll learn to harness solar power while developing practical skills in microcontroller programming and energy system design.
Whether you’re a beginner maker or an experienced tech enthusiast, these projects offer scalable challenges that can be customized to match your skill level and energy needs. Start small with basic solar charging circuits, then progress to more complex systems incorporating battery management, load optimization, and real-time data analysis – all while contributing to a more sustainable future.
Essential Components for Your Renewable Energy Setup
Hardware Requirements
To get started with DIY renewable energy projects, you’ll need reliable hardware components that can handle both power generation and data processing. The Raspberry Pi 4 Model B (2GB or 4GB RAM) is recommended for its enhanced processing capabilities and improved power management basics. For solar projects, you’ll need photovoltaic panels (20W minimum), a solar charge controller (10A), and a 12V deep-cycle battery for energy storage.
Essential sensors include an INA219 current/voltage sensor for monitoring power flow, DHT22 temperature/humidity sensors for environmental monitoring, and an ADS1115 16-bit ADC for precise analog measurements. For wind energy projects, add a DC motor capable of functioning as a generator and an anemometer for wind speed measurements.
Additional components include:
– Male-to-female jumper wires (at least 20)
– Breadboard for prototyping
– Buck converter (DC-DC step-down)
– Weatherproof enclosure for outdoor installations
– MicroSD card (16GB minimum)
– USB power bank for backup
For hydro projects, include a small water pump and flow sensor. Remember to choose weather-resistant components for outdoor installations, and always use appropriate safety equipment when working with electrical systems.
Software and Libraries
To get started with DIY renewable energy monitoring, you’ll need several key software packages and Python libraries. First, install the latest version of Raspbian OS on your Raspberry Pi, as it provides the most stable foundation for energy monitoring projects.
Essential Python libraries include:
– NumPy for numerical calculations and data processing
– Pandas for data analysis and manipulation
– Matplotlib or Plotly for creating visual representations of energy data
– RPi.GPIO for interfacing with sensors and GPIO pins
– Adafruit_DHT for temperature and humidity sensing
– PyModbus for communicating with power inverters
– InfluxDB for time-series data storage
– Grafana for creating interactive dashboards
For real-time monitoring, install Node-RED, which offers a visual programming interface perfect for creating IoT workflows. MQTT broker software like Mosquitto is also recommended for handling device communications.
Development tools you’ll want to include:
– VS Code or Thonny IDE for Python development
– Git for version control
– SQLite for local data storage
– Jupyter Notebook for data analysis and visualization
Many of these packages can be installed using pip:
“`
pip install numpy pandas matplotlib adafruit-dht influxdb
“`
For system monitoring and automation, consider installing:
– Supervisor for process management
– Nginx for web server capabilities
– PM2 for Node.js application management
These tools will provide a robust foundation for building and maintaining your renewable energy monitoring system.
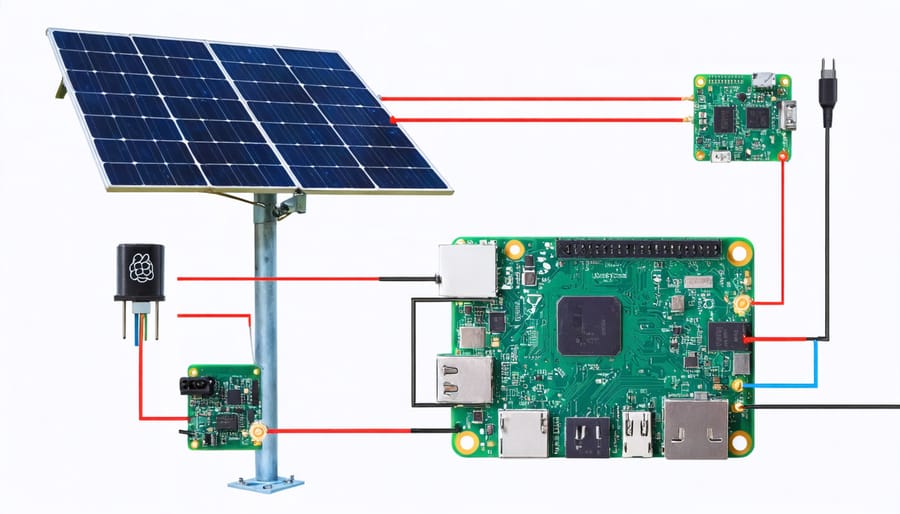
Project 1: Solar-Powered Environmental Monitor
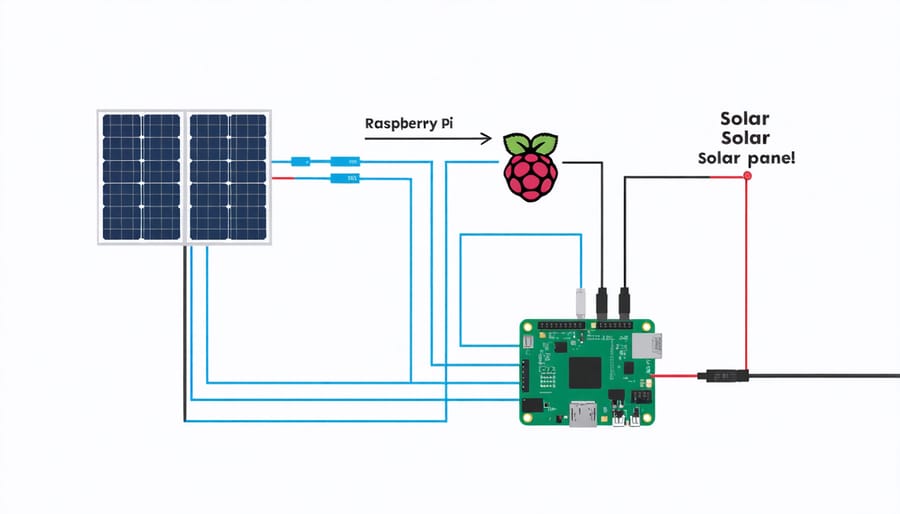
Setting Up the Solar Panel System
Begin by selecting an appropriate location for your solar panel installation, ensuring maximum sun exposure throughout the day. Choose a spot that’s free from shadows cast by trees or buildings, ideally facing south in the Northern Hemisphere. Mount your solar panels on a sturdy platform or roof surface using the provided mounting brackets and ensure they’re angled approximately at your latitude degree for optimal performance.
Connect your solar panels in series or parallel depending on your voltage requirements. For a basic setup, wire the panels to a solar charge controller, which will regulate the power flow to your battery management system. The charge controller prevents overcharging and extends battery life by maintaining optimal voltage levels.
Install deep-cycle batteries in a well-ventilated, weather-protected area. These batteries store excess energy for use during cloudy days or nighttime. Connect the batteries to an inverter, which converts the DC power from the solar panels into AC power suitable for household appliances.
For monitoring purposes, connect your Raspberry Pi to the system using appropriate sensors. Install voltage and current sensors on both the solar panel output and battery connections. This allows you to track power generation, consumption, and system efficiency in real-time.
Create a simple wiring diagram before starting and double-check all connections. Use appropriate gauge wires rated for your system’s maximum current draw, and install circuit breakers or fuses for safety. Weather-proof all outdoor connections using junction boxes and waterproof connectors.
Test the system by first connecting the batteries to the charge controller, then adding the solar panels. Monitor the initial charging process carefully to ensure all components are functioning correctly. Use your Raspberry Pi to log data and verify that the system is performing as expected.
Remember to perform regular maintenance checks, including cleaning the solar panels, inspecting wire connections, and monitoring battery health through your Raspberry Pi interface.
Programming the Monitoring System
To monitor your renewable energy system effectively, we’ll use Python to interface with various environmental sensors. Here’s a basic script to get you started with temperature, light, and voltage monitoring:
“`python
import Adafruit_DHT
from gpiozero import LightSensor, MCP3008
import time
# Initialize sensors
dht_sensor = Adafruit_DHT.DHT22
dht_pin = 4
light_sensor = LightSensor(18)
voltage_sensor = MCP3008(channel=0)
def read_sensors():
humidity, temperature = Adafruit_DHT.read_retry(dht_sensor, dht_pin)
light_level = light_sensor.value
voltage = voltage_sensor.value * 5.0 # Convert to actual voltage
return {
‘temperature’: temperature,
‘humidity’: humidity,
‘light’: light_level,
‘voltage’: voltage
}
“`
To log the data and create alerts, add this functionality to your script:
“`python
def log_data(readings):
timestamp = time.strftime(‘%Y-%m-%d %H:%M:%S’)
with open(‘energy_log.csv’, ‘a’) as file:
file.write(f”{timestamp},{readings[‘temperature’]},{readings[‘humidity’]},{readings[‘light’]},{readings[‘voltage’]}\n”)
while True:
sensor_data = read_sensors()
log_data(sensor_data)
# Basic alert system
if sensor_data[‘voltage’] < 11.5: # Low battery voltage
print("Warning: Low battery voltage!")
time.sleep(300) # Read every 5 minutes
```
Connect the DHT22 temperature sensor to GPIO4, the light sensor to GPIO18, and the voltage sensor to the MCP3008 ADC converter. Install required libraries using:
```bash
pip install Adafruit_DHT
pip install gpiozero
```
This basic monitoring system provides essential data about your renewable energy setup's performance and can be expanded with additional sensors or features as needed.
Project 2: Wind Energy Data Logger
Building the Wind Sensor Array
Begin by gathering your components: three anemometer cups, a hall effect sensor, a small magnet, a sturdy mounting pole, and connecting wires. The anemometer cups can be made from lightweight plastic hemispheres or 3D-printed using weather-resistant PLA filament. Space them equally around a central hub, creating a balanced rotation system.
Mount the hall effect sensor on the stationary base of your array, ensuring it’s protected from the elements with a waterproof housing. Attach the small magnet to one of the rotating arms, positioning it to pass directly over the sensor during rotation. This setup will generate pulses as the wind spins the cups, allowing you to measure wind speed.
Connect the hall effect sensor to your Raspberry Pi using three wires: power (3.3V), ground, and signal. The signal wire should connect to one of the Pi’s GPIO pins – GPIO17 is recommended for this project. Secure all connections with heat shrink tubing to prevent moisture damage and short circuits.
For stability, mount the entire assembly on a pole at least 6 feet above ground level, away from buildings or obstacles that could affect wind readings. Use UV-resistant zip ties or mounting brackets to secure the wiring along the pole, leaving enough slack to prevent strain on the connections.
Test the sensor array by manually spinning the cups and monitoring the signal output through your Raspberry Pi. You should see clear voltage changes as the magnet passes over the sensor. If the signal is inconsistent, adjust the magnet’s position relative to the sensor until you get reliable readings.
For optimal performance, consider adding a small amount of lightweight lubricant to the rotating mechanism and include a simple rain shield above the sensor housing. Regular maintenance checks will ensure your wind sensor array continues to provide accurate data for your renewable energy monitoring system.
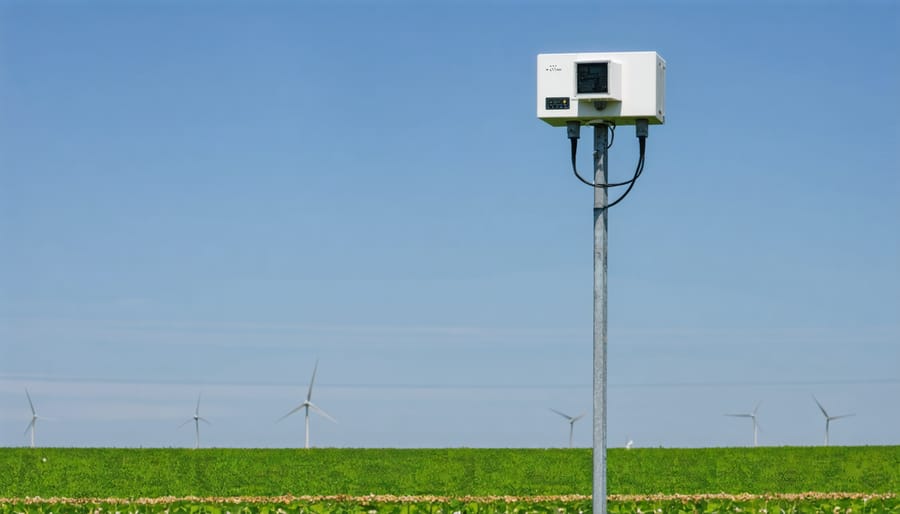
Creating the Data Logging System
To effectively monitor and analyze your renewable energy system’s performance, we’ll set up a robust data logging system using MySQL and Python. First, install MySQL on your Raspberry Pi by running ‘sudo apt-get install mysql-server python3-mysql.connector’ in the terminal. Once installed, create a new database called ‘energy_data’ and a table named ‘readings’ to store your measurements.
Here’s a basic Python script to collect and store data:
“`python
import mysql.connector
import datetime
from sensor_library import read_voltage, read_current
db = mysql.connector.connect(
host=”localhost”,
user=”your_username”,
password=”your_password”,
database=”energy_data”
)
cursor = db.cursor()
def log_reading():
voltage = read_voltage()
current = read_current()
power = voltage * current
timestamp = datetime.datetime.now()
sql = “INSERT INTO readings (timestamp, voltage, current, power) VALUES (%s, %s, %s, %s)”
values = (timestamp, voltage, current, power)
cursor.execute(sql, values)
db.commit()
“`
Configure the script to run automatically every 5 minutes using crontab. Add this line to your crontab file:
“`
*/5 * * * * python3 /home/pi/energy_logger.py
“`
To visualize your data, you can use tools like Grafana or create a simple web interface using Flask. This setup allows you to track power generation patterns, identify peak production times, and optimize your system’s performance based on historical data. Remember to regularly backup your database and clean up old records to maintain system performance.
For enhanced monitoring, consider adding weather data correlation and automated alerts for system anomalies. This will help you maintain optimal system efficiency and quickly address any issues that arise.
Project 3: Smart Energy Management System
Power Monitoring Setup
To effectively monitor power usage in your renewable energy system, you’ll need to set up reliable measurement hardware. The core component is a power monitoring module, such as the INA219 or PZEM-004T, which connects directly to your Raspberry Pi through the GPIO pins. These sensors can measure voltage, current, and power consumption in real-time, helping you optimize energy consumption across your setup.
Connect the voltage measurement leads to your power source’s positive and negative terminals, ensuring proper polarity. For current measurement, install the sensor in series with your load. The INA219 module connects to the Raspberry Pi using I2C communication (pins SDA and SCL), while the PZEM-004T uses UART (pins TX and RX).
For more accurate readings, consider adding a voltage divider circuit if you’re measuring voltages above 3.3V. Install bypass capacitors near the sensor to reduce noise in the measurements. To protect your Raspberry Pi, use appropriate fusing and ensure all connections are properly insulated.
The system can be enhanced with an LCD display (I2C compatible) to show real-time readings, or you can log data to a microSD card for long-term analysis. For wireless monitoring, add a WiFi module to transmit data to your home network.
Remember to calibrate your sensors using a known power source and multimeter before deployment. This ensures accuracy in your measurements and helps identify potential issues in your renewable energy system early on.
Creating the Web Interface
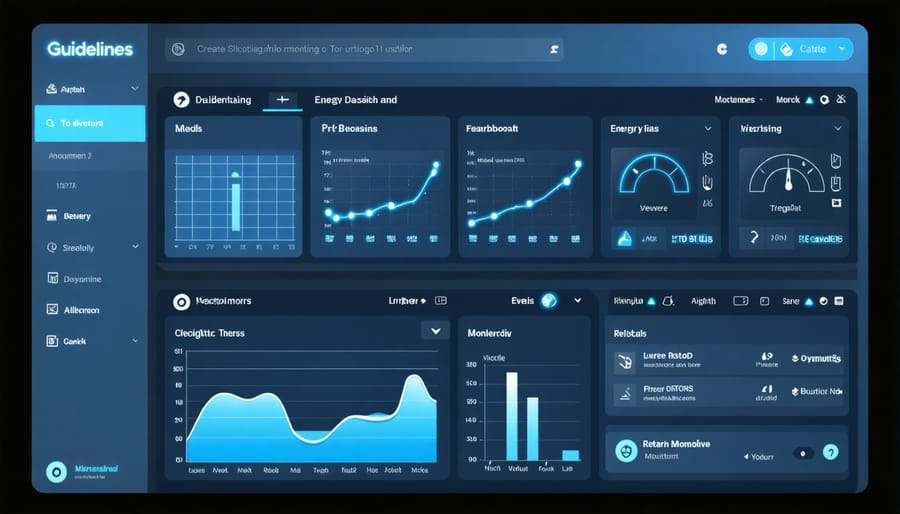
A user-friendly web interface is essential for monitoring your renewable energy system in real-time. Using a combination of HTML, CSS, and JavaScript, we’ll create a responsive dashboard that displays your energy production and consumption data.
Start by setting up a basic HTML structure with Bootstrap for styling. Create a new file called ‘dashboard.html’ and include the necessary CSS and JavaScript libraries. Your dashboard should feature key components like energy production graphs, battery status indicators, and current power consumption metrics.
For real-time data visualization, implement Chart.js to create dynamic graphs. Here’s a basic example:
“`javascript
const ctx = document.getElementById(‘energyChart’).getContext(‘2d’);
const chart = new Chart(ctx, {
type: ‘line’,
data: {
labels: timeLabels,
datasets: [{
label: ‘Power Production (W)’,
data: powerData
}]
}
});
“`
Add widgets for essential metrics like current solar panel output, battery charge level, and energy savings. Use Bootstrap cards to organize these elements in a grid layout for better visibility.
To ensure your dashboard updates automatically, implement a WebSocket connection to your Raspberry Pi server. This enables live data streaming without manual page refreshes:
“`javascript
const ws = new WebSocket(‘ws://your-raspberry-pi-ip:port’);
ws.onmessage = function(event) {
updateDashboard(JSON.parse(event.data));
};
“`
Make your interface mobile-responsive by adding appropriate media queries and flexible layouts. This allows you to monitor your system from any device, anywhere.
Remember to include error handling and offline capabilities to maintain functionality even when connectivity issues arise.
As we’ve explored these DIY renewable energy projects, it’s clear that combining Raspberry Pi with sustainable energy solutions opens up exciting possibilities for tech enthusiasts and environmentally conscious makers alike. Whether you started with the basic solar power monitor, tackled the wind turbine data logger, or built the comprehensive home energy management system, each project contributes to a deeper understanding of green computing solutions while developing practical skills.
To expand your renewable energy journey, consider combining multiple projects into an integrated system. For example, you could merge the solar monitor with the wind turbine logger to create a hybrid energy monitoring platform. Another advancement could involve adding more sensors, implementing machine learning algorithms for better energy prediction, or scaling up your systems to handle larger power loads.
Remember that the maker community thrives on sharing and collaboration. Consider documenting your builds, participating in online forums, and contributing your improvements back to the community. As renewable energy technology continues to evolve, your DIY projects can grow alongside it, potentially leading to innovative solutions for real-world energy challenges.
The skills and knowledge gained from these projects provide a solid foundation for more advanced sustainable technology initiatives. Whether your next step is expanding your current setup or starting a new renewable energy project, you’re now equipped with the tools and understanding to make a meaningful impact on sustainable technology development.