

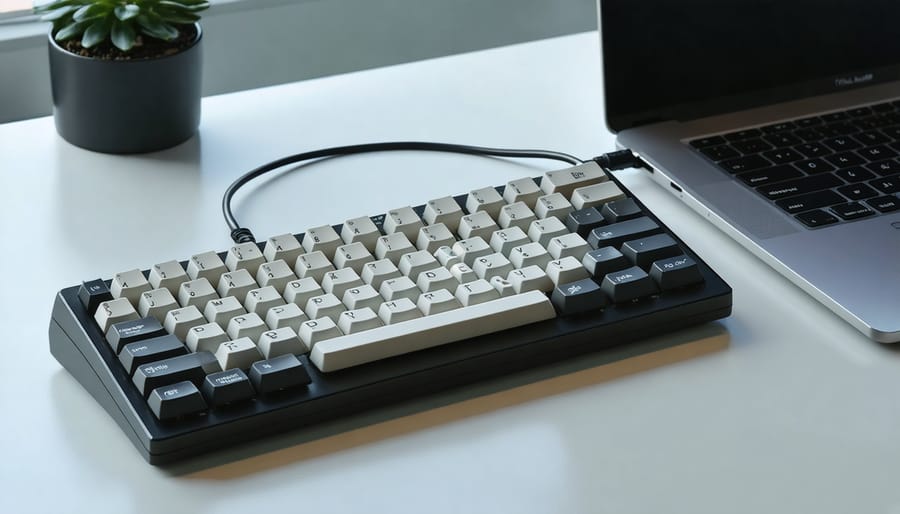
Discover the tactile satisfaction and unmatched durability of vintage mechanical keyboards, where each keystroke tells a story of engineering excellence from the golden age of computing. From the iconic IBM Model M to the cherished Apple Extended Keyboard II, these classic input devices offer a typing experience that modern manufacturers still strive to replicate. Beyond their superior build quality and distinctive feel, vintage mechanical keyboards represent a perfect fusion of retro aesthetics and practical functionality, especially when paired with modern hardware through custom adapters and microcontroller solutions.
Today’s enthusiasts are breathing new life into these classic peripherals, using Raspberry Pi-based converters to bridge the gap between legacy protocols and contemporary USB interfaces. Whether you’re a programmer seeking the perfect typing experience, a collector preserving computing history, or a hobbyist looking to enhance your modern setup with vintage charm, these keyboards offer an authentic connection to computing’s rich heritage while delivering performance that rivals or exceeds many modern alternatives.
This guide will explore how to identify, restore, and adapt vintage mechanical keyboards for modern use, with a special focus on practical conversion methods using readily available components and open-source solutions.
Why Vintage Mechanical Keyboards Still Matter
The Golden Age of Mechanical Keyboards
The late 1970s through the 1980s marked a remarkable period for mechanical keyboards, with manufacturers like IBM, Cherry, and Alps producing some of the most iconic models ever made. The IBM Model M, introduced in 1984, became legendary for its buckling spring mechanism, delivering a distinctive tactile feel and satisfying click that many enthusiasts still cherish today. Its robust build quality and durable PBT keycaps set a standard that modern keyboards struggle to match.
Cherry’s vintage MX switches, particularly in their early keyboards like the G80-1000, offered various tactile experiences through different switch colors. The rare Cherry MX Black switches from this era are highly sought after for their smooth keystroke and consistent feel. Meanwhile, Alps-equipped keyboards, such as the Apple Extended Keyboard II, gained a following for their unique tactile feedback and reliability.
Other notable mentions include the Model F, IBM’s predecessor to the Model M, featuring capacitive buckling springs, and the Space Invaders switches found in early NEC keyboards, known for their distinctive sound profile and durability.

Build Quality That Stands the Test of Time
Vintage mechanical keyboards are renowned for their exceptional build quality, utilizing materials and construction techniques that have proven their durability over decades. Most vintage keyboards feature steel backplates and thick plastic cases, often using ABS plastic that has demonstrated remarkable resistance to yellowing and degradation compared to modern counterparts.
The switches in these keyboards typically feature metal mounting plates and housings, with gold-plated contact points that resist corrosion. Notable examples like the IBM Model M employ a buckling spring mechanism with individual metal springs for each key, while Cherry vintage switches use high-grade plastics and metal components that continue to perform smoothly after millions of keystrokes.
The keycaps on vintage keyboards are particularly noteworthy, commonly made with double-shot molded PBT plastic or dye-sublimated ABS. These manufacturing methods create legends that never fade, unlike modern pad-printed alternatives. The PCBs (Printed Circuit Boards) are often through-hole soldered, making them easier to repair and more resilient than surface-mount components found in contemporary keyboards.
This robust construction explains why many vintage keyboards from the 1980s and early 1990s remain fully functional today, often outlasting their modern counterparts.
Modern Interface Solutions
USB Conversion Options
Converting vintage mechanical keyboards for modern use typically involves choosing between several USB conversion options. The most straightforward approach is using pre-made converters like the Soarer’s Converter or TMK, which support various vintage protocols including AT, XT, and Terminal keyboards. These plug-and-play solutions offer basic functionality without requiring technical expertise.
For those interested in a more hands-on approach, a DIY electronics conversion using a Raspberry Pi Pico or Arduino Pro Micro can provide greater customization options. These microcontroller-based solutions allow you to program specific key mappings, implement macros, and even add modern features like N-key rollover to your vintage keyboard.
The QMK Firmware platform has become particularly popular among enthusiasts, offering extensive customization options and community support. When selecting a conversion method, consider factors like your keyboard’s original protocol, connector type, and desired features. Some vintage keyboards may require additional components like level shifters or custom PCB adapters to ensure proper signal conversion.
For Terminal keyboards with unique protocols, specialized solutions like the USB2Terminal converter or custom firmware implementations might be necessary. Whatever method you choose, ensure proper research and testing to maintain the keyboard’s functionality while adding modern connectivity.
Using Raspberry Pi as a Keyboard Converter
Converting vintage keyboards to work with modern computers is surprisingly straightforward using a Raspberry Pi. Before beginning this project, ensure you’re comfortable with setting up your Raspberry Pi and have basic soldering skills.
First, gather your materials: a Raspberry Pi Pico (recommended for its USB capabilities), jumper wires, a breadboard, and your vintage keyboard connector. You’ll also need the QMK firmware, which we’ll use to program the Pi.
Start by identifying your keyboard’s protocol – most vintage keyboards use either AT, XT, or PS/2 protocols. Map out the pinout of your keyboard connector and connect it to the corresponding GPIO pins on your Raspberry Pi using the breadboard and jumper wires.
Next, install QMK firmware on your computer and configure it for your specific keyboard layout. Create a new keymap file that matches your vintage keyboard’s matrix. The QMK documentation provides excellent templates for common layouts.
Connect your Raspberry Pi to your computer via USB and flash the configured firmware. The Pi will now act as a USB HID device, translating the vintage keyboard’s signals into modern USB inputs.
For testing, start with basic keystrokes before moving on to more complex functions. Some vintage keyboards have special keys that might need custom mapping – document these for future reference.
Remember to house your converter in a protective case to prevent short circuits and damage. Many makers share 3D-printable case designs online specifically for this purpose.
This conversion method preserves the authentic feel of your vintage keyboard while making it fully compatible with modern systems.
Protocol Conversion Basics
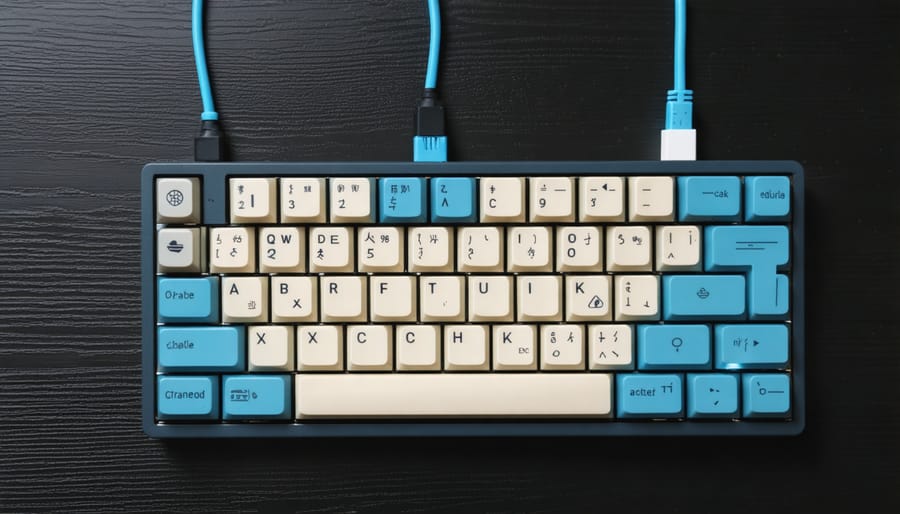
When working with vintage keyboards, understanding protocol conversion is essential for modern compatibility. Most vintage keyboards use protocols like XT, AT, or PS/2, which differ significantly from today’s USB standard. The conversion process involves translating these older communication methods into signals that modern computers can understand.
At its core, protocol conversion requires intercepting the keyboard’s original signals and mapping them to their USB equivalents. This can be accomplished through dedicated converter chips or by using a microcontroller like the Arduino or Raspberry Pi Pico. These devices act as translators, reading the vintage keyboard’s scan codes and converting them into modern USB HID (Human Interface Device) reports.
For example, an IBM Model M keyboard using the PS/2 protocol sends specific scan codes when keys are pressed. A converter reads these codes through the clock and data lines, processes them according to a predefined mapping table, and then sends the corresponding USB signals to your computer. This process happens in milliseconds, providing a seamless typing experience while preserving the unique characteristics of your vintage keyboard.
Restoration and Maintenance
Cleaning and Reconditioning
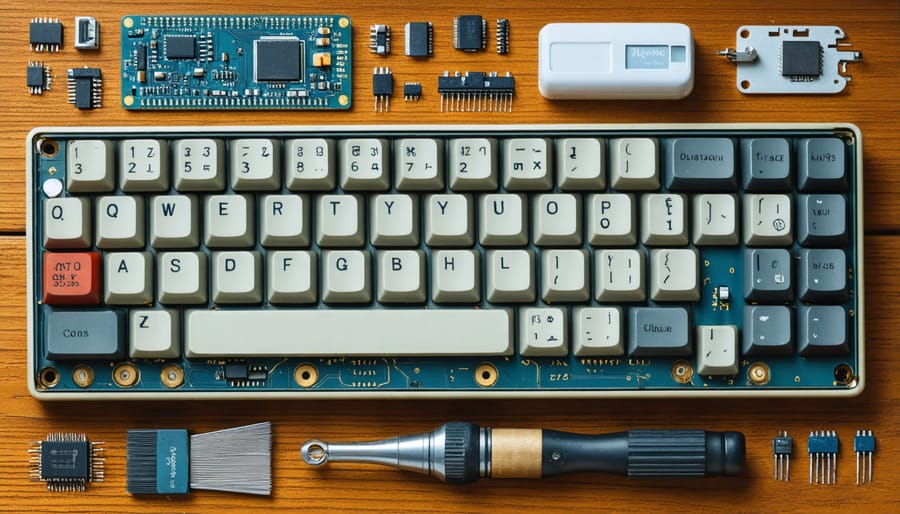
Proper cleaning and reconditioning are essential steps in bringing vintage mechanical keyboards back to life. Before starting any vintage hardware restoration project, gather the necessary supplies: isopropyl alcohol (90% or higher), cotton swabs, a keycap puller, compressed air, and a soft brush.
Begin by carefully removing all keycaps using the keycap puller. Document their layout with a photo to ensure correct reassembly later. Clean each keycap individually with warm soapy water, then dry thoroughly. For stubborn dirt, use isopropyl alcohol on a cotton swab.
With keycaps removed, use compressed air to blow out loose debris from the switch plate and PCB. Gently clean between switches with a soft brush, being careful not to dislodge any components. For sticky or unresponsive switches, apply a tiny amount of isopropyl alcohol using a cotton swab, then actuate the switch several times to work out the dirt.
Check the keyboard case for yellowing or discoloration. If present, consider retrobright treatment, but be cautious as this process can be risky for vintage plastics. Clean the case exterior and interior with isopropyl alcohol, paying special attention to stubborn stains and built-up grime.
Before reassembling, ensure all components are completely dry. Reattach keycaps following your documentation, and test each key for proper function and feel.
Common Issues and Solutions
Vintage mechanical keyboards often present several common challenges, but most can be resolved with the right approach. One frequent issue is key chatter, where a single keystroke registers multiple times. This can usually be fixed by cleaning the switch contacts with isopropyl alcohol or replacing the affected switch entirely.
Yellowed or discolored plastic cases are another typical problem. While many enthusiasts attempt to restore the original color using retrobright treatment (a combination of hydrogen peroxide and UV light), it’s important to test this method on a small area first to avoid damage.
Corroded or damaged PCBs can cause keys to stop responding. In such cases, carefully inspect the circuit board for broken traces and repair them using conductive ink or by soldering jumper wires. For more severe corrosion, thoroughly cleaning with electronic contact cleaner may restore functionality.
Non-standard connectors often prevent vintage keyboards from working with modern systems. Converting these keyboards typically requires a microcontroller-based solution to translate the original protocol to USB. While commercial converters are available, many enthusiasts build custom solutions using development boards.
Sticky or unresponsive keys can usually be resolved by disassembling and cleaning the switches. For Alps or Cherry MX switches, careful lubrication after cleaning can restore smooth operation. Remember to document the disassembly process with photos to ensure correct reassembly.
Programming and Customization
Custom Firmware Options
Modern enthusiasts have several options for programming custom firmware to breathe new life into vintage mechanical keyboards. The most popular firmware choices include QMK (Quantum Mechanical Keyboard), TMK, and VIA, each offering unique features for customization. QMK stands out as the most versatile option, providing extensive programming capabilities and compatibility with numerous controller boards, including Raspberry Pi-based solutions.
These firmware options allow users to remap keys, create custom macros, and implement advanced features like layer switching and RGB lighting control. For vintage keyboard conversion projects, QMK’s open-source nature makes it particularly valuable, as the community frequently develops and shares configurations for specific vintage models.
When implementing custom firmware, users can choose between pre-built solutions or create their own configurations from scratch. The Arduino Pro Micro and Teensy controllers are popular choices for conversion projects, though Raspberry Pi Pico has emerged as an excellent alternative due to its processing power and affordable price point.
The firmware selection process should consider factors like the keyboard’s original protocol, desired modern features, and your programming experience level. Most options provide user-friendly interfaces for basic modifications, while still offering deep customization for advanced users.
Adding Modern Features
While preserving the charm of vintage keyboards, you can incorporate modern features through strategic modifications. The most popular upgrade is adding USB connectivity using a microcontroller board, which enables seamless compatibility with current computers. You can install programmable firmware like QMK or TMK to enable custom key mappings, macros, and media controls.
For enhanced functionality, consider adding modern switch stabilizers to improve key feel and reduce noise. LED backlighting can be carefully integrated by drilling small holes for the LEDs and routing the wiring through existing channels. However, always document the original configuration before making any permanent changes.
Bluetooth connectivity is another valuable addition, achieved using wireless adapters or dedicated controllers. This modification allows you to maintain the keyboard’s vintage aesthetics while enjoying wireless convenience. Some enthusiasts also add USB hubs or audio passthrough ports by utilizing unused space in the keyboard case.
Remember to maintain voltage compatibility when implementing these features. Modern components typically operate at 5V, while some vintage keyboards use different voltages. Use appropriate voltage regulators and protective circuits to ensure safe operation and prevent damage to both the keyboard and your computer.
Modernizing vintage mechanical keyboards offers a unique blend of nostalgia and functionality that many enthusiasts find irresistible. By converting these classic input devices for modern use, you not only preserve a piece of computing history but also get to experience the exceptional build quality and distinctive feel that made these keyboards legendary. The conversion process, while requiring some technical knowledge and patience, is ultimately rewarding and cost-effective compared to purchasing new premium mechanical keyboards.
However, it’s important to consider several factors before embarking on a vintage keyboard project. Ensure you have the necessary tools and skills for basic electronics work, and research compatibility issues with your intended conversion method. Factor in the time needed for cleaning and restoration, and be prepared to source replacement parts if needed. The investment in conversion hardware, such as a Raspberry Pi Pico or custom controller, should also be considered in your budget planning.
For those willing to put in the effort, the result is a unique, personalized input device that combines classic engineering with modern functionality. Whether for daily use or as a showpiece in your collection, a properly modernized vintage keyboard can provide years of satisfying typing experience while preserving computing heritage for future generations.