

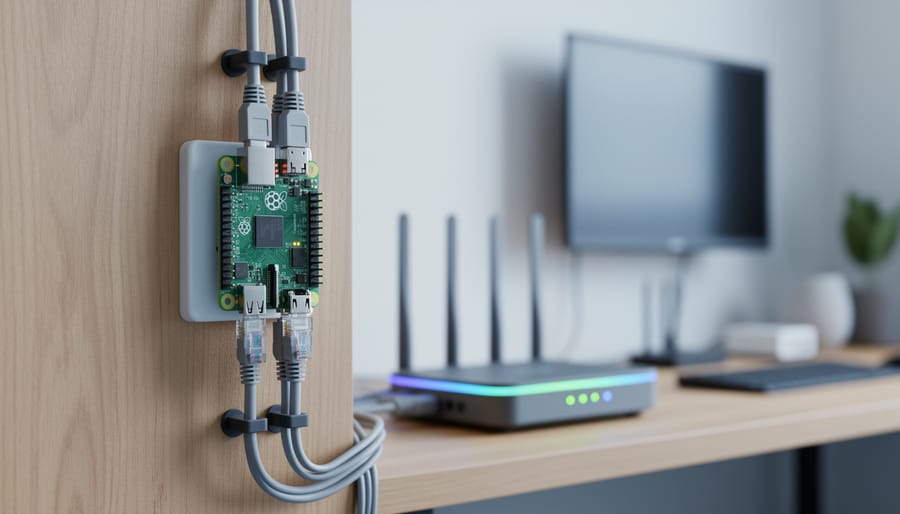
Preventing ransomware attacks on your Raspberry Pi or home server takes three core actions: maintaining offline backups, keeping software updated, and restricting network access through proper firewall configuration. These steps work because ransomware needs a vulnerable entry point and relies on your inability to recover data independently. With Raspberry Pi devices increasingly running home automation systems, media servers, and IoT projects connected to your network 24/7, they’ve become attractive targets for automated attacks scanning the internet for exposed services.
The Canadian Centre for Cyber Security’s Ransomware Playbook and the #StopRansomware Guide, updated in May 2023, both emphasize that prevention is far more effective than recovery. The guidance confirms that following structured prevention steps reduces both the likelihood of infection and the spread of malware throughout your network. This matters for Raspberry Pi users because a single compromised device can provide attackers access to your entire home network, including computers, phones, and cloud-synced files.
The reality is straightforward: most ransomware succeeds through predictable vulnerabilities like default passwords, outdated software, and services exposed directly to the internet without authentication. Raspberry Pi projects often start as quick experiments that stay online indefinitely, making them perfect targets for automated scanning tools. You don’t need enterprise-grade security solutions. You need consistent application of proven protective measures tailored to how you actually use your devices.
This guide walks through the specific prevention steps that work for Raspberry Pi environments, verification procedures to confirm your protections are active, and the immediate actions to take if you discover an infection already in progress.
Understanding Ransomware Threats in the Raspberry Pi Ecosystem
Ransomware encrypts your files and demands payment for the decryption key, but paying rarely guarantees recovery. The malware typically spreads through phishing emails, compromised websites, or exploited vulnerabilities in network-connected devices. Once it gains a foothold, it moves laterally across your network, encrypting everything it can reach before revealing itself with a ransom demand.
Raspberry Pi devices and other IoT equipment present particularly attractive targets because users often overlook their security. A Pi running as a home server, media center, or network-attached storage sits online 24/7, frequently with default credentials, unpatched software, and direct internet exposure. Attackers scan for these weaknesses constantly. Your Raspberry Pi might seem insignificant, but to automated scanning tools, it’s just another entry point into your network. Once inside, ransomware doesn’t care whether it started on a $35 computer or an enterprise server.
The threat landscape continues evolving, as noted in the National Cyber Threat Assessment 2025-2026 which highlights how cyber threats facing individuals and organizations will change in coming years. Ransomware operators increasingly target home networks and small-scale infrastructure rather than focusing solely on large enterprises. Your home lab running Docker containers, Pi-hole, or file sharing services creates multiple attack surfaces. An SSH port left open with weak credentials, an outdated web interface, or a misconfigured service can provide entry within minutes of exposure.
The shift toward IoT and edge computing means more devices, more complexity, and more opportunities for exploitation. Attackers automate their reconnaissance and exploitation, so a momentary lapse in security can lead to permanent data loss. Understanding these vulnerabilities is the first step toward closing them before an attacker finds them.
Essential Tools and Materials for Ransomware Prevention
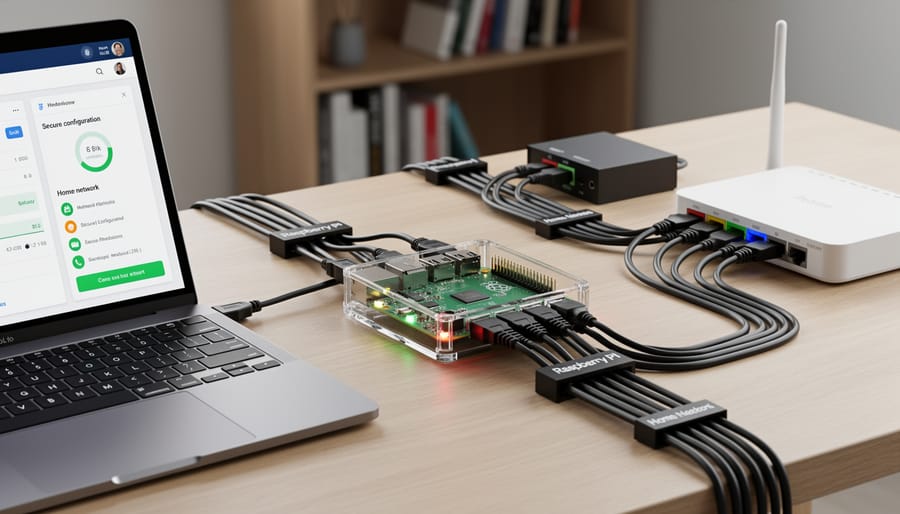
Setting up effective ransomware protection for your Raspberry Pi requires a specific toolkit that balances security, reliability, and resource efficiency. Unlike traditional desktop setups, Raspberry Pi systems need lightweight solutions that won’t overwhelm the hardware while maintaining robust defense layers.
Start with backup infrastructure as your foundation. You’ll need an external USB drive (at least 500GB recommended) or network-attached storage for local backups, plus cloud storage for offsite copies. For software, tools like rsync handle automated file synchronization efficiently on Raspberry Pi, while rclone manages cloud backups to services such as Google Drive or Backblaze B2. A UPS (uninterruptible power supply) prevents corruption during power failures that could compromise backup integrity.
Your security toolkit should include:
- UFW (Uncomplicated Firewall) or iptables for network traffic control
- Fail2ban to block repeated unauthorized access attempts
- ClamAV for malware scanning if your Pi handles file transfers
- Logwatch or Logcheck for monitoring system logs
- OpenVPN or WireGuard for secure remote access
For monitoring and alerting, consider installing Monit or Prometheus for system health tracking, and configure email alerts through tools like ssmtp or msmtp. A microSD card reader is essential for creating system image backups of your Pi’s boot drive, which provides full system recovery capability beyond file-level backups.
Documentation resources are equally critical as technical tools. The CISA #StopRansomware Guide offers industry best practices and a response checklist that applies directly to small-scale deployments. The Canadian Centre for Cyber Security Ransomware playbook complements this with specific guidance on immediate actions during an incident and prevention methods. Keep printed or offline copies of these resources, as you may lose network access during a ransomware event.
Most software tools mentioned are free and open-source, making them cost-effective for hobbyist deployments. Budget around $50 to $100 for quality backup hardware and a basic UPS. The real investment is time spent properly configuring these tools, which the subsequent sections will guide you through systematically.
Critical Security Warnings and Prerequisites
Before implementing any ransomware prevention measures, you need to understand the critical mistakes that turn routine security oversights into full-scale infections. Many Raspberry Pi users inadvertently create perfect conditions for ransomware by treating their devices as hobbyist projects rather than networked systems that require proper security controls.
The most common security failure is leaving SSH exposed to the internet with password authentication enabled. If your Raspberry Pi accepts connections from any IP address and relies on passwords rather than key-based authentication, you’re running a public invitation for automated attacks. Check whether port 22 (or any custom SSH port) is forwarded through your router before you proceed with any other security measures.
Insufficient backup strategies create the conditions where ransomware becomes genuinely threatening. Having a single backup stored on the same network as your Raspberry Pi means ransomware can encrypt both your active system and your only recovery option simultaneously. You need at least one backup that’s completely isolated from your network, whether that’s an external drive you disconnect after backing up or a cloud service the malware can’t reach.
Never assume that running Linux makes you immune. While Raspberry Pi OS faces fewer threats than Windows, ransomware targeting Linux systems has grown significantly, particularly against IoT devices and home servers. Your Pi is a computer on a network, and it needs the same security discipline as any other networked system.
Before starting the prevention steps that follow, verify you’re not already compromised. Check for unexpected CPU usage, unfamiliar processes, or files you didn’t create.
Step-by-Step Ransomware Prevention Process
Step 1: Harden Your Raspberry Pi Operating System
Operating system hardening forms your first defense layer against ransomware because attackers exploit weak configurations to gain initial access. Before implementing any other security measures, secure your Raspberry Pi’s foundation with these critical security hardening steps.
Change Default Credentials Immediately
Run `sudo passwd pi` to replace the default password, or better yet, create a new user account with `sudo adduser yourusername` and then delete the default pi account entirely with `sudo deluser –remove-home pi`. Never leave factory credentials active.
Disable Unnecessary Services
Check what’s running with `systemctl list-unit-files –state=enabled`. Disable anything you don’t actively use: `sudo systemctl disable ` for Bluetooth, or `sudo systemctl disable ` if you don’t need network discovery. Each running service is a potential entry point.
Enable Automatic Security Updates
Install unattended-upgrades with `sudo apt install unattended-upgrades` and enable it using `sudo dpkg-reconfigure –priority=low unattended-upgrades`. This ensures critical security patches install automatically without manual intervention.
Configure SSH Properly
Edit `/etc/ssh/sshd_config` to disable password authentication (use key-based only), change the default port from 22 to something non-standard, and set `PermitRootLogin no`. Restart SSH with `sudo systemctl restart ssh` after changes. Consider installing fail2ban (`sudo apt install fail2ban`) to block repeated login attempts automatically.
Step 2: Implement Network-Level Protection
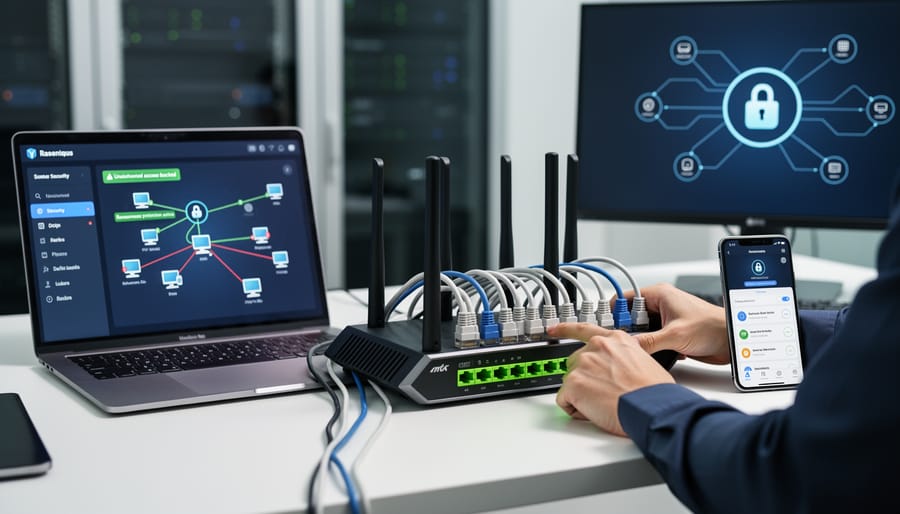
Network-level protection creates a critical barrier between your Raspberry Pi and potential ransomware threats before they reach your system. Start by enabling UFW (Uncomplicated Firewall), which provides straightforward command-line control. Run `sudo ufw default deny incoming` and `sudo ufw default allow outgoing` to establish baseline rules, then explicitly allow only necessary services like SSH on a non-standard port (e.g., `sudo ufw allow 2222/tcp`). For more advanced control, configure a dedicated Raspberry Pi firewall using iptables rules that filter traffic based on protocol, source, and destination.
Network segmentation isolates your Raspberry Pi projects from other devices. Create separate VLANs or subnets for IoT devices, trusted computers, and guest access, this containment prevents ransomware from spreading laterally across your entire network if one device becomes compromised. Configure your router to block traffic between segments unless explicitly required.
Lock down home Wi‑Fi by disabling WPS, using WPA3 encryption where supported, and changing default router credentials immediately. For remote access, never expose SSH directly to the internet, instead, implement a VPN solution like WireGuard or OpenVPN so all remote connections tunnel through encrypted channels. Disable UPnP on your router to prevent malicious software from automatically opening ports, and consider deploying fail2ban to automatically block IP addresses showing suspicious connection patterns after repeated failed authentication attempts.
Step 3: Deploy Automated Backup Solutions

Backups are your strongest defense against ransomware because attackers cannot hold you hostage if you have clean copies of your data. The 1-2-3 backup strategy (three copies of your data, on two different media types, with one copy offsite) creates redundancy that survives most attack scenarios. On Raspberry Pi, you can automate this approach using rsync for local and network backups, paired with cloud storage for the offsite component.
Start by creating a local backup script using rsync. Install rsync if needed with sudo apt install rsync, then create a script that copies your critical directories to an external USB drive. A basic rsync command looks like: rsync -avz –delete /home/pi/ /mnt/backup/pi-home/. The -avz flags preserve permissions and compress data, while –delete removes files from the backup that no longer exist in the source. Schedule this script daily using cron (crontab -e and add: 0 2 * * * /home/pi/) to run automatically at 2 AM.
For your second medium, set up network backups to a NAS device or another Raspberry Pi using the same rsync approach over SSH. The 3-2-1 backup strategy from the #StopRansomware Guide emphasizes keeping backups offline or immutable when possible, so consider disconnecting USB drives after backups complete or using append-only backup modes.
Complete the offsite requirement with cloud storage. Tools like rclone work well on Raspberry Pi and support major providers (Backblaze B2, Amazon S3, Google Drive). Install with curl | sudo bash, configure your provider with rclone config, then create a weekly backup job: rclone sync /mnt/backup/ remote:pi-backup/. Encrypt sensitive data before uploading using rclone’s built-in encryption or tools like gpg to ensure cloud backups remain secure even if your provider suffers a breach.
Step 4: Configure Access Controls and User Permissions
Start by creating a dedicated service account for each application running on your Raspberry Pi. Never run services as root or the default pi user. For example, if you’re hosting a web server, create a `www-data` user with access only to web directories. This containment limits what ransomware can encrypt if one service is compromised. You can secure with Docker containers to enforce additional isolation between applications.
Configure sudo access restrictively. Edit `/etc/sudoers` using `visudo` and grant elevated privileges only when necessary, never blanket access. Remove the default `NOPASSWD` directive that ships with Raspberry Pi OS, require password confirmation for every sudo command. This forces attackers to obtain credentials rather than simply exploiting a logged-in session.
Set strict file permissions across your system. Use `chmod 750` for directories and `640` for sensitive configuration files, ensuring only the owning user and group can access them. Apply `chmod 600` to SSH keys and credential files. Run `find / -type f -perm 0777` periodically to identify overly-permissive files that ransomware could exploit as entry points.
Disable root login entirely by setting `PermitRootLogin no` in `/etc/ssh/sshd_config`. Configure SSH to accept connections only from specific user accounts, listing them with `AllowUsers`. This principle of least privilege means even if credentials leak, the attack surface remains minimal, ransomware can’t escalate from a limited account to encrypt system-wide files without encountering permission barriers at every step.
Step 5: Enable Monitoring and Logging
Monitoring transforms your Raspberry Pi from a passive target into an active sentinel. Start by installing a lightweight log aggregator like rsyslog or journalctl to centralize system logs. Configure retention for at least 30 days, longer if storage permits, so you have a historical baseline when investigating suspicious activity.
Set up real-time monitoring with tools like Monit or Glances to track CPU spikes, unusual network traffic, and unexpected file system changes. Ransomware often announces itself through sudden encryption activity that hammers your processor and creates abnormal disk I/O patterns. Configure alerts for failed login attempts exceeding five in an hour, new processes running as root, and unexpected outbound connections to unfamiliar IP addresses.
For practical alerting, use simple email notifications through msmtp or push notifications via services like Pushover. A basic cron job that checks system logs every 15 minutes and emails anomalies costs nothing and catches early warning signs. Test your alerts monthly by deliberately triggering a condition, attempt several failed SSH logins, to confirm notifications reach you reliably.
Review logs weekly, even briefly. Familiarize yourself with normal patterns so deviations stand out immediately. Early detection gives you minutes to isolate an infected device before ransomware spreads across your network.
Verification and Testing Your Defenses

Testing your defenses regularly confirms they’re actually protecting you rather than just existing on paper. Start by scheduling a monthly verification routine, treating it like system maintenance rather than a one-time check ensures your protections remain effective as threats evolve.
Begin with the most critical component: your backups. Run a full restoration test on a spare SD card or secondary device, confirming you can recover your entire system from your most recent backup. This isn’t optional, a backup you haven’t tested is a backup that might fail when you need it most. Time the restoration process and document any issues you encounter. If restoration takes longer than you can tolerate or fails completely, fix your backup strategy now, not during an actual attack.
Next, verify your firewall is blocking unwanted traffic. Use online port scanning tools like ShieldsUP! or run nmap from an external device to scan your public IP address. Only the ports you explicitly need (such as port 443 for web access) should appear open. From your local network, confirm internal firewall rules are active by attempting to access services that should be blocked. The attempt should fail immediately.
- Test backup restoration on a secondary device and verify data integrity
- Scan your public-facing ports to confirm only intended services are accessible
- Review system logs for unexpected access attempts or failed login patterns
- Trigger a test monitoring alert to confirm notification delivery works
- Attempt to access admin functions using a non-privileged account (should fail)
- Check that automatic security updates are installing successfully
For monitoring systems, deliberately trigger test alerts by attempting multiple failed SSH logins or generating unusual network traffic patterns. If alerts don’t arrive within your expected timeframe, troubleshoot notification settings and verify your alerting service is running.
Finally, audit user permissions every quarter. Run sudo -l for each account to verify privilege levels match what you intended, and check file permissions on sensitive directories with ls -la. Successful prevention means these checks become routine, uneventful confirmations that everything works as designed, not crisis responses to discovered vulnerabilities.
If You’re Already Infected: Immediate Response Actions
Discovering ransomware on your Raspberry Pi or network demands swift, methodical action. The first hour determines whether you contain the infection or watch it spread across your entire infrastructure.
Your immediate priority is containment. Power off or disconnect the infected Raspberry Pi from your network without shutting it down through the operating system, which might trigger additional encryption. If the device is already displaying a ransom note, photograph the screen for documentation. Disconnect any network-attached storage, external drives, and shared folders that the infected device could access.
Next, identify the infection scope. Check other devices on your network for signs of compromise: encrypted files with unusual extensions, ransom notes, or abnormal system behavior. The ransomware playbook immediate actions from the Canadian Centre for Cyber Security emphasizes assessing which systems and data are affected before attempting recovery.
Document everything you observe: when you first noticed the infection, which files are encrypted, any error messages, and the ransom note content. Do not pay the ransom. Payment provides no guarantee of data recovery and funds criminal operations that target more victims.
Change passwords for any accounts that might have been accessed from the infected device, starting with administrative accounts and services that store sensitive data. Do this from a clean, uninfected computer.
If you have working backups from before the infection, verify they are not compromised. Test a small restore operation to confirm the backup integrity. Ransomware often searches for and encrypts backup files, so check that your offline or cloud backups remain intact.
Contact your internet service provider if the ransomware is spreading beyond your local network. Report the incident to law enforcement and consider filing a report with national cyber security authorities who track ransomware campaigns and may offer recovery assistance.
Only after isolation, documentation, and backup verification should you consider recovery options. The recovery process depends on having clean backups or forensic analysis capabilities, which the earlier prevention steps in this guide help ensure you possess.
Frequently Asked Questions About Raspberry Pi Ransomware Prevention
Can Raspberry Pi actually get ransomware?
Yes, any Linux-based system connected to a network can be infected with ransomware, and Raspberry Pi runs Linux. Attackers increasingly target IoT devices and home servers because they often have weaker security than traditional computers, making them easier entry points to your network.
Do I need antivirus software on my Raspberry Pi?
Traditional antivirus is less critical on Linux than proper system hardening, but real-time monitoring tools like ClamAV can add a layer of detection. Focus first on the fundamentals: strong credentials, firewall rules, updated software, and secure SSH configuration before adding antivirus.
How often should I back up my Raspberry Pi projects?
Critical data should follow daily automated backups, while full system images can run weekly. The frequency depends on how much work you can afford to lose, if you’re actively developing a project, back up daily; stable home servers might need weekly backups of configuration and monthly full images.
What if I can’t afford additional backup hardware?
Start with free cloud storage tiers (many services offer 5-15GB free) for your most critical configurations and data. An old USB drive costs almost nothing and provides local backup, while rotating a second SD card for monthly images adds minimal expense but significant protection.
These concerns reflect real obstacles many Raspberry Pi users face when implementing security measures. The good news is that ransomware prevention doesn’t require enterprise budgets or advanced technical skills, just consistent application of the practices outlined in resources like the #StopRansomware Guide.
Your home network is definitely at risk if any connected device has weak security. Raspberry Pi projects often run 24/7 with ports exposed to the internet, a perfect target for automated attacks scanning for vulnerable systems. A compromised Pi can become the entry point attackers use to reach other devices on your network, including computers, phones, and smart home equipment.
The complexity concern stops many beginners from implementing proper security, but modern Raspberry Pi OS includes built-in tools that handle most protection automatically once configured. Setting up UFW firewall takes three commands, automated backups require a single cron job, and SSH key authentication is a fifteen-minute one-time setup. Breaking the process into small steps makes it manageable even for newcomers.
Resource requirements are minimal compared to the cost of recovering from an attack. A basic prevention setup uses less than 5 percent of your Pi’s CPU, and automated backups can run during off-hours. The same Raspberry Pi 4 running your home server has plenty of capacity to also run security monitoring and backup scripts without impacting performance.
Recovery options depend entirely on your backup strategy. Without backups, you’re choosing between paying ransom (never recommended, as it funds further attacks and rarely guarantees data return) or accepting complete data loss. With proper backups following the 3-2-1 strategy, recovery means restoring from a clean backup image and investigating how the infection occurred. The Canadian Centre for Cyber Security’s Ransomware playbook includes specific guidance on recovery measures and methods to prevent future incidents, providing a structured approach if infection does occur.
Preventing ransomware attacks isn’t a set-it-and-forget-it task. The threat landscape constantly evolves, and your defenses need to keep pace. Think of security as a practice, not a project. The layered approach you’ve implemented today will only remain effective if you maintain it through regular updates, backup tests, and security reviews.
Following the principles outlined in the #StopRansomware Guide and industry best practices significantly reduces both your likelihood of infection and the potential impact if an attack does occur. By hardening your Raspberry Pi, segmenting your network, maintaining automated backups, and monitoring for suspicious activity, you’ve built multiple barriers that ransomware must breach to cause damage.
Schedule monthly check-ins to verify your backups, review access logs, and update your systems. Set quarterly reminders to reassess your security posture as new threats emerge. This ongoing vigilance transforms prevention from a daunting project into a manageable routine.
You’ve taken control of your security rather than waiting to become a victim. That proactive mindset, combined with the practical measures you’ve implemented, puts you ahead of most home network operators. Stay vigilant, keep learning, and your Raspberry Pi projects can thrive without the looming threat of ransomware disruption.