

Edge AI models are revolutionizing how we process data by bringing artificial intelligence directly to IoT devices and single-board computers like the Raspberry Pi. By implementing advanced edge computing techniques, developers can now run sophisticated machine learning models without relying on cloud connectivity. This paradigm shift enables real-time decision making, enhanced privacy, and reduced latency – critical factors for applications ranging from smart home automation to industrial monitoring systems.
The ability to deploy AI models at the edge represents a fundamental transformation in how we approach embedded systems development. Instead of sending raw data to remote servers, these optimized models process information locally, consuming minimal resources while delivering impressive performance. For makers and developers working with resource-constrained devices, this opens up exciting possibilities for creating intelligent, autonomous systems that operate efficiently even in environments with limited or no internet connectivity.
Whether you’re building a computer vision system for object detection or implementing natural language processing on your Raspberry Pi, understanding edge AI models is crucial for modern embedded development. Let’s explore how to harness this technology effectively while working within the constraints of edge devices.
Why Edge AI is Perfect for Raspberry Pi
Real-World Benefits
Running AI models locally on Raspberry Pi opens up exciting real-world applications that can transform everyday projects. One popular implementation is smart security cameras that can detect and identify people or objects without relying on cloud services, ensuring privacy and reducing latency. Makers have successfully created doorbell systems that recognize family members and alert homeowners of unfamiliar faces instantly.
Another practical application is automated plant care systems that use computer vision to monitor plant health, detect diseases, and optimize watering schedules. These systems process images in real-time to make intelligent decisions about plant maintenance without internet connectivity.
Educators are using Edge AI on Raspberry Pi to create interactive learning tools, such as sign language translators and real-time math problem solvers. These applications help students engage with technology while learning complex concepts.
In industrial settings, makers have developed quality control systems that inspect products on assembly lines, identifying defects immediately without sending data to external servers. This approach significantly reduces costs and improves production efficiency while maintaining data security.
Performance vs Cloud Processing
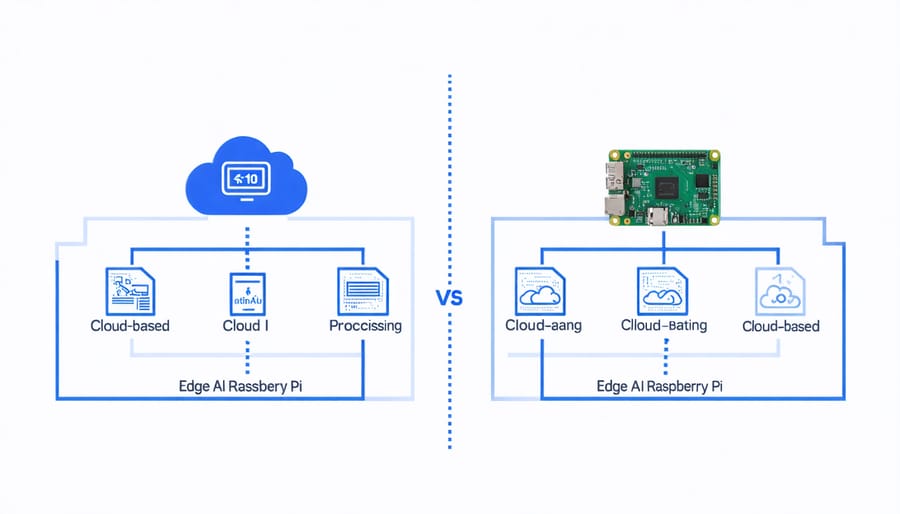
When comparing edge AI models running locally on devices like the Raspberry Pi to cloud-based processing, each approach offers distinct advantages. Local processing excels in latency, providing near-instantaneous results without internet dependency. This makes edge AI ideal for real-time applications like object detection or voice commands. Additionally, processing data locally enhances privacy and security since sensitive information never leaves your device.
Cloud processing, while powerful, introduces inherent delays due to network communication. However, it offers virtually unlimited computational resources and can handle more complex models that might be too demanding for edge devices. Cloud solutions also benefit from regular updates and improvements without requiring local hardware upgrades.
For Raspberry Pi enthusiasts, the choice often depends on specific project requirements. Edge AI is perfect for projects needing quick responses or operating in areas with limited connectivity. Consider running simpler, optimized models locally while offloading more intensive tasks to the cloud when real-time processing isn’t critical. This hybrid approach often provides the best balance between performance and capability.
Popular Edge AI Models for Raspberry Pi
TensorFlow Lite Models
TensorFlow Lite stands as Google’s lightweight solution for deploying machine learning models on edge devices like the Raspberry Pi. This framework optimizes models for efficient real-time processing capabilities while maintaining reasonable accuracy levels.
The framework excels in model optimization through techniques like quantization, which reduces model size by converting 32-bit floating-point numbers to 8-bit integers. This compression not only saves storage space but also accelerates inference time, making it ideal for resource-constrained devices.
To implement TensorFlow Lite on your Raspberry Pi, you’ll first need to convert your existing TensorFlow model using the TensorFlow Lite Converter. This tool generates a .tflite file that’s optimized for edge deployment. The conversion process allows you to specify various optimization parameters, such as input/output shapes and quantization preferences.
Common use cases include image classification, object detection, and natural language processing tasks. For instance, you can run a MobileNet model for image classification that requires only a fraction of the computational resources compared to its full-sized counterpart.
The framework also supports hardware acceleration through delegates like the Edge TPU, enabling even faster inference times when compatible hardware is available. This makes TensorFlow Lite an excellent choice for projects requiring quick response times and efficient resource utilization.
Edge-Optimized Neural Networks
Edge-optimized neural networks are specifically designed to run efficiently on resource-constrained devices like Raspberry Pi while maintaining acceptable performance levels. These networks employ various optimization techniques such as pruning, quantization, and architecture compression to reduce their size and computational requirements.
One popular approach is model pruning, which removes unnecessary connections and neurons from the network without significantly impacting accuracy. This can reduce model size by up to 90% in some cases. Quantization is another key technique that converts 32-bit floating-point weights to 8-bit or even binary values, dramatically reducing memory usage and processing time.
Modern edge-optimized architectures like MobileNet and EfficientNet are built from the ground up with edge deployment in mind. These networks use depth-wise separable convolutions and other efficient operations to minimize computational overhead while maintaining high accuracy. For instance, MobileNetV2 can run real-time object detection on a Raspberry Pi 4 at 3-4 frames per second.
Some networks also implement early-exit mechanisms, where simpler tasks can be completed using only a portion of the network, saving processing power. Transfer learning is frequently used to adapt these optimized networks to specific tasks while keeping the benefits of their efficient architecture.
When selecting an edge-optimized neural network for your project, consider the balance between model size, inference speed, and accuracy requirements. Start with smaller, proven architectures and scale up only if necessary for your specific use case.
Setting Up Your First Edge AI Model
Hardware Requirements
Running edge AI models requires specific hardware components to ensure optimal performance. At the minimum, you’ll need a processor capable of handling AI computations – popular choices include the Raspberry Pi 4 (2GB RAM or higher), Google Coral Dev Board, or NVIDIA Jetson Nano. These devices offer a good balance between processing power and energy efficiency.
For more demanding applications, consider devices with dedicated AI accelerators or Neural Processing Units (NPUs). A minimum of 2GB RAM is recommended, though 4GB or more provides better performance for complex models. Storage requirements vary based on your model size, but 16GB is typically sufficient for most edge AI applications.
Camera modules are essential for computer vision projects, while microphones are needed for audio processing tasks. GPIO pins allow connection to various sensors and actuators, expanding your project possibilities. Power requirements vary, but a 5V/3A power supply usually suffices for most edge devices.
For optimal performance, ensure proper cooling through heat sinks or small fans, especially when running resource-intensive models continuously. Some projects might also require additional components like displays or network adapters, depending on your specific use case.
Software Setup
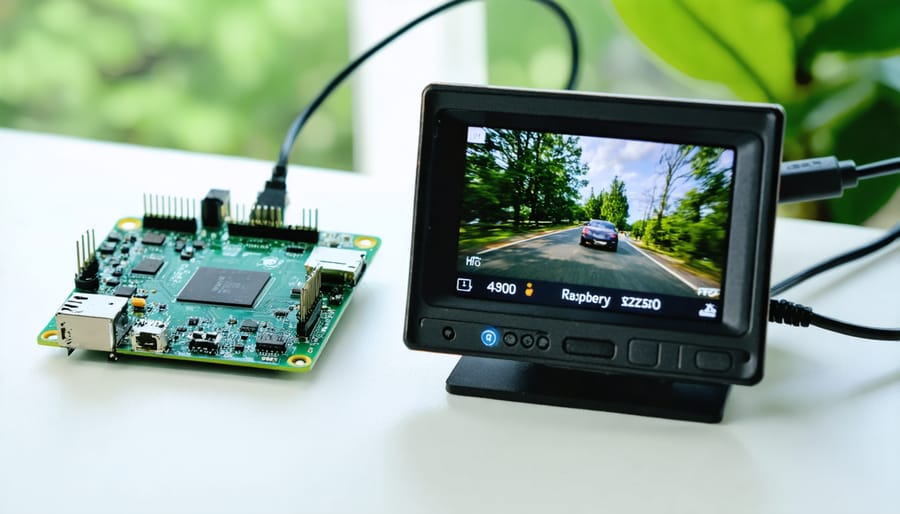
Setting up your environment for edge AI models requires careful attention to both hardware and software configurations. Begin by ensuring your Raspberry Pi runs the latest version of Raspberry Pi OS, as this provides optimal compatibility with AI frameworks.
First, open your terminal and update your system:
“`bash
sudo apt update && sudo apt upgrade -y
“`
Next, install the essential Python packages and dependencies:
“`bash
sudo apt install python3-pip
pip3 install tensorflow-lite
pip3 install opencv-python
pip3 install numpy
“`
For TensorFlow Lite support, you’ll need to install additional libraries:
“`bash
sudo apt install libatlas-base-dev
sudo apt install libjasper-dev
sudo apt install libqtgui4
sudo apt install python3-pyqt5
“`
Create a virtual environment to keep your project dependencies isolated:
“`bash
python3 -m venv edge_ai_env
source edge_ai_env/bin/activate
“`
To verify your installation, run a simple test:
“`bash
python3 -c “import tensorflow as tf; print(tf.__version__)”
“`
Remember to install any model-specific dependencies based on your chosen framework. For optimal performance, consider enabling GPU acceleration if your hardware supports it. Keep your environment clean by removing unnecessary packages and regularly updating your dependencies to ensure security and compatibility.
Model Deployment
Deploying an edge AI model involves transferring your trained model to your Raspberry Pi or similar edge device and setting it up for real-world operation. The process typically starts with converting your model to an optimized format like TensorFlow Lite or ONNX, which are specifically designed for edge devices with limited resources.
To load your model, you’ll need to install the appropriate runtime environment on your device. For TensorFlow Lite models, this means installing the TensorFlow Lite interpreter. The model file should be copied to your device’s storage, and your application code should include the necessary commands to load and initialize the model.
Here’s a basic deployment workflow:
1. Convert your model to an edge-friendly format
2. Transfer the model file to your device
3. Install required dependencies
4. Initialize the model interpreter
5. Set up input/output processing
6. Implement inference logic
Remember to test your deployed model thoroughly to ensure it performs as expected on your edge device. Monitor resource usage (CPU, memory, power) during operation, as these factors are crucial for edge deployments. For optimal performance, consider using hardware acceleration if available on your device.
Optimizing Edge AI Performance
Model Compression Techniques
Model compression is essential for running AI models efficiently on edge devices like the Raspberry Pi. Several proven techniques help reduce model size while maintaining acceptable performance levels.
Quantization is one of the most popular compression methods, converting 32-bit floating-point numbers to 8-bit integers. This technique can reduce model size by up to 75% with minimal accuracy loss. For instance, a model that originally requires 100MB of storage might only need 25MB after quantization.
Pruning removes unnecessary connections and neurons from the neural network. Think of it as trimming away branches that don’t significantly contribute to the model’s output. Pruning can reduce model size by 30-90% depending on the architecture and acceptable accuracy trade-offs.
Knowledge distillation is another powerful technique where a larger “teacher” model trains a smaller “student” model. The student learns to mimic the teacher’s behavior while maintaining a much smaller footprint. This approach works particularly well for tasks like image classification and natural language processing.
Weight clustering groups similar weights together, reducing the number of unique values that need to be stored. Combined with quantization, clustering can achieve compression ratios of up to 90% while preserving most of the model’s accuracy.
These compression techniques can be used individually or in combination, depending on your specific requirements for model size, speed, and accuracy on your edge device.
Hardware Acceleration Options
When deploying edge AI models on Raspberry Pi, understanding how to optimize hardware performance through acceleration options is crucial for achieving efficient real-time processing. The most common hardware accelerators available for Raspberry Pi include the Neural Compute Stick 2 (NCS2), Google’s Coral USB Accelerator, and the Raspberry Pi’s own GPU.
The Intel NCS2 is particularly effective for OpenVINO-based models, offering up to 4 TOPS of processing power while consuming minimal energy. It’s an excellent choice for computer vision tasks and can significantly speed up inference times for deep learning models.
Google’s Coral USB Accelerator, which utilizes the Edge TPU, is optimized for TensorFlow Lite models and can process up to 4 trillion operations per second. This makes it ideal for real-time object detection and classification tasks, with the added benefit of being plug-and-play compatible with Raspberry Pi.
For lighter workloads, the Raspberry Pi’s built-in GPU can be leveraged using frameworks like OpenGL ES or Vulkan. While not as powerful as dedicated accelerators, it’s a cost-effective solution for basic AI tasks and provides decent performance improvements over CPU-only processing.
When choosing an accelerator, consider your specific use case, model compatibility, and power requirements. Some projects might benefit from combining multiple acceleration methods for optimal performance.
Edge AI is revolutionizing how we process and interact with data, bringing powerful machine learning capabilities directly to our devices. As we’ve explored throughout this article, implementing Edge AI models on platforms like Raspberry Pi opens up countless possibilities for creating smart, responsive, and efficient applications that operate without constant cloud connectivity.
The journey to implementing Edge AI might seem daunting at first, but remember that you don’t need to be an AI expert to get started. Begin with simple projects like image classification or basic sensor data analysis, then gradually work your way up to more complex applications. The tools and frameworks we’ve discussed, such as TensorFlow Lite and OpenVINO, make it easier than ever to deploy AI models on edge devices.
Keep in mind the key considerations we’ve covered: model optimization for resource constraints, power efficiency, and the balance between accuracy and performance. Start by experimenting with pre-trained models before diving into custom model development. Don’t forget to leverage the vibrant community of makers and developers who are always willing to share their experiences and solutions.
Whether you’re building a smart home device, developing an industrial monitoring system, or creating an educational project, Edge AI can enhance your applications in meaningful ways. The future of computing is increasingly moving toward the edge, and now is the perfect time to join this exciting technological revolution. Pick up your Raspberry Pi, choose a project that interests you, and start bringing intelligence to the edge!