

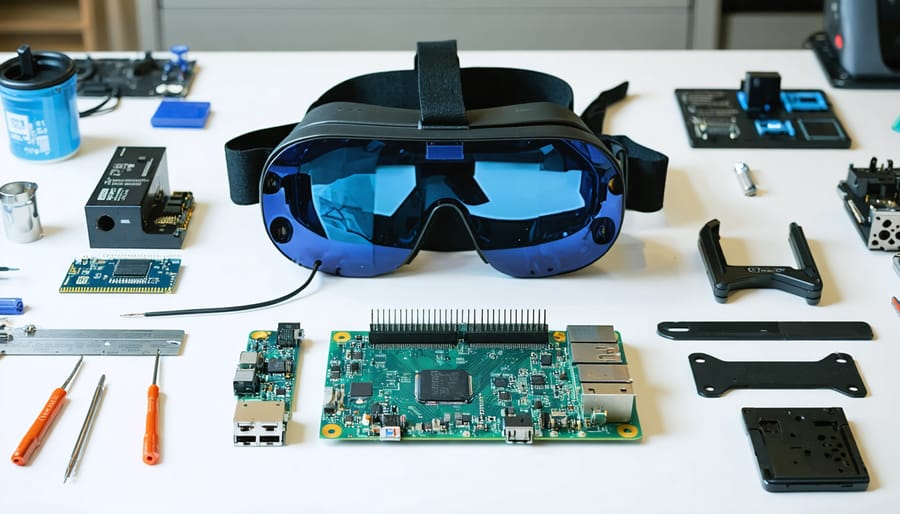
Transform your Raspberry Pi into a powerful virtual reality system using readily available open-source tools and hardware costing under $200. While getting started with Raspberry Pi VR might seem daunting, this DIY approach delivers impressive results at a fraction of commercial headset prices.
Build a basic VR headset using 3D-printed components, dual LCD displays, and motion sensors – all powered by OpenHMD and OSVR frameworks running on your Pi. Connect external cameras for mixed reality capabilities, enabling both fully immersive VR experiences and augmented reality applications. Leverage the growing community of open-source VR developers creating innovative applications, games, and educational content specifically optimized for Raspberry Pi architecture.
The democratization of virtual reality through open-source development has sparked a revolution in accessible VR technology. Whether you’re a hobbyist developer, educator, or tech enthusiast, building your own VR system provides valuable insights into both hardware integration and software development while maintaining complete control over your virtual reality experience.
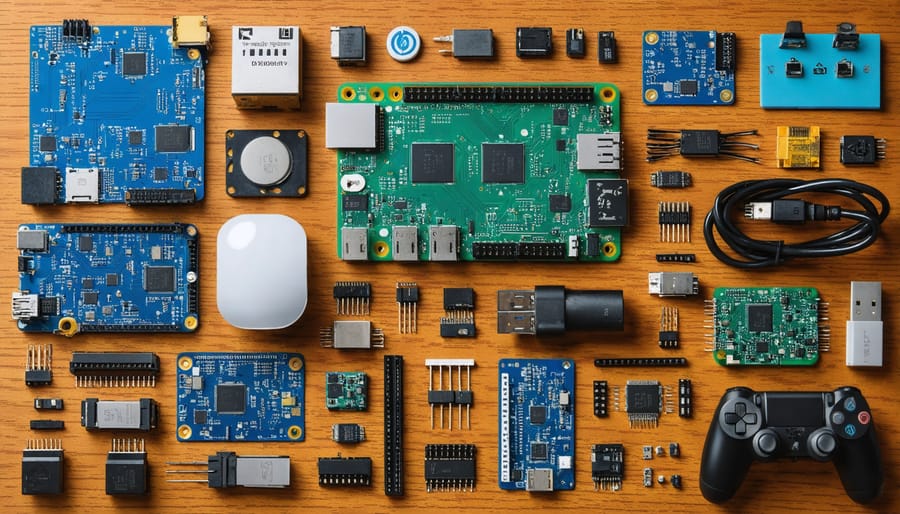
Essential Hardware Components
Display Options and Considerations
When building an open-source VR system, display selection is crucial for an immersive experience. Most DIY VR projects utilize either smartphone displays or dedicated LCD screens designed for VR applications. For smartphone-based solutions, devices with 1080p or higher resolution and screen sizes between 5.5 to 6 inches typically offer the best balance of quality and practicality.
Dedicated VR displays usually feature resolutions of 2560×1440 or higher, with refresh rates of at least 90Hz to minimize motion sickness. Look for displays with low persistence and fast response times (under 5ms) to ensure smooth motion tracking. The field of view (FOV) should ideally be 90 degrees or wider for a more immersive experience.
Several open-source display options have emerged from the community, including modified laptop screens and custom-designed PCB displays. When selecting a display, consider factors like:
– HDMI compatibility with your chosen platform
– Power requirements and voltage regulation
– Display driver support in your chosen operating system
– Physical mounting options for your headset design
For optimal results, many builders recommend using displays with built-in controllers that support HDMI direct input, as these simplify the integration process and reduce potential compatibility issues. Remember that higher resolution displays will require more processing power, so balance display specifications with your system’s capabilities.
Motion Sensors and Controllers
Motion tracking in open source VR projects has evolved significantly, offering DIY enthusiasts various affordable options for creating immersive experiences. The most common tracking solution involves using Inertial Measurement Units (IMUs), which combine accelerometers and gyroscopes to detect head and hand movements. These sensors are readily available and can be integrated with microcontrollers like Arduino or directly with the Raspberry Pi.
For hand controls, many makers opt for modified game controllers or custom-built solutions using readily available components. Popular options include adapting Nintendo Joy-Cons or PS Move controllers, which already contain the necessary motion sensors and can be reprogrammed for VR use. More advanced builders might create their own controllers using 9-DoF (degrees of freedom) sensors combined with 3D-printed enclosures.
Camera-based tracking offers another accessible approach, using either infrared or visible light tracking. OpenCV libraries enable makers to implement computer vision solutions for position tracking, while projects like OpenTrack provide free software for head tracking using standard webcams.
For those seeking higher precision, lighthouse-style tracking systems inspired by commercial VR setups can be built using IR sensors and emitters. While more complex to implement, these systems offer enhanced accuracy and reduced latency, making them suitable for more demanding applications.
Open Source VR Software Solutions
OSVR Integration
OSVR integration begins with downloading the OSVR software suite from the official GitHub repository. The platform is designed to be modular and flexible, making it ideal for DIY VR projects. Start by connecting your chosen VR display to your system and installing the OSVR Core software, which serves as the foundation for all OSVR applications.
Configuration involves editing the JSON-based config files to match your hardware setup. The default configuration works with most common VR displays, but you may need to adjust parameters like display resolution, refresh rate, and lens distortion settings for optimal performance. The OSVR configurator tool provides a user-friendly interface for making these adjustments without directly editing config files.
For tracking implementation, OSVR supports various input devices including webcams, IMUs, and dedicated tracking systems. The platform’s plugin architecture allows you to integrate different tracking solutions easily. Connect your chosen tracking device and use the OSVR-Core utilities to calibrate and test the tracking accuracy.
To enhance compatibility with existing VR content, install the SteamVR-OSVR driver, which enables access to SteamVR applications. This bridge software translates OSVR protocols to SteamVR commands, expanding your content library significantly.
For development purposes, OSVR provides SDKs for multiple programming languages including C++, C#, and Java. The comprehensive documentation includes example projects and API references to help you get started with custom VR application development.
Remember to regularly check the OSVR community forums for troubleshooting tips and updates, as the platform continues to evolve with community contributions and improvements.
Custom VR Applications
Creating your own VR applications doesn’t have to be complicated, especially when using Python and OpenGL. These powerful tools allow developers to build immersive experiences with relatively simple code. To get started, you’ll need Python installed on your system along with PyOpenGL and a VR development framework like OpenHMD.
A basic VR application can be created in under 100 lines of code. Start by importing the necessary libraries and setting up a basic OpenGL window. The key components include establishing proper perspective projection, implementing head tracking, and creating stereo rendering for both eyes. While developing, you can test your applications using your remote desktop setup to make adjustments in real-time.
Here’s a simple workflow to follow:
1. Set up your development environment with Python and required libraries
2. Create a basic OpenGL window
3. Implement stereo rendering
4. Add head tracking integration
5. Include basic 3D objects for testing
6. Implement user input handling
Python’s simplicity makes it ideal for prototyping VR concepts. You can create interactive environments, virtual tours, or educational applications. The open-source community provides numerous libraries and examples to help you get started, making it easier to build upon existing solutions rather than starting from scratch.
Remember to optimize your code for performance, as VR applications require smooth frame rates to prevent motion sickness. Start with simple geometries and gradually add complexity as you become more comfortable with the development process.
Assembly and Configuration
3D Printed Housing
The 3D printed housing is a crucial component of your DIY VR headset, providing both protection for the electronics and comfort during use. You’ll need access to a 3D printer with a minimum build volume of 200x200x150mm and PLA or PETG filament for best results.
Download the STL files from our repository and slice them using your preferred software (we recommend Cura or PrusaSlicer) with the following settings:
– Layer height: 0.2mm
– Infill: 20%
– Support: Yes
– Build plate adhesion: Brim
The housing consists of four main parts: the front shell, rear shell, lens holders, and strap attachments. Print each piece separately to ensure the best quality. The estimated print time is about 12-14 hours total.
Once printing is complete, follow these assembly steps:
1. Remove all support material carefully, especially around the lens holders
2. Sand any rough edges with 220-grit sandpaper
3. Test-fit the lens holders into the front shell
4. Insert the display assembly into the front shell
5. Attach the rear shell using M3x10mm screws
6. Install the elastic head strap using the printed attachments
For optimal comfort, add foam padding around the face contact area. We recommend using adhesive-backed craft foam or repurposing padding from an old pair of safety goggles.
Pro tip: Print the parts in black or dark colors to reduce internal reflections that could affect image quality. If you notice any light leaks after assembly, apply black electrical tape to seal any gaps.
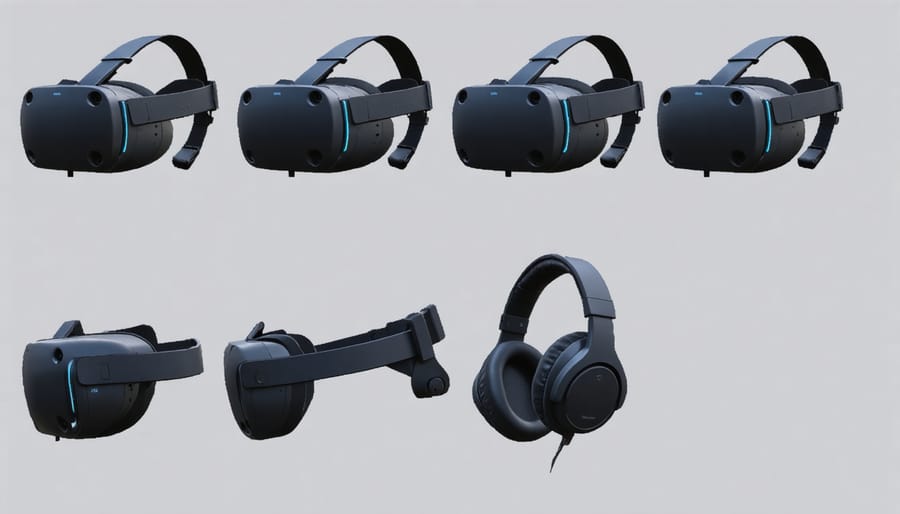
System Configuration
To get your open-source VR system running smoothly, you’ll need to configure both your operating system and VR-specific software components. Start by ensuring your system meets the minimum requirements: a Linux-based OS (Ubuntu 20.04 or later recommended) with the latest graphics drivers installed.
Install the OpenHMD drivers first, which provide the foundation for headset communication. Open your terminal and run:
“`
sudo apt-get install libopenhmd-dev
“`
Next, set up OpenVR compatibility layer by installing SteamVR and Monado. These work together to provide a seamless VR experience:
“`
sudo add-apt-repository ppa:monado-team/monado
sudo apt update
sudo apt install monado
“`
For optimal performance, adjust your system’s power settings to “Performance” mode and disable any unnecessary background processes. Create a dedicated configuration file for your VR sessions:
“`
sudo nano /etc/udev/rules.d/99-vr.rules
“`
Add USB device rules to ensure proper permissions and reduced latency. Don’t forget to configure your display settings – set your monitor refresh rate to match your headset’s capabilities and enable direct mode if available.
For tracking accuracy, calibrate your sensors using the built-in calibration tools. Consider creating a separate user account specifically for VR sessions to maintain a clean environment without interference from other applications.
Remember to test your setup thoroughly before diving into development. Run the basic OpenHMD demo applications to verify everything works as expected, and monitor system resources to identify potential bottlenecks.
Troubleshooting and Optimization
When working with open-source VR systems, you might encounter several common challenges. Here’s how to address them and optimize performance for the best experience.
Display Issues:
– If you experience screen tearing, enable VSync in your VR software settings
– For blurry visuals, check your IPD (Inter-Pupillary Distance) settings and adjust accordingly
– Screen drift can be fixed by recalibrating your headset sensors
– Black screen problems often resolve by checking HDMI connections and driver updates
Tracking Problems:
– Ensure your room has adequate lighting for sensor tracking
– Clean camera lenses and sensors regularly
– Keep reflective surfaces covered during use
– Maintain recommended distance from tracking cameras
Performance Enhancement:
– Reduce background processes while running VR applications
– Update graphics drivers to their latest versions
– Maintain proper ventilation for your hardware
– Consider overclocking your GPU (with caution)
– Use lightweight desktop environments
Motion Sickness Prevention:
– Start with shorter VR sessions
– Enable comfort settings like teleportation movement
– Ensure your frame rate stays above 60 FPS
– Take regular breaks every 30 minutes
Software Compatibility:
– Check OpenHMD compatibility before purchasing new hardware
– Keep SteamVR and related drivers updated
– Use compatibility layers when necessary
– Document and share solutions with the community
Remember that open-source VR is constantly evolving, and solutions that work today might need updating tomorrow. Join community forums and contribute your experiences to help others facing similar issues.
Open source virtual reality represents an exciting frontier in DIY technology, offering makers and enthusiasts the opportunity to explore VR without the hefty price tags of commercial systems. By leveraging readily available components and the power of the Raspberry Pi, anyone with basic technical skills can build their own VR setup while contributing to the growing open source community.
The benefits of this approach extend beyond cost savings. Makers gain valuable hands-on experience with hardware and software development, while having the freedom to customize and modify their systems according to specific needs. The open source nature of these projects ensures continuous improvement through community contributions and innovations.
Looking ahead, the future of open source VR appears promising. As hardware becomes more affordable and processing power increases, we can expect to see more sophisticated DIY solutions emerging. The growing ecosystem of open source VR applications and tools will continue to expand, creating new opportunities for education, entertainment, and practical applications.
Whether you’re a student, educator, or tech enthusiast, getting involved with open source VR projects offers a rewarding way to shape the future of virtual reality while developing valuable skills in hardware integration and software development.