

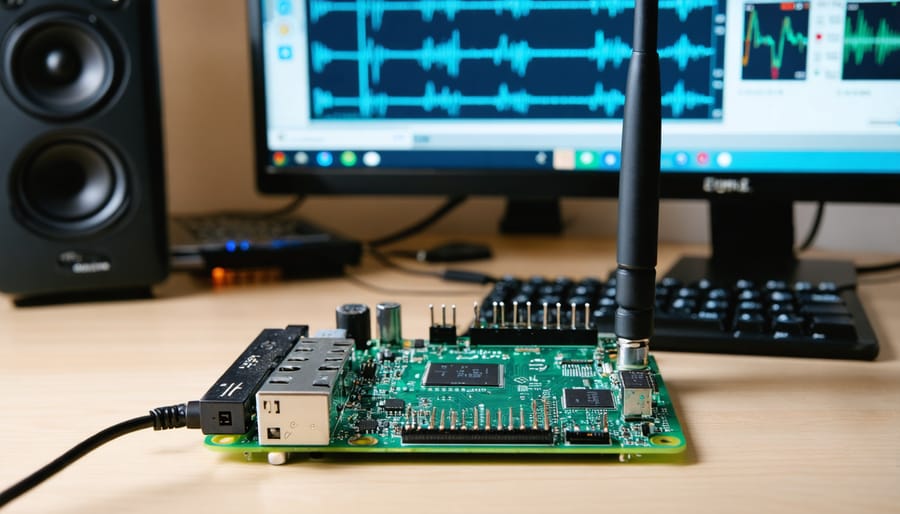
Transform your Raspberry Pi into a powerful Software Defined Radio (SDR) receiver that unlocks the vast spectrum of radio communications – from aircraft transponders to weather satellites – all for under $50. This innovative combination of affordable hardware and open-source software has revolutionized radio experimentation, making previously expensive radio monitoring technology accessible to hobbyists and researchers alike.
The Raspberry Pi’s robust processing capabilities, combined with an inexpensive RTL-SDR dongle, create a versatile radio monitoring station capable of receiving frequencies from 24 MHz to 1.766 GHz. Whether you’re tracking local weather patterns, decoding digital signals, or exploring ham radio, this setup offers a perfect entry point into the fascinating world of radio communications.
This guide will walk you through configuring your Raspberry Pi for SDR operations, from selecting the right hardware components to installing essential software packages like GQRX and RTL-SDR tools. You’ll learn how to capture and analyze radio signals, decode digital transmissions, and join a growing community of SDR enthusiasts pushing the boundaries of what’s possible with affordable computing hardware.
By the end of this article, you’ll have a clear understanding of how to build, configure, and operate your own SDR system using the Raspberry Pi as your foundation.
Essential Hardware and Software Components
Compatible SDR Dongles
The most popular and cost-effective SDR option for Raspberry Pi projects is the RTL-SDR dongle, particularly those based on the RTL2832U chipset. These affordable devices, typically priced between $20-30, can receive signals from 24MHz to 1.7GHz, making them perfect for beginners exploring software-defined radio.
For enhanced performance, the RTL-SDR Blog V3 dongle offers improved features like direct sampling mode, better temperature stability, and a more robust metal case. This version is specifically optimized for SDR applications and works seamlessly with Raspberry Pi systems.
Other compatible options include the HackRF One, which offers both transmission and reception capabilities, and the SDRplay RSP series, known for superior signal quality and wider frequency coverage. While these alternatives are more expensive, they provide additional features that might benefit advanced users.
When selecting a dongle, ensure it’s compatible with your Raspberry Pi model and check for the presence of bias-tee functionality if you plan to use powered antennas. Most modern SDR dongles connect via USB and are recognized automatically by popular SDR software packages.

Software Requirements
To get started with SDR on your Raspberry Pi, you’ll need several essential software packages. The primary requirement is GNU Radio, an open-source software package that provides signal processing blocks for implementing software-defined radios. Install it alongside its companion GUI tool, GNU Radio Companion, which offers a visual interface for creating signal flow graphs.
You’ll also need RTL-SDR drivers and libraries, specifically the rtl-sdr package and librtlsdr-dev for device support. For decoding various signals, install gqrx-sdr, a powerful SDR receiver application that offers a user-friendly interface for signal processing and visualization.
Python enthusiasts should install the pyrtlsdr library, which provides Python bindings for the RTL-SDR library. Additional useful packages include sox for audio processing, multimon-ng for decoding specific digital protocols, and dump1090 for processing ADS-B signals from aircraft.
Remember to keep these packages updated using the standard Raspberry Pi OS package manager. Most of these tools can be installed through simple apt commands, making the setup process straightforward for beginners.
Setting Up Your SDR Development Environment
Installing SDR Libraries
Before diving into SDR applications, you’ll need to install the necessary libraries and dependencies on your Raspberry Pi. First, ensure you’ve properly set up Raspberry Pi OS and updated your system using the following commands in the terminal:
sudo apt-get update
sudo apt-get upgrade
Next, install the RTL-SDR libraries and related tools by running:
sudo apt-get install rtl-sdr librtlsdr-dev
For additional functionality and software support, you’ll want to install these essential packages:
sudo apt-get install cmake build-essential libusb-1.0-0-dev
To prevent conflicts with the default DVB-T drivers, create a blacklist file:
sudo nano /etc/modprobe.d/blacklist-rtl.conf
Add these lines to the file:
blacklist dvb_usb_rtl28xxu
blacklist rtl2832
blacklist rtl2830
After saving the file, reboot your Raspberry Pi for the changes to take effect. To verify the installation, connect your RTL-SDR dongle and run:
rtl_test
If you see device information without errors, your SDR libraries are properly installed and ready for use. Remember to install additional software packages like GQRX or SDR# depending on your specific project needs. These tools provide graphical interfaces for easier radio signal processing and visualization.
Configuration and Testing
Once you have your RTL-SDR dongle connected to your Raspberry Pi, the first step is to verify that your system recognizes the device. Open a terminal and run the command ‘lsusb’ to check if the RTL-SDR device appears in the list of USB devices. After confirming the hardware connection, you’ll need to complete the development environment setup and configure network connectivity for optimal performance.
Install the required packages by running:
“`
sudo apt-get update
sudo apt-get install rtl-sdr rtl-sdr-dbgsym librtlsdr-dev
“`
To prevent the default DVB-T drivers from claiming the device, create a blacklist file:
“`
sudo nano /etc/modprobe.d/blacklist-rtl.conf
“`
Add these lines:
“`
blacklist dvb_usb_rtl28xxu
blacklist rtl2832
blacklist rtl2830
“`
Test your setup by running:
“`
rtl_test -t
“`
This command performs a basic functionality test of your RTL-SDR device. If successful, you’ll see information about your device and confirmation that it’s working correctly. Watch for any error messages that might indicate installation or configuration issues.
For optimal performance, consider adjusting the gain settings and sample rate according to your specific use case. Start with default settings and fine-tune as needed based on the signals you’re interested in receiving.
Programming Your First SDR Application
Basic Signal Reception
Here’s a simple example demonstrating how to receive and process radio signals using your Raspberry Pi SDR setup. First, install the rtl-sdr library and Python dependencies:
“`python
import rtlsdr
import numpy as np
from matplotlib import pyplot as plt
# Initialize the SDR device
sdr = rtlsdr.RtlSdr()
# Configure basic parameters
sdr.sample_rate = 2.4e6
sdr.center_freq = 95.7e6 # Example: 95.7 MHz FM radio
sdr.gain = ‘auto’
# Read samples
samples = sdr.read_samples(256*1024)
“`
This code sets up your SDR device to receive FM radio signals. The sample rate and center frequency can be adjusted based on your target signal. To visualize the received signal’s spectrum:
“`python
# Calculate power spectrum
psd = np.abs(np.fft.fft(samples))**2
psd_db = 10*np.log10(psd)
# Plot the spectrum
plt.plot(psd_db)
plt.xlabel(‘Frequency Bin’)
plt.ylabel(‘Power (dB)’)
plt.show()
“`
For continuous signal monitoring, implement a basic loop:
“`python
try:
while True:
samples = sdr.read_samples(256*1024)
# Process samples here
print(f”Signal strength: {np.mean(np.abs(samples))}”)
except KeyboardInterrupt:
sdr.close()
“`
Remember to properly close the SDR device when finished. This basic implementation can be expanded to include signal filtering, demodulation, or specific protocol decoding depending on your project requirements.
Signal Processing Techniques
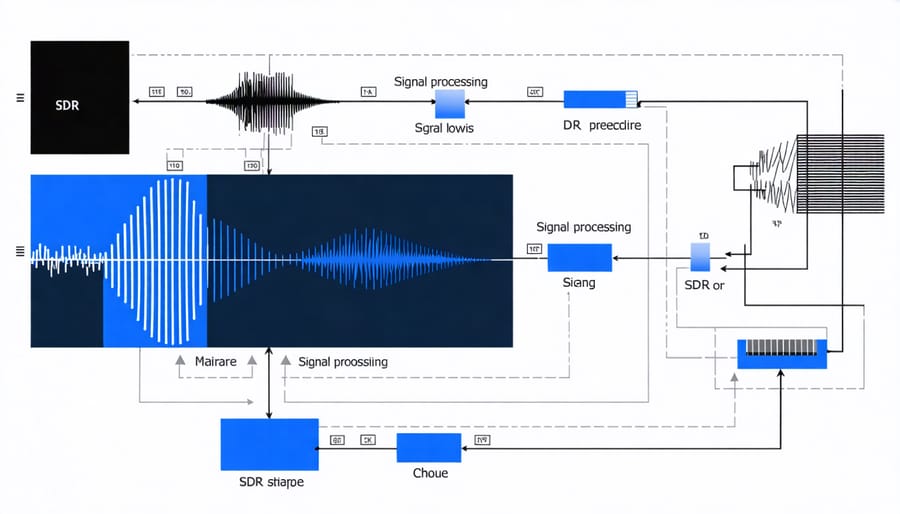
Signal processing is at the heart of software-defined radio on the Raspberry Pi, enabling you to manipulate and analyze received signals effectively. The most commonly used techniques include filtering, demodulation, and decimation, which can be implemented using popular Python libraries like NumPy and SciPy.
For basic signal filtering, you can implement a low-pass filter to remove unwanted high-frequency noise from your received signals. This is particularly useful when working with AM or FM radio signals. Here’s a practical approach: use NumPy’s convolve function with a simple moving average filter, or implement more sophisticated FIR (Finite Impulse Response) filters using SciPy’s signal processing modules.
Demodulation is essential for extracting meaningful information from received signals. For AM signals, you can use envelope detection through simple absolute value calculation and low-pass filtering. FM demodulation typically involves calculating the derivative of the signal’s phase, which can be accomplished using the numpy.diff function.
Sample rate conversion, or decimation, helps manage the high data rates common in SDR applications. By reducing the sample rate appropriately, you can process signals more efficiently on the Raspberry Pi’s limited resources. The SciPy library offers decimation functions that maintain signal quality while reducing computational load.
Real-time processing requires careful optimization. Consider using smaller buffer sizes and implementing circular buffers to handle continuous streams of data. The numpy.roll function is particularly useful for implementing sliding window operations efficiently.
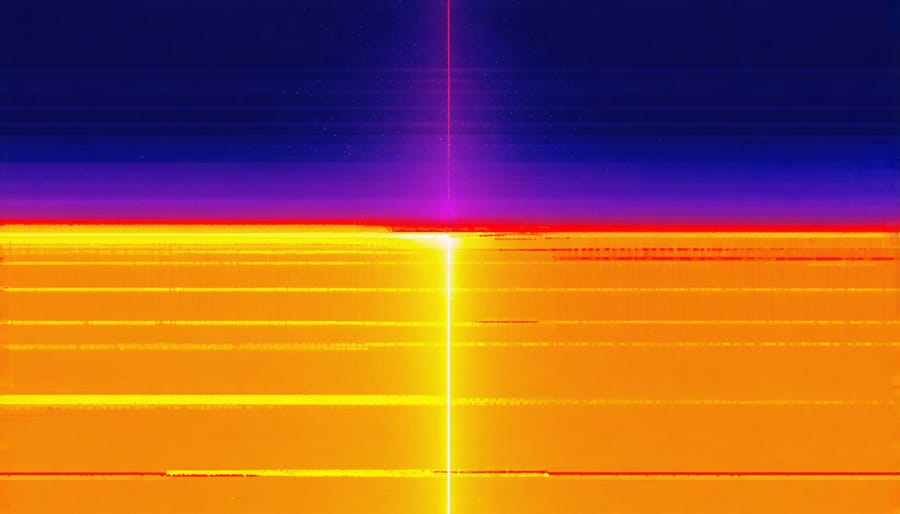
For spectrum analysis, the Fast Fourier Transform (FFT) is indispensable. NumPy’s fft module provides efficient implementations for converting time-domain signals to frequency domain. This is crucial for visualizing the frequency content of received signals and implementing features like waterfall displays.
Advanced users can explore digital down-conversion (DDC) techniques to isolate specific frequency bands of interest. This involves mixing the input signal with a complex exponential and applying appropriate filtering, all achievable using NumPy’s complex number operations.
Troubleshooting and Optimization
When working with SDR on Raspberry Pi, you might encounter several common challenges. Let’s address these issues and explore effective solutions to help you optimize your SDR applications for better performance.
One frequent issue is USB bandwidth limitations. If you’re experiencing dropped samples or stuttering audio, try reducing the sample rate in your SDR software. Additionally, using a powered USB hub can help prevent power-related issues that often affect SDR dongles.
CPU utilization can become problematic, especially when running complex signal processing tasks. To address this, consider:
– Adjusting the buffer size in your SDR software
– Closing unnecessary background processes
– Using lighter-weight desktop environments or running headless
– Implementing proper cooling solutions to prevent thermal throttling
Reception quality issues are also common. To improve signal reception:
– Keep the SDR dongle away from other USB devices to reduce interference
– Use a quality antenna positioned away from sources of electromagnetic interference
– Add ferrite beads to USB cables to reduce noise
– Consider using an LNA (Low Noise Amplifier) for weak signals
If you’re experiencing software crashes, ensure you’re using the latest stable versions of your SDR applications and drivers. Sometimes, rolling back to a previous version can resolve stability issues. Keep your Raspberry Pi’s operating system updated, but verify compatibility with your SDR software before major updates.
Memory management is crucial for stable operation. Monitor your system’s memory usage and consider increasing your swap file size if needed. For real-time applications, adjusting your system’s nice values can help prioritize SDR processes.
Finally, maintain proper documentation of your configuration changes and keep backup copies of working configurations. This practice will save time when troubleshooting and allow you to quickly restore functionality if issues arise.
Software Defined Radio on Raspberry Pi represents an exciting frontier in amateur radio and digital signal processing. Through this exploration, we’ve seen how combining affordable hardware with powerful open-source software creates a versatile platform for radio experimentation. From installing essential SDR software to configuring drivers and implementing basic receiving functions, the Raspberry Pi proves to be an excellent foundation for SDR projects.
To continue advancing your SDR journey, consider exploring more complex applications like decoding weather satellite signals, implementing digital voice modes, or building automated monitoring stations. Join online communities dedicated to SDR development, share your experiences, and collaborate with fellow enthusiasts. Remember to regularly update your software and experiment with different SDR hardware options to expand your capabilities.
With ongoing developments in both hardware and software, the future of Raspberry Pi SDR projects looks increasingly promising for hobbyists and researchers alike.