


Transform your old landline system into a modern, customizable phone solution using a Raspberry Pi as your personal PBX (Private Branch Exchange). Building a Raspberry Pi-based phone system lets you create a feature-rich communication hub for less than $100, complete with voicemail, call forwarding, and even VoIP capabilities. This DIY approach not only saves money but also gives you complete control over your telecommunications infrastructure.
Today’s Raspberry Pi phone systems rival commercial solutions, offering enterprise-level features like automated attendants, call recording, and conference bridges. With open-source software like Asterisk or FreePBX, even beginners can set up a professional-grade phone system that scales from home use to small business applications. The combination of affordable hardware and powerful software makes it possible to build a system that perfectly matches your specific communication needs.
By leveraging the Pi’s versatility, you can integrate modern VoIP services with traditional analog phones, create custom call routing rules, and even develop your own telephony applications. Whether you’re looking to replace an outdated phone system, build a home automation hub, or experiment with telecommunications technology, a Raspberry Pi phone system provides the perfect foundation for your communications project.
Required Hardware Components
Core Components
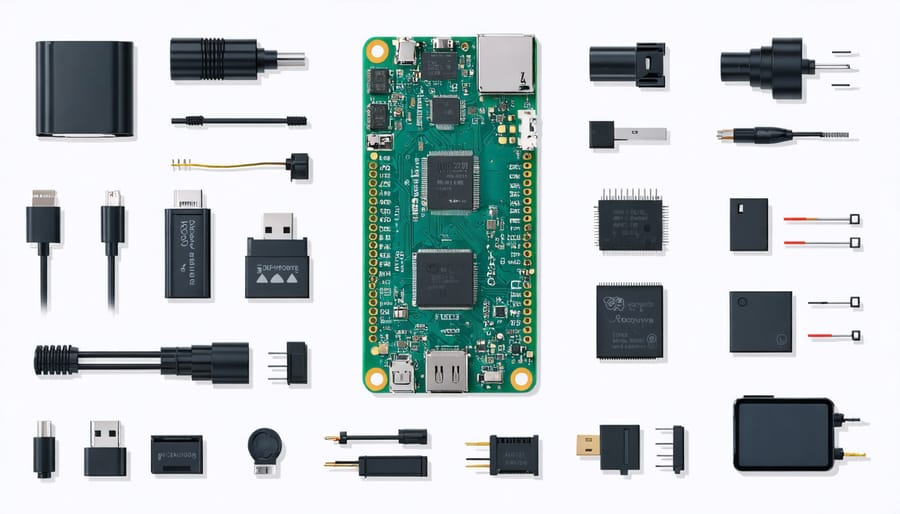
To build a reliable phone system with Raspberry Pi, selecting the right model and components is crucial. The Raspberry Pi 4 Model B is the recommended choice, offering superior processing power and connectivity options essential for telephony applications. A minimum of 2GB RAM is advised, though 4GB provides better performance for multiple concurrent calls.
Essential hardware components include a high-quality USB microphone and speakers or a USB headset for clear audio. For cellular connectivity, you’ll need a compatible GSM module such as the SIM800L or SIM7600E-H, which enables SMS and voice call capabilities. A stable 5V/3A power supply is necessary to ensure consistent operation.
Storage requirements are relatively modest – an 8GB microSD card suffices, though 16GB or larger provides more space for call logs and additional features. For enhanced reliability, consider adding a small UPS (Uninterruptible Power Supply) HAT to prevent system disruption during power fluctuations.
Network connectivity is vital – either via Ethernet (recommended for stability) or Wi-Fi. If using Wi-Fi, ensure your router provides consistent signal strength where you’ll install the system. For projects requiring mobility, a dedicated USB Wi-Fi adapter with external antenna support can improve connection reliability.
These core components form the foundation of your Raspberry Pi phone system, enabling you to build a functional communication platform that can be expanded with additional features as needed.
Mobile Connectivity Modules
To transform your Raspberry Pi into a functional phone system, selecting the right mobile connectivity module is crucial. Several GSM and LTE modules are compatible with the Raspberry Pi, offering various 4G connectivity options and features.
The SIM800L module is a popular choice for basic GSM connectivity, supporting 2G networks and offering voice calls, SMS, and GPRS data capabilities. It’s affordable and ideal for beginners, though its data speeds are limited. For higher-speed connections, the SIM7600E-H supports 4G LTE networks and provides significantly faster data transfer rates, making it suitable for more demanding applications.
When choosing a module, ensure it’s compatible with your Pi model and local cellular networks. Most modules connect via USB or the Pi’s GPIO pins, with USB generally offering easier setup. Key considerations include:
– Network compatibility (2G/3G/4G)
– Power requirements
– Physical size and mounting options
– AT command support
– Available documentation and community support
For optimal performance, pair your module with an appropriate antenna and ensure stable power supply, as cellular modules can have significant power demands during transmission. Some modules may require additional components like level shifters or voltage regulators for proper integration with your Raspberry Pi.
Software Setup and Configuration
Operating System Selection
When building a Raspberry Pi phone system, choosing the right operating system is crucial for optimal performance. While there are numerous operating systems for Raspberry Pi, some are better suited for phone functionality than others.
RaspberryPi OS (formerly Raspbian) serves as a reliable foundation, offering excellent hardware compatibility and a robust package ecosystem. It’s particularly well-suited for phone projects due to its lightweight nature and extensive community support. However, you’ll need to install additional software packages to enable calling and messaging capabilities.
PostmarketOS, a Linux distribution specifically designed for mobile devices, presents another compelling option. It’s optimized for touch interfaces and includes built-in phone functionality, making it an excellent choice for those seeking a more phone-centric experience.
For users prioritizing security and privacy, Ubuntu Touch provides a mobile-optimized environment with enhanced privacy features. While it requires more configuration effort, it offers a polished user interface and comprehensive phone capabilities out of the box.
Consider your technical expertise and project requirements when selecting an OS. RaspberryPi OS might be ideal for beginners due to its extensive documentation, while PostmarketOS could better serve those seeking a more specialized phone experience. Remember that each OS has different hardware requirements and compatibility considerations, so verify support for your chosen components before proceeding.
Mobile Network Configuration
Setting up cellular connectivity for your Raspberry Pi phone system requires careful configuration of network parameters and proper hardware integration. Start by connecting a compatible GSM/3G/4G module to your Raspberry Pi through the USB port or GPIO pins. Popular modules include the SIM800L, SIM7600E-H, and Waveshare 4G HAT.
First, ensure your SIM card is properly activated and inserted into the GSM module. Follow the manufacturer’s network configuration guides for your specific module, as pin connections and initialization commands may vary.
Install the necessary drivers and dependencies using:
“`
sudo apt-get update
sudo apt-get install ppp screen
“`
Configure the PPP (Point-to-Point Protocol) settings by creating a new file in /etc/ppp/peers/ with your carrier’s APN settings. Most modules require AT commands for initialization, which you can send through a serial terminal:
“`
AT+COPS=? # Check available networks
AT+CREG? # Check registration status
AT+CSQ # Check signal quality
“`
For reliable connectivity, position your antenna away from metal objects and ensure proper power supply to the GSM module. Monitor signal strength regularly and implement error handling in your code to manage network disconnections gracefully. Remember to configure your firewall settings to allow cellular data traffic while maintaining security.
User Interface Setup
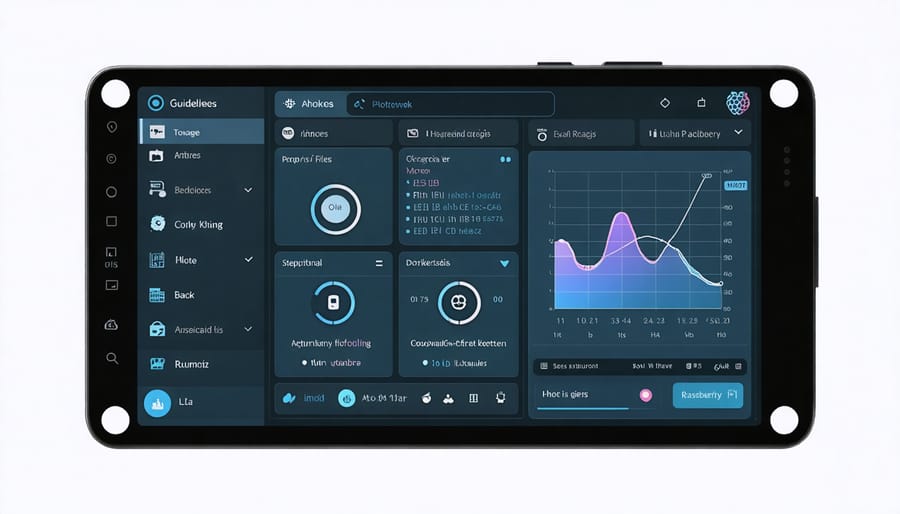
Setting up the user interface for your Raspberry Pi phone system requires careful attention to both the display configuration and touch input calibration. Start by connecting your chosen display to the Raspberry Pi’s GPIO pins or HDMI port, depending on your hardware selection. If you’re using a touchscreen, ensure it’s properly aligned and secured to avoid input accuracy issues.
Install the necessary display drivers by running ‘sudo apt-get update’ followed by ‘sudo apt-get install xserver-xorg-input-evdev’. This ensures proper touch functionality and display responsiveness. You can control your Raspberry Pi remotely during this process if needed.
Configure the display resolution by editing the config.txt file in the /boot directory. Add or modify these lines:
lcd_rotate=2
hdmi_force_hotplug=1
hdmi_group=2
hdmi_mode=87
hdmi_cvt=480 800 60 6 0 0 0
For touch calibration, use the xinput_calibrator tool by installing it with ‘sudo apt-get install xinput-calibrator’. Follow the on-screen instructions to tap the calibration points accurately. Save the calibration data to ensure it persists after reboots.
Finally, install a suitable GUI framework like Qt or Kivy for your phone interface. These frameworks provide touch-friendly elements and are well-suited for mobile applications on Raspberry Pi systems.
Building the Physical Phone
Component Assembly
Begin by gathering all your components on a clean, static-free workspace. First, attach the TFT display to the Raspberry Pi using the GPIO pins, ensuring proper alignment. The display should sit flush with the board, and you’ll feel a slight click when it’s properly seated.
Next, connect the GSM module to the designated UART pins on the Raspberry Pi. Double-check the pin connections: RX to TX, TX to RX, GND to GND, and VCC to 3.3V. Secure these connections with jumper wires, making sure they’re firmly attached to prevent disconnection during use.
Install the speaker module by connecting it to the audio output pins. If you’re using a USB speaker, simply plug it into one of the available USB ports. For the microphone, connect it to the appropriate GPIO pins or USB port, depending on your chosen model.
Mount the battery pack to power your system. Connect the positive and negative terminals to the corresponding power input pins on the Raspberry Pi, using a voltage regulator if necessary to ensure stable power delivery. Secure all components to your chosen case or mounting platform using standoffs and screws.
For the keypad interface, attach it to the remaining available GPIO pins according to your chosen pin configuration. Double-check all connections with a multimeter to ensure proper connectivity and avoid short circuits.
Finally, carefully arrange all components within your chosen case, ensuring proper ventilation and access to essential ports. Use cable ties or adhesive mounting pads to secure loose wires and prevent strain on the connections. Before closing the case, perform a final visual inspection of all connections.

Case Design and Construction
The case design for your Raspberry Pi phone system is crucial for both protection and usability. Several options are available, ranging from pre-made enclosures to custom 3D-printed cases. For beginners, modified smartphone cases offer a practical starting point, providing proper cutouts for components and a familiar form factor.
3D printing presents the most versatile solution, allowing you to create a custom case that perfectly fits your specific component configuration. Popular materials include PLA and ABS plastic, with PLA being more beginner-friendly and ABS offering better durability. When designing your case, ensure proper ventilation to prevent overheating and include strategic openings for the display, camera, buttons, and ports.
For those seeking a quick solution, several manufacturers offer dedicated Raspberry Pi cases that can be modified to accommodate phone components. These typically require minimal alterations and provide a solid foundation for your build. Consider using standoffs to secure the components and rubber bumpers for shock absorption.
Regardless of your chosen method, the case should incorporate these essential features:
– Adequate internal space for components and wiring
– Secure mounting points for the display and battery
– Access ports for charging and audio
– Protection for sensitive components
– Proper alignment of camera and sensor openings
– Ergonomic button placement
Remember to test-fit all components before final assembly and include some cable management solutions within the case design. This attention to detail will result in a more professional and reliable final product.

Testing and Troubleshooting
Basic Functionality Tests
Once your Raspberry Pi phone system is assembled, it’s crucial to conduct thorough testing of all basic functionalities before moving on to advanced features. Start by testing the power supply and boot sequence, ensuring your system starts up reliably and maintains stable operation.
For call testing, begin with basic outgoing calls to different types of numbers (local, long-distance, and emergency services if configured). Pay attention to audio quality, latency, and connection stability. Test incoming calls from various sources to verify ring notification, audio performance, and call handling capabilities. Document any issues with phone-to-Pi connectivity for troubleshooting.
SMS functionality testing should include sending and receiving messages of various lengths, including special characters and emojis if supported. Verify that messages are properly displayed, stored, and that notification systems work as intended. Test group messages and MMS if your system supports these features.
Check core system features such as contact management, call logs, and basic menu navigation. Ensure that your display shows correct information and responds appropriately to user input. Test volume controls, speaker functionality, and microphone sensitivity in different environmental conditions.
Monitor system resources during testing, including CPU usage, temperature, and memory consumption. This helps identify potential performance bottlenecks or stability issues. Keep a detailed log of any errors or unexpected behavior for future reference and optimization.
Remember to test emergency shutdown procedures and data backup systems to ensure your phone system remains reliable and secure during daily use.
Common Issues and Solutions
When building a Raspberry Pi phone system, several common issues may arise, but most have straightforward solutions. One frequent challenge is audio quality problems, which often stem from improper sound card configuration. To resolve this, double-check your ALSA configuration files and ensure your USB sound card is set as the default device.
Network connectivity issues can disrupt call quality or prevent calls entirely. If you experience dropped calls or poor connection, verify your network settings and ensure your Pi has a stable internet connection with sufficient bandwidth. Using a wired ethernet connection instead of Wi-Fi can significantly improve reliability.
Power-related problems are another typical concern. The Raspberry Pi may restart unexpectedly or shut down during calls if it’s not receiving adequate power. Use a high-quality power supply rated at least 2.5A and consider adding a UPS for backup power.
SIP registration failures often occur due to incorrect configuration. Double-check your SIP credentials, server addresses, and ensure your router’s firewall isn’t blocking necessary ports. Common SIP ports (5060-5061) should be open for proper communication.
System lag or delayed audio can make conversations difficult. This usually happens when the Pi is running too many background processes. Monitor your system resources and disable unnecessary services to improve performance. Increasing your swap space can also help with memory management.
If you encounter echo during calls, adjust the microphone sensitivity and speaker volume levels. Sometimes, using a headset instead of speakers can eliminate echo completely. Remember to position your microphone away from speakers to prevent audio feedback loops.
Building a Raspberry Pi phone system is an exciting and rewarding project that showcases the versatility of this remarkable single-board computer. Throughout this guide, we’ve explored the essential components, software requirements, and step-by-step process of creating your own custom phone solution. The resulting system not only provides basic telephony features but also offers endless possibilities for customization and expansion.
While the initial setup might seem challenging, the benefits of having a personalized phone system far outweigh the effort invested. The ability to control your communication infrastructure, implement custom features, and maintain privacy makes this project particularly valuable for both personal and small business use.
Looking ahead, there are numerous ways to enhance your Raspberry Pi phone system. Consider implementing additional features such as voicemail-to-email conversion, automated call routing, or integration with smart home devices. For those interested in security, adding encryption protocols and call monitoring capabilities could further strengthen the system. Advanced users might explore incorporating AI-powered features like voice recognition or natural language processing.
Remember that the Raspberry Pi community is constantly growing and sharing new innovations. Stay connected with forums and online communities to discover emerging applications and improvements. Regular software updates and security patches are essential to maintain optimal performance and protection against potential vulnerabilities.
Whether you’re using this system for home automation, small business communications, or educational purposes, the skills and knowledge gained from this project will serve as a solid foundation for future technical endeavors. The possibilities are limited only by your imagination and creativity.