

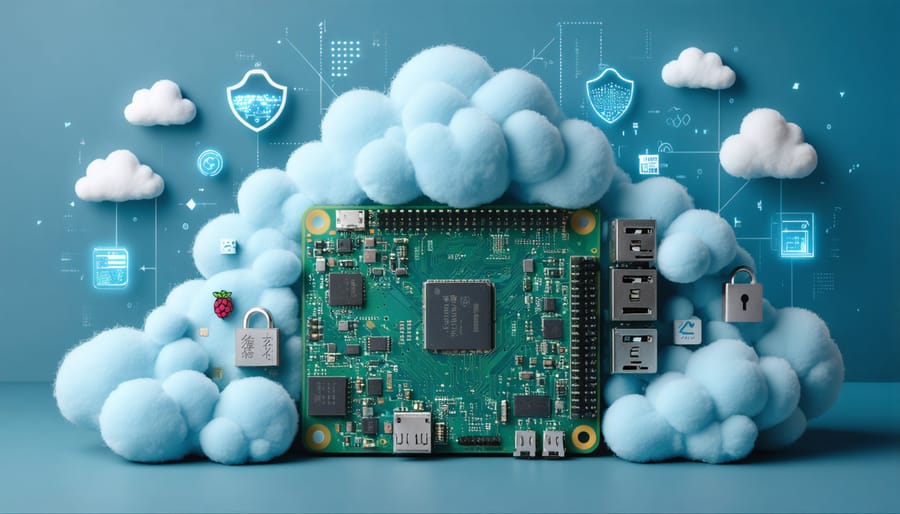
Transform your Raspberry Pi into a powerful personal cloud server and take control of your data storage today. By leveraging this compact yet capable device, you can create a secure, accessible, and cost-effective alternative to commercial cloud services. Whether you’re looking to host files, stream media, or backup important documents, the Raspberry Pi offers an ideal platform for building your own cloud infrastructure.
Recent improvements in the Raspberry Pi’s processing power and storage capabilities make it increasingly suitable for cloud applications. With options like NextCloud, ownCloud, and Seafile available, you can customize your setup to match specific needs while maintaining complete control over your data’s privacy and security. The entire system can be configured for less than $100, making it an economical solution for home and small business use.
This guide will walk you through selecting the right hardware components, installing cloud software, configuring network access, and implementing essential security measures to create a reliable personal cloud server. Learn how to break free from subscription-based cloud services and build a system that grows with your needs.
Why Choose Raspberry Pi for Cloud Storage
Cost-Effective Alternative to Commercial Solutions
Setting up a cost-effective cloud solution with a Raspberry Pi can save you significant money compared to commercial cloud services. While popular services like Dropbox, Google Drive, or AWS charge monthly fees that can add up over time, a Raspberry Pi cloud server requires only a one-time investment of approximately $75-100 for hardware.
Consider this: a basic 2TB cloud storage plan from major providers typically costs around $10 monthly or $120 annually. In contrast, a Raspberry Pi setup with a 2TB external hard drive costs about $100 upfront, with minimal electricity costs thereafter (roughly $5 per year). This means your DIY cloud server pays for itself within the first year.
Moreover, you’re not limited by subscription tiers or data caps. You can easily expand storage by adding more drives, and you maintain complete control over your data without recurring fees. While commercial solutions offer advantages in terms of redundancy and guaranteed uptime, the Raspberry Pi approach provides an excellent balance of functionality and cost-effectiveness for home users and small teams.
Complete Control Over Your Data
When you host your own cloud on a Raspberry Pi, you gain complete control over your data’s privacy and security. Unlike commercial cloud services that store your information on remote servers, your personal cloud keeps everything within the confines of your home network. This means you know exactly where your data is, who has access to it, and how it’s being protected.
You can implement custom security measures, like setting up specific encryption protocols, configuring firewalls, and managing user permissions according to your needs. There’s no need to worry about third-party data breaches or privacy policy changes that might affect your information. You also avoid the risk of your data being analyzed for advertising purposes or shared with other companies.
Additionally, self-hosting gives you the flexibility to choose which security updates to apply and when to implement them. You can regularly backup your data to external drives, creating a robust disaster recovery system that you control. This level of autonomy is particularly valuable for sensitive personal documents, family photos, and confidential business files.
Essential Hardware Requirements
Recommended Storage Options
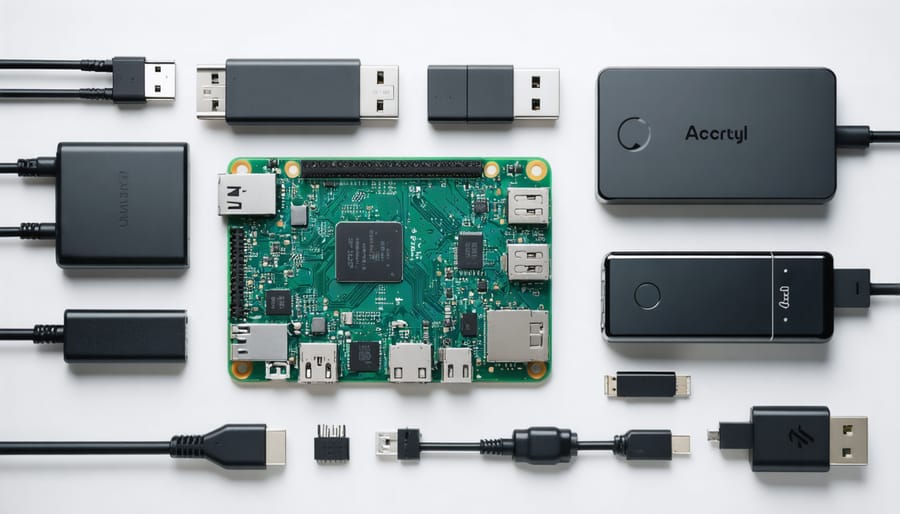
When setting up your Raspberry Pi cloud server, choosing the right storage solution is crucial for reliable performance. External USB drives offer an excellent balance of capacity and affordability, with options ranging from portable SSDs for faster access speeds to traditional HDDs for maximum storage space. For better reliability, consider using USB 3.0 drives when possible, as they provide improved data transfer rates.
Network-attached storage (NAS) drives can be connected to your Raspberry Pi for expanded storage capabilities, though this may impact access speeds compared to direct USB connections. If you’re just starting, a high-quality microSD card (32GB or larger) can serve as both your system and storage drive, but be aware that frequent read/write operations may reduce its lifespan.
For redundancy and data protection, implementing a RAID setup using multiple drives is possible, though it requires additional hardware and configuration. Cloud sync solutions like rclone can also be used to backup your data to external cloud services, providing an extra layer of protection for your most important files.
Consider your specific needs for capacity, speed, and reliability when choosing your storage solution, and always factor in power consumption as Raspberry Pis have limited USB power output.
Network Configuration Needs
A stable and reliable network connection is essential for running your Raspberry Pi cloud server effectively. For optimal performance, use a wired Ethernet connection whenever possible, as it provides faster speeds and more stable connectivity than Wi-Fi. If you must use Wi-Fi, ensure your Raspberry Pi is positioned within good range of your router and consider using a Pi model with built-in Wi-Fi 5 (802.11ac) or better.
Your home network should have a minimum upload speed of 10 Mbps for smooth remote access to your cloud storage. Configure your router to assign a static IP address to your Raspberry Pi to ensure consistent accessibility. You’ll also need to set up port forwarding if you plan to access your cloud server from outside your local network.
For enhanced security, consider setting up a separate VLAN for your cloud server or implementing network segmentation. This helps isolate your cloud storage from other devices on your network. Additionally, ensure your router’s firmware is up-to-date and use strong WPA3 encryption if available for Wi-Fi connections.
Popular Cloud Solutions for Raspberry Pi
NextCloud Setup and Configuration
Once you’ve prepared your Raspberry Pi with the base operating system, installing NextCloud is relatively straightforward. First, open your terminal and update your system:
“`bash
sudo apt update && sudo apt upgrade -y
“`
Next, install the required dependencies:
“`bash
sudo apt install apache2 mariadb-server libapache2-mod-php php-gd php-json php-mysql php-curl php-mbstring php-intl php-imagick php-xml php-zip
“`
Download the latest version of NextCloud from the official website using wget:
“`bash
wget https://download.nextcloud.com/server/releases/latest.zip
“`
Extract the downloaded file and move it to your web directory:
“`bash
sudo unzip latest.zip
sudo mv nextcloud /var/www/html/
“`
Set the correct permissions:
“`bash
sudo chown -R www-data:www-data /var/www/html/nextcloud
sudo chmod -R 755 /var/www/html/nextcloud
“`
Create a MySQL database for NextCloud:
“`bash
sudo mysql -u root -p
CREATE DATABASE nextcloud;
GRANT ALL PRIVILEGES ON nextcloud.* TO ‘nextcloud’@’localhost’ IDENTIFIED BY ‘your_password’;
FLUSH PRIVILEGES;
EXIT;
“`
Finally, open your web browser and navigate to http://your_pi_ip/nextcloud to complete the setup wizard. You’ll need to create an admin account and configure your database settings using the credentials you just created.
Remember to enable port forwarding on your router if you want to access your cloud storage from outside your local network.
OwnCloud Implementation
OwnCloud offers a robust alternative for creating your personal cloud storage on a Raspberry Pi. The setup process begins with installing the Apache web server and MySQL database on your Pi. You’ll need to run ‘sudo apt-get install apache2 mysql-server php’ to get the basic infrastructure in place.
Next, download the latest version of OwnCloud from their official website and extract it to your web server directory. Create a dedicated MySQL database for OwnCloud by accessing the MySQL console and running the appropriate commands. Configure the Apache server to recognize OwnCloud by creating a new configuration file in the sites-available directory.
The installation wizard will guide you through the final steps, including creating an admin account and configuring your storage preferences. OwnCloud’s interface is intuitive, featuring drag-and-drop file management, user access controls, and file sharing capabilities. You can access your files through a web browser or by using the OwnCloud desktop and mobile apps.
One of OwnCloud’s strengths is its extensibility through apps. You can add calendars, contacts, document editing, and media streaming functionality. For optimal performance, consider using an external USB drive for storage and enabling caching.
Remember to secure your OwnCloud installation by enabling HTTPS, implementing strong password policies, and regularly updating both OwnCloud and your Raspberry Pi’s operating system. This ensures your personal cloud remains private and protected.
Security Best Practices
Encryption and Access Control
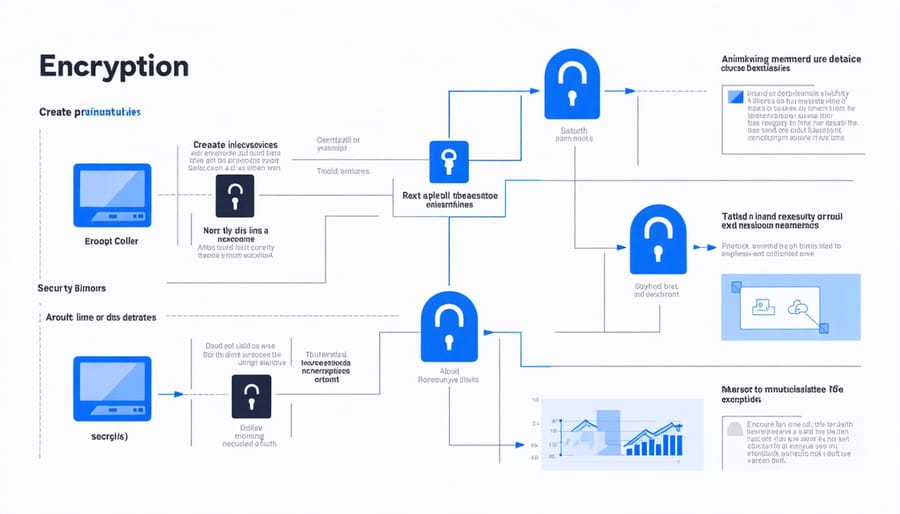
Securing your Raspberry Pi cloud server is crucial for protecting your data. Start by implementing strong encryption protocols for both data at rest and in transit. Use HTTPS for all web-based access by installing and configuring an SSL certificate through Let’s Encrypt, which is free and automatically renewable.
For access control, set up user authentication with strong password policies and consider implementing two-factor authentication (2FA) using tools like Google Authenticator. Create separate user accounts with appropriate permissions for different access levels, and regularly audit access logs to monitor for suspicious activities.
Encrypt your stored data using LUKS (Linux Unified Key Setup) for full disk encryption, or consider using eCryptfs for folder-level encryption. When setting up remote access, disable the default SSH password authentication and use SSH keys instead. Change the default SSH port from 22 to a custom port to reduce automated attack attempts.
For comprehensive cloud storage security considerations, regularly update your system and installed packages, and maintain secure backups of your encryption keys and configuration files in a separate location.
Regular Maintenance and Updates
Maintaining your Raspberry Pi cloud system is crucial for ensuring reliable performance and security. Set up automatic system updates using the built-in package manager by running ‘sudo apt update’ and ‘sudo apt upgrade’ commands regularly. Consider creating a cron job to automate this process weekly.
Keep your cloud software updated by checking the official repositories or documentation of your chosen solution (like NextCloud or ownCloud) for new releases. Before updating, always back up your data and configuration files to prevent potential loss during the upgrade process.
Monitor your Pi’s performance using tools like htop or the built-in task manager to ensure your system isn’t becoming overwhelmed. Regular checks of storage usage, CPU temperature, and system logs can help identify potential issues before they become problems.
Implement a backup strategy for your cloud data. Use external storage devices or consider setting up a secondary Raspberry Pi for redundancy. Review your security settings monthly, including checking for unauthorized access attempts and updating passwords.
Clean your Pi’s case and check for dust buildup every few months to prevent overheating. Consider replacing your microSD card annually if you experience heavy usage, as these cards have limited write cycles.
Troubleshooting Common Issues
When setting up your Raspberry Pi cloud server, you might encounter several common issues. Here’s how to address them effectively:
Connection Problems
If you’re unable to access your cloud server, first check your Pi’s network connection. Ensure the IP address hasn’t changed by running ‘ifconfig’ in the terminal. For static IP setups, verify your network configuration file settings. If using Wi-Fi, confirm your Pi is within good signal range.
Storage Space Issues
Running out of storage is a frequent concern. Regular maintenance by removing unnecessary files and logs can help. Consider implementing automatic cleanup scripts for temporary files. If you need more space, you can easily expand your storage by connecting an external USB drive or upgrading to a larger SD card.
Performance Slowdowns
When your Pi cloud service becomes sluggish, check the system resources using ‘top’ command. High CPU usage or memory consumption might indicate the need to adjust your service configuration. Limiting the number of simultaneous connections and implementing cache mechanisms can improve performance significantly.
Permission Errors
File permission issues often prevent proper access to cloud storage. Ensure your user account has the correct permissions by using ‘chmod’ and ‘chown’ commands appropriately. Double-check group memberships and file ownership, especially after moving or copying files.
Service Not Starting
If your cloud service fails to start, check the system logs using ‘journalctl’ to identify the root cause. Common issues include conflicting port numbers, incorrect configuration files, or missing dependencies. Ensure all required services are running and properly configured.
Data Sync Problems
When files aren’t syncing correctly, verify your cloud service configuration and check for any firewall restrictions. Ensure your Pi has sufficient bandwidth and stable internet connection. Consider implementing a monitoring solution to alert you of sync failures.
By addressing these common issues proactively and maintaining regular system backups, you can ensure a more reliable and efficient Raspberry Pi cloud setup.
Setting up your own cloud server on a Raspberry Pi opens up a world of possibilities for personal data storage and management. Throughout this guide, we’ve explored the essential components needed to create a reliable and secure cloud solution using this versatile single-board computer. From selecting the right hardware and storage options to choosing between popular cloud platforms like NextCloud and ownCloud, you now have the knowledge to make informed decisions for your setup.
Remember that security should always be your top priority when hosting your own cloud server. Regularly update your system, maintain strong passwords, and implement the recommended security measures we’ve discussed to protect your data. While the initial setup might seem challenging, the long-term benefits of having complete control over your data and avoiding subscription fees make it well worth the effort.
Ready to start your cloud journey? Begin with a basic setup and gradually expand your system’s capabilities as you become more comfortable with the configuration. Don’t hesitate to experiment with different software options and features to find the perfect solution for your needs. The Raspberry Pi community is incredibly supportive, so reach out to forums and discussion groups if you need help along the way.
By following this guide and implementing best practices, you’re well-equipped to create a robust, cost-effective cloud storage solution that puts you in control of your digital life.