


Transform your Raspberry Pi 4 Model B into a powerful computing platform in under 30 minutes. This comprehensive guide walks through essential setup steps, from initial hardware assembly to advanced configuration options, ensuring optimal performance for your projects. Start with basic requirements: a Raspberry Pi 4 Model B, microSD card (16GB minimum), power supply (USB-C, 3.0A), and either an HDMI display or remote access capability. Whether you’re building a home media server, developing IoT projects, or creating a portable workstation, this setup process establishes a robust foundation for any Raspberry Pi application. Master critical configurations including bootloader updates, network connectivity, and essential security measures to protect your device. Follow along as we configure your Pi for maximum efficiency and versatility, using both command-line and desktop interfaces.
Essential Hardware and Software Requirements
Required Hardware Components
To get started with your Raspberry Pi 4 Model B, you’ll need several essential components. First, ensure you have the official USB-C power supply (5.1V/3A) for reliable performance. You’ll also need a microSD card (minimum 8GB, but 16GB or larger recommended) to serve as the main storage. For display output, gather either a micro HDMI to HDMI cable or adapter, plus a compatible monitor. You’ll want a USB keyboard and mouse for initial setup and configuration. Consider adding a protective case to safeguard your Pi, and if you plan to use networking features, an Ethernet cable or built-in Wi-Fi will suffice. For optimal performance, heat sinks and a cooling fan are recommended but optional.

Software Prerequisites
To set up your Raspberry Pi 4 Model B, you’ll need several essential software components. First, download the Raspberry Pi Imager from the official Raspberry Pi website – this tool will help you install the operating system. For the OS itself, Raspberry Pi OS (formerly Raspbian) is recommended for beginners, though Ubuntu and other Linux distributions are also compatible.
You’ll also need software to flash the OS onto your microSD card. While the Raspberry Pi Imager handles this, alternatives like Etcher or Win32DiskImager work well too. If you plan to access your Pi remotely, download a VNC viewer or SSH client on your main computer. For Windows users, PuTTY is a popular choice for SSH connections.
Make sure you have a file extraction tool like 7-Zip or WinRAR to handle compressed files during setup.
Initial Raspberry Pi Setup
Installing the Operating System
To install the Raspberry Pi OS, start by downloading the official Raspberry Pi Imager from the Raspberry Pi website. This user-friendly tool streamlines the installation process and supports multiple operating system options.
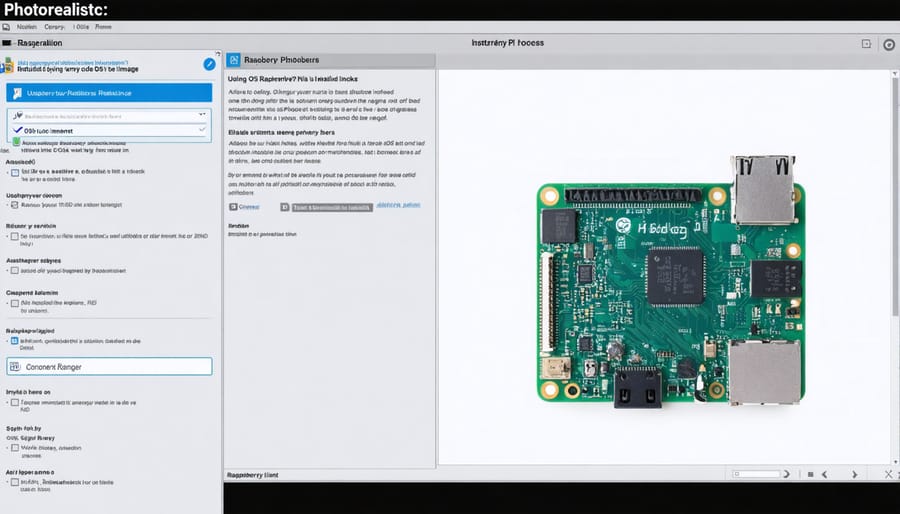
Launch the Raspberry Pi Imager and insert your microSD card into your computer using a card reader. Click ‘Choose OS’ and select ‘Raspberry Pi OS (32-bit)’ for the most stable experience. If you plan to use your Pi for more demanding tasks, you might consider the 64-bit version instead.
Before writing the OS to your card, click the settings gear icon (⚙️) to access advanced options. Here, you can preconfigure important settings like hostname, SSH access, Wi-Fi credentials, and your preferred username and password. This saves time during the initial boot setup.
Select your microSD card under ‘Choose Storage’ and double-check that you’ve selected the correct drive to avoid overwriting other devices. Click ‘Write’ to begin the installation process. The tool will download, write, and verify the OS automatically.
Once complete, safely eject the microSD card from your computer. Insert it into your Raspberry Pi 4’s card slot, and you’re ready to proceed with the first boot. The entire process typically takes 10-15 minutes, depending on your internet speed and the microSD card’s write speed.
First Boot Configuration
When your Raspberry Pi boots for the first time, you’ll be greeted by the Welcome to Raspberry Pi setup wizard. This initial configuration process is essential for getting your device ready for use. Start by selecting your language and country from the dropdown menus. These settings ensure your system displays the correct character sets and regional formats.
Next, set your timezone by selecting your geographic location. This step is crucial for maintaining accurate system time, which is important for various applications and system logs. If you’re using a wireless keyboard and mouse, confirm they’re working properly at this stage. If not, you may need to temporarily connect USB alternatives to complete the setup.
Change the default password for the ‘pi’ user account to enhance security. Choose a strong password that combines letters, numbers, and special characters. Make sure to remember this password as you’ll need it for future administrative tasks.
For network configuration, you’ll see a list of available Wi-Fi networks. Select your network and enter the password. If you’re using a wired connection, the system should automatically detect and configure it. Once connected, the system will check for and install any available updates.
You may also be prompted to update the Raspberry Pi OS to the latest version. It’s recommended to complete this update during initial setup to ensure you have the most recent security patches and features. After the updates are installed, your Pi will ask if you want to reboot. Confirm the restart to apply all changes and complete the first boot configuration.
Enabling Remote Desktop Access
VNC Server Setup
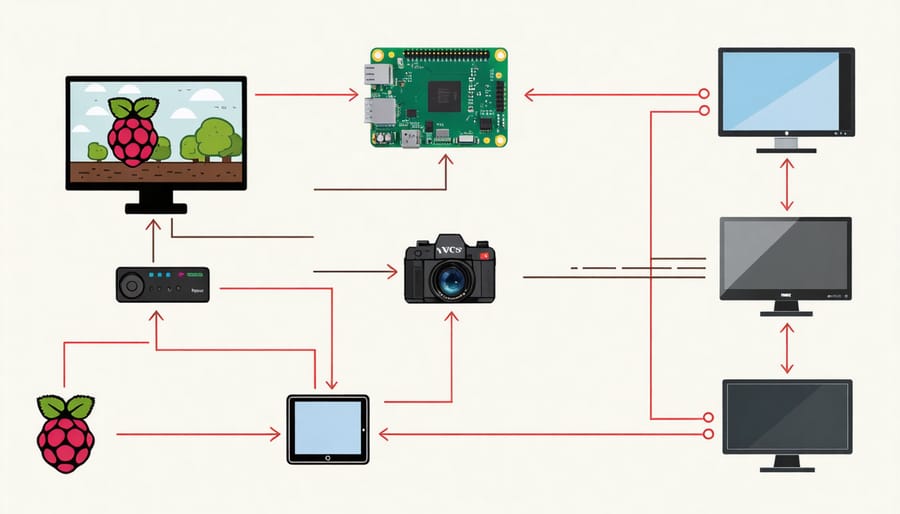
VNC (Virtual Network Computing) enables remote desktop access to your Raspberry Pi, making it easier to control your device from any computer or mobile device. To get started with our remote desktop setup guide, first ensure VNC is enabled on your Pi.
Open Terminal and type:
sudo raspi-config
Navigate to “Interface Options” and select “VNC.” Choose “Yes” to enable the VNC server. After enabling VNC, you’ll need to install RealVNC Viewer on your client device (computer, tablet, or smartphone).
For improved performance, configure your VNC server settings:
1. Click the VNC icon in the taskbar
2. Select the menu icon (three lines)
3. Choose “Options”
4. Under “Picture Quality,” select “High” for local networks or “Medium” for internet connections
5. Enable “Encryption” for secure remote access
To connect, note your Raspberry Pi’s IP address by typing:
hostname -I
Launch RealVNC Viewer on your client device, enter your Pi’s IP address, and provide your username and password when prompted. For security, consider changing the default password and enabling encryption before accessing your Pi remotely.
SSH Configuration
SSH (Secure Shell) access is essential for remotely managing your Raspberry Pi. To enable SSH, you’ll first need to create an empty file named ‘ssh’ (without any extension) in the boot partition of your SD card. If you’re using the Raspberry Pi Imager, you can enable SSH directly through the advanced options before writing the image.
Once your Pi is powered on and connected to your network, you can access it using the default credentials: username ‘pi’ and password ‘raspberry’. However, it’s crucial to change these default credentials immediately for security reasons.
To connect to your Pi via SSH, open a terminal on your computer and type:
ssh pi@raspberrypi.local
If you’re using Windows, you might need to install an SSH client like PuTTY. For enhanced security, consider setting up SSH key authentication:
1. Generate SSH keys on your computer using:
ssh-keygen -t rsa -b 4096
2. Copy your public key to the Pi:
ssh-copy-id pi@raspberrypi.local
3. Disable password authentication by editing /etc/ssh/sshd_config:
Set PasswordAuthentication to ‘no’
4. Restart the SSH service:
sudo systemctl restart ssh
Remember to keep your private key secure and never share it. Consider changing the default SSH port (22) to a custom one for additional security.
Network Configuration
Configuring your Raspberry Pi’s network settings is crucial for stable remote access and management. Let’s start by setting up a static IP address, which ensures your Pi maintains the same network address consistently.
To configure a static IP, open the terminal and edit the dhcpcd.conf file:
“`
sudo nano /etc/dhcpcd.conf
“`
Add these lines at the bottom of the file, adjusting the values to match your network:
“`
interface eth0
static ip_address=192.168.1.100/24
static routers=192.168.1.1
static domain_name_servers=192.168.1.1
“`
For Wi-Fi configuration, use ‘wlan0’ instead of ‘eth0’. Save the file and reboot your Pi to apply changes.
Next, set up port forwarding on your router to enable remote access from outside your local network. Access your router’s admin panel and forward these common ports:
– SSH (port 22)
– VNC (port 5900)
– HTTP (port 80)
– HTTPS (port 443)
Remember to point these ports to your Pi’s static IP address. For security, consider changing the default port numbers and implementing strong authentication methods.
After configuring port forwarding, test your connection from both inside and outside your network to ensure everything works correctly. Keep your Pi’s IP address and port configurations documented for future reference.
Connecting from Different Devices
Windows Client Setup
To access your Pi remotely from a Windows machine, you’ll need to follow these straightforward steps. First, download and install the Microsoft Remote Desktop client from the Microsoft Store. This free application provides a user-friendly interface for connecting to your Raspberry Pi.
Once installed, open the Remote Desktop client and click the “+” button to add a new connection. Enter your Raspberry Pi’s IP address in the “PC name” field. You can find this address by typing “hostname -I” in your Pi’s terminal.
For authentication, use your Raspberry Pi’s username (default is “pi”) and the password you set during initial setup. To enhance security, enable Network Level Authentication (NLA) in the connection settings.
Before connecting, ensure your Raspberry Pi and Windows PC are on the same network. If you’re having trouble connecting, verify that:
– VNC Server is running on your Pi
– Your firewall settings allow remote desktop connections
– The correct ports (default 3389) are open
For better performance, adjust the display settings in the Remote Desktop client to match your needs. Lower quality settings work better on slower networks, while higher settings provide better visual clarity on fast connections.
Mac and Mobile Access
For Mac users, connecting to your Raspberry Pi 4 is straightforward using the built-in VNC Viewer. First, ensure VNC is enabled on your Pi through the Raspberry Pi Configuration menu. On your Mac, open Finder and look for your Pi under the Network section. If it’s not visible, you can connect directly using your Pi’s IP address.
Download and install the official VNC Viewer from RealVNC’s website. Launch the application and enter your Pi’s IP address in the search bar. When prompted, input the default credentials (username: pi, password: raspberry) or your custom login details if you’ve changed them.
Mobile users can access their Pi using dedicated apps available on both iOS and Android. The official VNC Viewer app is available for free on the App Store and Google Play Store. After installation, the connection process mirrors the desktop experience – simply enter your Pi’s IP address and credentials.
For enhanced mobile functionality, consider installing the RaspController app, which provides a specialized interface for controlling your Pi from your smartphone. This includes touchscreen-optimized controls and quick access to common Pi functions.
Remember to keep your Pi’s operating system and VNC server updated for the best performance and security. When connecting from public networks, always use a secure VPN connection to protect your Pi from unauthorized access.
Security Best Practices
To protect your Raspberry Pi from unauthorized access, start by changing the default ‘pi’ username and password to strong, unique credentials. Enable SSH key-based authentication and disable password login for enhanced security. Consider setting up a firewall using ‘ufw’ to control incoming connections and regularly update your system with ‘sudo apt update && sudo apt upgrade’. To further secure your remote connection, implement a VPN service or use port forwarding rules on your router. Remember to disable unnecessary services and ports, and regularly monitor system logs for suspicious activities. These measures will help protect your Pi while maintaining convenient remote access.
Setting up your Raspberry Pi 4 Model B is just the beginning of an exciting journey into the world of DIY computing and electronics. By following this guide, you’ve successfully configured your device with the operating system, established network connectivity, and set up remote access capabilities. Remember to regularly update your system and maintain strong security practices to protect your device. Now you’re ready to explore countless project possibilities, from home automation to media centers, or even learning programming. Consider joining the vibrant Raspberry Pi community to share experiences and get inspiration for your next project. Whether you’re a hobbyist, educator, or tech enthusiast, your Raspberry Pi 4 is now prepared to tackle whatever creative challenges you have in mind.