

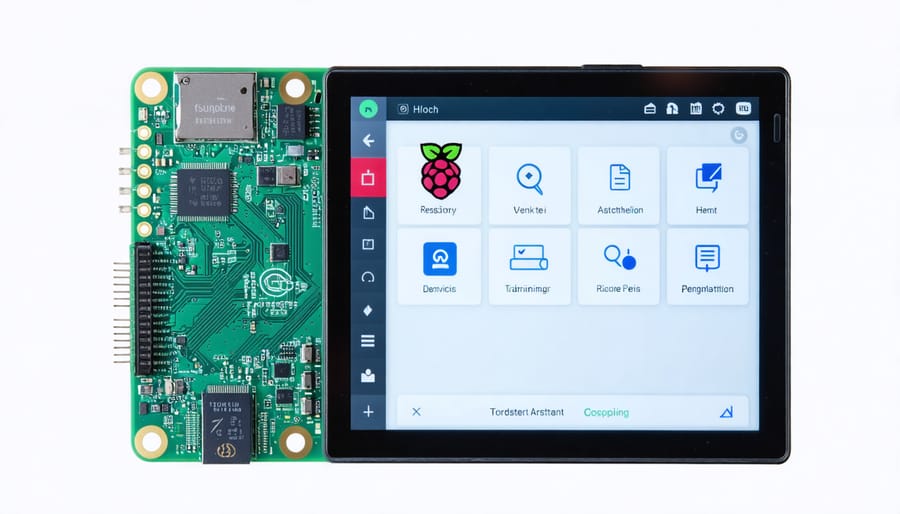
Transform your Raspberry Pi 4 Model B into a powerful touchscreen interface with the official 7-inch display, offering crisp 800×480 resolution and responsive 10-point touch capability. This compact display revolutionizes project development, enabling intuitive user interactions for everything from home automation controllers to portable gaming systems.
Connect the display seamlessly through the DSI port, eliminating the need for HDMI cables while maintaining superior video quality and touch responsiveness. The built-in mounting holes and adjustable backlight make it perfect for both prototype development and permanent installations, while drawing minimal power from your Pi’s GPIO pins.
Whether you’re building a smart home dashboard, interactive kiosk, or portable media center, this touchscreen transforms your Raspberry Pi from a headless computer into an all-in-one solution. With comprehensive driver support in Raspberry Pi OS and popular alternatives, you’ll be up and running in minutes, ready to create touch-enabled applications that bring your projects to life.
Choosing the Right Touchscreen Display
Official vs. Third-Party Displays
When choosing a touchscreen for your Raspberry Pi project, you’ll encounter two main categories: the official Raspberry Pi 7-inch touchscreen display and various third-party alternatives. The official display, developed by the Raspberry Pi Foundation, offers seamless compatibility and reliable performance. It features a 7-inch capacitive touch panel with 800×480 resolution and connects directly to the Pi via the DSI port, ensuring stable operation without consuming valuable USB ports.
Third-party displays often come with different features and price points. Many alternatives offer higher resolutions, such as 1024×600 or even 1280×800, and some include additional features like built-in speakers or HDMI inputs. Popular brands like Waveshare and SunFounder provide displays that may better suit specific project needs or budget constraints.
However, third-party options typically require more setup effort and may have compatibility issues with certain Raspberry Pi models or operating systems. While they might offer cost savings or enhanced features, you’ll need to carefully verify driver support and connection requirements before making a purchase.
The official display remains the safest choice for beginners and critical projects, offering guaranteed compatibility and extensive community support. However, if you need specific features or have budget constraints, third-party displays can be excellent alternatives when properly researched and configured.
Key Features to Consider
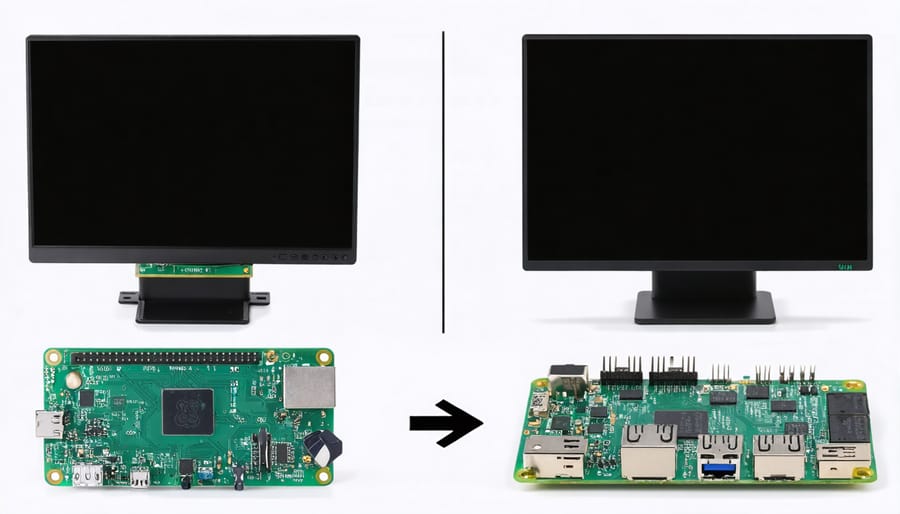
When selecting a 7-inch Raspberry Pi touchscreen, several key features deserve your attention to ensure you get the best display for your project. Resolution is paramount, with most quality displays offering 800×480 pixels or higher. While this might seem modest compared to modern smartphones, it’s more than adequate for most Pi projects and provides crisp, clear visuals.
Response time is another crucial factor, especially if you’re developing interactive applications. Look for screens with response times under 15ms to ensure smooth touch interactions and minimize lag between input and display response. Many modern touchscreens use capacitive technology, which offers better sensitivity and multi-touch capabilities compared to older resistive screens.
Viewing angles significantly impact usability, particularly for projects where the screen might not always be viewed head-on. IPS panels typically offer the best viewing angles, maintaining color accuracy and brightness even when viewed from the side. This is especially important for installations where multiple users might interact with the display from different positions.
Build quality should never be overlooked. Look for screens with sturdy mounting points and durable construction. The best displays feature protective glass layers and robust connection ports that can withstand repeated use. Consider displays with built-in control boards and straightforward connection options to simplify installation and reduce potential points of failure.
Hardware Setup and Configuration
Physical Installation
Installing the 7-inch Raspberry Pi touchscreen is a straightforward process that requires careful handling of the components. Begin by gathering all the necessary parts: the display panel, mounting screws, and the display controller board (DSI).
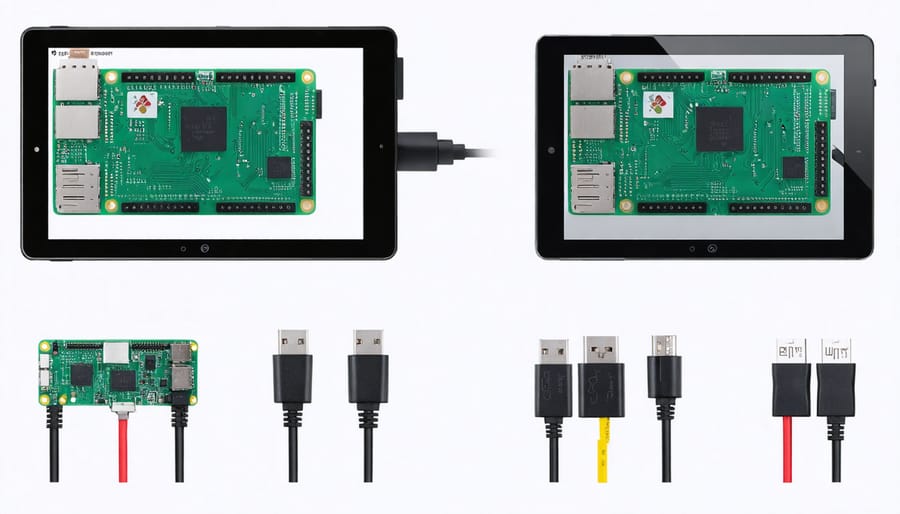
First, connect the ribbon cable from the display panel to the display controller board. Ensure the connections are secure and properly aligned – the blue tab should face away from the display. Next, attach the DSI ribbon cable to the controller board, following the same principle with the blue tab facing outward.
Position your Raspberry Pi and connect the other end of the DSI cable to the DSI port on the Pi. This port is located between the HDMI and 3.5mm audio ports. Be gentle when inserting the cable, as these connectors are delicate.
For power supply, connect the jumper cables from the display controller board to the GPIO pins on your Raspberry Pi. The red wire goes to the 5V pin, and the black wire connects to ground. Double-check these connections, as incorrect wiring could damage your components.
Mount the display using the provided standoffs and screws. Start by attaching the standoffs to the display panel, then secure the Raspberry Pi to the back of the display. The mounting holes should align perfectly if positioned correctly.
Once everything is secured, power up your Raspberry Pi. The display should automatically work with recent Raspberry Pi OS versions. If the screen appears upside down, you can adjust the orientation through software settings. Remember to handle all components with care and avoid applying excessive force during installation.
Driver Installation and Calibration
Getting your 7-inch Raspberry Pi touchscreen up and running requires proper driver installation and calibration. For most recent Raspberry Pi OS versions, the touchscreen drivers come pre-installed, making the initial setup relatively straightforward. However, if you’re using an older version or experiencing issues, you’ll need to update your system first.
Start by opening the terminal and running:
sudo apt-get update
sudo apt-get upgrade
Next, install the touchscreen drivers if they’re not already present:
sudo apt-get install xserver-xorg-input-evdev
For optimal performance, you might need to adjust your display settings through the remote desktop setup or directly via the desktop interface. Navigate to Preferences > Screen Configuration to ensure the correct resolution and orientation.
To calibrate your touchscreen, install the calibration tool:
sudo apt-get install xinput-calibrator
Launch the calibration utility and follow the on-screen instructions, touching the crosshairs that appear at different points on the screen. This process ensures accurate touch response and proper alignment. Save the calibration settings by copying the output to your xorg.conf file.
If you experience any touch response issues, try adjusting the touch sensitivity in the config.txt file:
sudo nano /boot/config.txt
Add these lines at the bottom:
dtoverlay=ads7846
penirq=25
speed=10000
xohms=150
Remember to reboot your Raspberry Pi after making these changes for them to take effect.
Virtual Assistant Integration
Software Options
The software landscape for Raspberry Pi touchscreens offers several exciting options for creating interactive virtual assistants. Popular platforms like Mycroft AI and Home Assistant provide excellent touchscreen support, making them ideal choices for your project. These open-source solutions allow you to build your own AI assistant with complete control over functionality and privacy.
For beginners, the Raspberry Pi OS comes with a user-friendly interface that works seamlessly with touchscreens. You can enhance this experience by installing voice recognition software like PocketSphinx or Vosk for offline processing. Advanced users might prefer platforms like Rhasspy or Snips, which offer sophisticated natural language processing capabilities while maintaining local control.
Google Assistant SDK and Amazon’s Alexa Voice Service are also compatible options, though they require internet connectivity. These services provide robust features and regular updates but may not suit those seeking complete privacy or offline functionality.
For custom solutions, Python frameworks like PyQt5 and Kivy enable the development of responsive touchscreen interfaces. These frameworks support gesture recognition and multi-touch capabilities, essential for creating an intuitive user experience. Remember to consider your specific needs, technical expertise, and privacy requirements when selecting the software platform for your touchscreen project.
Interface Design
Creating an intuitive touch interface for your Raspberry Pi assistant is crucial for a seamless user experience. Start by choosing a GUI framework that works well with touchscreens – Qt or Tkinter are popular choices for Python-based projects. When designing your interface, follow the principle of “touch-first” design by implementing larger, well-spaced buttons and controls that are easy to tap with fingers.
Consider using a grid layout with elements sized at least 48×48 pixels to ensure comfortable touch targets. Include visual feedback for touch interactions, such as button highlighting or subtle animations, to confirm user actions. Keep navigation simple with clear hierarchies and minimize the need for complex gestures.
For text input, implement an on-screen keyboard that automatically appears when needed. Consider using swipe gestures for common actions like returning to the home screen or accessing quick settings. Remember to optimize your interface for the 7-inch display size by prioritizing essential information and avoiding cluttered layouts.
Include status indicators for system information like WiFi connection, battery level (if applicable), and current operations. Use high-contrast color schemes and readable fonts (minimum 16px size) to ensure visibility. Test your interface thoroughly under different lighting conditions, as the touchscreen may be used in various environments.
For better user experience, implement power-saving features like screen timeout and brightness controls that can be easily adjusted through the touch interface.
Custom Features
One of the most exciting aspects of a Raspberry Pi touchscreen project is the ability to add custom features that suit your specific needs. Start by implementing voice control using libraries like SpeechRecognition or PocketSphinx, allowing you to issue commands through voice input alongside touch interactions. You can also create custom gestures for frequently used commands, such as swiping to control smart home devices or using pinch-to-zoom for monitoring system resources.
Consider adding personalized widgets for weather updates, calendar events, or system monitoring. These can be developed using Python and tkinter or Qt for a polished look. For enhanced functionality, integrate APIs from popular services like OpenWeatherMap for real-time weather data or Google Calendar for appointment tracking.
Security features can be customized too. Implement facial recognition using OpenCV or fingerprint authentication if you’ve connected a compatible sensor. This adds an extra layer of protection while maintaining the convenience of touch interaction.
For smart home enthusiasts, create custom controls for your IoT devices. Using protocols like MQTT or REST APIs, you can design intuitive touch interfaces to control lights, thermostats, and other connected devices. Don’t forget to add visual feedback through LED indicators or on-screen animations to confirm successful actions.
Remember to optimize your custom features for the 7-inch display, ensuring buttons and interface elements are appropriately sized for comfortable touch interaction.
Troubleshooting Common Issues
When your 7-inch Raspberry Pi touchscreen isn’t performing as expected, don’t worry – most issues have straightforward solutions. If your screen shows no display, first check all cable connections, particularly the ribbon cable and power supply. Ensure the power adapter provides sufficient amperage (at least 2.5A recommended) for both the Pi and screen.
For touch responsiveness issues, try recalibrating the touchscreen through the terminal using the xinput_calibrator tool. If the screen appears inverted or incorrectly oriented, modify the config.txt file by adding display_rotate=0, 1, 2, or 3 until you achieve the correct orientation.
Ghost touches or erratic behavior often result from electrical interference. Shield your cables properly and keep them away from power sources. If you notice screen flickering, adjust the screen_frequency parameter in config.txt to match your display’s specifications.
Driver-related problems can be resolved by updating your Raspberry Pi OS and reinstalling touchscreen drivers. Run sudo apt-get update && sudo apt-get upgrade to ensure everything is current. For persistent touch input problems, try adding dtoverlay=rpi-ft5406 to config.txt.
Remember to back up your configuration files before making changes. If problems persist after trying these solutions, check the official Raspberry Pi forums for community support or consider testing your hardware with different power supplies and cables to isolate the issue.
The 7-inch Raspberry Pi touchscreen has revolutionized how we interact with these versatile single-board computers, opening up countless possibilities for creative projects. From custom smart home interfaces to portable gaming consoles, these displays have proven to be invaluable tools for makers and developers alike. As technology continues to evolve, we can expect to see even more innovative applications and improved functionality in future iterations. Whether you’re a beginner or an experienced developer, the touchscreen’s intuitive interface makes it easier than ever to bring your ideas to life through exciting Raspberry Pi projects. With ongoing community support and regular software updates, the future of Raspberry Pi touchscreen development looks brighter than ever, promising even more interactive and engaging experiences for users worldwide.