


Cloud-based security transforms traditional network protection into a dynamic, scalable shield for modern digital infrastructures. As organizations migrate their operations to the cloud, security measures must evolve beyond conventional perimeter defenses. Today’s cloud security solutions combine real-time threat detection, automated response systems, and zero-trust architectures to protect data across distributed environments.
The rapid adoption of remote work and IoT devices has made cloud security not just an option, but a fundamental requirement. By leveraging cloud-native security tools, businesses can implement enterprise-grade protection without the overhead of traditional hardware investments. These solutions offer continuous monitoring, instant scalability, and comprehensive threat intelligence that adapt to emerging cyber threats.
Modern cloud security platforms integrate seamlessly with existing infrastructure while providing advanced features like AI-powered anomaly detection, automated compliance monitoring, and unified security management across multiple cloud providers. This approach ensures robust protection for sensitive data while maintaining the agility and efficiency that cloud computing promises.
As cyber threats grow more sophisticated, cloud-based security stands as the cornerstone of modern digital defense strategies, offering unparalleled protection, scalability, and resilience for organizations of all sizes.
Why Choose Raspberry Pi for Cloud Security
Cost-Effectiveness vs Traditional Solutions
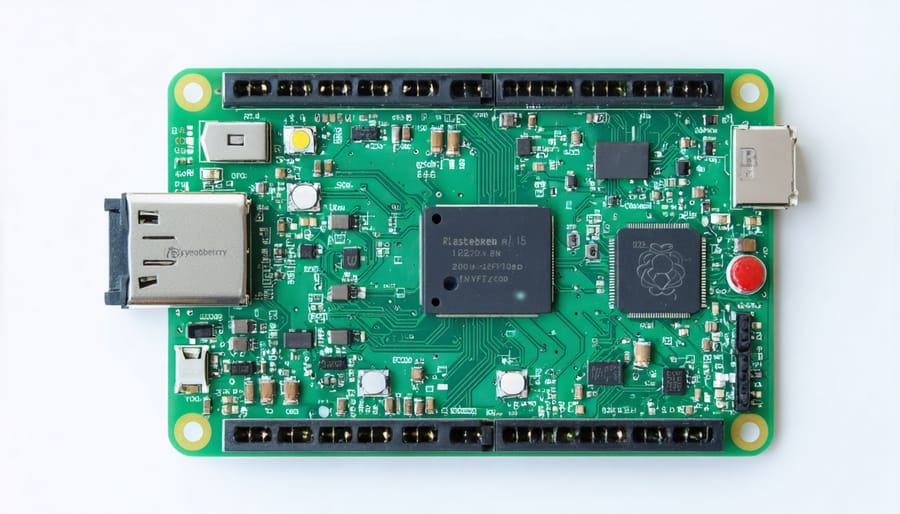
When comparing cloud-based security solutions using Raspberry Pi with traditional commercial alternatives, the cost advantages become immediately apparent. A basic Raspberry Pi setup, including the board, camera, and necessary accessories, typically costs between $50-100, while commercial security systems can range from $300 to over $1,000, plus recurring monthly fees.
Beyond the initial investment, Raspberry Pi solutions offer significant flexibility in terms of customization. After implementing basic security hardening steps, users can adapt their system to specific needs without additional costs. Commercial systems often require expensive add-ons or subscription upgrades for similar functionality.
Cloud storage costs also favor DIY solutions. While commercial security systems typically charge $10-30 monthly for cloud storage, Raspberry Pi users can leverage free or low-cost cloud services like Google Drive or ownCloud, paying only for storage space they actually need. Additionally, the ability to store data locally provides a hybrid approach that commercial systems rarely offer, further reducing ongoing costs while maintaining functionality.
The trade-off comes in terms of setup time and technical knowledge required, but the long-term savings and educational value make it a compelling choice for tech enthusiasts and budget-conscious users.
Hardware Compatibility and Scalability
Cloud-based security solutions offer remarkable flexibility when it comes to hardware compatibility and scaling options. The system can work with a wide range of devices, from basic USB cameras to advanced IP-based surveillance equipment. Most modern security cameras, motion sensors, and smart doorbells are compatible with cloud security platforms, making it easy to integrate existing hardware into your setup.
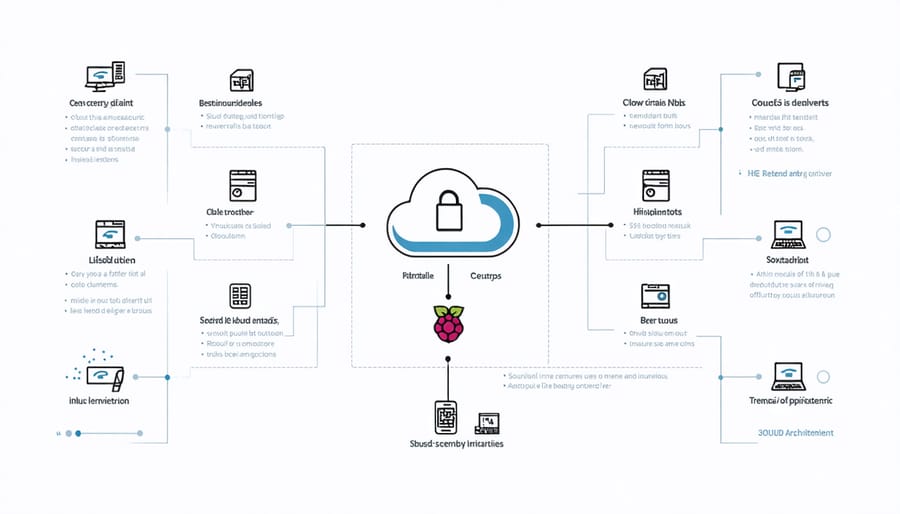
Scaling your security system is straightforward, as cloud platforms typically support adding new devices without significant infrastructure changes. You can start with a basic setup using a single camera and gradually expand to include multiple cameras, sensors, and smart devices across different locations. The cloud architecture allows for seamless device management, whether you’re monitoring a single room or an entire building.
Storage capacity can also be scaled on-demand, with most cloud providers offering tiered storage plans. This eliminates the need for local storage upgrades and ensures you have sufficient space for your security footage as your needs grow. Additionally, processing power can be adjusted automatically to handle increased workloads during peak monitoring periods.
Essential Cloud Security Features
Real-time Monitoring and Alerts
Real-time monitoring is a crucial component of any cloud-based security system, acting as your vigilant digital guardian. When implementing monitoring on your Raspberry Pi setup, you’ll want to focus on both system metrics and security events.
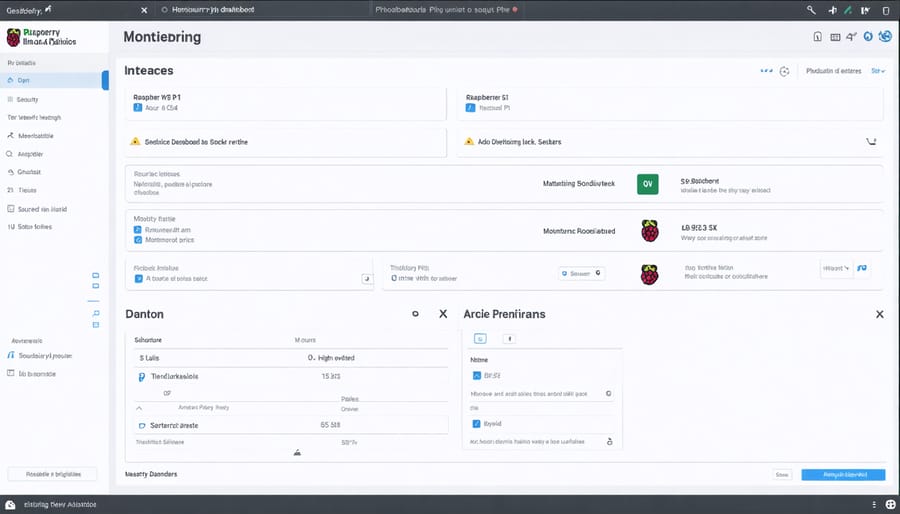
Start by setting up basic system monitoring to track CPU usage, memory consumption, and network traffic. This baseline monitoring helps you identify unusual patterns that might indicate security threats. Tools like Prometheus and Grafana work excellently with Raspberry Pi and provide intuitive visualization of your monitoring data.
For security-specific monitoring, configure your system to track login attempts, file system changes, and network connections. Pay special attention to failed login attempts and unauthorized access attempts, as these often indicate potential security breaches.
Setting up alerts is equally important. Configure your monitoring system to send notifications through multiple channels:
– Email alerts for non-critical issues
– SMS messages for serious security threats
– Push notifications for immediate attention items
– Discord or Slack messages for team collaboration
Make sure to set meaningful thresholds for your alerts to avoid alert fatigue. For example, trigger notifications only after multiple failed login attempts rather than every single failure. Also, implement different severity levels for various types of alerts, allowing you to prioritize your response effectively.
Remember to regularly review and adjust your monitoring parameters and alert thresholds based on your system’s normal behavior patterns and any false positives you encounter.
Data Encryption and Storage
Data encryption forms the backbone of secure cloud storage, especially when implementing cybersecurity implementations with Raspberry Pi. The system employs two primary encryption methods: data-at-rest encryption and data-in-transit encryption.
For data at rest, AES-256 encryption serves as the industry standard, protecting stored information from unauthorized access. When configuring your Raspberry Pi cloud storage, you’ll want to implement full-disk encryption using LUKS (Linux Unified Key Setup), which provides a robust layer of security for your stored files.
Data in transit requires TLS/SSL encryption to secure information as it moves between your Raspberry Pi and client devices. This prevents man-in-the-middle attacks and ensures data integrity during transmission. Remember to regularly update your SSL certificates and implement perfect forward secrecy to maintain the highest security standards.
Key management is crucial – store encryption keys separately from the encrypted data and implement a secure key rotation policy. Consider using a hardware security module (HSM) or trusted platform module (TPM) for additional key protection.
For sensitive data, implement multi-factor encryption where critical files are encrypted multiple times using different algorithms. This creates a layered security approach that’s significantly harder to breach, even if one encryption layer is compromised.
Remote Access and Control
Remote access capabilities are essential for any cloud-based security system, allowing you to monitor and control your Raspberry Pi from anywhere in the world. Setting up secure remote management starts with a proper cloud server setup and implementing robust authentication methods.
To establish secure remote access, you’ll want to configure SSH with key-based authentication rather than password login. This provides an additional layer of security by requiring a unique private key for connection. Additionally, setting up a VPN tunnel ensures encrypted communication between your devices and your Raspberry Pi security system.
For real-time monitoring and control, consider implementing a web-based dashboard that provides access to your security feeds and system controls. Popular options like Node-RED or Home Assistant offer user-friendly interfaces that can be secured behind SSL certificates.
Remember to:
– Enable two-factor authentication for all remote access points
– Regularly update SSH keys and access credentials
– Configure firewall rules to limit access to specific IP addresses
– Monitor and log all remote connection attempts
– Set up automated alerts for unauthorized access attempts
By following these security practices, you’ll create a robust remote management system that keeps your security setup both accessible and protected from potential threats.
Implementation Steps
Required Software and Dependencies
To implement a cloud-based security system with your Raspberry Pi, you’ll need several key software components and dependencies. First, ensure your Raspberry Pi is running the latest version of Raspberry Pi OS (formerly Raspbian), as this provides the most stable foundation for security applications.
Essential software components include Python 3.7 or higher, which serves as the primary programming language for many security scripts and applications. You’ll also need OpenCV (Open Source Computer Vision Library) for image processing and motion detection capabilities.
For cloud connectivity, install the AWS SDK (boto3) if you’re using Amazon Web Services, or the Google Cloud SDK for Google Cloud Platform integration. These SDKs enable seamless communication between your Pi and cloud services.
Additional required packages include:
– Flask or Django for web interface development
– SQLite or MySQL for local data storage
– OpenSSH for secure remote access
– FFmpeg for video processing
– Motion for video surveillance
For reliable operation, ensure you have:
– Git for version control and updates
– pip3 for Python package management
– SSL certificates for secure communications
– MQTT broker for IoT device communication
Remember to keep all software components updated regularly through your package manager to maintain security and stability. Most of these can be installed using simple apt-get or pip commands, making setup straightforward even for beginners.
Configuration and Setup
Setting up cloud-based security on your Raspberry Pi requires careful attention to detail and proper network security configuration. Begin by ensuring your Pi is running the latest version of Raspberry Pi OS and all system packages are updated using ‘sudo apt update’ and ‘sudo apt upgrade’ commands.
First, configure your firewall settings by installing and enabling UFW (Uncomplicated Firewall). Use ‘sudo apt install ufw’ followed by ‘sudo ufw enable’. Set up basic rules to allow essential services while blocking unnecessary ports.
Next, establish secure remote access by configuring SSH with key-based authentication. Generate SSH keys using ‘ssh-keygen -t rsa -b 4096’ and disable password authentication in the SSH configuration file (/etc/ssh/sshd_config). Set ‘PasswordAuthentication’ to ‘no’ and restart the SSH service.
For cloud storage integration, install rclone using ‘sudo apt install rclone’. Run ‘rclone config’ to set up your preferred cloud service (like Google Drive, Dropbox, or AWS S3). Create a configuration file that specifies your backup intervals and retention policies.
Enable automatic security updates by installing unattended-upgrades: ‘sudo apt install unattended-upgrades’. Configure it using ‘sudo dpkg-reconfigure unattended-upgrades’ and modify /etc/apt/apt.conf.d/50unattended-upgrades to specify update preferences.
Set up fail2ban to protect against brute force attacks: ‘sudo apt install fail2ban’. Create a custom jail configuration in /etc/fail2ban/jail.local to define ban times and allowed retry attempts.
Finally, implement SSL/TLS encryption for web services using Let’s Encrypt. Install certbot with ‘sudo apt install certbot’ and obtain certificates for your domains. Remember to set up automatic certificate renewal through cron jobs.
Regular testing of your security configuration is essential. Use tools like nmap and nikto to scan for vulnerabilities, and maintain detailed logs of all security-related activities.
Testing and Troubleshooting
Testing your cloud-based security setup is crucial for ensuring reliable protection of your Raspberry Pi system. Start by conducting a basic connectivity test: verify that your Pi can successfully communicate with your chosen cloud service by checking the connection logs. Use the built-in ping command to confirm network stability.
Next, perform a security audit by attempting to access your system through various entry points. Test your firewall rules by trying to connect to blocked ports, and verify that only authorized services are accessible. Monitor your system logs for any suspicious activities or failed login attempts.
Common issues you might encounter include connection timeouts, authentication failures, or resource limitations. If you experience connectivity problems, check your network configuration and ensure your credentials are correctly set up. For authentication issues, verify your API keys or access tokens are valid and properly configured.
Resource monitoring is essential – keep an eye on CPU usage, memory consumption, and storage space. If you notice performance degradation, consider adjusting your security settings or upgrading your cloud service plan.
Set up automated testing scripts to regularly verify your security measures. Create simple test cases that check for proper encryption, access control, and data backup functionality. Document any issues you encounter and their solutions for future reference.
Remember to periodically update your security configurations and test them after any system changes or updates to maintain optimal protection.
Cloud-based security solutions represent a significant leap forward in protecting our digital assets and personal data. By implementing these systems on your Raspberry Pi, you’re not just creating a cost-effective security solution – you’re building a scalable, flexible system that can grow with your needs. The combination of local hardware control and cloud capabilities offers the best of both worlds: immediate response times for critical security events and the unlimited storage and processing power of cloud services.
The benefits we’ve explored – from remote monitoring and automatic backups to AI-powered threat detection and seamless integration with other smart devices – make cloud-based security an invaluable addition to any home or small business setup. What’s particularly exciting is how accessible these sophisticated security features have become, thanks to platforms like Raspberry Pi and various cloud service providers.
Don’t let security concerns hold you back from exploring these possibilities. Start small with basic camera monitoring and gradually expand your system as you become more comfortable with the technology. Remember that every security implementation, no matter how modest, is a step toward better protection for your space and loved ones.
Take action today by setting up your first cloud-based security system. The peace of mind and practical benefits you’ll gain are well worth the initial investment of time and effort. As technology continues to evolve, your cloud-based security system will only become more capable and integral to your daily life.