

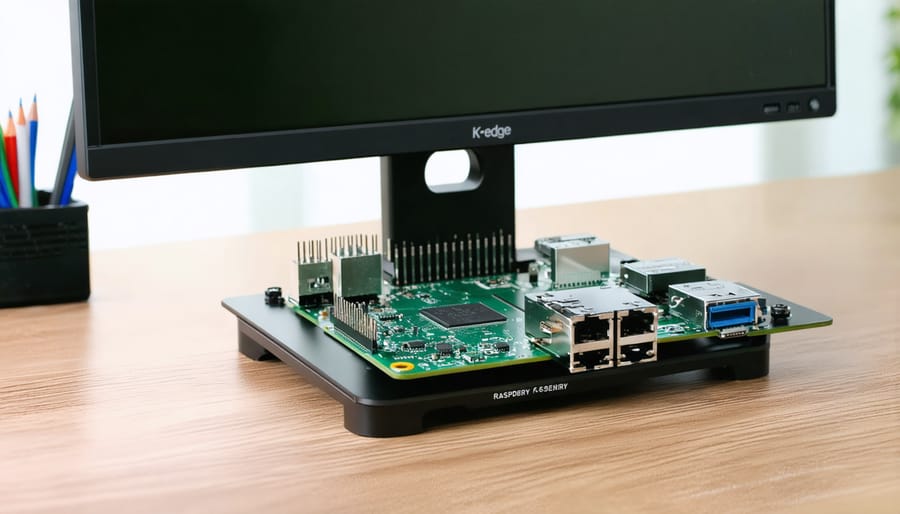
Mount your single-board computer securely with K-edge mounts to transform single board computer projects into professional-grade installations. These precision-engineered mounting solutions eliminate vibration issues and protect sensitive components while maintaining optimal thermal performance. Position your Raspberry Pi or similar SBC at the perfect angle for cable management and cooling, using K-edge’s aircraft-grade aluminum construction and versatile mounting options. The quick-release mechanism enables rapid maintenance access without compromising stability, making it ideal for both permanent installations and development environments. Select from various sizes and configurations to match your specific board dimensions, ensuring proper ventilation clearance and easy access to all ports and interfaces.
Why K-Edge Mounting Matters for Single-Board Computers
Thermal Management Benefits
K-edge mounts play a crucial role in maintaining optimal operating temperatures for edge computing devices, particularly in compact or enclosed installations. The mount’s design promotes natural airflow around the device by elevating it from the mounting surface and creating strategic air channels. This elevation allows hot air to dissipate effectively from both the top and bottom of the device, preventing heat buildup that could compromise performance.
The aluminum construction of quality k-edge mounts serves a dual purpose in thermal management. First, the metal acts as a passive heat sink, drawing heat away from the device through conduction. Second, the mount’s surface area helps radiate this heat into the surrounding environment. This becomes especially important in scenarios where edge devices run resource-intensive applications or operate in warm environments.
Many k-edge mounts also feature ventilation slots or patterns that further enhance air circulation. These thoughtfully placed openings create a chimney effect, where warm air naturally rises and escapes while cooler air is drawn in from below, maintaining a consistent thermal equilibrium around your device.
Physical Protection and Security
K-edge computer mounts offer robust protection against various environmental challenges and security threats. The sturdy aluminum or steel construction shields sensitive computing components from dust, moisture, and physical impacts. Many models feature IP54 or higher ratings, ensuring protection against water splashes and particulate matter.
These mounts typically include tamper-resistant screws and lockable enclosures, preventing unauthorized access to the mounted device. Some advanced models incorporate additional security features like keyed locks or security bolts, making them ideal for public installations or industrial environments.
The mounting system’s design often includes thermal management considerations, with strategic ventilation slots that protect against overheating while maintaining physical security. Cable management features not only keep connections organized but also protect them from accidental disconnection or deliberate tampering.
For outdoor installations, many k-edge mounts include UV-resistant coatings and weather seals, extending the lifespan of both the mount and the mounted device. Some models also feature anti-vibration padding, crucial for protecting sensitive components in industrial or mobile applications.
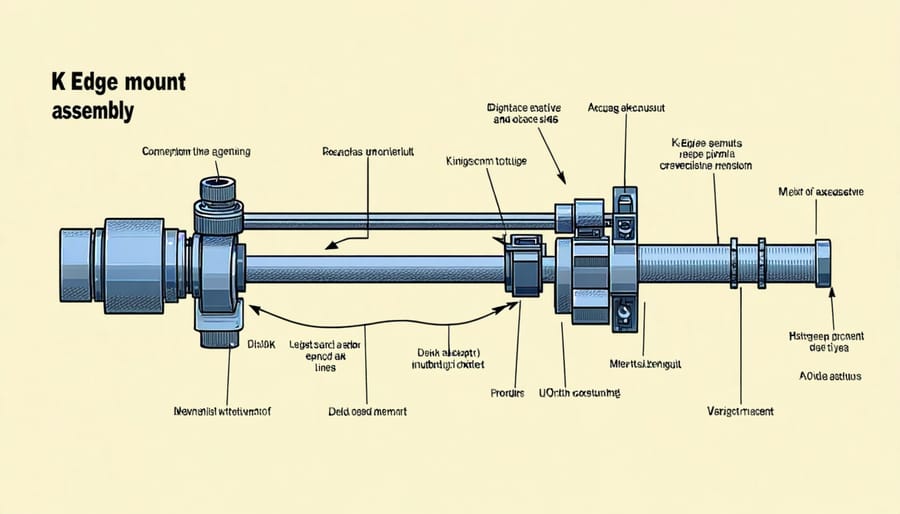
Choosing the Right K-Edge Mount Components
Material Considerations
When selecting materials for k-edge computer mounts, durability and thermal management are crucial considerations. Aluminum stands out as a popular choice due to its excellent heat dissipation properties and lightweight nature. It offers superior thermal conductivity, helping to keep your single-board computer cool during operation while adding minimal weight to your setup.
Stainless steel mounts provide exceptional durability and stability, making them ideal for industrial or outdoor applications. Though heavier than aluminum, they resist corrosion and can withstand harsh environmental conditions. However, their thermal conductivity is lower, which might affect cooling efficiency.
ABS plastic mounts offer a cost-effective solution and are surprisingly durable for indoor use. They’re lightweight and non-conductive, which can be advantageous in certain applications. The main drawback is their limited heat dissipation capabilities and potential for degradation under high temperatures.
Carbon fiber composites represent a premium option, combining incredible strength with minimal weight. While expensive, these mounts excel in applications where weight reduction is critical. They provide moderate heat dissipation and are resistant to environmental factors.
For DIY enthusiasts, 3D-printed mounts using materials like PLA or PETG can be viable for prototype testing or light-duty applications. However, consider the material’s temperature resistance and structural integrity before implementing them in permanent setups.
Compatibility with Different SBC Models
The k-edge computer mount is designed to accommodate various single-board computer models, with particular emphasis on the Raspberry Pi family of devices. The standard mounting plate features a universal hole pattern that supports multiple board sizes, including the popular Pi 4, Pi 3B+, and Pi Zero form factors.
For larger boards like the Rock Pi 4 and NVIDIA Jetson Nano, the mount includes additional mounting points positioned at 85mm x 56mm intervals. These extended mounting options ensure secure attachment while maintaining proper airflow around the board’s components. The mount’s design also incorporates specific cutouts for essential ports and connections, preventing interference with GPIO pins and peripheral attachments.
Smaller boards like the Pi Zero series can be accommodated using the included adapter plate, which reduces the mounting area while maintaining structural integrity. The mount’s versatile design allows for both horizontal and vertical orientations, making it suitable for diverse project requirements and space constraints.
Each mounting point features brass standoffs with standardized M2.5 threading, ensuring compatibility with most SBC mounting holes. The package includes various screw lengths and spacers to accommodate boards of different thicknesses and component heights, making it a truly universal solution for edge computing projects.
Installation and Setup Guide
Preparation and Tools Required
Before beginning your k-edge computer mount installation, gather these essential tools and materials:
Required Tools:
– Phillips head screwdriver (#1 and #2)
– Allen wrench set (2mm to 6mm)
– Measuring tape or ruler
– Pencil for marking
– Level tool
– Cable ties or velcro straps
– Clean microfiber cloth
Optional but Recommended:
– Electric drill with appropriate bits
– Wire management clips
– Anti-static wrist strap
– Cable sleeve or conduit
– Thermal paste (if mounting involves heat-generating components)
Preparation Steps:
1. Clear your workspace and ensure proper lighting
2. Verify all mounting hardware is included in your kit
3. Check the mounting surface for stability and levelness
4. Plan your cable management route
5. Document your current setup if replacing an existing mount
6. Back up any critical data if working with active systems
Safety Considerations:
– Wear appropriate protective gear
– Ensure power is disconnected from all devices
– Work on a static-free surface
– Keep small components in a dedicated container to prevent loss
Following these preparation guidelines will ensure a smooth installation process and help avoid common pitfalls during mounting.
Mounting Process
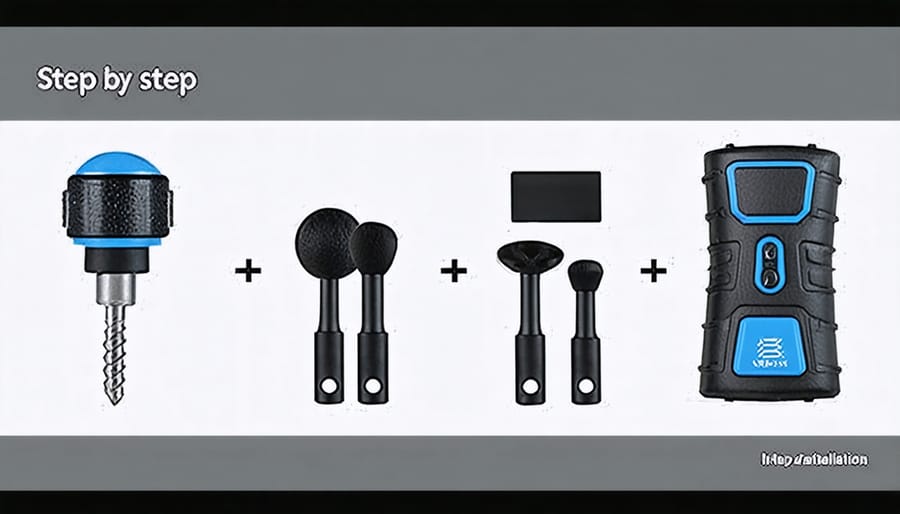
Begin by gathering your mounting tools: Phillips-head screwdriver, the k-edge mount kit, and your single-board computer. Before starting the SBC installation, ensure your workspace is clean and static-free.
First, identify the mounting points on your board that align with the k-edge mount’s pre-drilled holes. Most k-edge mounts come with universal hole patterns compatible with popular SBC formats. Place the mounting standoffs into the designated holes, ensuring they’re finger-tight initially.
Next, carefully position your board onto the standoffs, making sure all mounting points align perfectly. While holding the board steady, insert the provided screws through the top of the board into the standoffs. Using your screwdriver, tighten each screw in a cross-pattern to ensure even pressure distribution.
For the base installation, locate the mounting surface and mark your drilling points if necessary. Many k-edge mounts feature adhesive backing for non-permanent installation. If using screws, drill pilot holes according to the included template. Attach the base plate using appropriate fasteners for your mounting surface.
Finally, connect the mounted board to the base plate using the included locking mechanism. Listen for the characteristic click that indicates proper engagement. Verify that all connections remain accessible and that there’s adequate airflow around your board.
Cable Management Tips
Cable management is crucial when using K-edge computer mounts to ensure a clean, professional appearance and optimal performance. Start by measuring your cables and planning their routing before installation. Use high-quality cable ties or Velcro straps to bundle cables together, keeping power and data cables separated to minimize interference.
Create service loops near connectors to reduce strain and allow for future adjustments. These small slack sections prevent cable damage when components need to be accessed or repositioned. Take advantage of the K-edge mount’s built-in cable management features, such as integrated channels and clip points.
For a polished look, route cables along the mount’s natural contours and secure them at regular intervals. Consider using split loom tubing or braided cable sleeves for additional protection and aesthetics. Label your cables at both ends to simplify maintenance and troubleshooting.
When mounting multiple devices, establish a logical cable hierarchy and maintain consistent routing patterns. This approach not only looks better but also makes it easier to identify and replace cables when needed. Remember to leave enough slack for ventilation and to prevent tight bends that could damage the cables over time.
Common Pitfalls and Solutions
While k-edge computer mounts offer robust solutions for edge computing deployments, users often encounter several common challenges. Understanding these issues and their remedies can save time and prevent potential damage to your equipment.
One frequent issue is mounting instability, which typically occurs when the mount isn’t properly aligned or secured. To address this, ensure all mounting screws are properly tightened and consider using thread-locking compound for high-vibration environments. Double-check that the mounting surface is level and capable of supporting the combined weight of the mount and device.
Heat management poses another significant challenge. Some users report increased operating temperatures when devices are mounted too close to walls or in enclosed spaces. The solution is to maintain adequate airflow around the device by leaving at least 2-3 inches of clearance on all sides and potentially adding supplementary cooling fans for high-performance applications.
Cable management issues often arise when ports become difficult to access after mounting. Plan your cable routing before final installation and consider using right-angle adapters or flexible extension cables to reduce strain on ports. Some users find success with cable management clips or velcro straps to keep wiring organized and prevent accidental disconnections.
Material compatibility can be problematic, especially in outdoor installations. Metal mounts may corrode when exposed to elements, while plastic mounts might degrade under UV exposure. Choose weather-resistant materials appropriate for your environment and consider additional protective coatings or enclosures when necessary.
Vibration damage is a common concern in industrial settings. Using rubber isolation grommets or shock-absorbing pads between the mount and device can significantly reduce vibration transfer. For particularly harsh environments, consider specialized industrial-grade mounts with built-in vibration dampening features.
Lastly, incorrect sizing is a frequent pitfall. Always verify the exact dimensions of your device and ensure the mount’s specifications match before purchase. When in doubt, opt for adjustable mounts that can accommodate slight variations in device size.
K-edge computer mounts have proven to be essential accessories for modern single-board computer implementations, offering reliable and secure mounting solutions for various applications, including home automation projects. Throughout this guide, we’ve explored the key aspects of selecting, installing, and optimizing these mounts for your Raspberry Pi and similar devices.
Remember that the ideal mount should balance accessibility with protection, providing adequate ventilation while securing your device against environmental factors. For most users, we recommend starting with a basic aluminum mount kit that includes thermal management features and flexible mounting options. These offer the best value and versatility for both beginners and experienced makers.
When installing your mount, always prioritize proper airflow and cable management. The extra time spent on careful installation will pay dividends in system reliability and longevity. Don’t forget to periodically check mount connections and clean any accumulated dust to maintain optimal performance.
For those looking to expand their setups, consider future-proofing your mounting solution by choosing options that accommodate potential upgrades or additional components. The investment in a quality k-edge mount is minimal compared to the protection and functionality it provides for your valuable single-board computer projects.
By following these guidelines and recommendations, you’ll be well-equipped to create a stable, efficient, and professional-looking installation that serves your computing needs reliably for years to come.