


Transform your living space into a smart home automation hub using single board computers (SBCs) like the Raspberry Pi. Whether you’re getting started with Raspberry Pi or expanding your existing setup, these powerful miniature computers unlock endless possibilities for DIY tech projects.
From automated garden irrigation systems that adjust based on soil moisture readings to AI-powered security cameras that distinguish between family members and strangers, SBCs provide the perfect platform for bringing your innovative ideas to life. Their combination of low cost, powerful processing capabilities, and extensive GPIO options makes them ideal for both beginners and experienced makers.
Modern SBC projects now leverage machine learning, IoT connectivity, and real-time sensor data to create sophisticated home automation solutions that rival commercial systems at a fraction of the cost. With comprehensive community support and readily available components, building your own smart home ecosystem has never been more accessible.
Ready to start building? Our curated collection of projects ranges from basic LED control systems to advanced home automation hubs, each designed to help you master essential SBC programming and hardware integration skills while creating practical, useful applications for your home.
Smart Home Hub That Won’t Break the Bank
Hardware Requirements
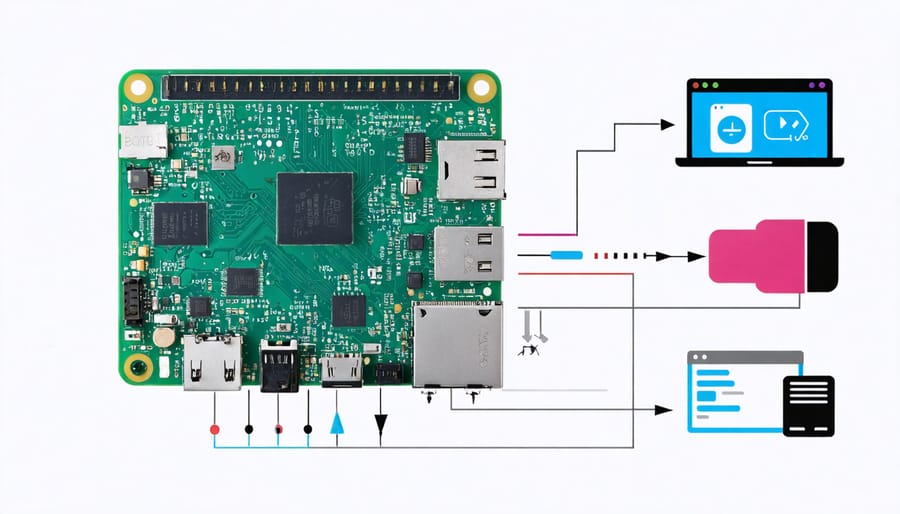
To get started with single board computer projects, you’ll need several essential components. The core component is, of course, a single board computer like a Raspberry Pi, Orange Pi, or BeagleBone Black. These serve as the brain of your projects. You’ll also need a reliable power supply (typically 5V micro-USB or USB-C) and a microSD card (16GB minimum recommended) for the operating system.
For basic connectivity and programming, gather a USB keyboard, mouse, and an HDMI monitor. A stable internet connection is crucial, either through Ethernet or a USB Wi-Fi adapter. For prototyping, you’ll want a breadboard, jumper wires, and basic electronic components like LEDs, resistors, and sensors.
Additional hardware may include a case for protection, a cooling fan for temperature management, and a GPIO breakout board for easier pin access. For specialized projects, consider components like cameras, displays, servo motors, or sensors specific to your project’s needs. Having a multimeter handy for troubleshooting is also recommended.
Remember to check component compatibility with your chosen board before purchasing, as specifications can vary between different SBC models.
Software Setup and Configuration
Setting up your single board computer for home automation begins with installing a suitable operating system. For most projects, Raspberry Pi OS (formerly Raspbian) serves as an excellent foundation. Start by downloading the Raspberry Pi Imager from the official website and flashing it to your microSD card.
Once your basic OS is running, you’ll want to install a home automation platform. The Home Assistant installation process is straightforward and provides a robust foundation for your automation projects. Begin by opening the terminal and running these commands:
1. sudo apt-get update
2. sudo apt-get upgrade
3. curl -fsSL get.docker.com | sudo sh
After Docker is installed, deploy Home Assistant with:
docker run -d \
–name homeassistant \
–privileged \
–restart=unless-stopped \
-e TZ=YOUR_TIME_ZONE \
-v /PATH_TO_YOUR_CONFIG:/config \
ghcr.io/home-assistant/home-assistant:stable
Once installation completes, access the Home Assistant interface by navigating to http://your-device-ip:8123 in your web browser. The initial setup wizard will guide you through configuring your location, time zone, and basic settings.
Remember to secure your installation by setting a strong password and enabling two-factor authentication if available. For optimal performance, consider installing the MySQL or MariaDB database backend instead of the default SQLite, especially if you plan to collect substantial amounts of sensor data.
Automated Garden Monitoring System
Sensor Integration
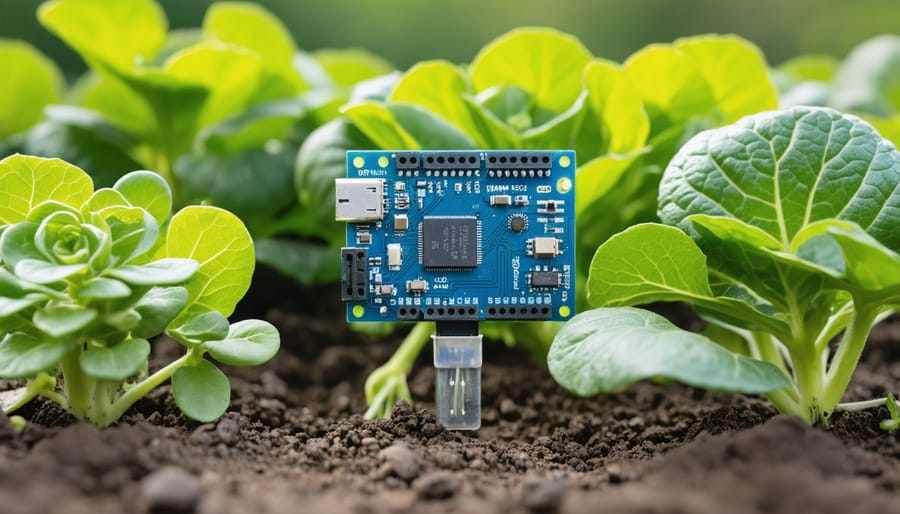
Integrating sensors with your single board computer opens up a world of possibilities for environmental monitoring and automation. For beginners, starting with basic sensors like DHT22 for temperature and humidity, or an LDR (Light Dependent Resistor) for light detection, provides an excellent foundation. These sensors connect directly to your SBC’s GPIO pins and require minimal additional components.
Follow our comprehensive garden sensor setup guide to learn how to properly wire and configure moisture sensors for plant monitoring. Most soil moisture sensors use analog signals, so you’ll need an analog-to-digital converter (ADC) when working with boards like the Raspberry Pi, which only have digital inputs.
Temperature sensors like the DS18B20 are particularly reliable and can be daisy-chained, allowing you to monitor multiple locations with a single GPIO pin. For light sensing, both analog photoresistors and digital light sensors like the TSL2561 work well, with the latter providing more accurate lux measurements.
Remember to use appropriate pull-up or pull-down resistors where necessary, and always verify your wiring before powering up the system. Most sensors communicate using standard protocols like I2C or OneWire, making them relatively straightforward to implement with readily available libraries in Python or C++.
Automation Rules
One of the most powerful applications of single board computers is creating automated rules and schedules for home automation systems. Using platforms like Node-RED or Home Assistant, you can program sophisticated automation sequences that respond to various triggers and conditions.
For example, you can set up an automated watering system for your garden that activates based on soil moisture readings, weather forecasts, and time-based schedules. The SBC can process data from moisture sensors and adjust watering duration accordingly, while also checking local weather APIs to skip watering if rain is predicted.
Alert systems are another crucial automation component. You can program your SBC to send notifications through email, SMS, or messaging apps when specific conditions are met. This might include security alerts when motion is detected, temperature warnings for your greenhouse, or notifications when your plants need attention based on sensor readings.
Some practical automation rules you can implement include:
– Temperature-based ventilation control
– Light scheduling based on sunrise/sunset times
– Humidity-triggered dehumidifier activation
– Motion-activated security cameras
– Water leak detection and automatic valve shutdown
The real power comes from combining multiple conditions and actions. For instance, you could create a rule that waters plants only if soil moisture is low, temperature is above freezing, no rain is forecast, and it’s within designated watering hours. This level of precise control helps conserve resources while maintaining optimal conditions for your automated systems.
Remember to include backup rules and fail-safes in your automation setup to prevent issues like overwatering or system failures.
DIY Security Camera Network
Camera Setup
Setting up a camera system with your single board computer can transform it into a powerful surveillance solution. Whether you’re interested in home security camera installation or creating a smart doorbell, the process is straightforward with the right components and configuration.
Start by selecting a compatible camera module. For Raspberry Pi users, the official Camera Module V2 or HQ Camera Module are excellent choices, offering high-quality video capture. For other SBCs, ensure you choose a USB webcam or CSI camera that’s compatible with your board’s specifications.
Connect your camera to the dedicated camera port or USB port, depending on your setup. For CSI cameras, carefully insert the ribbon cable into the camera connector, ensuring the blue or silver side faces the correct direction according to your board’s layout.
Install the necessary software packages. For Raspberry Pi, enable the camera interface through raspi-config. Popular software options include Motion for basic surveillance or MotionEye for a more feature-rich interface with web access. Both provide motion detection, scheduled recording, and remote viewing capabilities.
Configure your camera settings through the software interface. Adjust parameters like resolution, frame rate, and motion detection sensitivity to match your needs. For remote access, set up port forwarding on your router and implement secure authentication to prevent unauthorized access.
Consider adding features like automatic notifications when motion is detected, cloud storage for recordings, or integration with other smart home devices through platforms like Home Assistant. These additions can significantly enhance your camera system’s functionality and make it a valuable part of your home automation setup.
Remote Monitoring
Setting up remote monitoring capabilities for your single board computer projects opens up a world of possibilities for home automation and surveillance. By configuring remote access, you can monitor and control your projects from anywhere using your smartphone or computer.
Start by installing VNC (Virtual Network Computing) on your single board computer. This allows you to access your device’s desktop environment remotely. For Raspberry Pi users, RealVNC comes pre-installed with Raspbian, making setup straightforward. Enable SSH (Secure Shell) access for command-line control, but remember to change the default password to enhance security.
To receive mobile notifications, integrate services like Pushbullet or IFTTT (If This Then That) with your projects. These platforms can send alerts to your phone when specific events occur, such as temperature thresholds being exceeded or motion being detected. For more advanced monitoring, consider setting up Node-RED, a visual programming tool that simplifies creating automation flows and notification systems.
Create a secure remote connection by configuring port forwarding on your router or using a VPN service. Alternatively, cloud-based solutions like Remote.it or PiTunnel provide secure remote access without complex network configuration.
For real-time monitoring, implement a web interface using lightweight frameworks like Flask or Express.js. This allows you to create custom dashboards displaying sensor data, camera feeds, and system status. Consider adding SSL encryption to protect your data transmission.
Remember to regularly update your system and maintain proper security practices when implementing remote access features. This ensures your project remains both functional and secure.
Energy Monitoring Dashboard
Sensor Installation
To monitor power consumption effectively, you’ll need to install current sensors on your single board computer setup. Start by connecting an ACS712 current sensor to your board’s GPIO pins. The sensor typically requires three connections: VCC (3.3V or 5V), GND, and the analog output pin. For Raspberry Pi users, since the board lacks analog inputs, you’ll need to add an ADS1115 analog-to-digital converter between the current sensor and the Pi.
Connect the ADS1115 to your board using the I2C interface. This requires just four connections: VDD to 3.3V, GND to ground, SCL to the I2C clock pin, and SDA to the I2C data pin. Once physically connected, enable I2C in your board’s configuration settings.
For accurate readings, position the current sensor inline with the power supply of the device you want to monitor. Use appropriate gauge wire that can handle the expected current flow, and ensure all connections are secure. Test the setup with a known load, like an LED strip or small motor, to verify the sensor readings before deploying the system for continuous monitoring.
Data Visualization
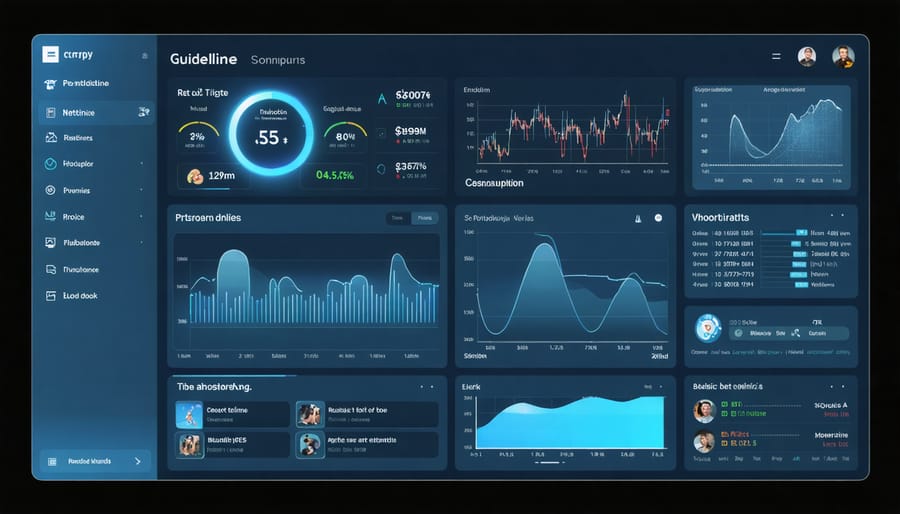
Creating an interactive dashboard for energy usage monitoring is an exciting project that transforms raw data into meaningful visualizations. Using a Raspberry Pi or similar SBC, you can collect power consumption data from various sensors and display it through an intuitive web interface. Start by connecting power monitoring modules to your board’s GPIO pins and setting up a database to store the readings.
Popular visualization frameworks like Grafana or Node-RED make it easy to create stunning real-time graphs and charts. Configure your dashboard to display daily, weekly, and monthly energy usage patterns, along with cost calculations based on your local electricity rates. Add interactive elements like dropdown menus for selecting different time periods and devices to monitor.
Take your dashboard further by implementing alert systems for unusual power consumption patterns or setting up automated reports. You can even integrate weather data to analyze how external conditions affect your energy usage. This project not only helps you understand your power consumption but also provides valuable insights for reducing energy costs and promoting sustainable living.
For the best results, consider using a dedicated LCD screen or mounting your SBC near your electrical panel for easy access to real-time monitoring.
Single board computers have revolutionized home automation, making it accessible and affordable for anyone interested in creating a smarter living space. Through the projects we’ve explored, it’s clear that SBCs offer unprecedented flexibility and power for implementing custom automation solutions that perfectly match your needs and lifestyle.
The beauty of SBC-based home automation lies in its scalability and customization potential. Whether you’re starting with a simple smart lighting system or building a comprehensive home monitoring setup, these versatile devices provide the perfect foundation for your automation journey. The open-source nature of many SBC platforms means you’ll find a wealth of community support, pre-built solutions, and opportunities to learn and grow your skills.
Don’t let the technical aspects intimidate you – start small with a basic project and gradually expand your system as your confidence grows. The satisfaction of creating your own automated solutions, coupled with the practical benefits of enhanced home security, energy efficiency, and convenience, makes this an incredibly rewarding hobby. Take that first step today, and join the growing community of DIY home automation enthusiasts.